Apple Pay is a feature that allows you to make secure purchases in stores and on the web with almost any Apple device. It's quite a handy feature since it speeds up the checkout process when making online purchases.
If you're wondering how to set up and use Apple Pay on your Mac, read on to learn all about it.
Is Apple Pay Compatible With My Mac?
It's possible to use Apple Pay both on many newer and older Mac models. So, even if your Mac doesn't have a Touch ID sensor, you can still use Apple Pay for making payments.
However, keep in mind that only MacBooks that were released in 2012 or later support this feature. And you'll need an iPhone or Apple Watch that has Apple Pay already set up to use Apple Pay on a Mac that doesn't have Touch ID.
But before you get to take advantage of this feature, you need to set it up.
How to Set Up Apple Pay on Your Mac
If you have a MacBook Air or a MacBook Pro with Touch ID, then you should've had a chance to set up this feature when using your device for the first time. But if you chose to do it later, here's how to set up Apple Pay through the System Preferences app:
- Launch the System Preferences application on your Mac.
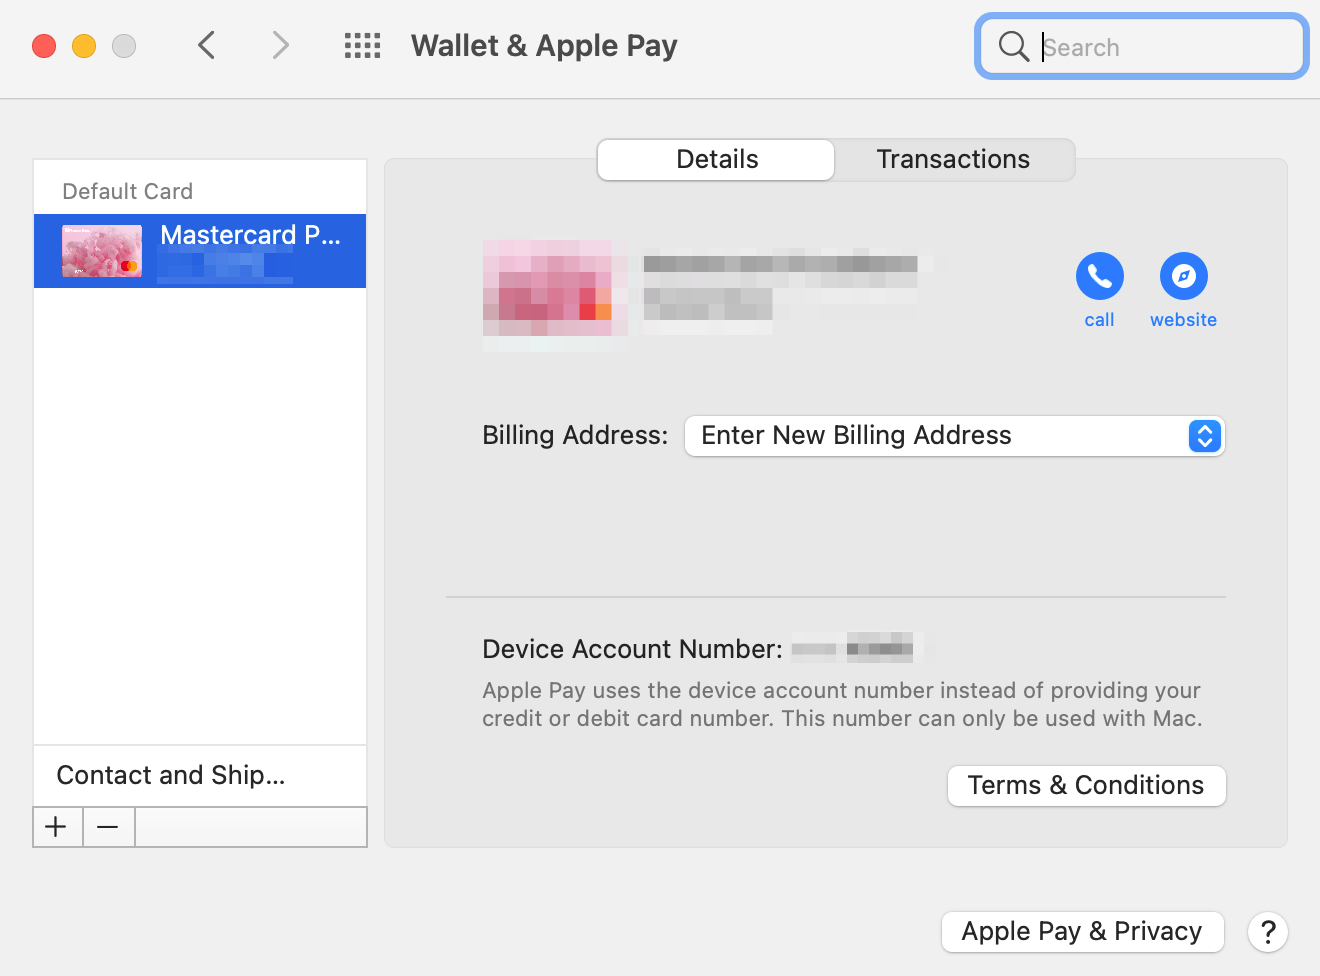
- Head to Wallet & Apple Pay.
- Click the Add Card button.
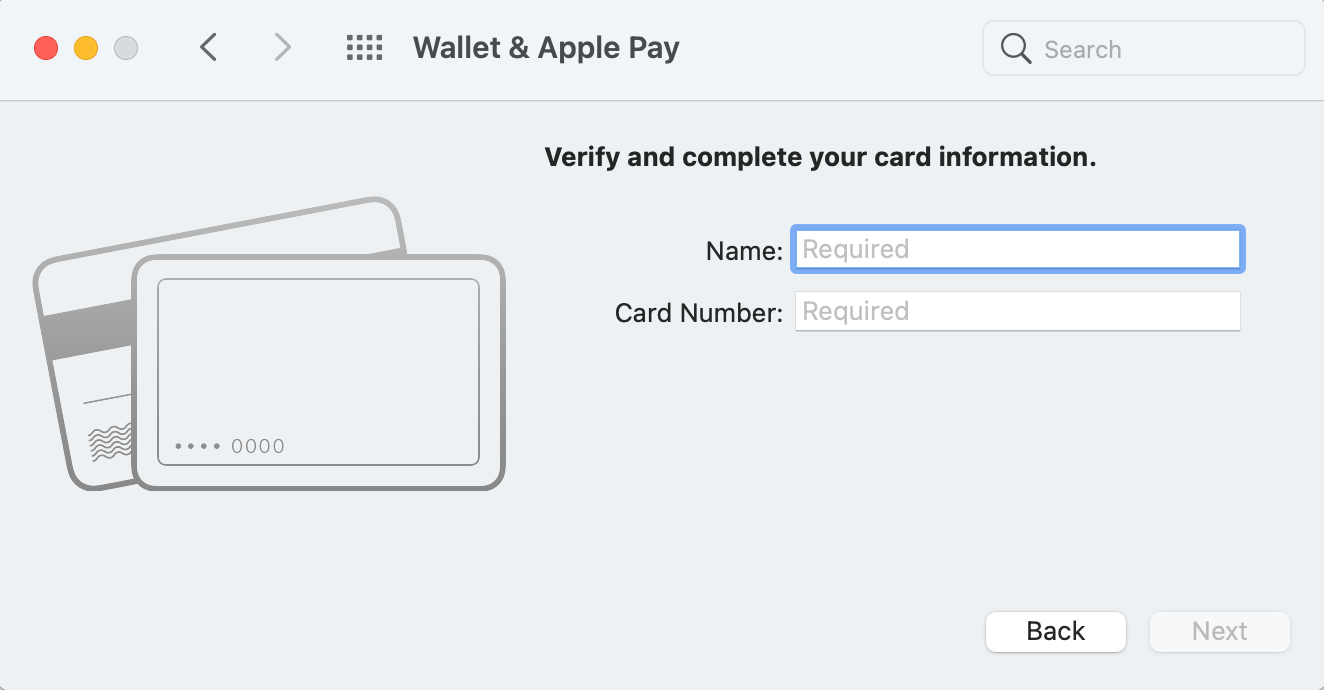
- Position your card in the FaceTime camera frame so that your computer enters all of the details automatically, or click Enter Card Details Manually. When ready, click Next.
- Verify your card details, check whether the expiration date is correct, and type in your security code. Click Next to confirm.
- Accept the terms and conditions by clicking Accept.
- Choose a preferable verification method and click Next.
- Type in the code that you received through the previously selected verification method and click Next.
Your credit card should immediately get added to your Apple Pay wallet. If this doesn't happen right away, your bank may need some more time for verification.
Setting Up Apple Pay on a Mac Without Touch ID
If you're using an older Mac that doesn't have a Touch ID sensor, then you need to use an iPhone or Apple Watch to allow your Mac to use the credit cards stored on that device.
Here's how to do it:
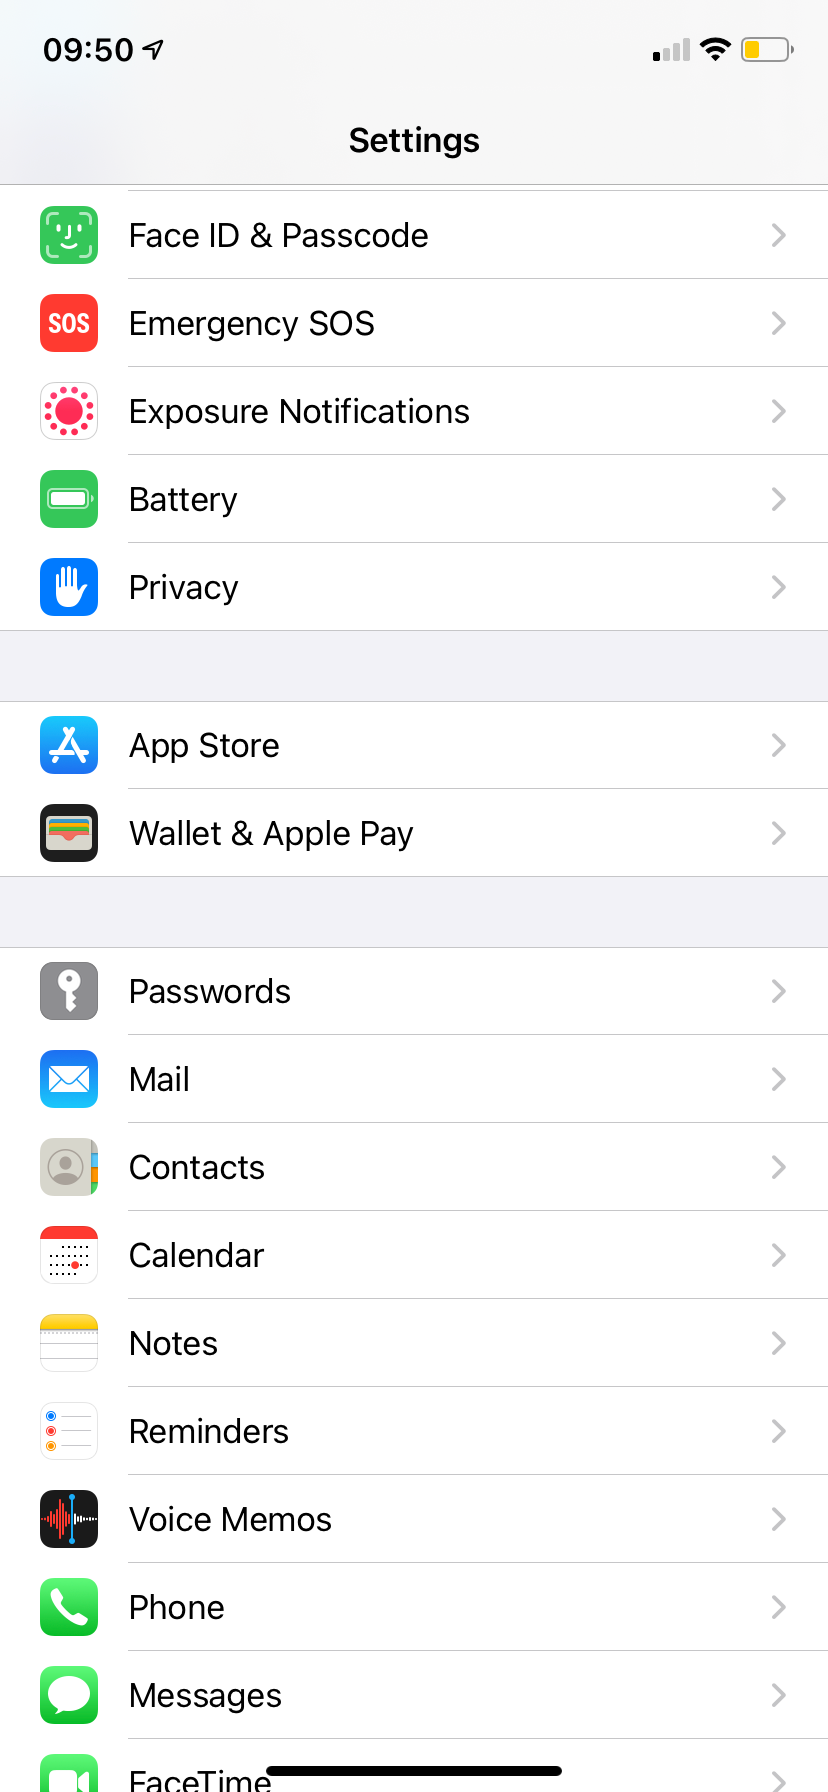
- Open the Settings app on your iPhone.
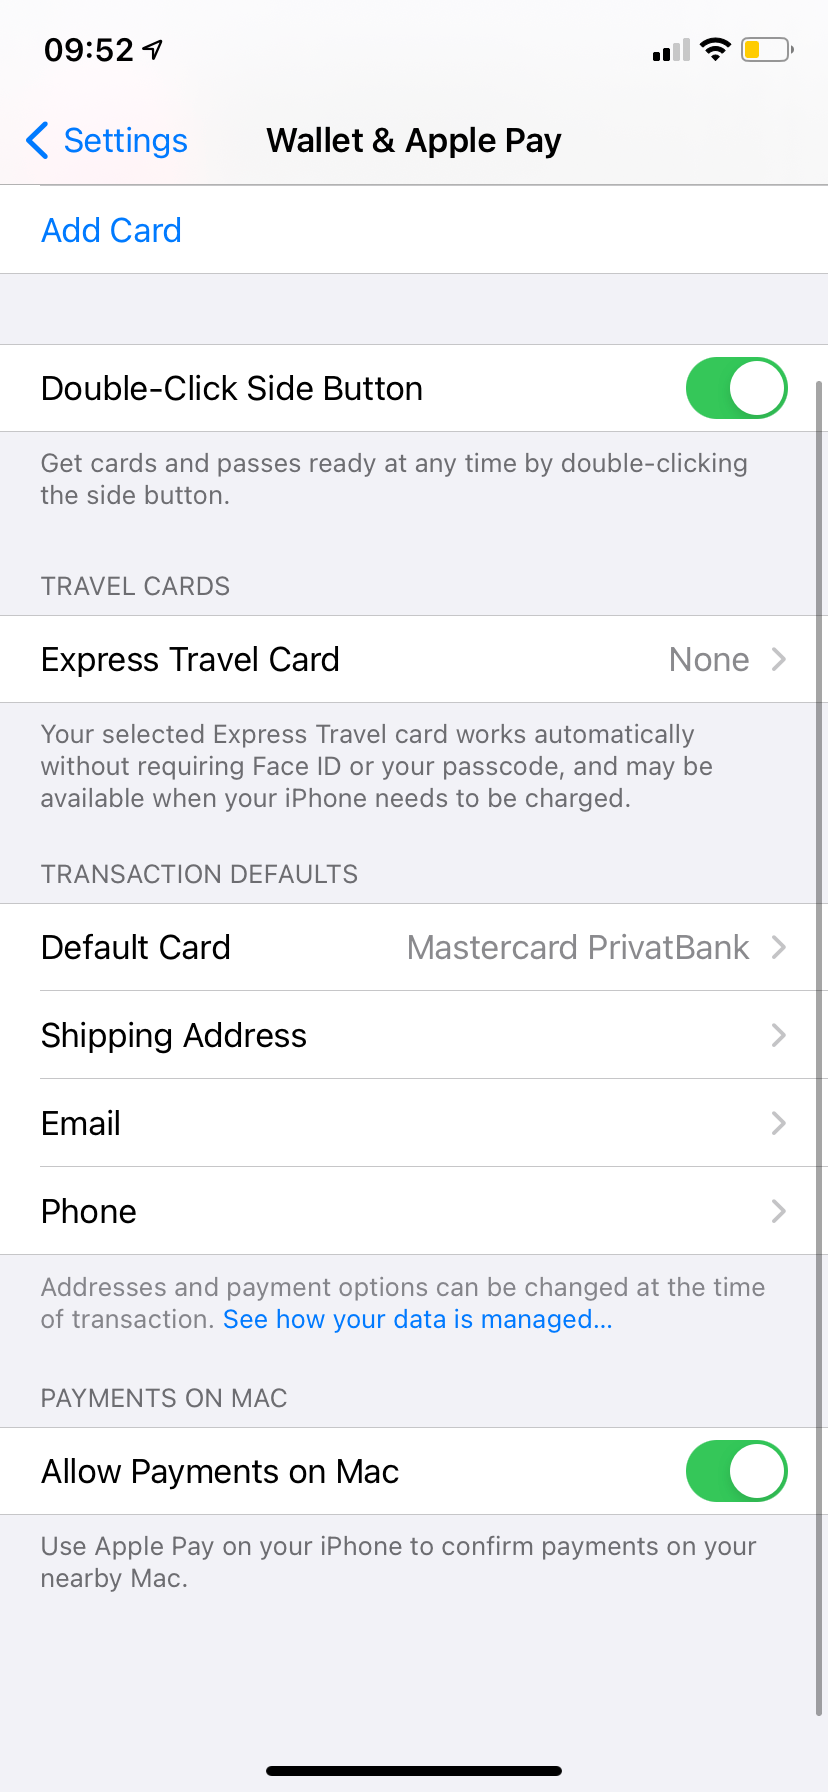
- Scroll down and tap on Wallet & Apple Pay.
- At the bottom of the screen, enable Allow Payments on Mac.
How to Allow Apple Pay in Safari
The next step you need to take before you can use Apple Pay on your Mac is to allow this feature for your browser.
Here's how to allow Apple Pay on Safari:
- Open the Safari browser on your Mac.
- In the top-left corner of the screen, click Safari and head to Preferences.
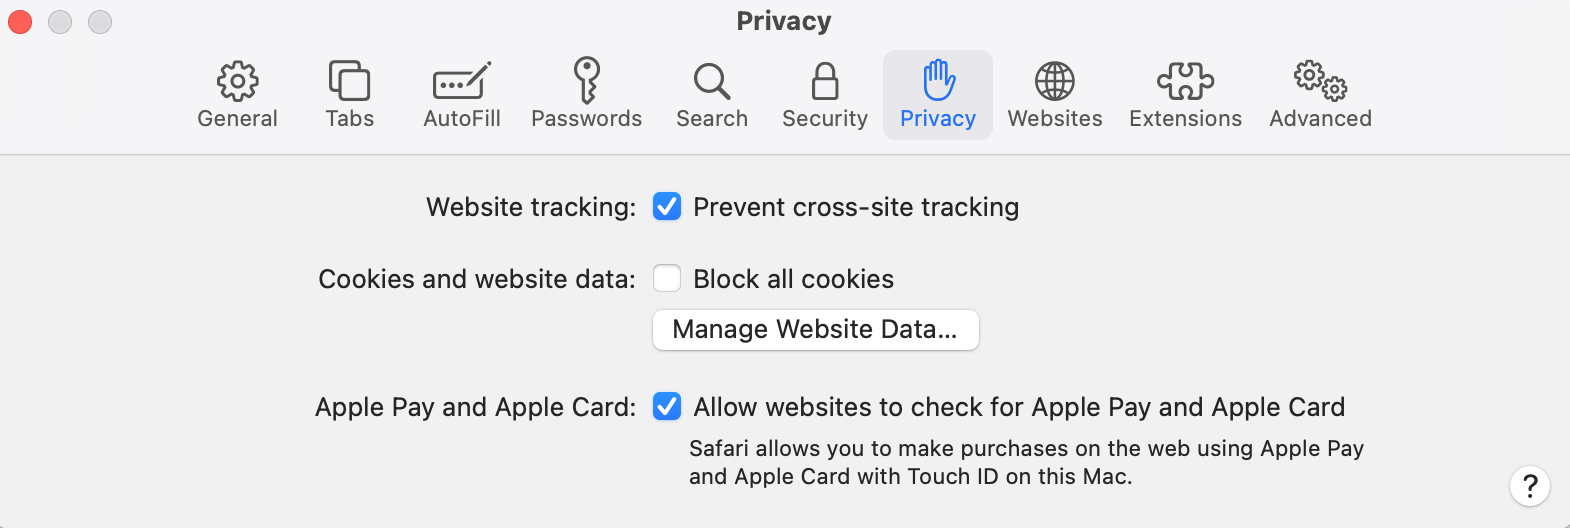
- Click on the Privacy section.
- Enable the option to Allow websites to check for Apple Pay and Apple Card.
How to Use Apple Pay to Make Purchases on Your Mac
Thanks to the Apple Pay feature, you can make payments at different online retailers in seconds without all the hassle of manually entering credit card information.
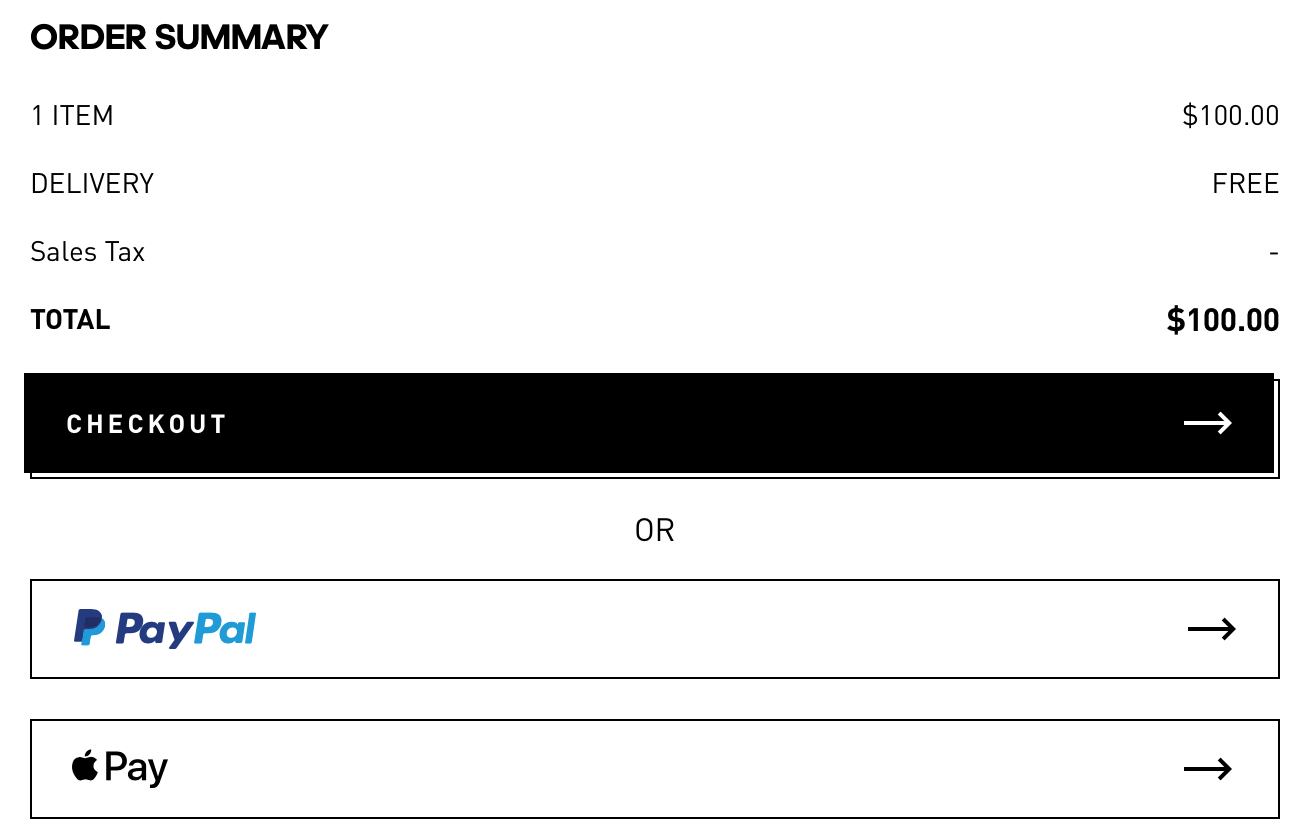
Unfortunately, not every online shop has the option to pay with Apple Pay. But the number of compatible websites is constantly growing. If you see an Apple Pay logo at the checkout, then you know you can use the Apple Pay feature on your Mac to make the payment.
The checkout process with Apple Pay is incredibly quick and easy. All that you need to do to buy things online with Apple Pay is to click on the Apple Pay button and place your finger on the Touch ID sensor on your Mac.
If your Mac doesn't have a Touch ID sensor, you'll have to use either your iPhone or your Apple Watch to make purchases with Apple Pay instead.
Simply select the Apple Pay option during checkout and grab your iPhone or Apple Watch. Use any way of verification that your device has available—Touch ID, Face ID, or pressing the Side button.
How to Manage Cards in Apple Pay on Your Mac
Whenever you want, you can add new credit cards to your Apple Pay wallet or remove the existing ones using your Mac.
Here's how to do it:
- Open the System Preferences.
- Click Wallet & Apple Pay.
- On the left side of the screen, you'll see all of the cards that can be used with Apple Pay on your Mac. Click the one that you wish to remove and click the minus (-) icon under the card list.
- To add a new credit card, click the plus (+) icon under the list of cards and hold your card near your camera so that your Mac can automatically enter all of the details, or choose to type in the card details manually.
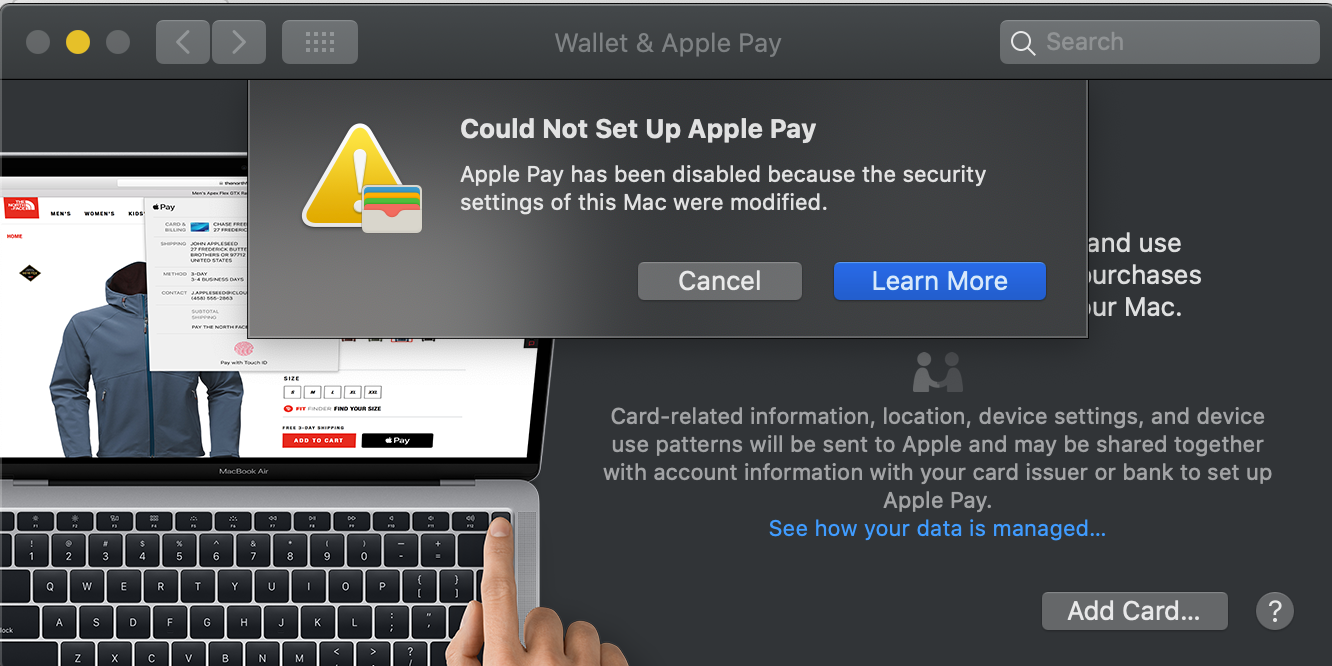
Why Can't I Set Up Apple Pay on My Mac?
There are a few problems that may stop you from setting up Apple Pay on your Mac. Here's what you should do if you have issues entering credit card details into your device:
- Check whether Apple Pay is available in your country. You can find the full list of the countries and regions that support this feature on the official Apple website.
- Make sure that your computer is running the latest version of macOS. If not, you should run an update and try setting up Apple Pay after that.
- Check you are signed in to iCloud on your Mac in the System Preferences.
Make Quick and Secure Payments With Apple Pay
If you haven't yet tried to use Apple Pay on your Mac, then you definitely should since you're missing out on the opportunity of making checkouts at online shops faster and easier.
The great news is that you can use this feature on any Apple device—iPhone, iPad, Apple Watch, and Mac. So go ahead and take advantage of this cool feature on all your devices.

