Are you tired of generic macOS notification sounds, like Boop, Breeze, and Pong? Do you long for more interesting auditory alerts? Did you know that you can add your own custom notification noises to your Mac? It’s true.
The process for customizing macOS system alerts isn’t obvious, but it does work. All you really need is a quality sound file, some conversion software, and the will to succeed. Let’s discuss how you can create custom alerts in macOS.
Where to Find or Create Custom Alert Sounds on a Mac
The first step to shunning your Mac’s built-in system alerts and adding your own is to find a worthy replacement. Websites such as SoundBible and Mixkit offer free sound downloads, or you can create your own effects using audio recording software.
Apple’s own GarageBand includes a range of digital instruments you could conceivably use to create some sweet sounds. You could even use your Mac’s microphone to record your own voice or something else in your environment.
Wherever you source your sound from, you should ensure that the audio is of an acceptable quality. You will, after all, have to hear the alert every time something noteworthy happens on your Mac.
How to Convert Custom Alerts to the Correct Format in macOS
Once you have a viable audio file, you’ll need to convert it to the correct format. Most downloaded sound effects will come in either WAV or MP3 format, which isn’t what macOS wants to work with for alerts.
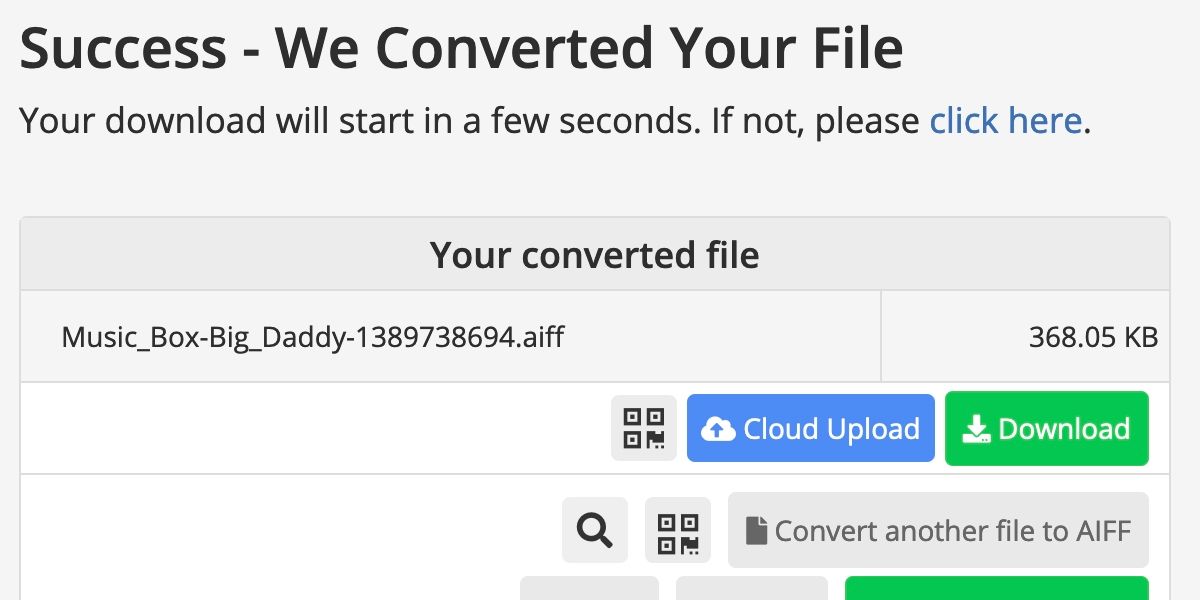
For your Mac to recognize the new alert, you’ll need to convert the file to AIFF (Audio Interchange File Format). Luckily, Online-Convert.com’s free AIFF conversion tool is more than capable of getting the job done. The online converter will take most common formats and change them to AIFF.
Here’s how you can convert an audio file to AIFF format:
- Go to the Online-Convert.com website.
- Click Choose File.
- Locate the audio file you want to convert and click Open.
- Click Start and let the process complete.
- If the download doesn’t begin automatically, click Download and save the file.
Now that you have an AIFF audio file, you can move on to the final part of process: adding the sound to your macOS system alerts list.
How to Add Custom Alerts to the System in macOS
If you have your AIFF audio file ready to go, you can place it in the correct location within your user Library folder. Here’s how to add the custom alert to macOS:
- Copy the AIFF file you want to use.
- Navigate to your user Library folder by clicking the Go menu, holding the Option key, and selecting Library.
- Open the Sounds folder.
- Paste the AIFF audio file to this location.
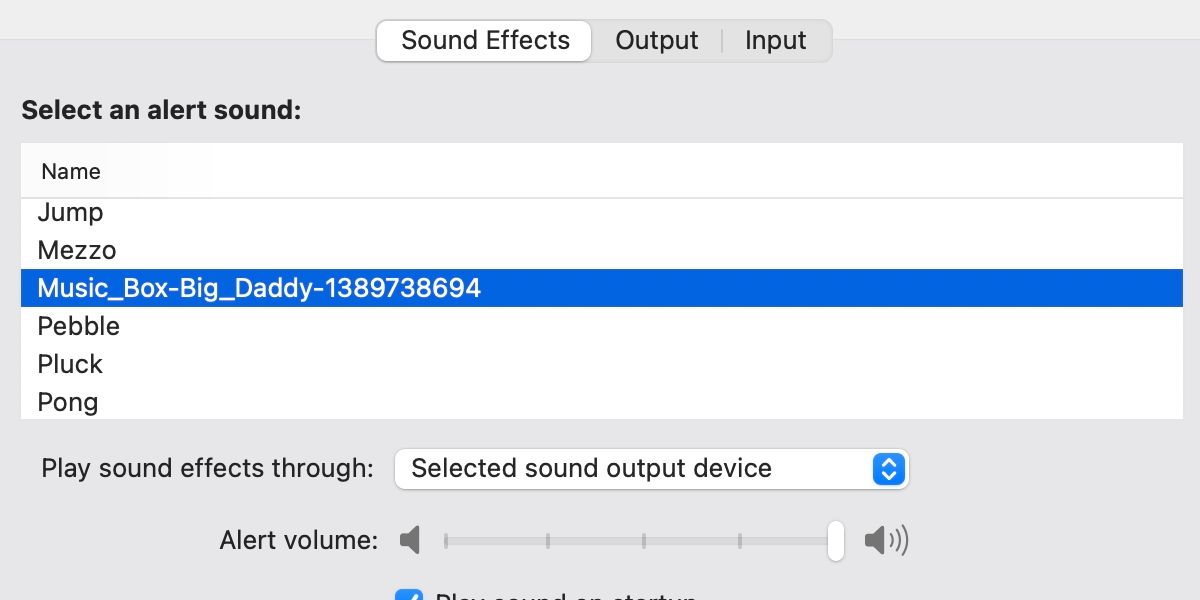
- Go to System Preferences > Sounds > Sound Effects.
- Select the new alert from the list.
Because the file location connects to only your user account, you’ll need to add sounds separately to other profiles. The system Library folder is difficult to manipulate in later versions of macOS, which is why we must settle for user-specific alterations.
The process may seem a little involved, but if you follow each step correctly, you’ll soon have a custom alert that will make you the envy of all other Mac users.
Create Custom Alerts in macOS
As far as operating systems go, macOS is fairly well locked down. You do, however, often have more freedom than it might seem at first glance. With a quality audio file, a quick conversion, and a little copying and pasting, you can add custom alerts to macOS and craft an operating system that meets your vision.
For added fun, you could locate a truly horrific sound, add it to someone else’s device, and leave them wondering why their Mac suddenly screams like a banshee whenever they get new mail.


