Do you want to send an email and don’t know where to start? Or maybe you know how to send emails but want some tips on curating better emails. We're here to help.
How to send an email may sound like a simple task, but sending great emails is not. The next time you want to communicate via email, you’ll realize it takes more than knowing the recipient and a message to share. Here’s how to send a great email.
What Do You Require for Sending an Email?
Before we show you how to send an email, you need to meet specific requirements. For sending an email, you'll need an account with one of the available email providers (we'll use Gmail), an internet connection, a computer or a mobile device, and the recipient's email address.
How to Send an Email With Gmail

Suppose you don’t have an email account yet; set up an account with Gmail or with one of the popular alternatives to Gmail. Once done, we can proceed to the next step, creating an email message.
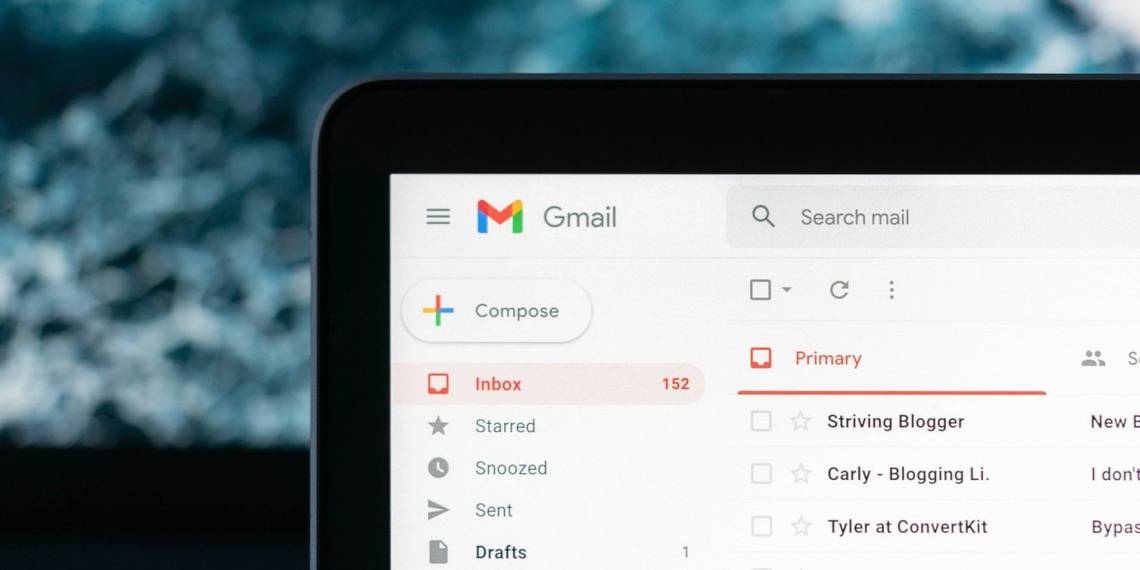
1. Login Into Your Email Account
For Gmail, go to google.com/gmail and enter your credentials to sign in to your email account.
2. Create a Blank Email

Next, start composing an email that will be sent later on. Tap the compose button to create a blank email. The compose button is available on the left-hand side of the Gmail website, and it hangs on the bottom right-hand side of the mobile app.
3. Enter the Recipient's Email Address
The recipient email address is the address of the person you want to send your email to. If there’s more than one recipient, you can use CC or BCC.
With CC, all recipients will see the list of other recipients. A recipient cannot see other recipients of the same email in a BCC list unless they're included under CC.
To add recipients in Gmail on the web, tap the Recipients field, enter a recipient email and select CC or BCC to include more than one recipient. If you’re using the Gmail app on mobile (Android or iOS), enter your first recipient under To and tap the downward-facing arrow to reveal CC and BCC fields.
Please pay attention to the address to avoid sharing the message with the wrong party.
4. Write the Subject of the Email

The subject of the email should summarize what the email is about. For better results, ensure the subject reflects the contents of the email. Be very specific and concise.
Besides, the subject should be catchy for better chances of getting the recipient to open your email. Using email acronyms for subject lines can be helpful but use them appropriately.
5. Curate Your Email Message

This is where you have to put everything you want the recipient or recipients to know in detail. But before you pour out your message, start with an appropriate greeting.
For example, when writing professional emails, you should avoid “Dear” or “Hi.” Also, keep your message concise, use proper etiquette, and format your email correctly (continue reading to find out more on formatting).
It’s essential to learn the different ways of writing professional emails, and you can lean on various internet tools to help you write better emails in case of any difficulties.
6. End With a Sign-Off
Email messages use sign-offs to mark the end of an email. As such, you should always include a sign-off. Depending on the type of email, you should consider certain criteria while writing a sign-off.
Consider these tips when signing off an email:
- Use your full name.
- Use an appropriate closing. Consider one of the best professional email sign-offs for job-related emails.
- Include your professional titles and other contact information. These are not a must, but it doesn't hurt to include them.
- A signature can be a plus as well.
7. Attach Files—if Needed

Do you need to share some files via email? Now is the perfect time to add such. Adding files can be necessary for job application processes where CVs and resumes are a must-have.
But, before attaching a file, it’s often recommended to let the recipient know in the email body that you have attached a file at the bottom of the message.
How to Attach Files in Gmail
On the Gmail app for mobile, tap the paperclip icon at the top, select Attach file or Insert from Drive, and then select the file to be attached.


When prompted on the web, click the paperclip icon to upload a file stored on your computer or click Google Drive to upload a file stored in your Google Drive account.
Different email providers can have limitations on the maximum file size of attachments. For Gmail, 25MB is the maximum, but you can bypass the limit by uploading your files to Google Drive first.
If you want to send more than one file, repeat the same procedure.
8. Format and Proofread Your Email
Before hitting the send button, format your email properly by ensuring everything is of the same font size and type. Check the alignment is correct and indentation And finally, ensure the message is presented in a way that improves readability.
Gmail allows you to format your emails using a built-in Formatting Options button. Simply select the formatting button (A that is underlined) to see the different ways you can format your email message in Gmail. You can change font types, size, bold your message, underline, change text color, etc.
Finally, go through your email from top to bottom to ensure the recipient’s address is correct, and the email is free of grammatical and semantic errors. Proofreading emails before sending cannot be overstated.
9. Send Your Email
If everything looks great, it’s time to send your email. Tap the Send button to send the email. But if you want the email to be sent later, then find out how to schedule an email in Gmail.
Understand How to Communicate via Email
Knowing how to send emails is a great skill because it's an important medium of communication. While there's been a move towards instant messaging platforms, email is still revered, especially in workplaces.
The next time you're sending an email, keep these tips in mind.