
The Windows Snipping Tool, previously known as Snip and Sketch, is its built-in screenshot capture and editing utility. But did you know that you can now record videos with Snipping Tool?
Microsoft recently released a new update, allowing you to screen record using it. So, we'll list all the ways you can record your screen using it and how to save the videos you recorded. Let's dive in!
Does Windows Have a Screen Recording Tool?
Before the Snipping Tool's screen recording feature, Windows already offered the Xbox Game Bar app with Windows 10 and 11. You can capture both screenshots and record them using the tool.
In addition, every system uses an NVIDIA, AMD, or Intel GPU—onboard or otherwise. Each of these video cards offers screen recording capabilities in their apps. There's also the pre-bundled Windows app called Clipchamp also provides a screen capturing and recording feature. So, there are many options already present in your system.

However, most users prefer the Snipping Tool for its simplicity. You can launch it with a shortcut key combination, and it supports multiple screenshot layouts (freeform, rectangle, windowed, and full screen).
So, bundling the screen recording feature will eliminate the need to use another app just for video capturing. But before proceeding to the next section, update the Snipping Tool app to the latest version from Microsoft Store. If you're unsure how to do this, check out our guide on updating apps on Windows 11.
How to Screen Record Using the Snipping Tool
Unlike capturing screenshots, you can record videos with Snipping Tool using only the in-app controls. There isn't a predefined shortcut to screen record, and you also cannot map a shortcut for convenience using the app settings. Repeat the following steps to screen record in Snipping Tool:
- Press Win + S to open Windows Search and type Snipping Tool. Click on the Open option to launch the app.
-
Now, go to the top bar and click the Camera icon to select the screen recording feature.
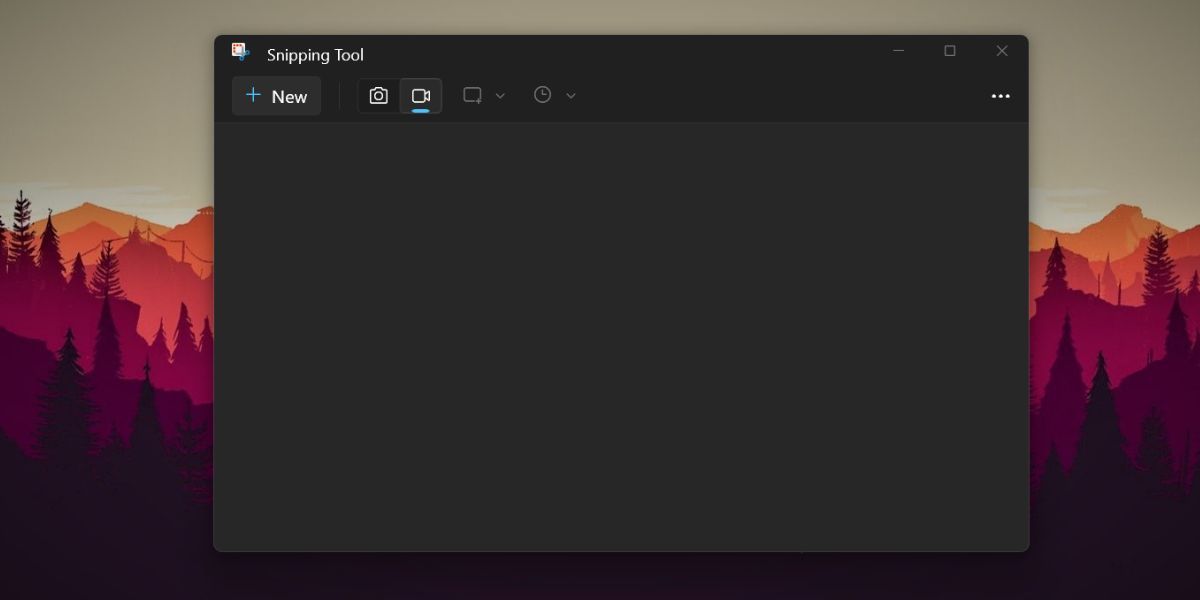
- Then, click on the New button to open the screen recording overlay. Alternatively, you can also press Ctrl + N to start a new screen recording session, but only after selecting the screen recording feature.
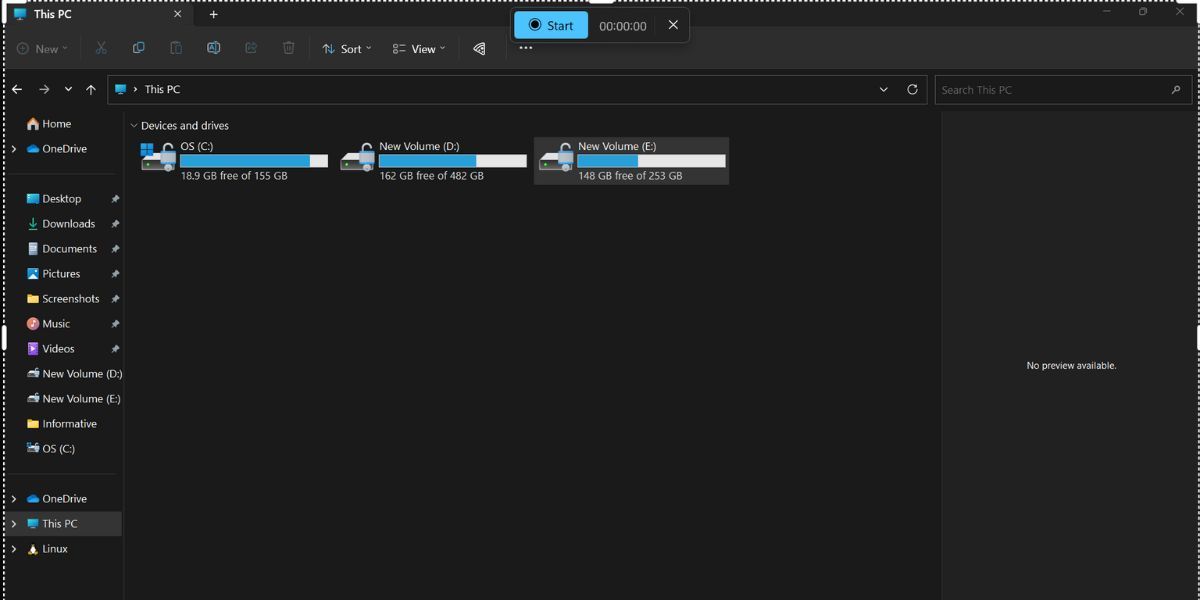
- Now, use the slider to select the area you want to record with the tool. You can choose a small section of the screen or capture full-screen videos as well.
-
Then, click on the Start button to begin the recording session. You will see a counter of the time duration of the recording. If you want to pause the recording, click on the pause button. Moreover, if you don't like the clip or want to redo it, click the Delete button.
-
After recording, click the Stop button to close the recording session and return to the Snipping Tool window.


How to Save the Recorded Clip
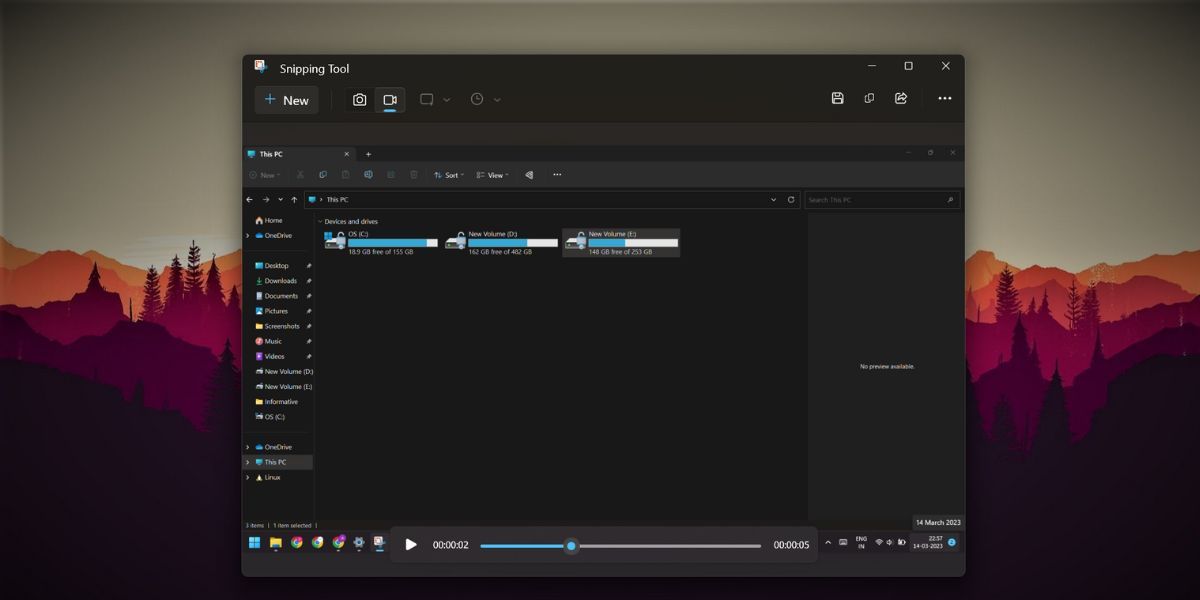
You can preview the recorded clip in the Snipping Tool app. Moreover, you can share the clip with your contacts, Nearby Sharing, or use apps like Intel Unison.
But to save the recorded clip on your computer, press Ctrl + S to open the Save window. Type in the video name and save the file to your preferred location. You can also click on the Save icon at the top bar.

It is also possible to copy the captured recording and paste it to any location in File Explorer or Desktop. However, Snipping Tool will automatically name the file; you must rename it later. The recordings are in MP4 format; there is no option to change that in the app settings.
Limitations of the Snipping Tool Screen Recording Feature
The screen recording feature is spartan in the Snipping Tool. You can only select a region; there is no option to choose free-form, rectangular, or windowed mode. Furthermore, you cannot set a time before starting a screen recording session. It just counts down to three and starts recording. There is no predefined shortcut key to start the screen recording without opening the tool.
Snipping Tool offers no option to annotate videos or apply a border to the screen recordings. So, grabbing a portion of a white screen with no edge becomes hard to distinguish. All these are little shortcomings that we hope Microsoft fixes as it introduces new updates to Snipping Tool.
Grab Screen Recordings With Ease
Snipping Tool has been inseparable from the Windows operating system since the Windows Vista release. However, the utility began receiving major facelifts around the release of Windows 11. Just update the app and start screen recording sessions in a few clicks without installing any third-party app.