Key Takeaways
- Use the native Notes app on your iPhone to easily scan and annotate documents with a simple workflow.
- The Files app also has a document-scanning feature that allows you to save scans to iCloud Drive or other cloud services.
- Microsoft Lens is a handy alternative with features like capturing data from tables and reading scanned text aloud.
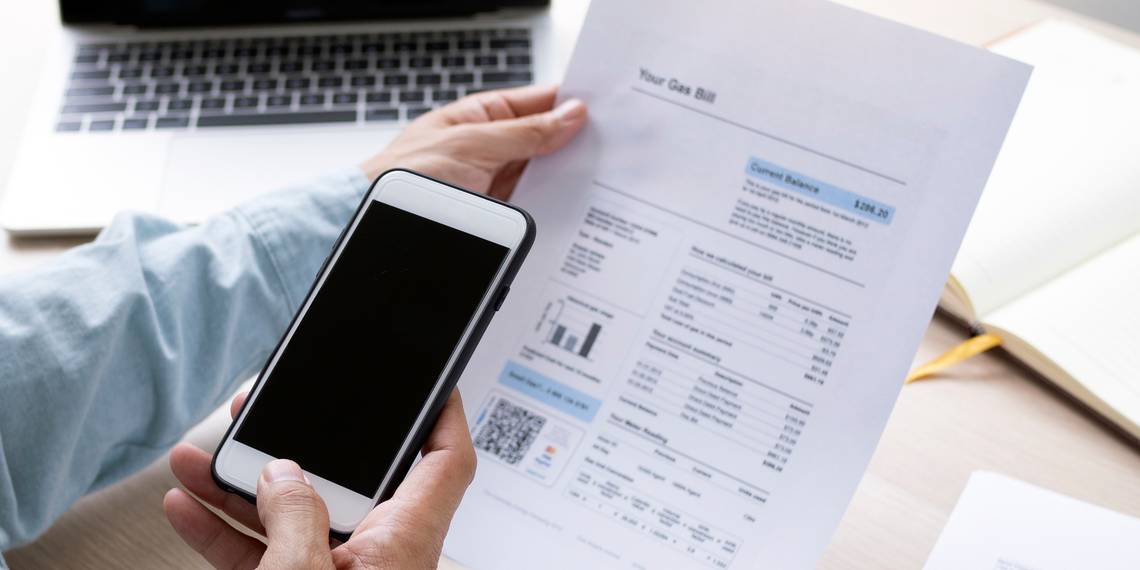
Scanning documents with your iPhone is invaluable if you want to reduce your paper usage or share documents digitally. You don't need to install a third-party document scanner app—use your iPhone as a document scanner instead.
How to Scan Documents With the Notes App
The native Notes app can scan your documents with a single tap. You can then annotate the document, digitally sign it, or share it as a PDF. Here's how to convert actual documents to digital notes with the Notes app:
- Open the Notes app and open an old note, or create a new note.
-
Use one of the methods below to scan a document:
- Tap on the Camera icon at the bottom of the screen and select Scan Documents.
- Tap the Camera icon on top of the keyboard (if you are typing in a note) and select Scan Documents.
- Tap the three-dot overflow menu button on the top-right of the note and select Scan.
- The camera opens; now you can point the camera at whatever you want to scan.
- The default scan option is Auto or Manual. The camera will instantly adjust and take a snap of the document in view. The Auto mode allows you to take multiple scans quickly, one after the other. Choose the Color mode icon (three overlapping circles) to change the scan's color.
- Select Cancel > Discard if the first scan isn't great.
- For a manual scan, tap Auto to toggle the Manual mode. You can also tap the Shutter button quickly or press one of the Volume buttons. Then, drag the near corner handles on the scanned image to adjust the scan.
- Select Save to insert the scan in your note or Retake to try again.


How to Fine-Tune a Scan in the Notes App
If you have trouble scanning, try these tips:
- A top row of icons lets you choose from grayscale or black/white for the scan. You can choose one after you take the scan as well, but now the icon to manipulate the scanned image will be at the bottom.
- When the document is in focus, the camera fires automatically. You can select Manual to take a scan manually and adjust the corners of the scan.
- The scanner stays in the camera view after the first scan for any more scan jobs (e.g., a multi-page document).
- When you finish taking the scan, tap on the Save button at the bottom of the screen. You can place the scan into the note that you opened at the beginning.
- Want to move the document out of the Notes app? Share it or upload it to any other app like Google Drive, send it as an email attachment, create a PDF, or share via WhatsApp. Hold down on the preview of the scans and hit Share when it appears.
- Use the markup tools in the Notes app to annotate all over the document. Optionally, choose Copy to select and paste any scanned text to any other app or Notes itself.
How to Scan Documents With the Files App
The Files app on your iPhone has a handy document-scanning feature that works like the scanner on Notes. Take a snap of a document and save it anywhere in iCloud Drive or any third-party cloud services connected with the Files app:
- Open the Files app.
- Tap the ellipsis icon (three dots) on the top-right corner of the screen. Select Scan Documents. You can also go to a folder to save your scans. Swipe on the screen to reveal the folder options bar, and tap the ellipsis icon on the left.
- Use the Camera to focus on the document. From here on, this works like the document scanning process on the Notes app. The camera has an auto mode that detects the document on its own. Switch over to the Manual mode if the selection isn't precise.
- Adjust the edges of your scan. The app tries to optimize the tile and the angle.
- Tap Done to finish the capture. Choose Retake if the scan doesn't come out as you intended.
- The Files app prompts you to save the scan to a folder of your choice. If the scan was started inside a specific folder, it is saved to the same folder.
- You can export a single scan or multiple scans as a PDF from the share sheet on iOS.


How to Scan Documents With Microsoft Lens
Microsoft Lens (formerly Office Lens) is one of the best cross-platform productivity tools. It is a powerful document scanner app with handy features—especially if you work with the Microsoft Office suite on your iPhone or computer.
- Open Microsoft Lens and swipe across the screen to select the capture mode.
-
The different capture modes are Whiteboard, Document, Business Card, or Photo. But the first option on the menu is Actions.
- Actions cover special types of scans like capturing data from printed tables or reading any scanned printed text aloud.
- Whiteboard is best for handwritten notes and sketches against a white background.
- Document is for scanning documents like books, forms, menus, etc.
- Business Card can grab contact information from a business card and save it to the Contacts app on your iPhone or iPad, or Microsoft OneNote.
- Photo is best for scanning photos or anything else that might not fit into the above modes.
- Point the camera at the subject. Adjust the position so that the bounding box frames the document perfectly.
- Tap the round Camera button at the center of the screen. Select Confirm to capture the image as a scan.
- Fine-tune the capture. You can Add a new image to your scan, apply a Filter to the image, Crop, Rotate, or Delete the image. Use the Pen or Text options to annotate the image before you select Done. Select More next to the Crop icon to find the extra options.
- Select Done when ready. Save the scanned document to the Photo Library, or export it to PDF. The Save To options also allow you to send the scan to a Microsoft Office app. Alternatively, you can share the scan with the help of the other choices on the screen.


Microsoft Lens has other features that help to take perfect scans. You can enable the flash in low light (tap the Flash icon in the upper right corner of the capture window).
You can also take a photo with the Camera app and import it into Lens to fine-tune it as a scan.
Tap the Picture icon near the lower-left corner of the capture window. Go to Photos and select the picture you want to use. Select and import it into Microsoft Lens.
You might have to scan QR codes with your iPhone in everyday situations. It's a time-saving shortcut when you don't want to type in a long URL to browse for something. Point the iPhone at the QR code, and the information is scanned in seconds.
You might need a dedicated document-scanning device to scan many pages in one go. Otherwise, you can do away with third-party scanner apps, as the iPhone can handle everyday scanning chores easily.
Think of tricks to boost your document organization skills with the scanner. For instance, don't keep the scans on the phone. Export them to an archiving space on the cloud or your computer, or use the Continuity Camera feature to make richer documents with macOS.