Scanner Access Now Easy (SANE) is an application programming interface (API) used to control scanners and cameras. In use, the command line application, scanimage, can be used to quickly and reliably send a scanner commands to perform a number of useful functions.
Here's how to make the most out of SANE for scanning documents and photos.
Get Yourself SANE Now
The API can be installed using your package manager. For example, in a Debian system:
sudo apt install sane
...installs the SANE API and provides the command line application scanimage. (It also installs the front-end tools xscanimage, scanadf and xcam). Running the following command shows all the options available:
scanimage -h
Now, it's important to note that you can send API commands along with scanner-specific commands, all in the same command line. Furthermore, the output of -h can be a little confusing due to the fact that both API options and scanner options are just printed out to the terminal in a concatenated style.

If no scanner is detected, you'll only get the API options. If a scanner is detected, you might experience a noticeable time delay while the scanner device's information is retrieved, sent to the API and formatted. The command appears to stall, but just wait and it'll finish.
Having mentioned that, if you only want the device options ("backend" options for the scanner itself) you can use the -A option:
scanimage -A
Note that for this article, SANE version 1.0.14-15 is used as an example. Your particular version may vary and have somewhat different options. If you have questions, just run scanimage with the -h option.
Of course, every scanner will have it's own specific set of possible options, so by all means experiment with those to refine the commands you send in order to get the best results.
Easy and Simple SANE Commands
Yes, easy and simple is what we all want. You have to start somewhere, and the simplest command you can use to scan something is:
scanimage > scan_out
This will work if your scanner is detected by the API. The output is sent directly to standard out in this case and then redirected to the file, scan_out. The image format default is PNM, and the mode default (e.g., line art, monochrome, or color) is determined by the scanner. If the scanner isn't detected you will get this output (or similar):
scanimage: no SANE devices found
You'll also get an informational message regarding the output format not being set. This is just because the image format default is pnm. This can be changed to TIFF, PNG or JPEG.
Output format is not set, using pnm as a default.
Specifying the Output File
The standard output can be redirected to a file using > or you can issue an explicit option to specify the name and full path of the output file, for example:
scanimage -o scan_out.png
In this case, the API will output a PNG format image.
Listing and Using Devices
Want to make sure that your scanner is detected by SANE? Run this command:
scanimage -L
It will list all the devices detected. If a single device has both a LAN connected and a USB connection, it will list them on separate lines.
For example, an Epson WorkForce WF-3640 might be listed like this:
        device `epson2:net:192.168.1.26' is a Epson PID 08B8 flatbed scanner
device `epson2:libusb:001:005' is a Epson PID 08B8 flatbed scanner
In this case, you can use either as an address to send and receive data:
scanimage -d epson2:net:192.168.1.26 -o scan_out.png
or
scanimage -d epson2:libusb:001:005 -o scan_out.png
Note that if you unplug and reconnect the USB in a different port, the USB address will change. In that case you need to make sure your device address is the same as the new one printed out when it is listed again.
Set a Different Image Format
If you want a different image format you can issue the same command like this:
scanimage -o scan_out.tiff
SANE will attempt to guess the format based on the file extension. The format can also be explicitly set with:
scanimage --format=tiff -o scan_out.tiff
or even this:
scanimage --format=tiff > scan_out
Batch Commands
Well, what more can you get out of the API? Here's what you can get: batch commands to control an Automatic Document Feeder (ADF) for scanning pages in sequence.
While the scanner may produce only image formats, these can also be converted into text via an Optical Character Recognition (OCR) application, such as gocr.
Note that in order to produce a reasonably detailed document for document preservation or an OCR conversion, you may have to send scanner-specific commands. These will be noted below.
A Batch Processing Example
You'll want to use different formats depending on the purpose of the end result. For example, if the OCR application you intend to use only accepts PNM images, your image file format should be PNM.
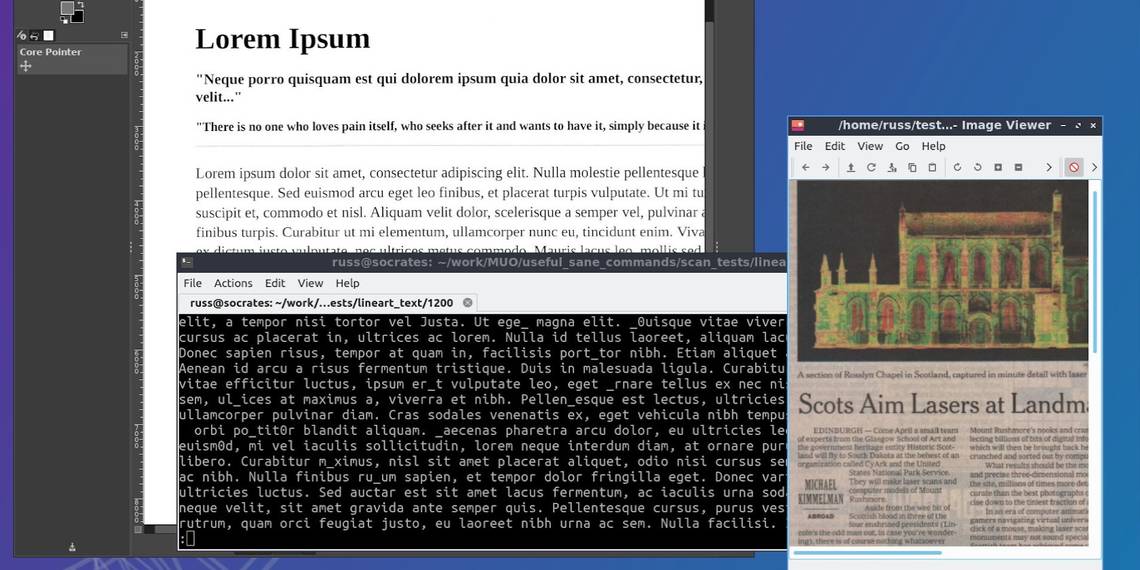
Here is an example of sending a command to scan a page of printed text so as to be converted by an OCR application that accepts pnm images. In this command, the scanner-specific commands are --mode, --resolution, and --source:
scanimage --batch=document-A-%d.pnm --format=pnm --batch-count=1 --mode Lineart --resolution 1200 --source Automatic
Since these are scanner commands and not the SANE API, they will be different depending on the brand and model, and may require some experimentation. For example, the following snippet may not be obvious from the help output from the backend:
--source Automatic
Scan It With SANE
Whether you're a person somehow in possession of a stack of old family documents or a professional preservationist, scanning with the SANE API is an obvious choice for media that can stand up to the mechanical rigors of scanners and ADFs.
Combine the capability of the SANE API with image post-processing or an OCR application, and you can digitize almost any flat media worth preserving.