If you're trying to get into your PlayStation Network (PSN) account, but can't seem to enter the correct password, don't fret. It's quick and easy to reset your PlayStation password and get back to gaming ASAP.
Let's explore how to perform a PlayStation password reset, as well as some handy ways to enhance its security even further.
How to Reset Your PlayStation Password
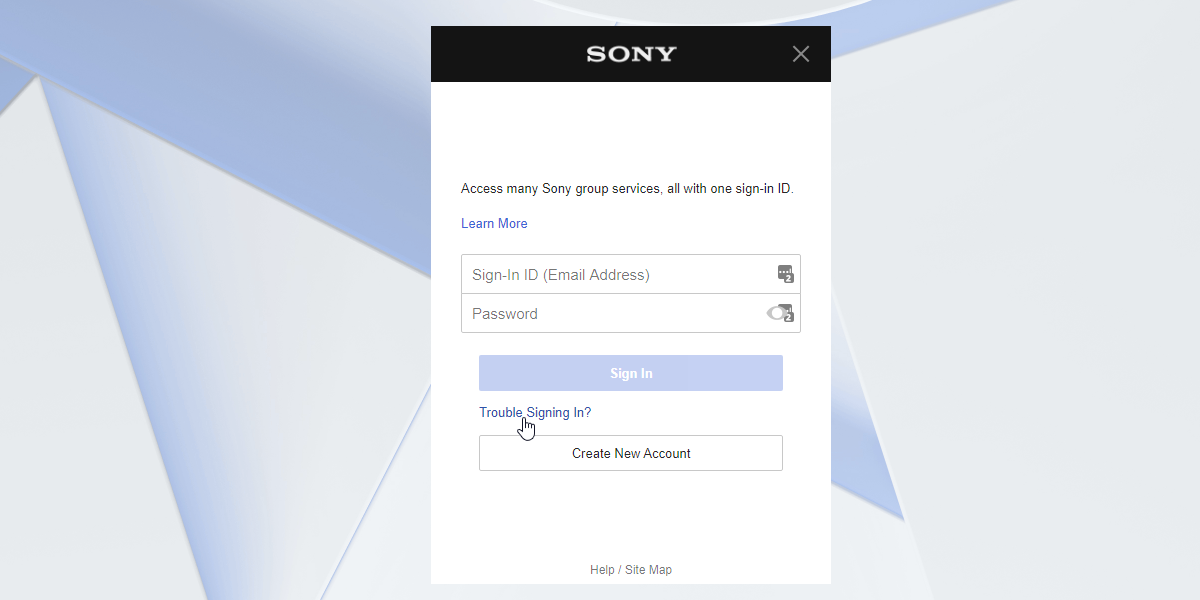
To reset your PSN password, head over to the PlayStation Account Management page. The website will ask you for your login details; don't worry, you can just ignore this. Instead, click on Trouble Signing In at the bottom.
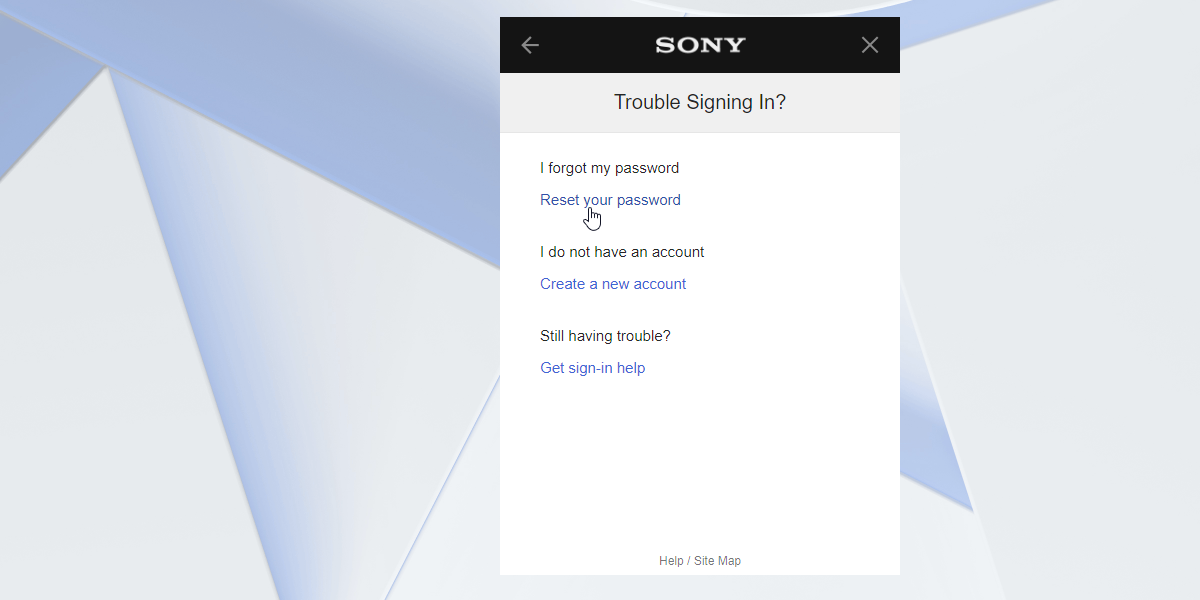
Click on Reset your password.
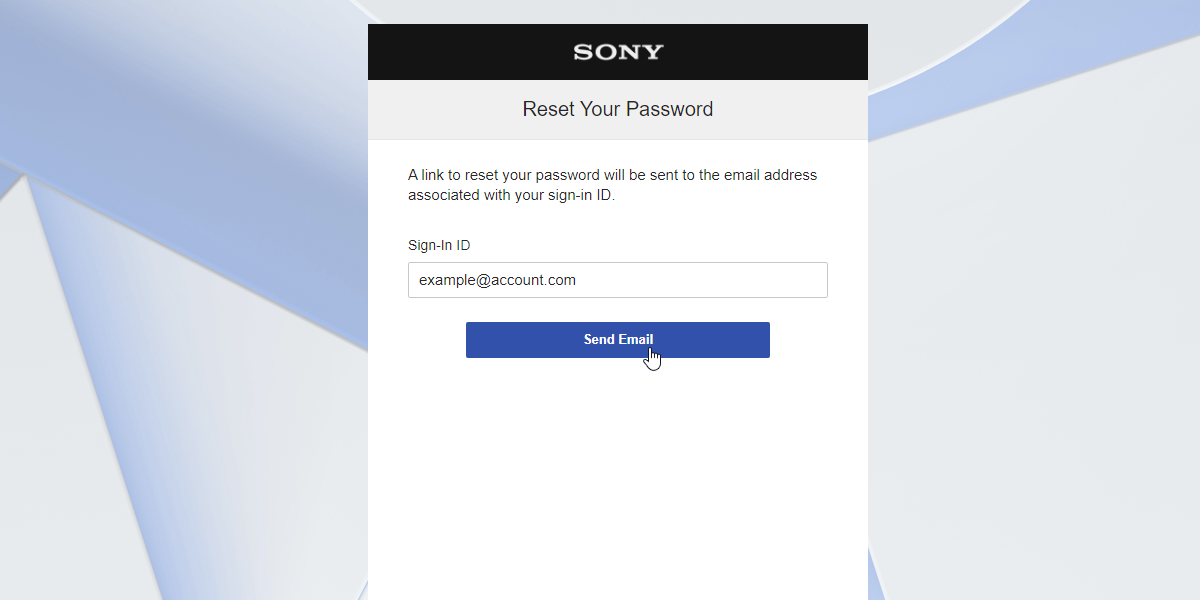
Enter your email address and click Send Email.
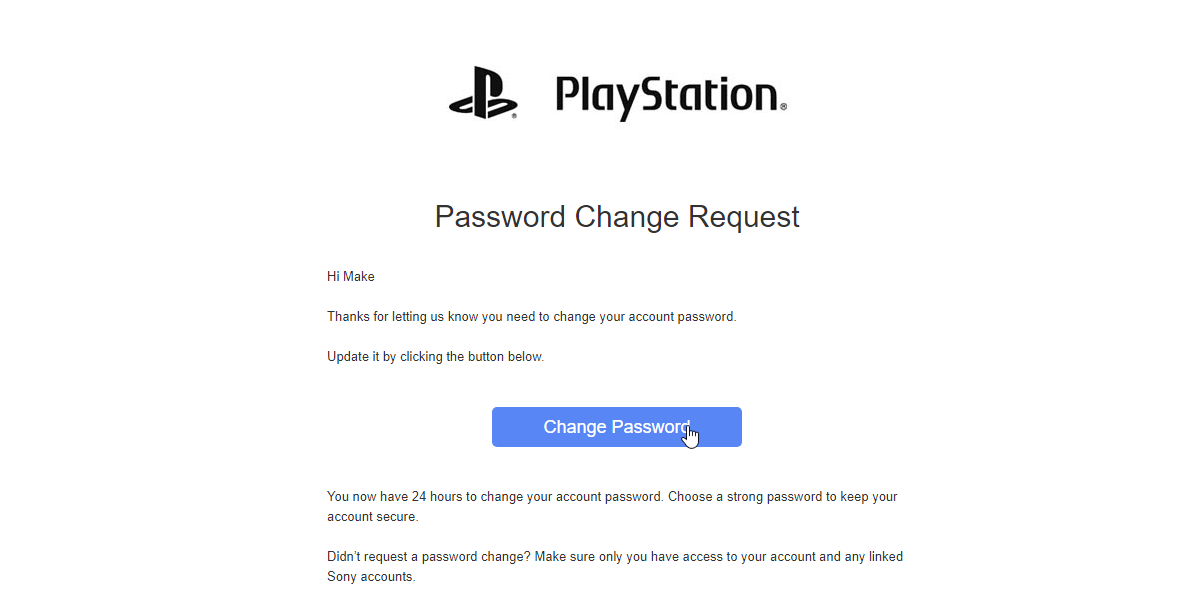
In the email you receive, click Change Password.
Sony will then challenge you with a personal question to make sure it's you. Go ahead and answer it to prove you're the real deal, then reset your password.
How to Change Your PlayStation Password
Resetting a lost password is one thing, but what if you already know it and want to change your PSN password to something stronger? If you already know it, don't follow the steps above. Instead, you can use the account management page to change your password quickly.
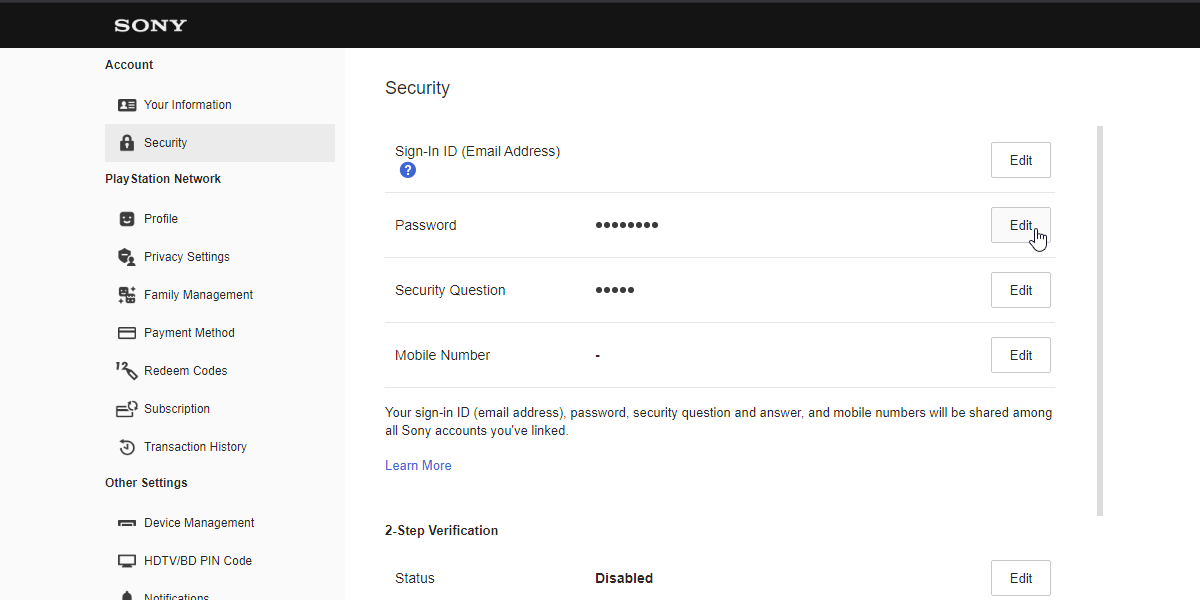
To start, open the PlayStation Account Management page. Log in, then click on the Security section on the left. To the right of Password, click Edit.
You'll then be prompted to enter your old password to verify it's you. Once you've done this, you can then choose your new password for your PlayStation Network login.
Before you set a new password, make sure you check out how to make up a secure and memorable password. That way, you can reduce the chance of being hacked while ensuring you don't forget your password and get locked out.
How to Change Your PlayStation Email Address
If you want to migrate your PlayStation account to a different email address, you can do that too.
Because your email doubles as your login username, it's a good idea to set your PlayStation Network email to something more memorable for easier logins. You could also have a dedicated PlayStation email address for additional security, in case your other accounts are ever hacked.
To do this, follow the same steps as changing your password. This involves logging on through the Sony Account Management page and navigating to Security.
However, instead of editing the password, edit the email instead. It's right next to the password field, so you should be able to find it easily!
How to Add Two-Factor Authentication (2FA) to Your PlayStation Account
If you want to heighten your security even further, you can add 2FA protection to your account. That way, even if someone knows your password, they can't get in unless they also have access to the additional account the 2FA code is sent to.
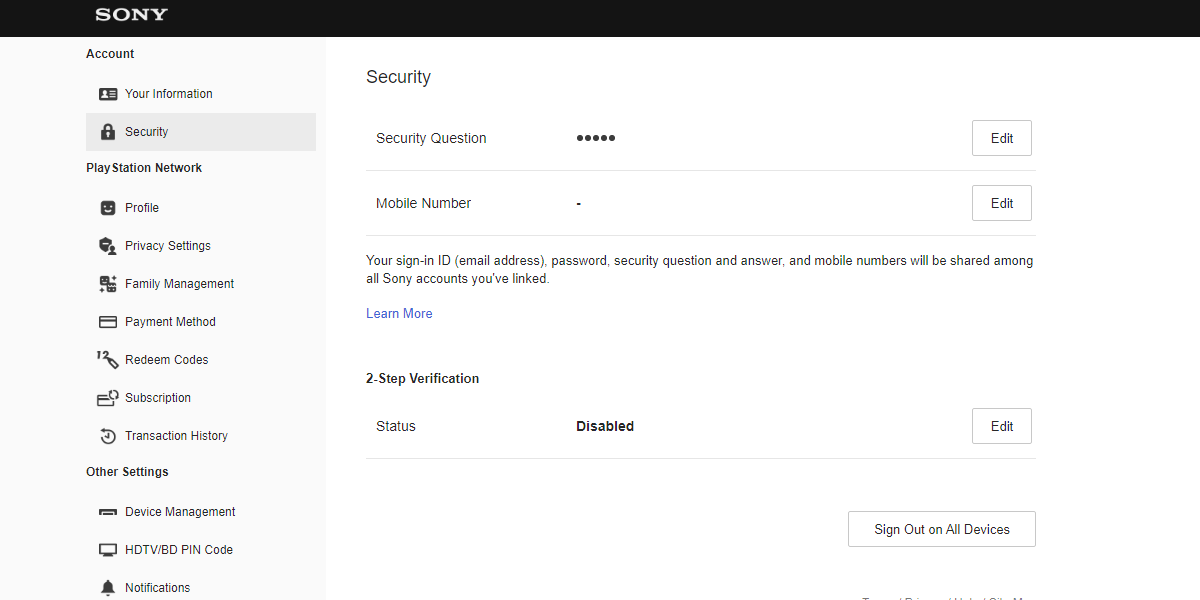
Fortunately, adding 2FA is just as easy as changing your password and email address. Head to the Sony Account Management page, then click Security on the left.
At the very bottom of the security page, to the right of 2-step Verification, click Edit.
You can now select one of two 2FA methods: either receive a text message or use a 2FA manager to get your codes.
If you select the latter, Sony will tell you to open "an authenticator app" but won't actually recommend any apps to use. As such, if you don't yet have one, you can grab Google Authenticator or one of its fine alternative choices.
Keeping Your PlayStation Account Safe From Online Threats
If you're worried about the security of your PlayStation Network account, or you find yourself locked out of it, Sony makes it easy to handle and customize your account security. Now you know how to get back into your account and some useful ways to secure it from online threats further.
How about using a VPN on your PlayStation too? That way, you can keep your connection safe from prying eyes.
Image Credit: Ina Lihach / Shutterstock.com


