One of the best upgrades for your car is on the speakers, as they are easy to replace and fit all types of budgets. For one reason or another, ultimately there will come a point when the speakers that shipped with your car from the factory will no longer be viable to use. While this might seem like a complicated process to some, swapping out the car's speakers is a rather simple and universal task throughout most vehicles.
Here's how to replace your car speakers.
Picking Your Speakers: Component vs. Full-Range
The first step in changing your speakers is finding appropriate replacements for them. With a plethora of speakers on the market to choose from, finding the right one may be difficult, so here are the basics.
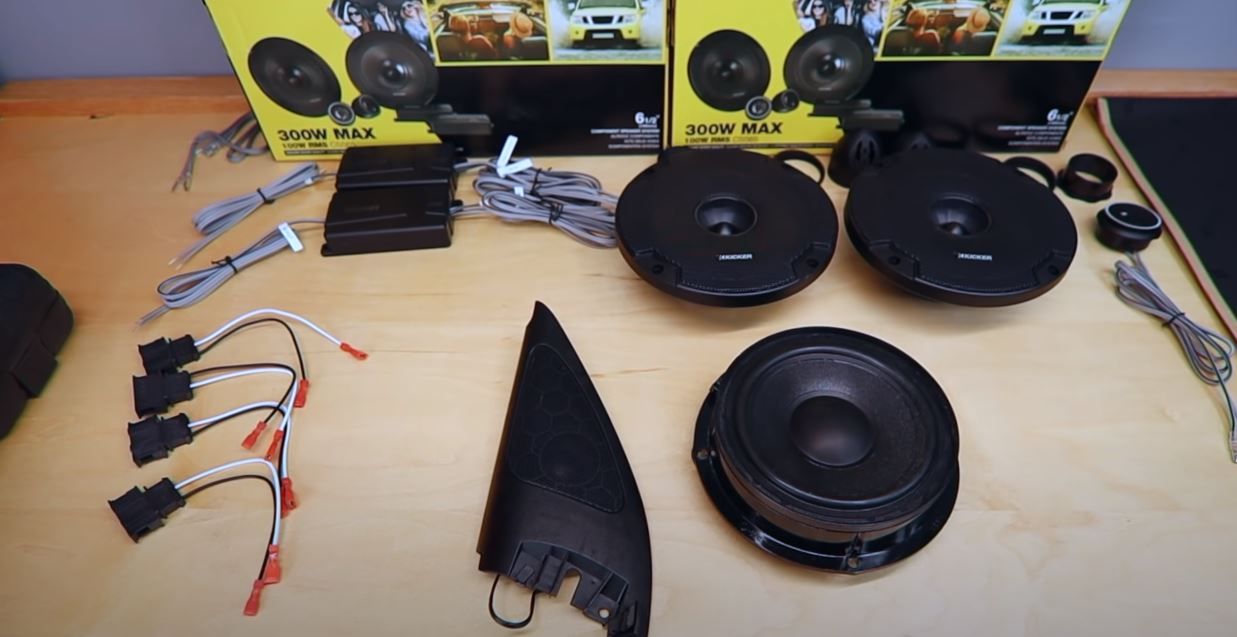
There are mainly two different types of speakers: component and full-range. Full-range speakers are a 2-way speaker system featuring a tweeter and a woofer. These are the most commonly used due to their simplicity and capability of producing good sound quality. However, component speakers can produce more dynamic sounds, courtesy of a dedicated amplifier.
These two types of speaker differ drastically in the installation process and price, so here's how to choose the best one for you.
What Are Full-Range Speakers?
These types of speakers are the most common and easiest to use as a replacement. Full-range speakers are a 2-way speaker system that consists of a tweeter and woofer. This way, it can produce a dynamic range of sound. There are also 3-way full-range speakers, which are simply an extension of 2-way full-range speakers. However, this does not suggest that 3-way speakers are better, as a good quality 2-way speaker would outperform the other.
This speaker upgrade is easier since it can produce good sound quality without many modifications. They also cost drastically less than replacing your factory speakers with component speakers.
What Are Component Speakers?
These types of speakers are for audiophiles or sound enthusiasts. They will require a little more effort to make them work with your vehicle, though they will produce drastically better and broader sound. Due to the dedicated amplifier required provide the necessary power to the speakers as needed, there is additional work to the installation process.
You can either choose to piece your parts together or purchase a kit. As one would presume, purchasing the kit would simplify the process. However, if you choose to piece your parts together, which is fine, you must determine how powerful an amplifier you need to use your speakers. This calculation to select the appropriate amp is by selecting an amplifier that provides 1.5x to 2x the continuous power rating of your speakers.
Tools You'll Need to Change Your Speakers
For this installation to go as smoothly as possible, you will need to gather some tools together. Before you start working on your vehicle, be sure to disconnect the ground connection to the battery, and ensure there is no power running through it. Getting shocked by 12 volts isn't exactly fun. You probably have them in your toolbox already, but here's a list of what you will need and know how to use.
- Wire Strippers
- Dikes or Wire Cutters
- Electrical Tape
- Philips Head Screwdriver
- Assorted Wire Connectors (optional)
- Soldering Iron (optional)
- Flux Core Solder (optional)
- Body Panel Tools (optional)
Make sure you have these gathered and ready to use before proceeding.
Installing the Amplifier
The factory amplifier will be of no use to you now since the speakers you put in will need more power. This is where the dedicated amplifier comes in. This installation process is tedious and difficult but doesn't have to be.
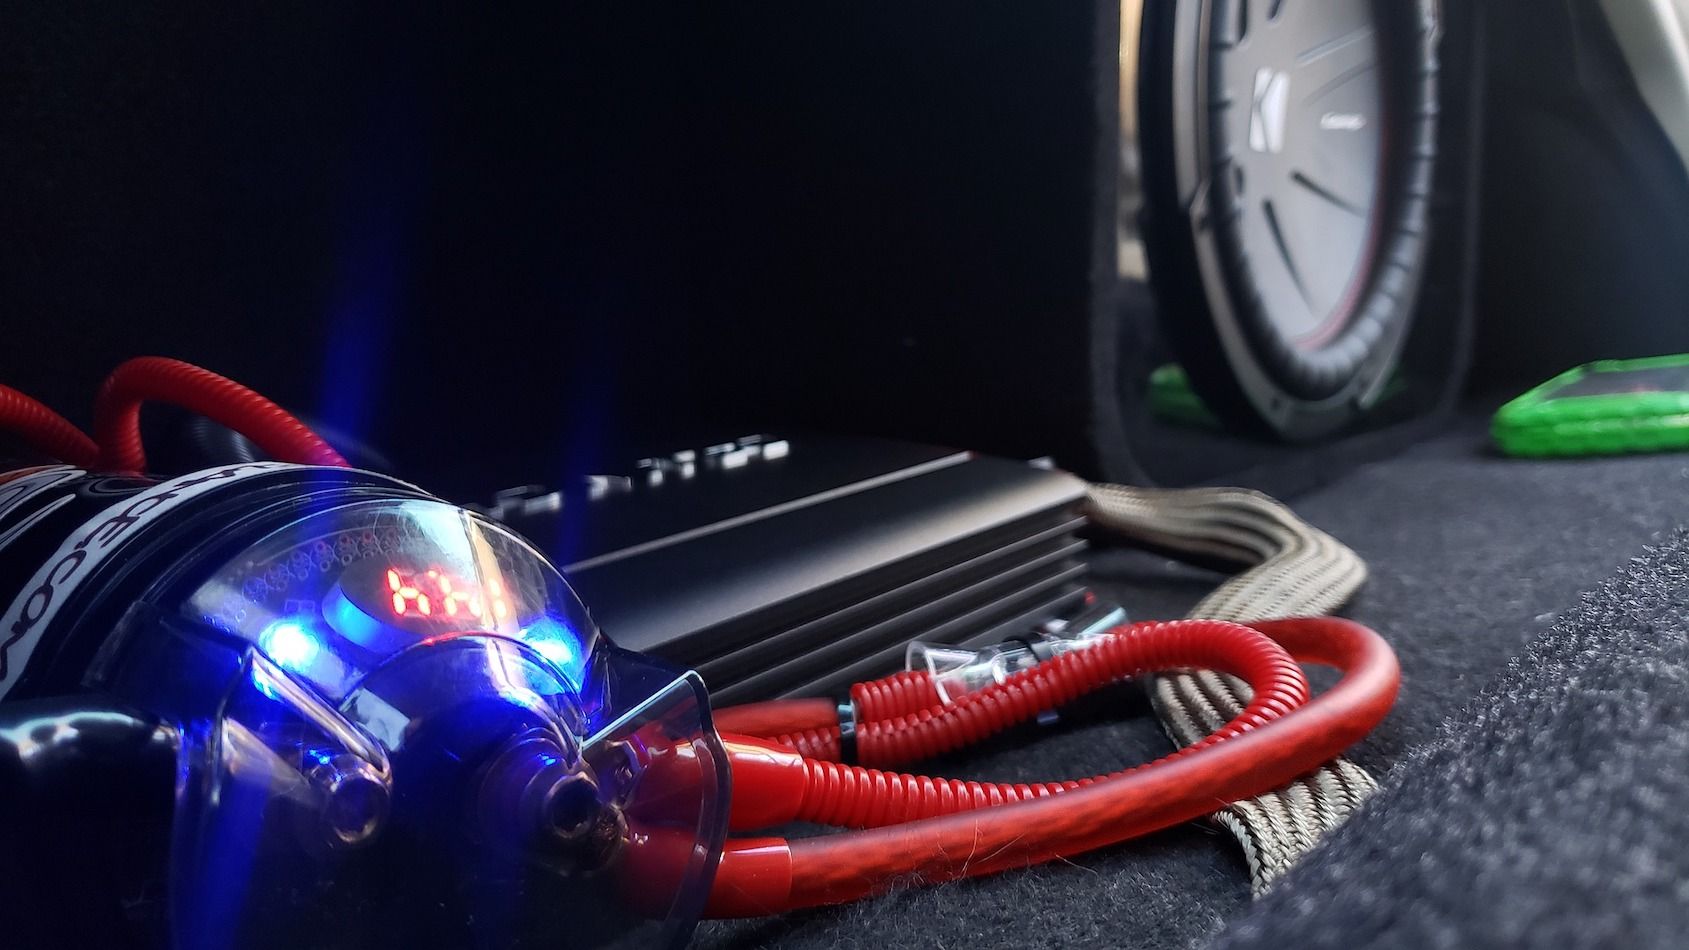
Most amplifier setups are rather unanimous in design. They are mounted behind the rear seats of your vehicle, or on the floor in your trunk. Either way, find a secure location for your amplifier and ensure that it cannot move when operating the vehicle. However, do not permanently mount the amplifier onto the fixture yet, as you want to test your work before assembling something that doesn't function.
The amplifier will need 12-volt power running to it, to power the component speakers. This is done by running a 4 AWG wire from your positive battery terminal in your engine bay to the location of your amplifier. This step is going to vary since everyone's configurations will be different. With the cable connected, tuck the power and audio wires under the necessary trim and carpeting to clean up the interior.
Getting Access to Your Speakers
After finding the speakers best suited for your needs, you will need to get access to the speakers currently in your vehicle. These can be in various locations, though they are mainly located on the bottom of your doors. Speaker designs are different depending on vehicle type so be sure to consult an owner's manual or guide to locate them.
Regardless of your vehicle's styling, you will more than likely need to remove your door cards to access your speakers. There will be screws that are concealed by the trim of your vehicle, so be sure to remove them before progressing.
After all the screws have been removed, you can begin to start removing the door card. The door card is attached by using multiple body clips, and these can be unclipped by using body panel tools or other small prying devices.
Replacing the Old Speakers
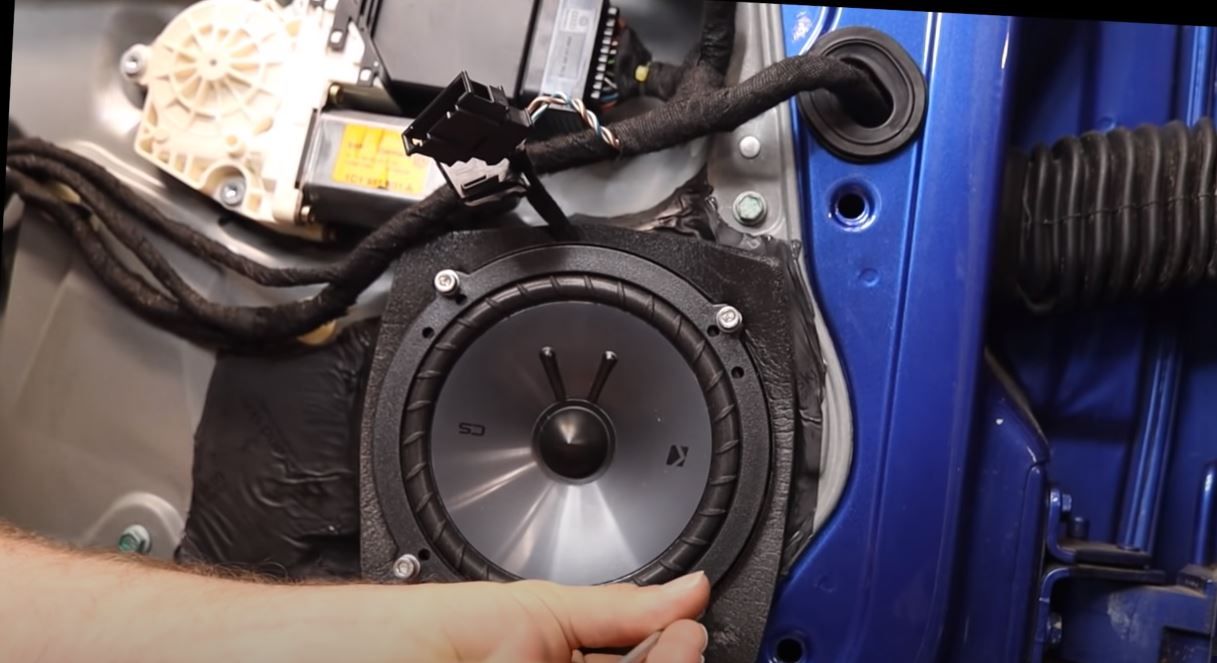
Now that you have access to the old speakers, they are typically held in place by three or four Philips head screws that need to be removed. Upon removal, you can pull the old speaker out from its housing but not completely. The speaker will have a harness or two wires connected to it, which allows the speaker to receive sound signals. Unclip the harness or wires from the old speaker and replace it. You may have to cut the existing connections to create new ones in some instances.
Remove the old speakers and either discard them or place them to the side. Grab one of your new speakers and identify what kind of connections it has. Often they use wire connectors that make the process easier. The only part you have to do is splice the connection into the existing speaker harness.
Take note of the positive and negative (the polarity) of the speakers. If connected inversely, the speaker's diaphragm will go inwards, and not outwards, producing inadequate or poor sound. An easy way to check is by playing music after connecting your speaker harness to your new speakers. You can either see or feel the speaker to see which direction they are going.
The theme here is to always check your work after so that you don't have to waste time disassembling it again, should it be incorrect.
Reassembling Your Vehicle's Panels and Upholstery
Now that you have your new speaker connected to your vehicle, reverse the previous steps by reconnecting your speakers to your vehicle. Many manufacturers provide new screws with your speaker purchase, though not all of them do. Use the appropriate screws and mount your speaker onto the existing housing on your door card.
Next is to mount your door card back onto your door. Line up all the body clips onto the holes in your door, and firmly click them in place. Make sure that these clips are aligned, as they are fragile and likely to break with repeated use.
Testing Your Work!
Now that all this tedious work is done, it's time to put your new speakers to the test. Make sure that each speaker in the door cards is working properly. You shouldn't find an issue this far into the installation process since we checked our work earlier, but address the problems as needed. After you verify each of your new speakers are working properly, you can enjoy your new speaker system!


