Getting Windows onto a solid state drive (SSD) can really speed things up. Installing a fresh copy of windows on your SSD is quite straightforward, but transferring an existing installation to one is trickier.
Migrating your Windows OS from your HDD to your SSD is a delicate process and can result in data loss if you are not very careful. Hence, this article guides you on how to use DiskGenius to carry out this transfer properly.
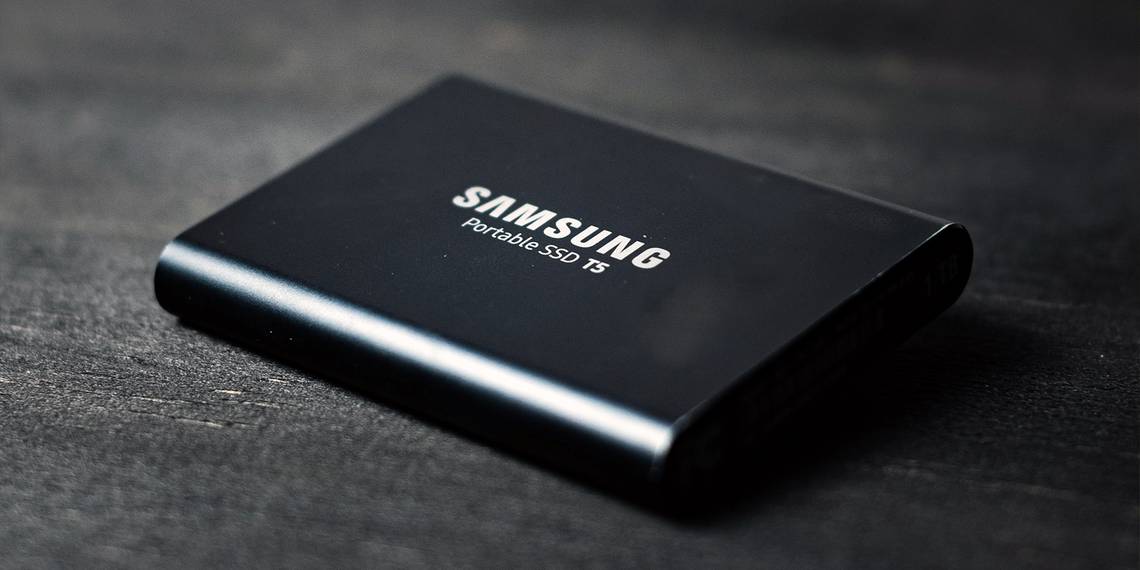
What Is an SSD?
A Solid State Drive or SSD is a storage device that typically uses flash memory in place of moving parts to store persistent data. An SSD, as a storage device, is often described as a successor to Hard Disk Drives (HDDs).
SSDs perform the same functions as hard drives, albeit more efficiently. For example, they are used in personal computers, smartphones, external storage devices, and gaming consoles like the PlayStation 5 and Xbox Series X.
The latest type of SSD is the NVMe drive which offers the fastest data transfer speeds of any storage device. Nonetheless, this speed comes with a higher price tag than a traditional HDD.
Why Is an SSD Better Than an HDD for Your Windows Installation?
In the SSD vs. HDD debate, SSDs clearly have the upper hand. SSDs are, on average, four times faster than HDDs when reading and writing data. Furthermore, installing your Windows OS on an SSD can give you 20 second start-up time. Conversely, booting from an HDD for an identical installation can take up to a minute.
In addition, SSDs are smaller than HDDs, with lesser weight and no moving parts. As such, they are less prone to physical damage. Today, HDDs can achieve higher storage capacities than SSDs, but this gap is fast closing up. For the general user, this difference is not even apparent.
Gamers, musicians, and graphic designers will enjoy using SSDs for their speed, reduced noise, and performance increase. Moreover, users who travel a lot will benefit from the faster start-up times SSDs offer.
Migrate Your Windows From HDD to SSD Using Disk Genius
Now we know why SSDs are good, let's go about getting your Windows from an HDD to an SSD.
1. Back Up Your Important Data
Migrating your Windows installation from one storage device to another is a tricky and potentially dangerous process. You can easily corrupt your data or, worse, wipe it completely. Hence, before you begin the transfer process, ensure to back up all your data.
The installation process will delete all data stored on the target SSD, so you also have to back up the data on that device. You can consult our Windows data backup guide to learn how to store your data safely.
Furthermore, you can either back up your data on an external storage device or the cloud. We recommend storing on the cloud for maximum data security as your external storage device can get damaged. However, this option requires an internet connection.
2. Download and Run DiskGenius
DiskGenius is a disk management and data recovery tool that is tried and trusted by many users. You can download this free software by visiting the download page on the DiskGenius website. Click on the Download button to download the installer program.

After downloading, navigate to the download location and open the installer. Once it has opened, select your language, read, and accept the license agreement. Then, wait for the installation to complete. DiskGenius usually creates a shortcut for you on the desktop.

Next, open up your Windows desktop, find the DiskGenius shortcut, and double-click it to run the program.
3. Open the System Migration Tool on DiskGenius
With DiskGenius open, select the OS Migration tool on the toolbar or navigate to Tools > System Migration. Ensure you have connected your SSD to your computer. You can connect it as an external device or install it on the appropriate motherboard slot.

4. Select the Target Disk
After opening the OS Migration tool, identify and select your SSD as the target disk. This step should be quite simple if the SSD is the only other storage device connected to your computer. Hence, you should disconnect all other storage devices from your PC to avoid confusion.

Upon selecting the target disk, a pop-up message will warn you that all files and partitions on the target disk will be overwritten. This should not be a cause for concern if you have backed up your important data. Select OK to continue the migration.
5. Confirm the System Migration Settings
The system migration settings window allows you to customize how you want the migration to proceed. You can set the partition size by dragging the arrows between the partitions on the target disk.
Moreover, you can choose whether to boot from the target disk after the migration is complete. If you want to continue booting from the original disk, you can leave this option unchecked.
Finally, you can prevent your computer from sleeping while the migration occurs.
After confirming your settings, click the Start button on the bottom right of the menu.

Another pop-up message will appear, warning you that your files will be overwritten, emphasizing the need to back up your data. Click on the OK button if you wish to proceed.
6. Choose the Migration Mode
The next step is to choose one of two migration modes. Hot Migration takes snapshots of your current system without closing it. Ensure to save your data before choosing this option. Alternatively, you can choose to reboot to the Windows Pocket Edition (WinPE).
We recommend using the Hot Migration mode as it gives you greater control over the transfer process. You can easily stop the migration from this mode. Moreover, if the target disk disconnects from your PC, you can quickly recover on the original disk.

7. Wait for Completion
After you choose the migration mode, DiskGenius will create a snapshot of your Windows OS and begin copying your data to the target SSD. All you have to do while this is happening is wait.

You can continue using your computer as usual. However, we recommend not doing so for two reasons. First, you may interfere with the transfer process and will have to start all over. Secondly, any work you do on your computer while migrating will not reflect on the new copy of your OS.
8. Reboot From Your SSD
After completing the migration, your computer is ready to boot from your SSD. Depending on your migration settings, the reboot will happen automatically, and you can resume work as usual.
Nevertheless, if the boot does not occur automatically, you can enter the BIOS on Windows and choose to boot from your SSD. The Windows OS on your SSD is identical to the one installed on the original disk. Therefore, all your files and settings are intact.
As a final note, you should confirm that you can boot properly from the target disk before formatting the original HDD.
Getting the Most Out of Your SSD
Finally, you have installed Windows on your SSD and are ready to use it to its fullest potential. One of the first things you will notice is how much faster programs load. Consequently, you can capitalize on this benefit by installing performance-intensive programs on your SSD.
Nonetheless, you should be wary of indiscriminately filling your SSD with files and applications. The perfect balance would be to store multimedia files and infrequently used programs on your HDD while keeping your favorite games and applications on your SSD.