If you use Google Chrome, chances are that you also use Gmail, YouTube, and Google Drive. If so, signing in separately to all of these online services (and any other sites you frequent) on all your devices can be a hassle.
But when you sync your sign-in information and other browsing data, you can simultaneously access your bookmarks, passwords, and history on your phone, tablet, and PC. This creates a unified, connected, and seamless user experience, no matter what device you're using.
What to Expect When You Turn on Sync in Google Chrome
When you turn on sync in Google Chrome, the following will happen across your devices.
- You can see and manage your synced information on all your devices, such as your bookmarks, history, open tabs, passwords, autofill info, etc.
- You will sign in automatically to Gmail, YouTube, and other Google services.
- You will stay signed in if you were signed in before turning on sync.
- If you sign in on a new device (e.g., if you get a new PC or use another laptop) you will be able to recover or access your synced data.
- If you turn on web and app activity, your Chrome history will be used to personalize your experiences across other Google services.
If you do not wish to sync all your data, Google Chrome still allows you to pick and choose which data to synchronize.
How to Manage What You Sync on Google Chrome on Desktop
If you want to manage your synched data on Chrome for desktop, follow these steps:
- Go to Chrome.
-
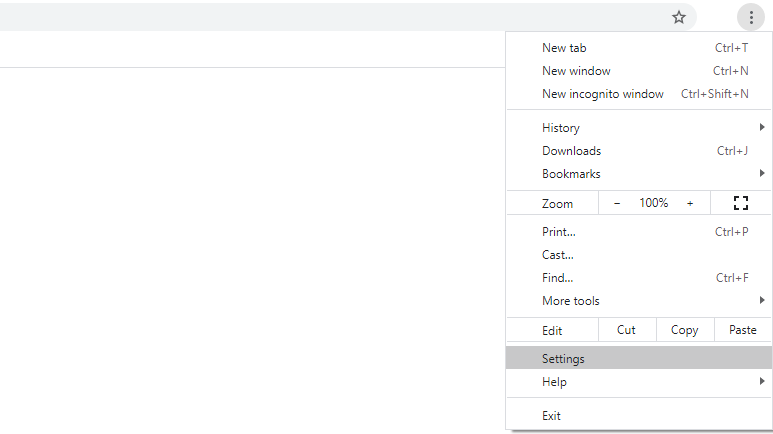
Tap on the three dots button in the top right corner of the screen, and click on Settings.
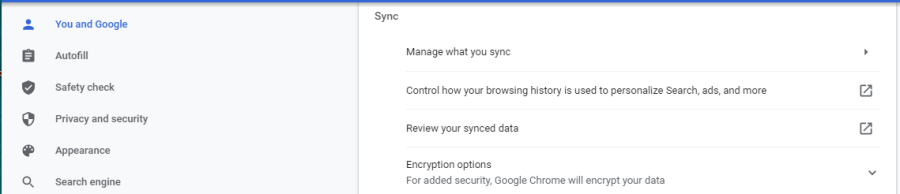
- Under You and Google, click on Sync and Google services.
-
Under Sync, click on Manage what you sync.
- Select Sync everything to sync all your data. Alternately, select Customize sync to select specific items to sync.
-
If you choose Customize Sync, you can turn off items you do not wish to sync, such as apps, bookmarks, extensions, history, settings, theme, reading list, open tabs, passwords, addresses, phone numbers, and more.

- Click on the back arrow button to return to Sync and Google services.
- Scroll down and click on Review your synced data to view your preferences.
-
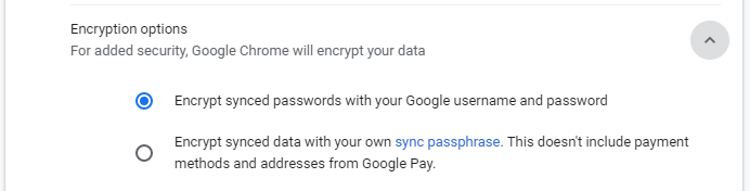
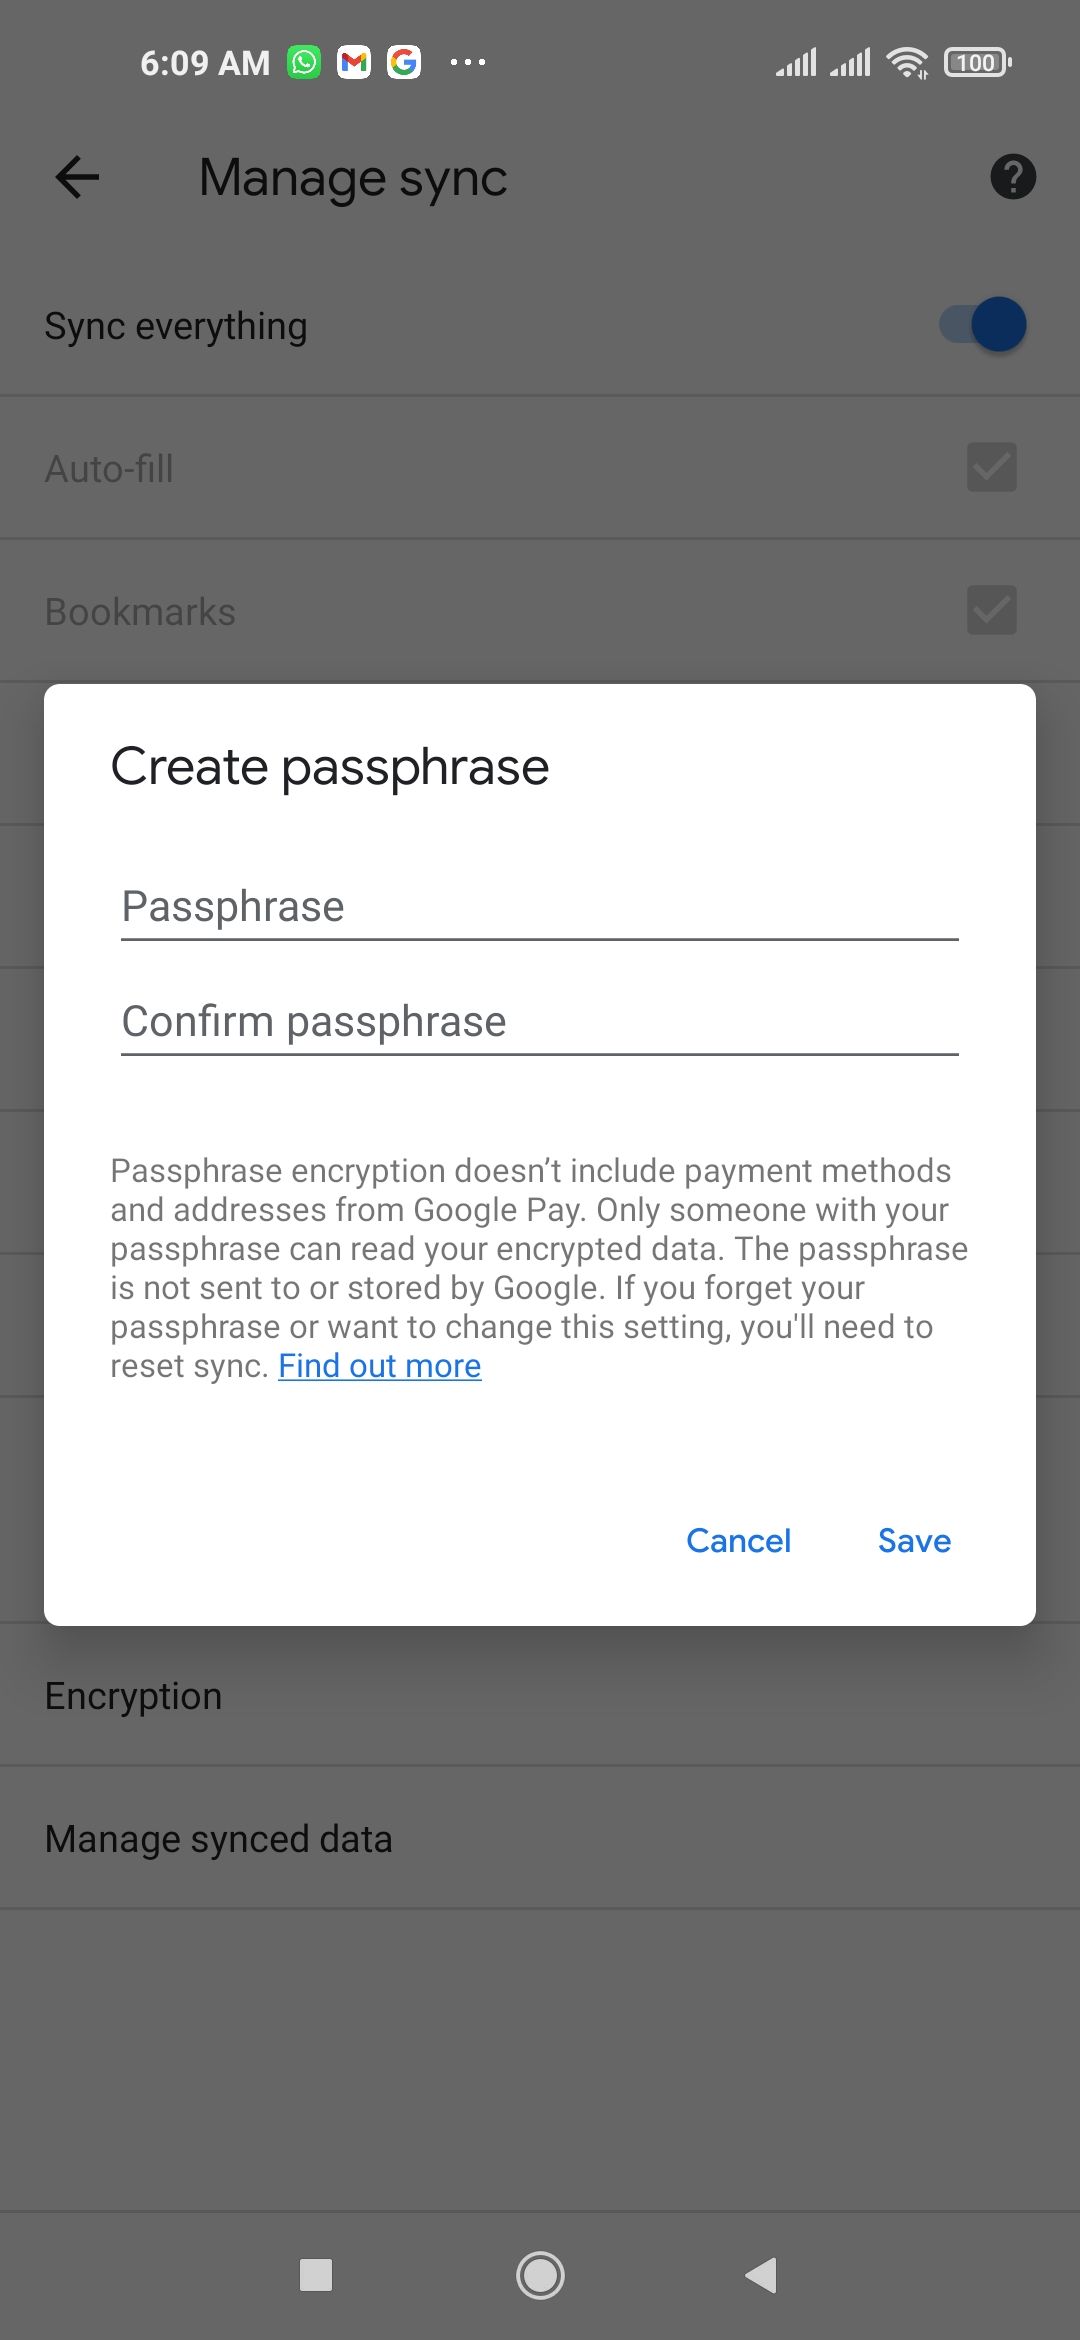
If you want, select Encryption for added security. From there, you can choose how you'd like to encrypt your data.
- Once finished, close the window and exit to save your changes.


How to Manage What You Sync on Google Chrome on Mobile
Do the following to manage what you sync on Google Chrome on Android:
- Go to Chrome.
- Tap on the triple dots button in the top right corner of the screen, and select Settings.
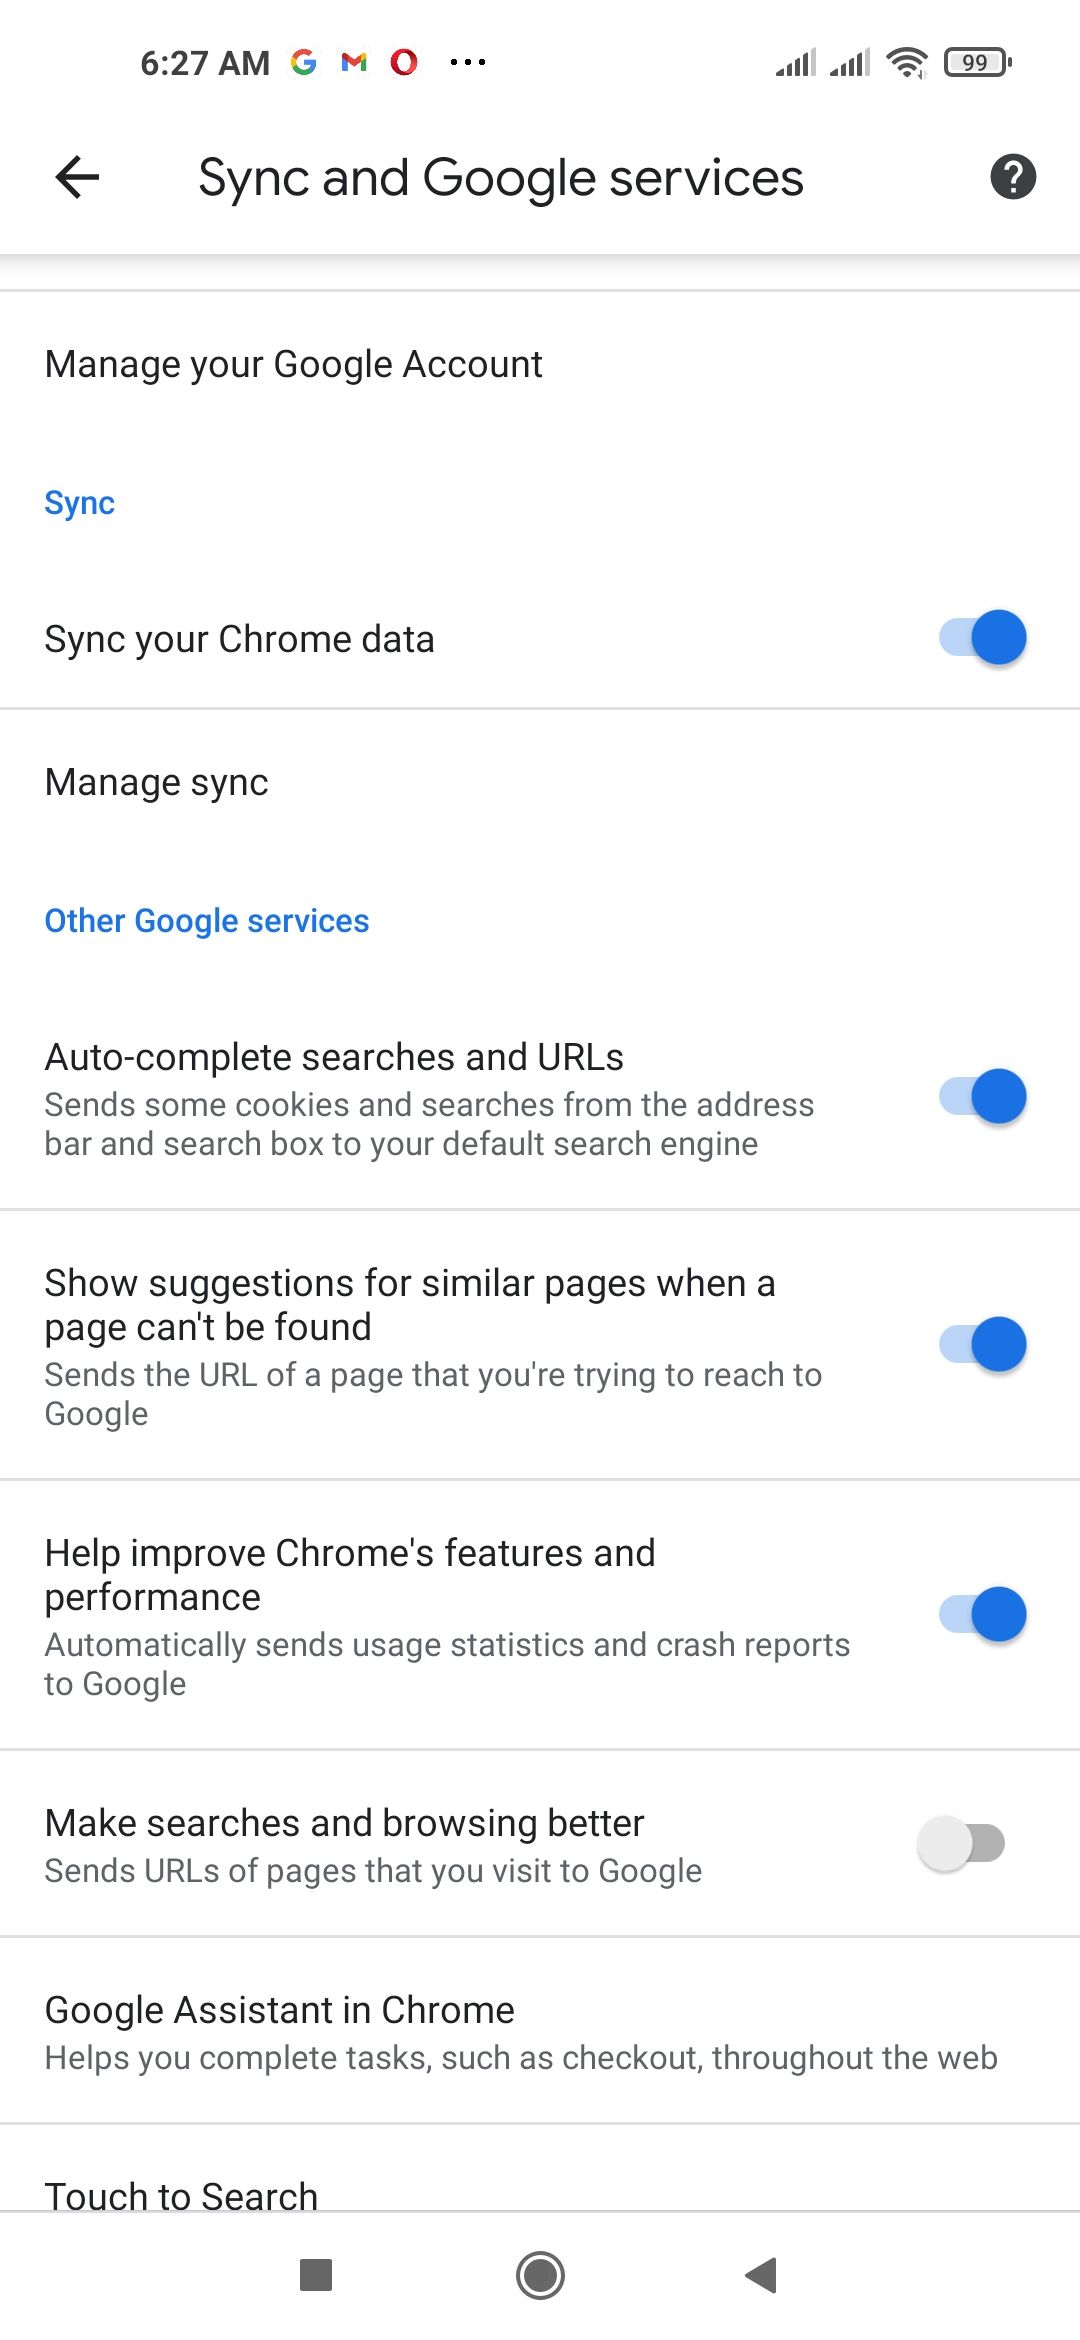
- Tap Sync and Google Services just below your account name and email address.
- Turn on Sync your Chrome data under Manage your Google Account.
- Tap Manage sync.
-
Turn off Sync everything.

- On the revealed list, uncheck items you do not wish to sync. You can uncheck autofill, bookmarks, credit cards, and addresses using Google Pay, history, passwords, open tabs, and settings. And voilà, you're all set!


Note that if bad actors gain access to your synced devices, they can access all your connected Google accounts without needing to sign in, such as your Gmail, Google Pay, etc. Keep this in mind before syncing your data.
Before You Turn on Sync for Your Devices...
Make sure to only turn on sync on devices you own or use. If you own an Android device and happen to lose it, you can use Google Find My Device to remotely find and lock your device. This can help protect your synced accounts.
To be on the safe side, you can protect your most sensitive accounts by excluding them from sync using the steps we outlined above.