Your email address is your ticket to almost everything online: accounts, newsletters, coupons, forums, and more. But all of that can clog up your inbox and make it hard to find more important items, like work messages, order confirmations, and financial documents.
With iCloud+, you can generate anonymous email addresses to use around the web, protecting yourself from spam and data breaches while still receiving messages in your own personal inbox.
Here's how to easily generate, view, and manage iCloud+ email addresses.
How to Generate a New Anonymous Email Using iCloud+
The Hide My Email feature of iCloud+ lets you create a randomly generated anonymous email address that automatically forwards all messages to your personal account. You can make as many email addresses as you want and use them across multiple websites or accounts. It's an easy way to create a new email address, whether you need one that's temporary or permanent.
To generate a random email address using iCloud+, follow these steps:
- Open the Settings app and tap your name.
- Then, tap iCloud and select Hide My Email from the list.
- Tap Create New Address.
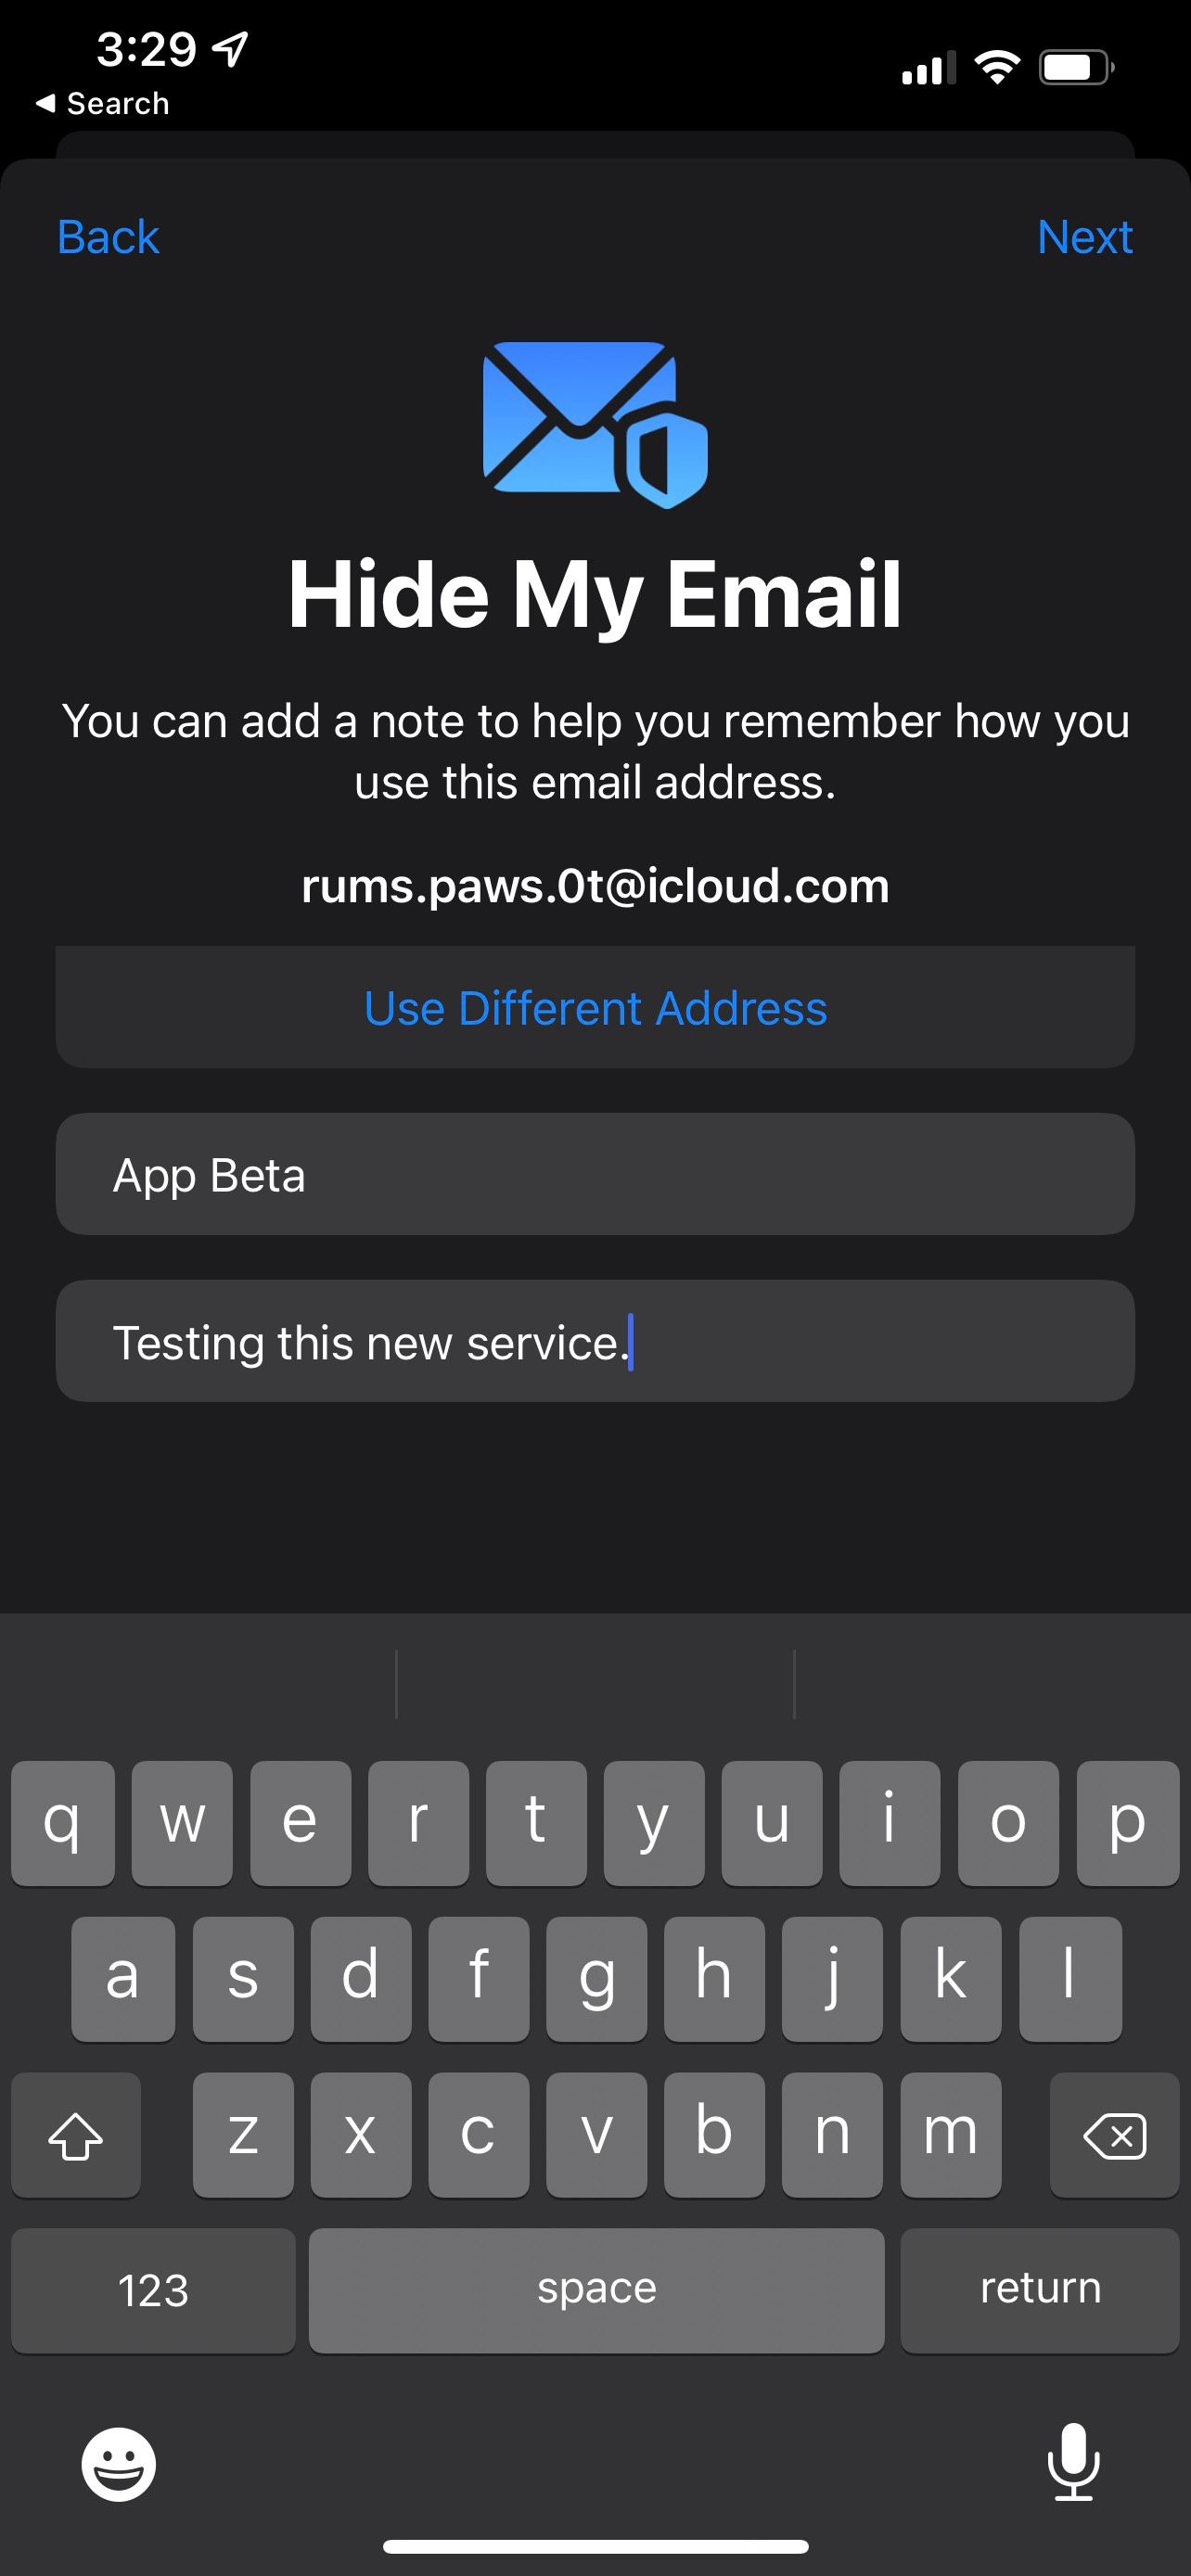
- Next, enter a descriptive label for the new email address in the Label Your Address text field.
- If you want, add a note to help you remember what the email is for, why you created it, and any other helpful information.
- If you're unsatisfied with the random email address, tap Use Different Address to generate a new one.
- Finally, tap Next to complete the process.
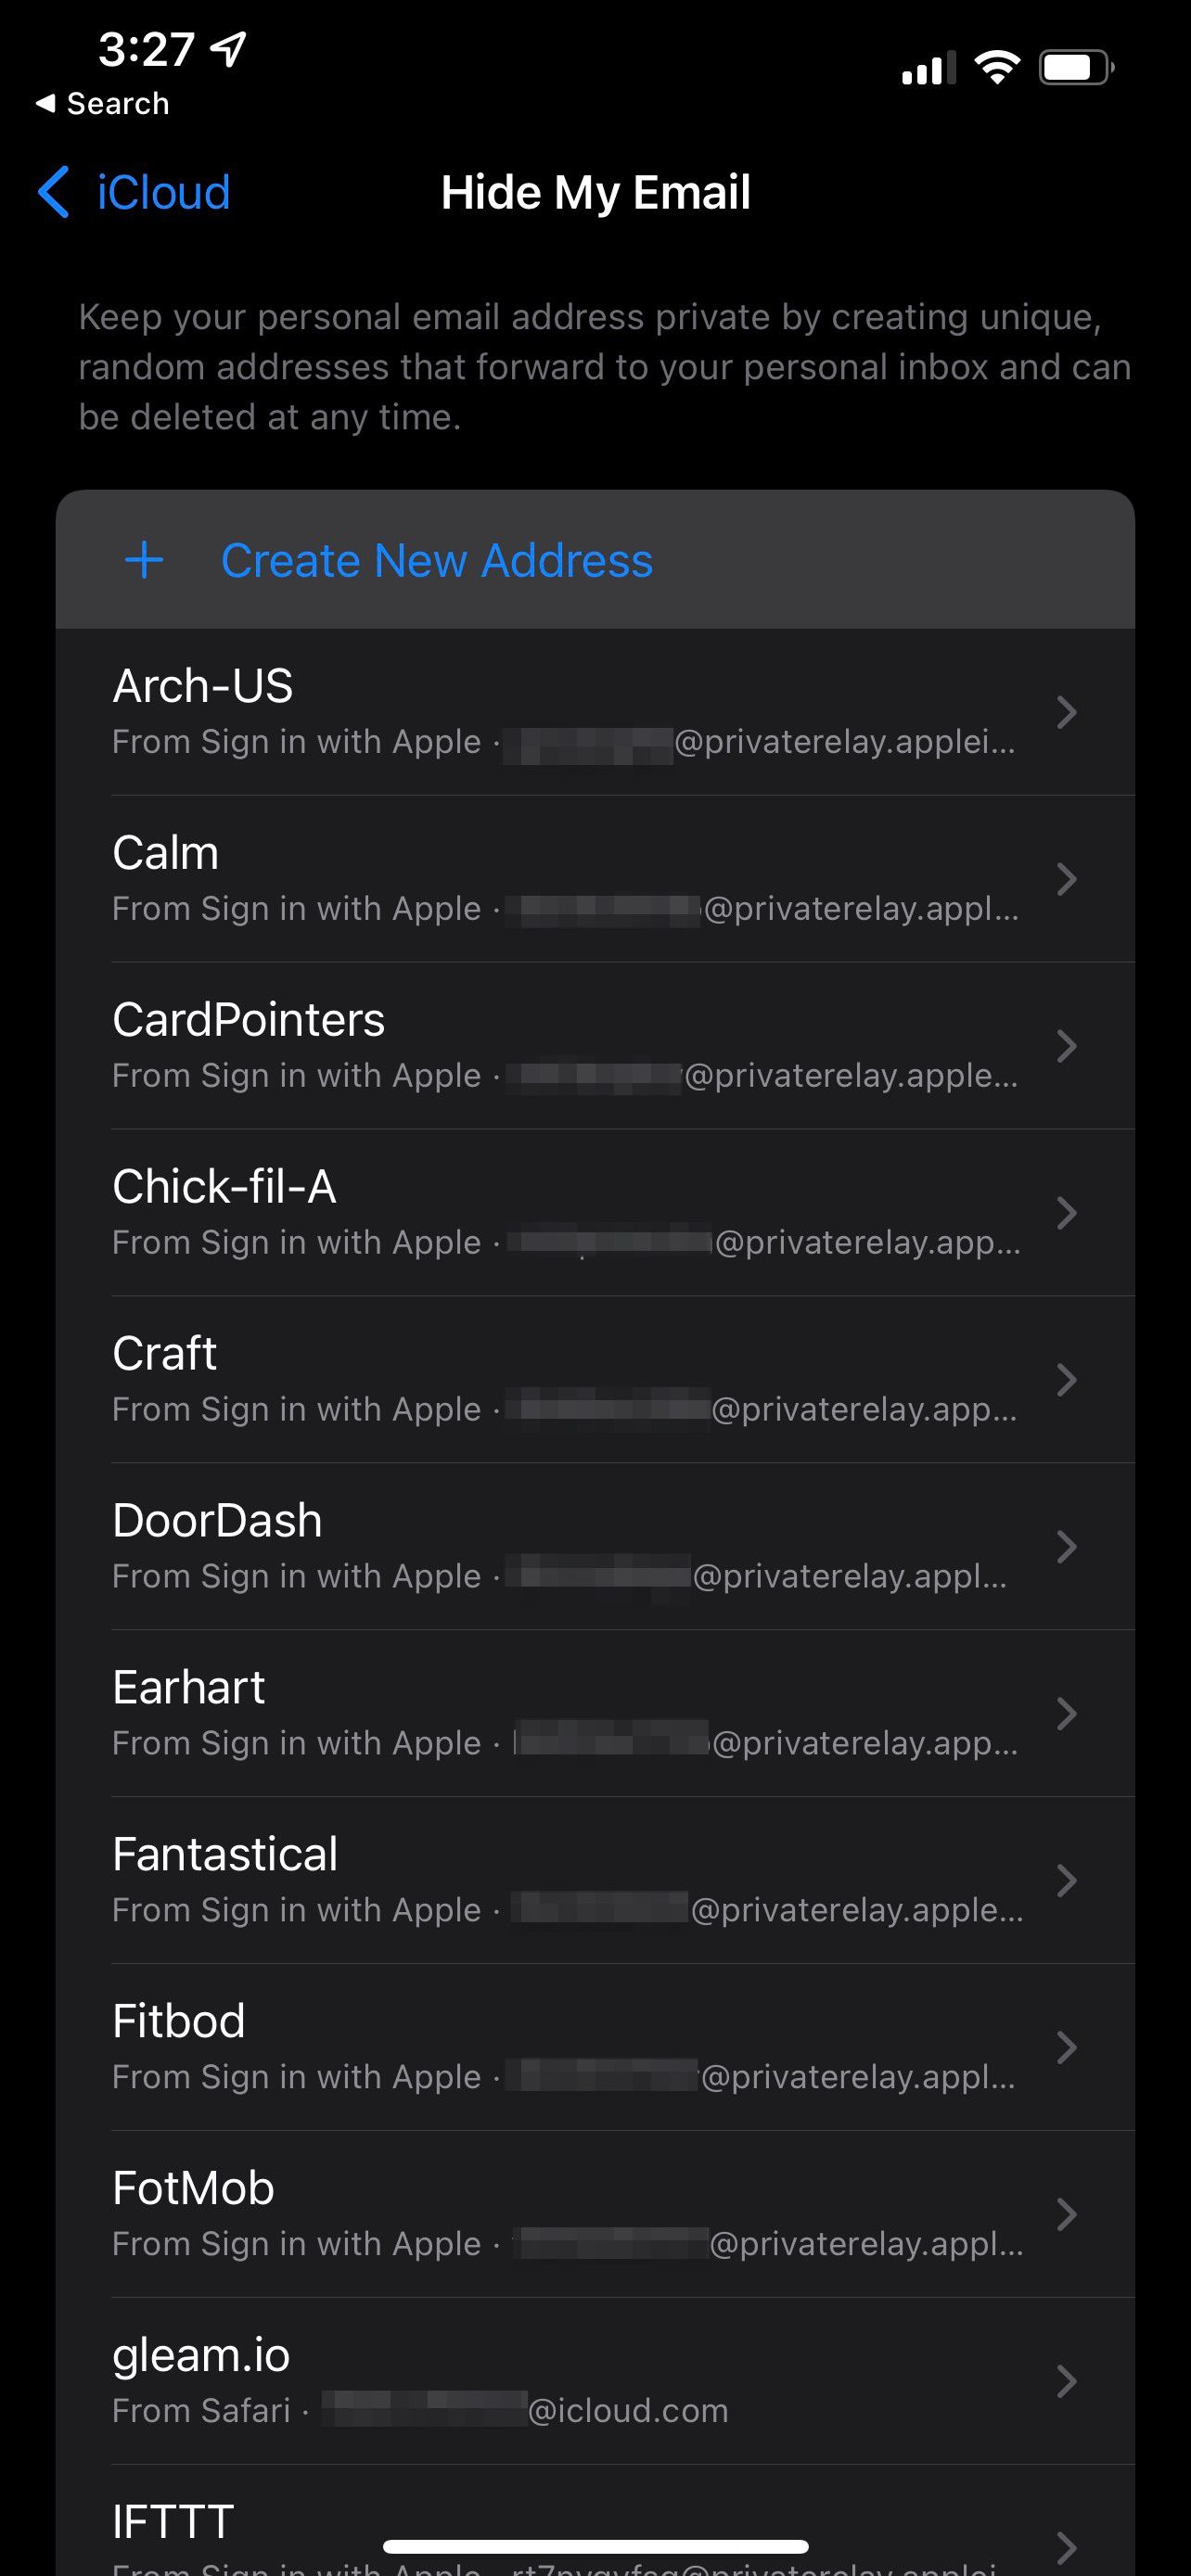

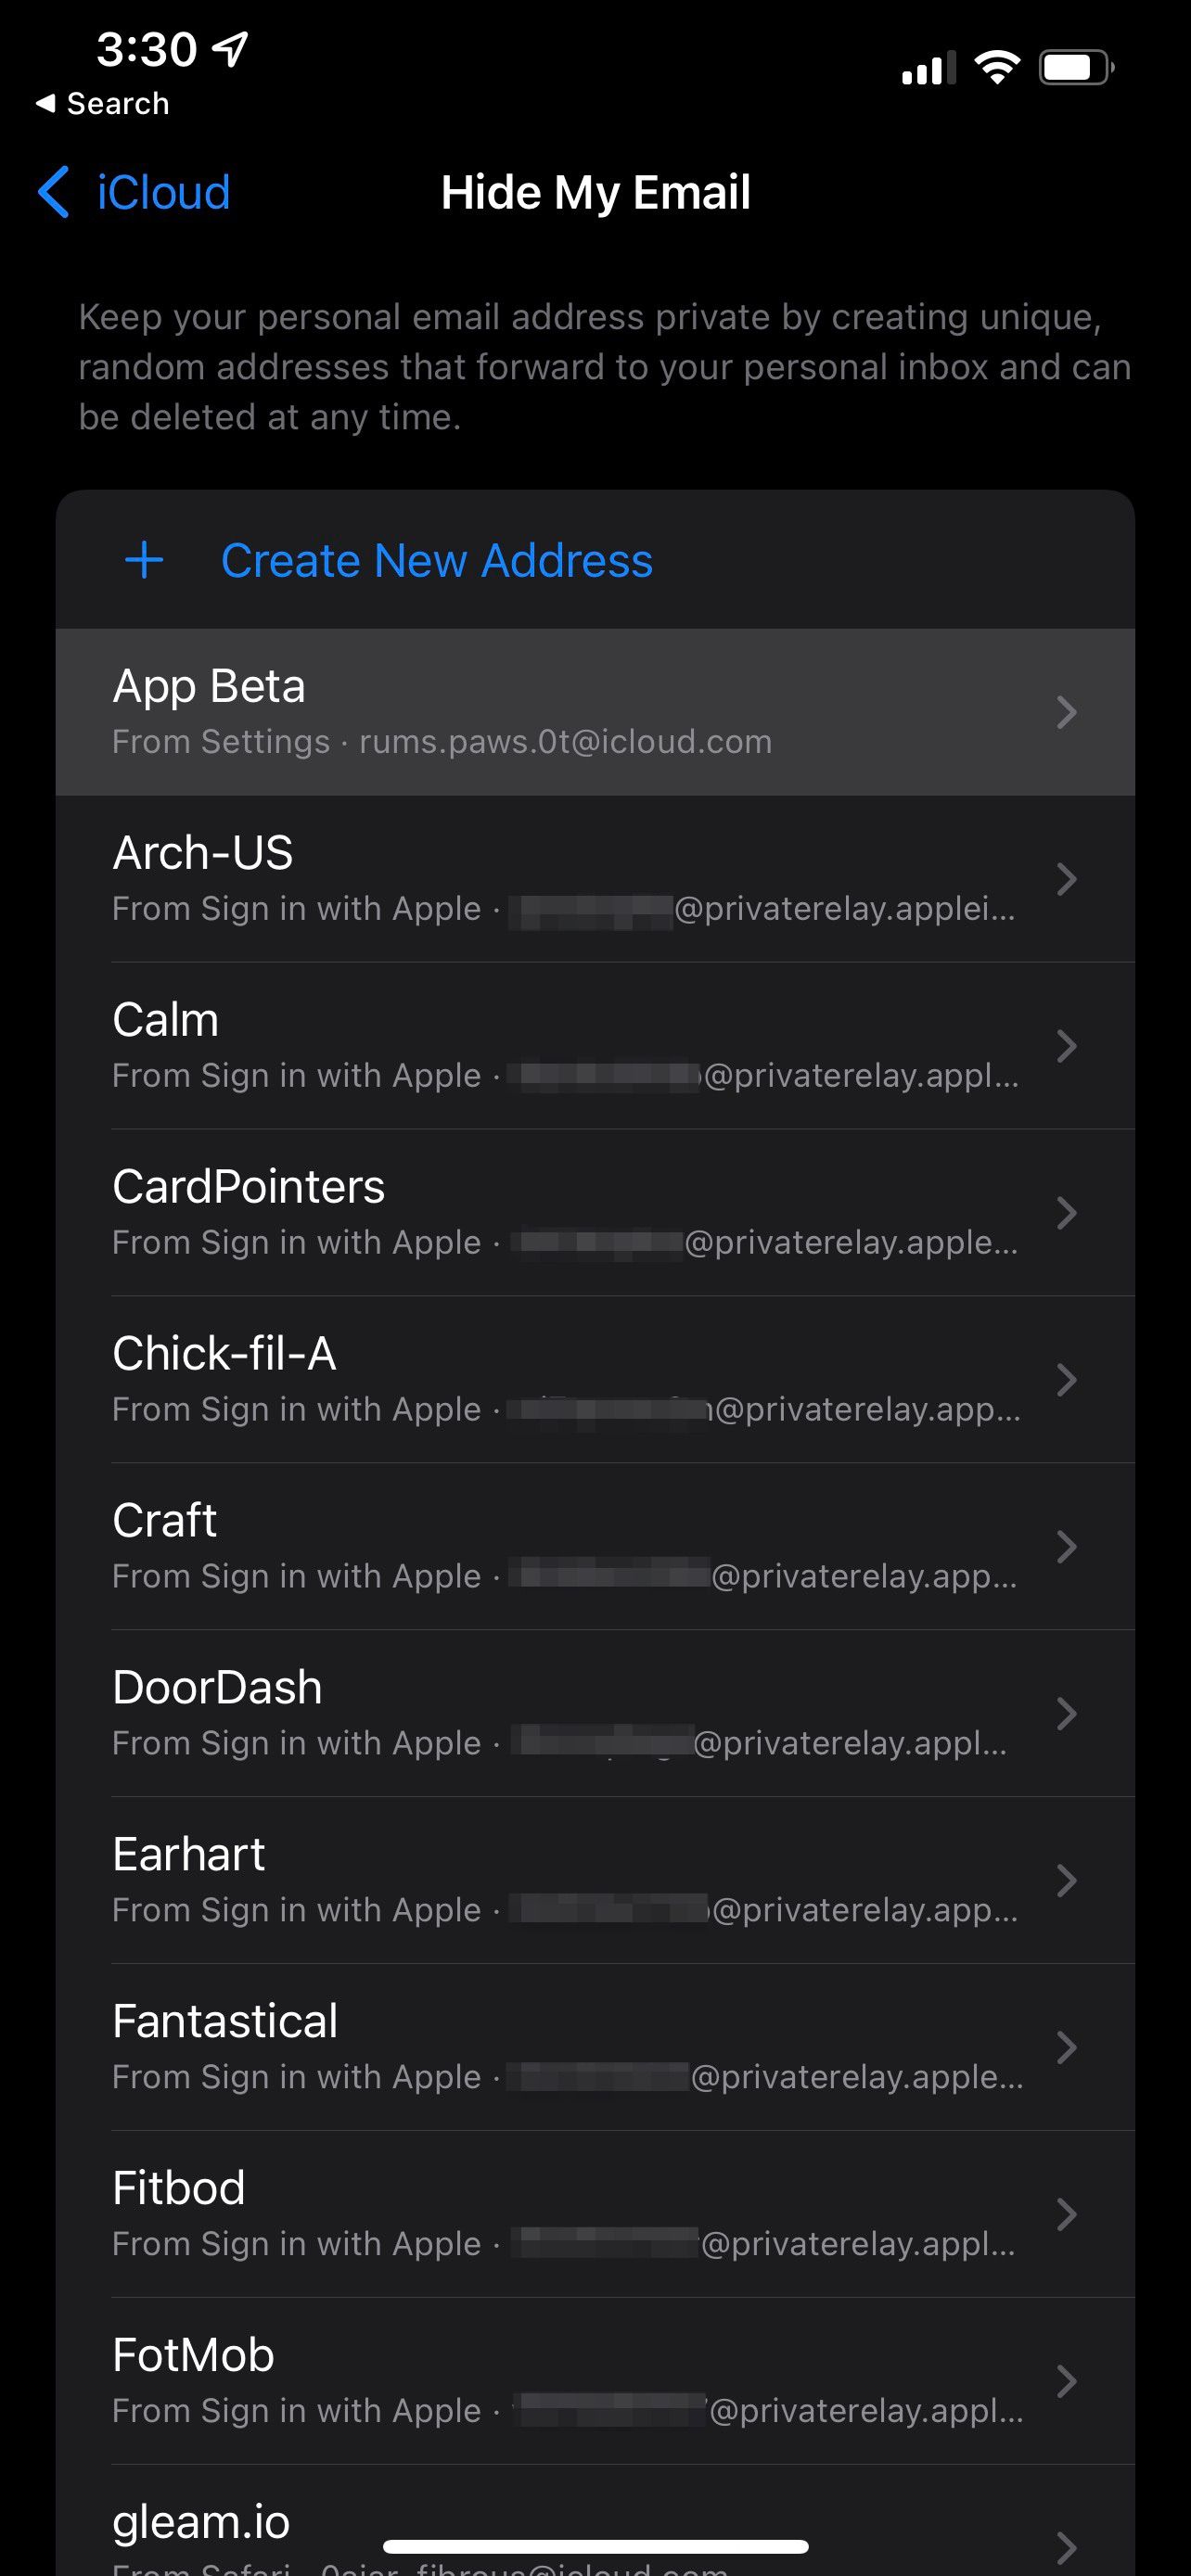
Your new email address will appear in the list along with any others you've created through iCloud+ or Sign in with Apple.
Is iCloud+ the Same as Sign in with Apple?
While using Sign in with Apple lets you hide your email address when creating accounts in supported apps, iCloud+ enables you to generate random email addresses for any purpose.
Viewing and Managing Your Anonymous Email Addresses
You can view and manage all of your randomly generated email addresses in the Settings app. There, it's possible to temporarily deactivate addresses or delete them personally.
Deactivating an Email Address
At any time, you can deactivate an email address by following these steps:
- In the Hide My Email section of the Settings app, tap on the email address you'd like to deactivate.
- Then, tap Deactivate Email Address.
- Finally, confirm that you'd like to deactivate it.
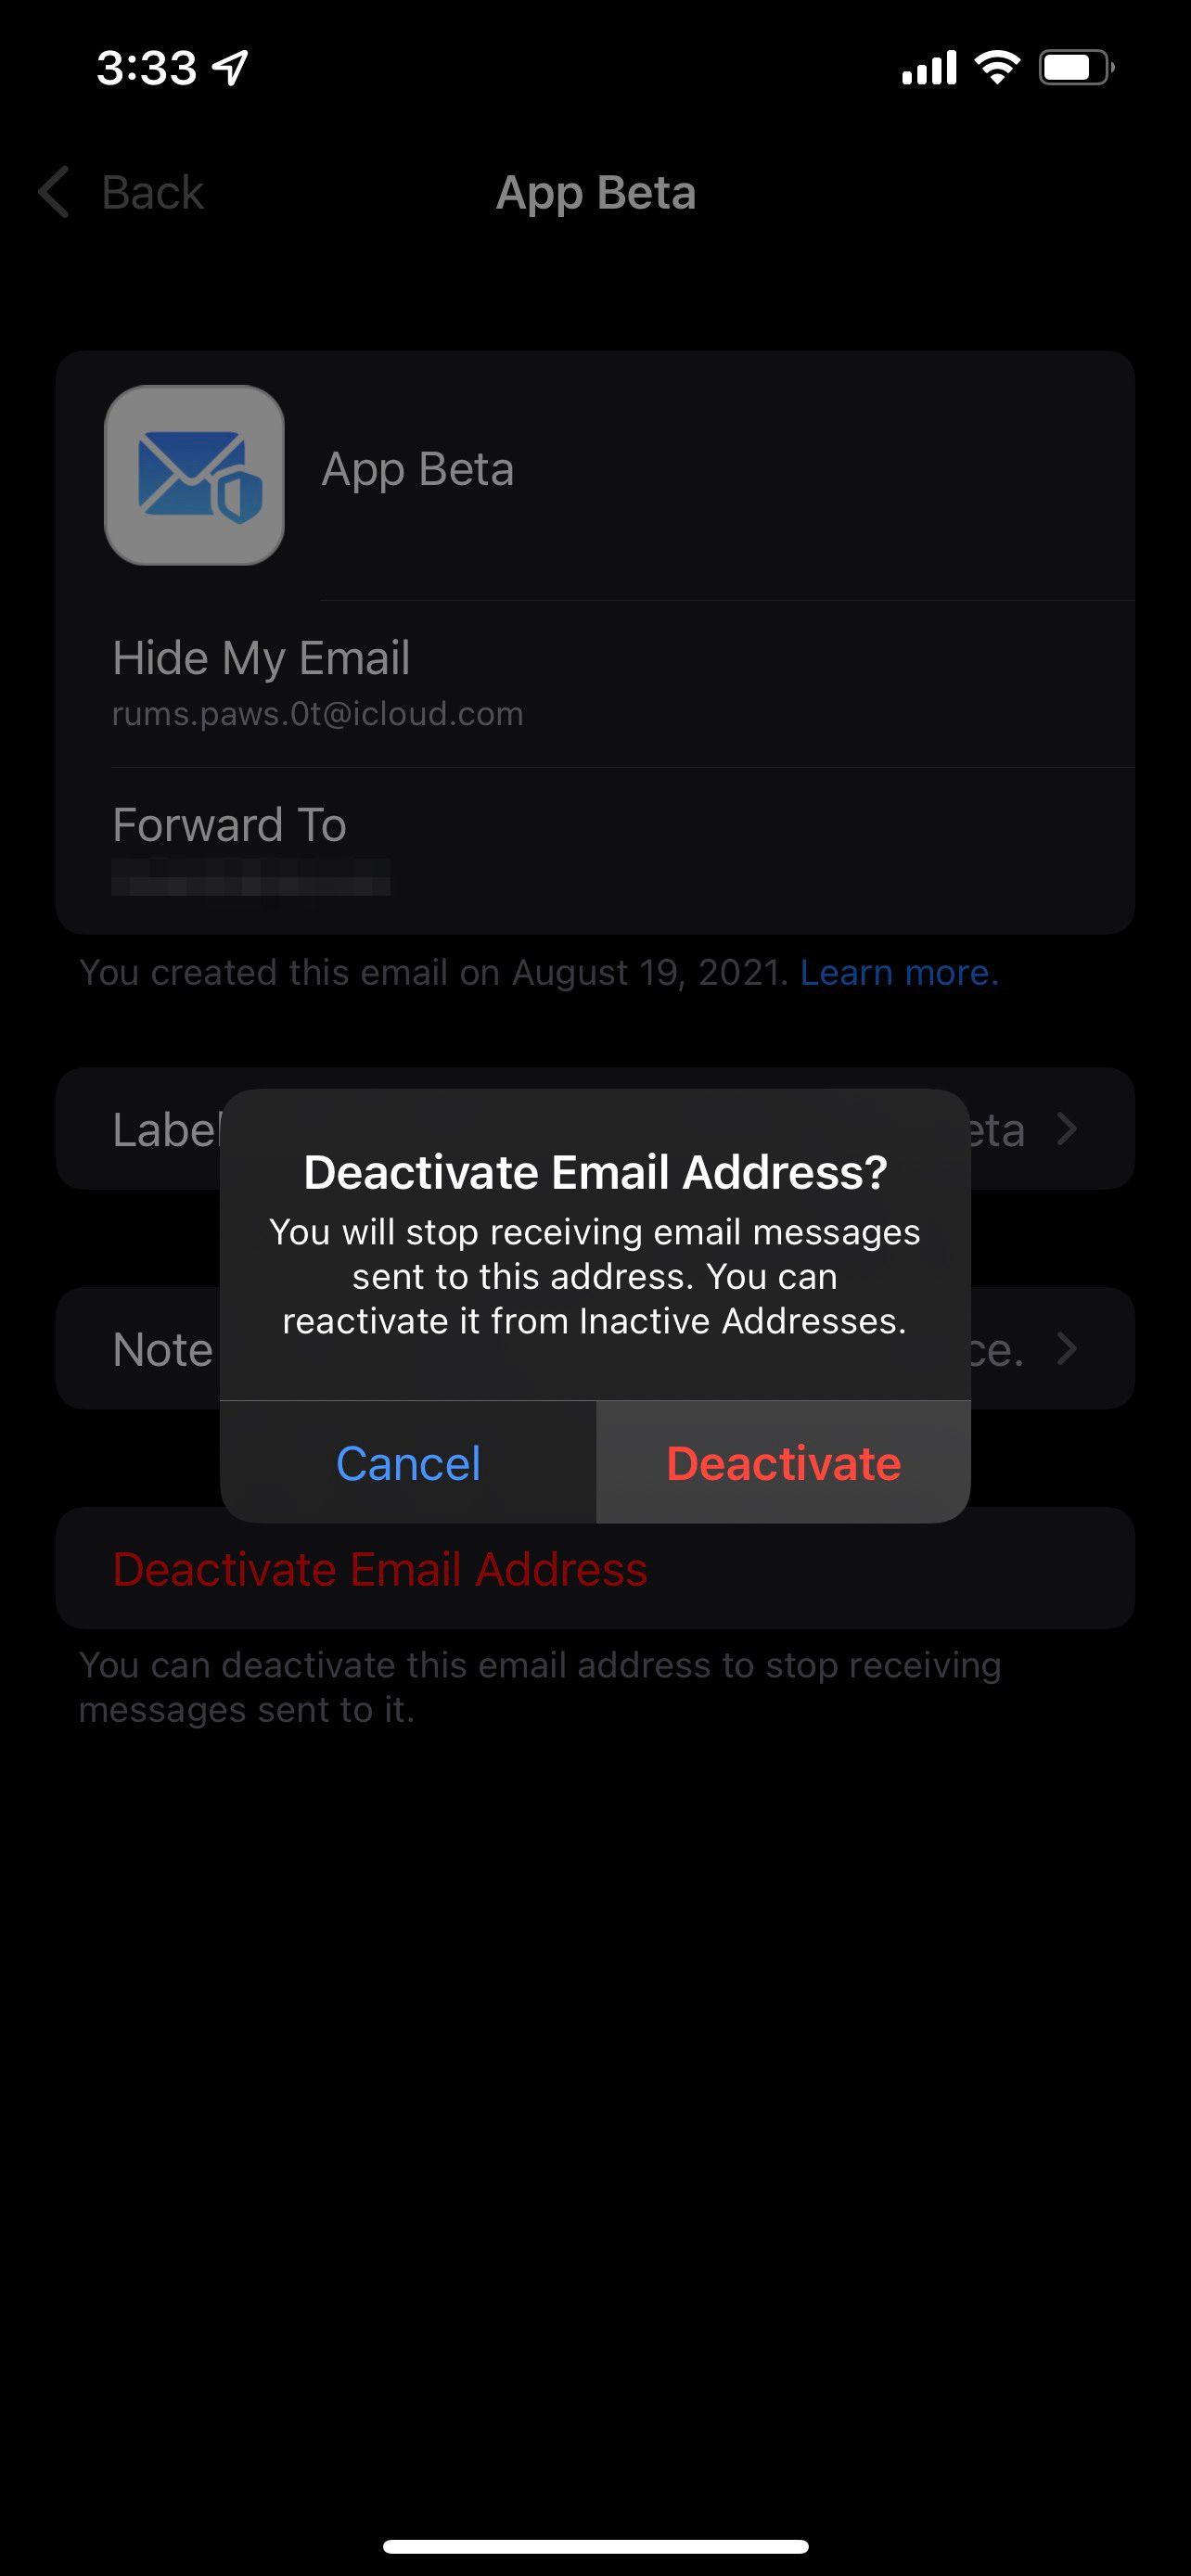
The email address remains available for you to reactivate and use at any time. Until you do so, however, you won't receive any messages sent to it.
Reactivating an Email Address
Here's how to reactivate an email address:
- In the Hide My Email section of the Settings app, tap on Inactive Addresses.
- Then, choose the address you'd like to reactivate from the list.
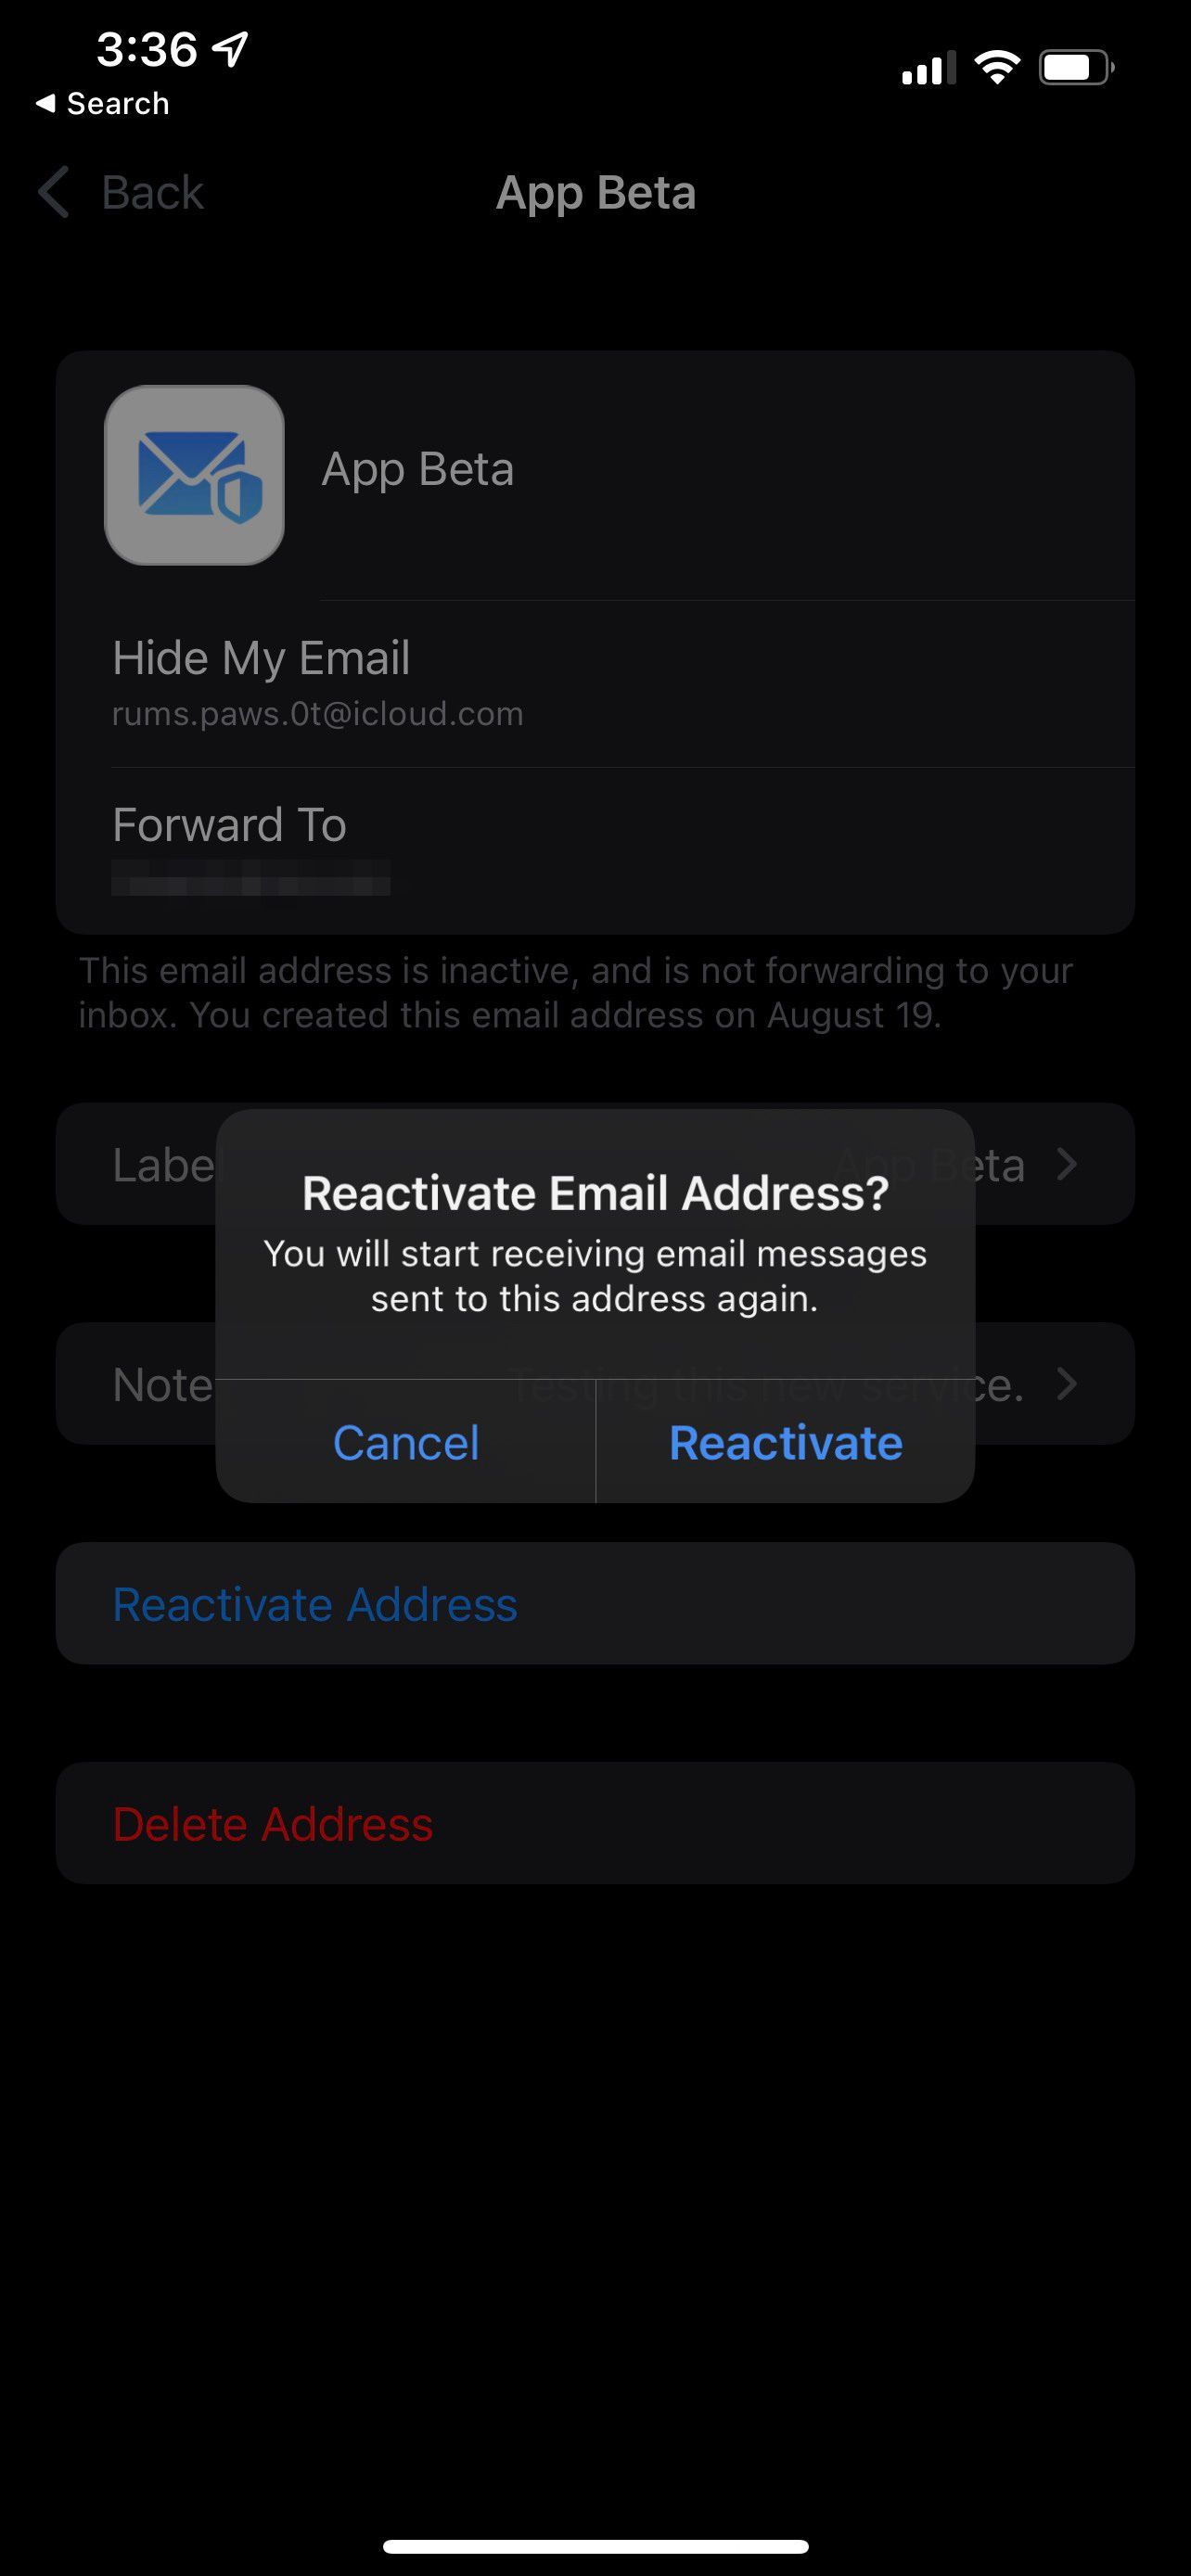
- Tap Reactivate Address and confirm that you'd like to reactivate the email address.

Deleting an Email Address
You'll only find the option to delete an email address once you've deactivated it.
Here's how to delete an inactive email address in iCloud+:
- In the Hide My Email section of the Settings app, tap on Inactive Addresses.
- Then, choose the inactive email address you'd like to permanently delete.
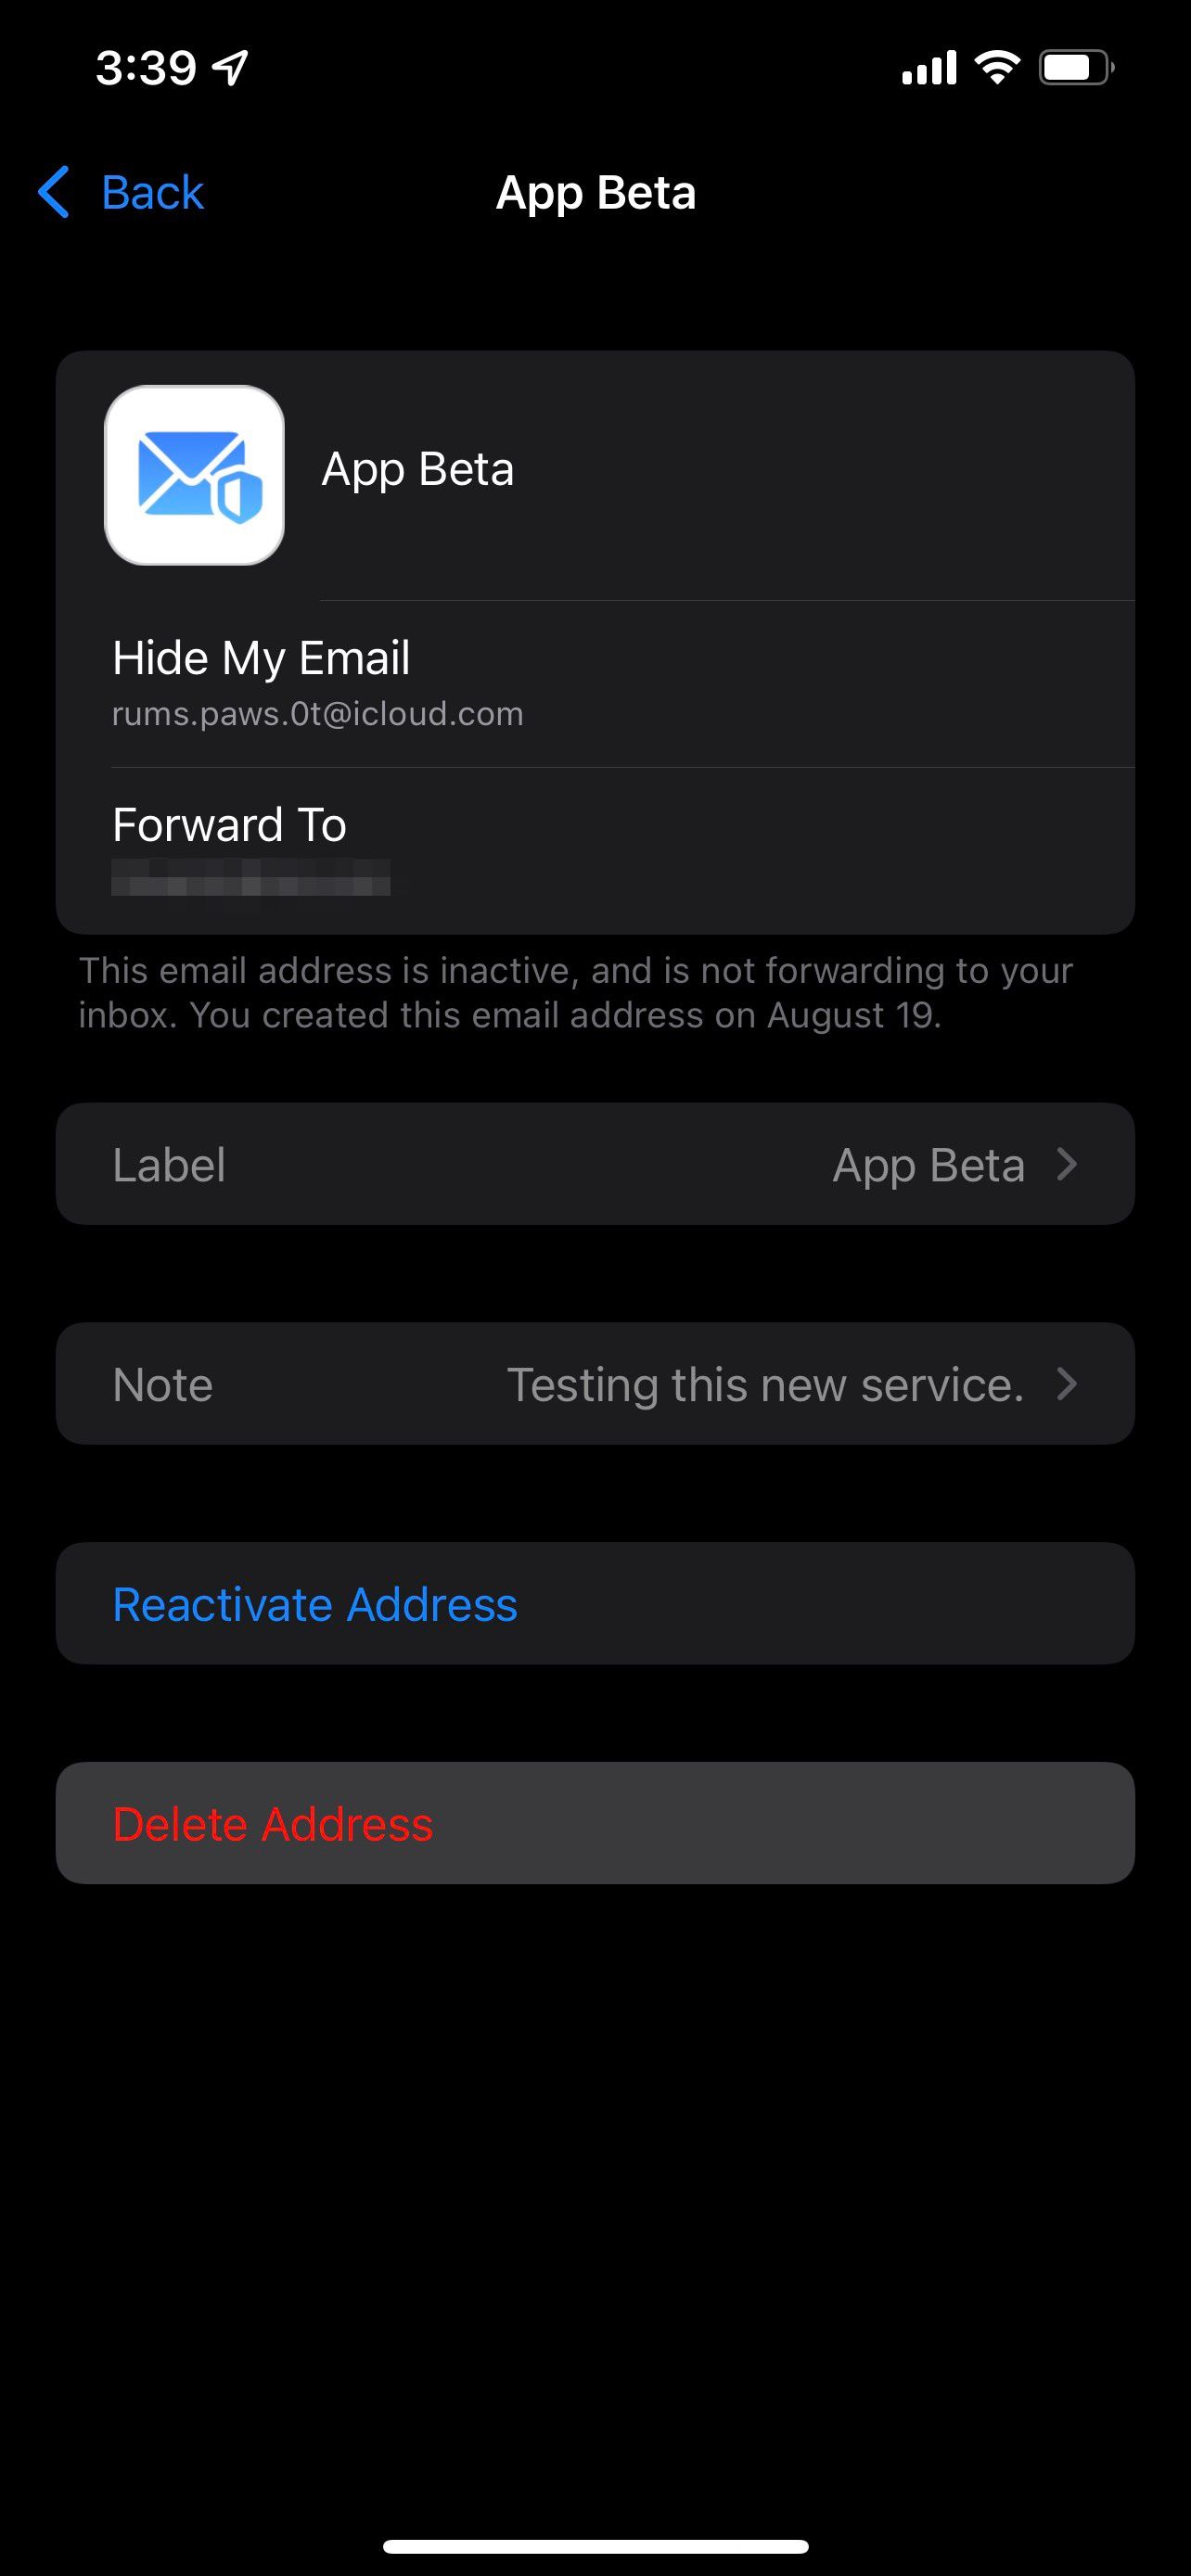
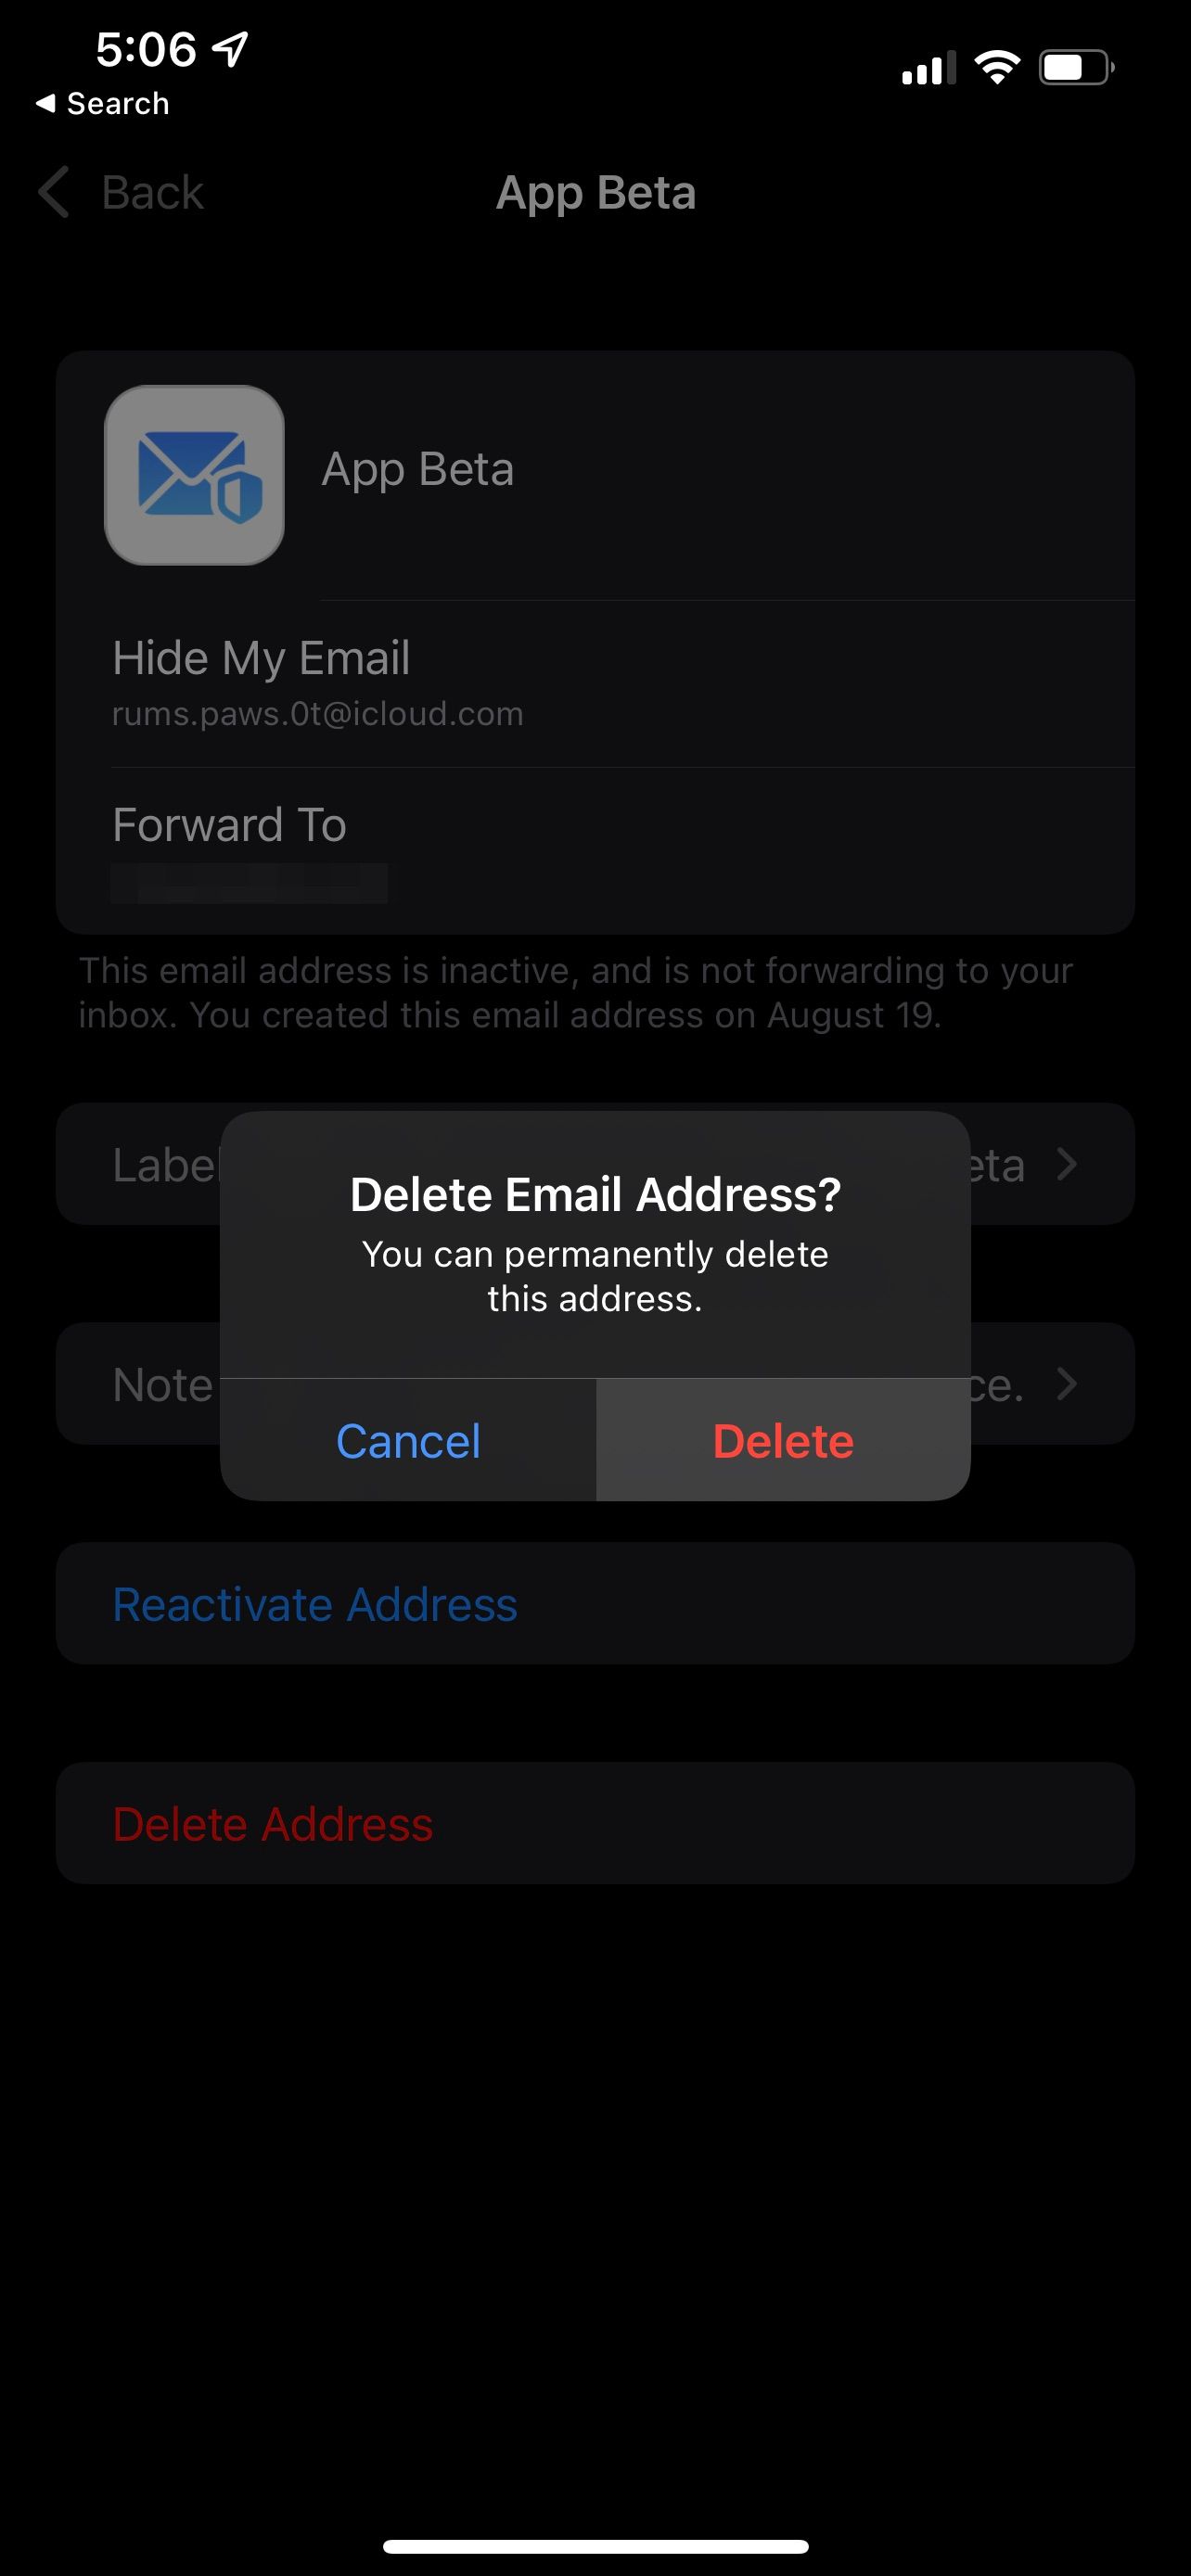
- Tap Delete Address and confirm that you'd like to permanently delete the address.
Managing anonymous email addresses in iCloud+ is that simple.
Remember, once you've deleted an address, you'll no longer be able to reactivate it or receive messages that are sent to it. You'll have to manually change the email address for any accounts, newsletters, or other services for which you'd like to receive messages.
Improving Your Online Privacy With iCloud+ Anonymous Email Addresses
Hide My Email can be a valuable and convenient feature for iCloud+ users. Instead of filling your inbox with marketing emails and notifications from websites you no longer use, generate anonymous email addresses that you can disable at any time with just a few taps.
iCloud+ brings even more security features that you can use on your iPhone and other Apple devices to protect your data and accounts.

