If you don't have an actual green screen to use in a video, knowing how to digitally create one is a useful editing skill to have. It involves removing the background from a moving subject and replacing it with a solid green color.
That clip can then be used as an additional element to any other video. You can simply add it as an overlay and then erase the green background.
So how do people do this? We're going to show you how to make a green screen video on the Video Star mobile editing app for iPhone.
How to Make a Green Screen Video on Video Star
Before getting started, you'll need to download the Video Star app. Keep in mind that you'll be prompted to purchase one or more packs to perform these green screen effects. Purchasing the Pro version gives you access to all the effects.
Download: Video Star (Free, in-app purchases available)
1. Prepare the Green Screen
In order to apply a green background, you need to create it first. Note that it doesn't have to be green; it can be any color, as long as it's a color that isn't present in the video that you're editing. There are several ways to prepare the green screen on Video Star, and we'll go over a few here.
To get started, import the video of the subject you want to remove the background from—split it into clips if necessary. Select the clip, tap New and open it in the Multi-Layer window.
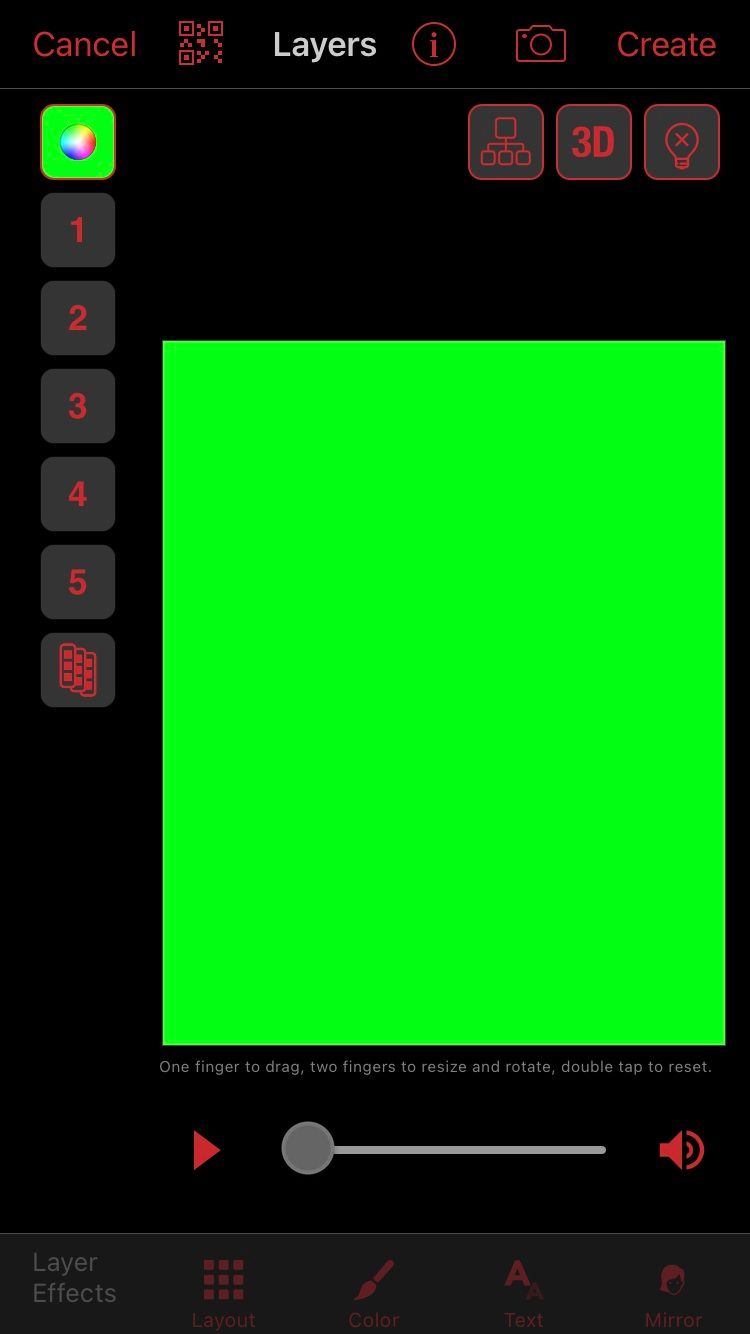
For the first method, tap the color wheel box at the top left corner of the Multi-Layer window. Drag the cursor to a shade of lime green (or any solid color of your choice) and make sure the Opacity slider is turned all the way up.
The color wheel isn't an official layer (as you can't import anything to it), but it can act as a first layer for this specific effect. Now, you can continue to import the video clip to the first layer (Layer 1 box). When you remove its background, what remains will be whichever color you selected from the color wheel.
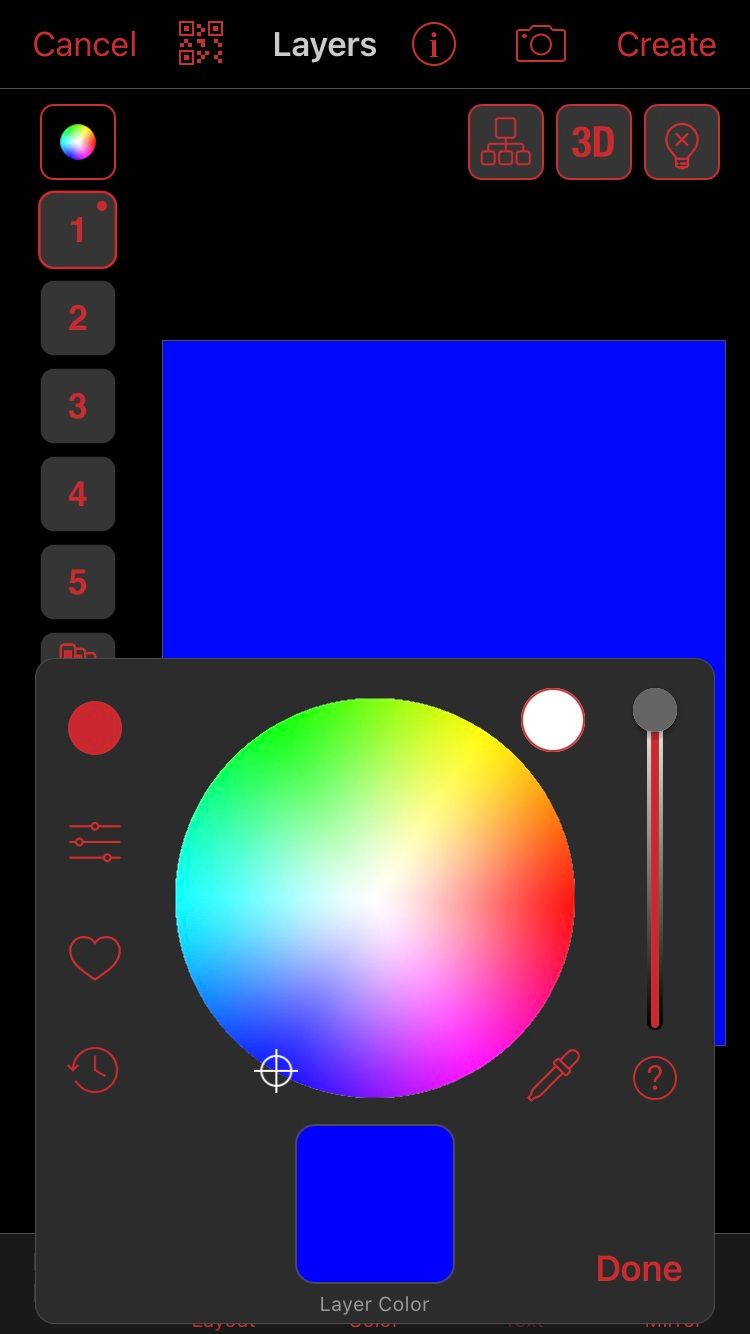
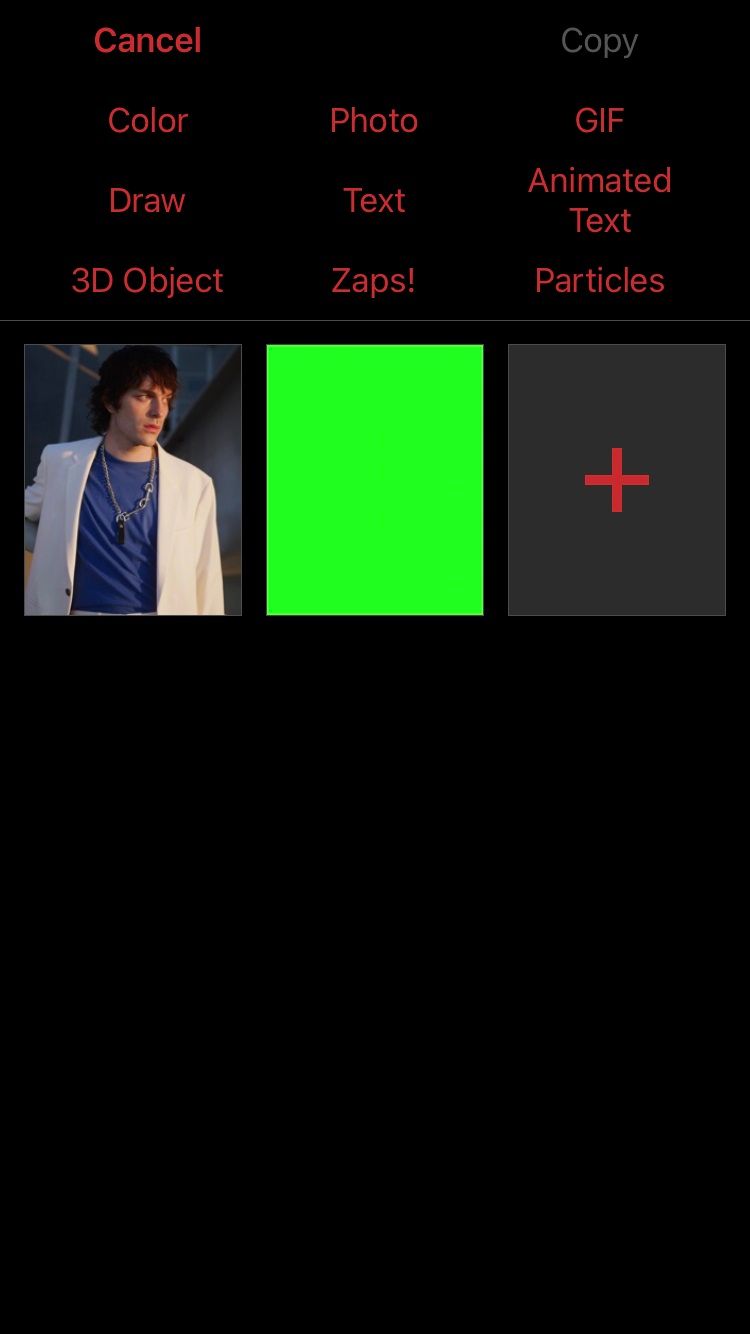
You can also import a color on the first layer. In the Multi-Layer window, select Layer 1 > Color, and pick a color. This will give you the exact same results as the first method. Just make sure to import the video clip to the second layer (Layer 2 box).
Lastly, you can import an image of a color screen—all you need to do is download an image of a solid, bright color. Then, in the Multi-Layer window, select Layer 1 > Photo, and select the image from your camera roll. Again, ensure you import the video clip to Layer 2 with this method.
2. Erase the Background
Once you have your green screen set, it's time to erase the background and isolate the subject in your video. Video Star has a unique tool to help you achieve this automatically.
Depending on the method you used to prepare the colored screen, import your video clip to either Layer 1 or Layer 2 in the Multi-Layer window. Tap on the layer again, and select Add Mask from the popup.
You'll be directed to the Edit Mask window. Then, select Erase from the tabs at the top.
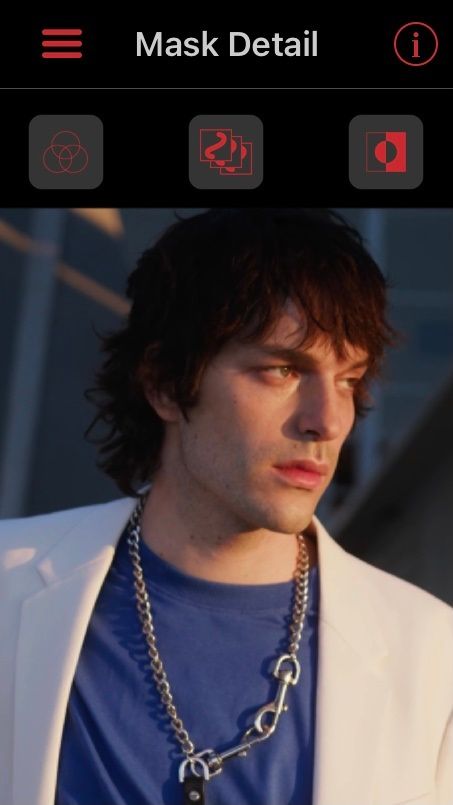
Select the icon with the magnifying glass and plus sign. This will lead you to the Mask Detail window that contains the tools to remove the background from a moving subject. Now, it's essential to turn on Moving Mask Mode. This icon is located at the top middle; it's a box with a squiggly line.
It's set to Video Mask Mode by default. Tap it to set it to Moving Mask Mode—you'll see the icon multiply to three boxes with squiggly lines. This allows you to erase the background frame-by-frame. Otherwise, it'll remove the background on the first frame and keep that outline for the rest of the clip.
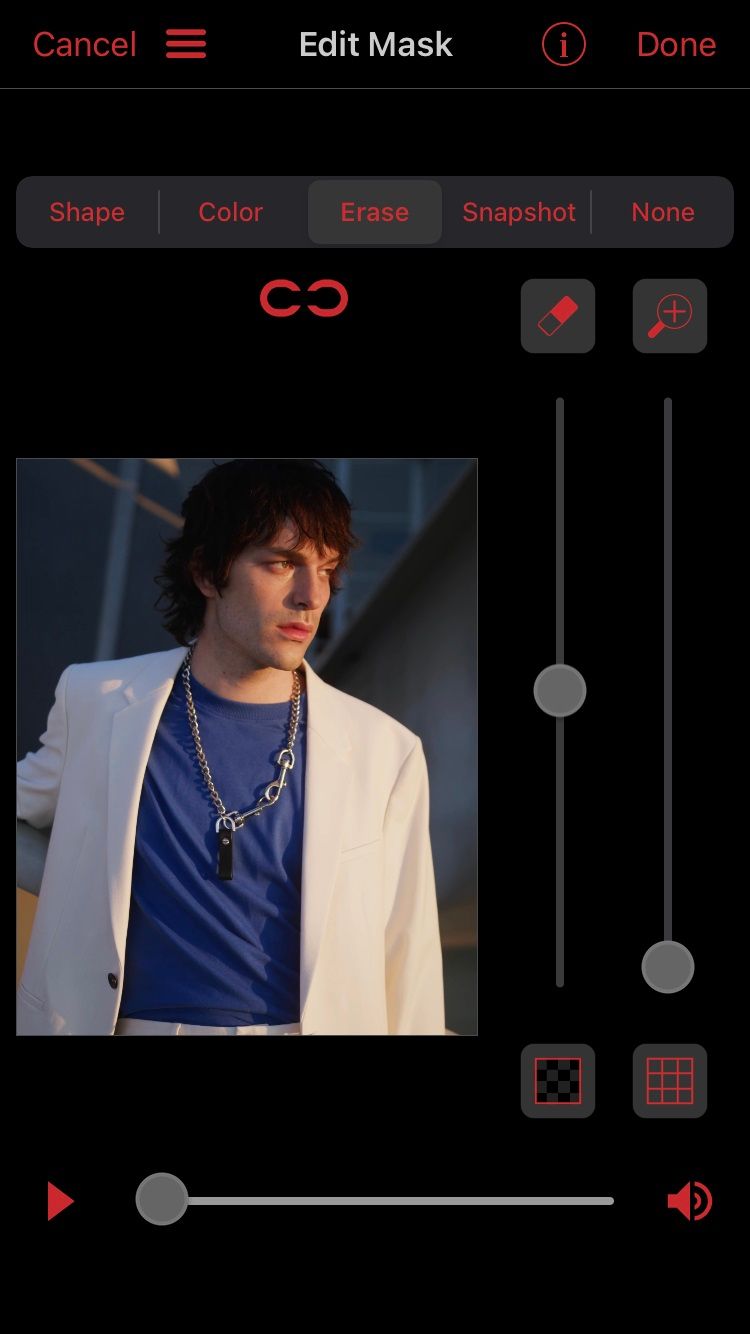
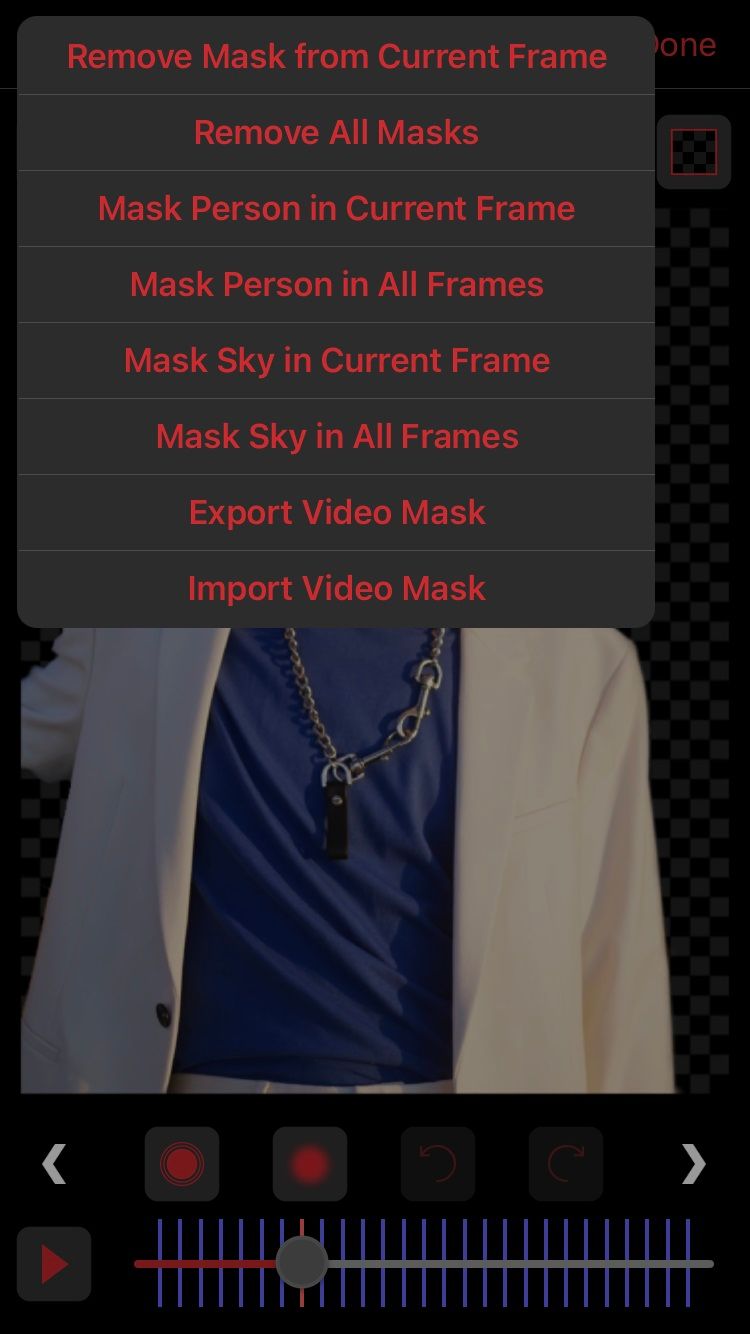
Open the menu at the top left (it's the icon with three lines), and select Mask Person in All Frames. This feature detects and removes the background.
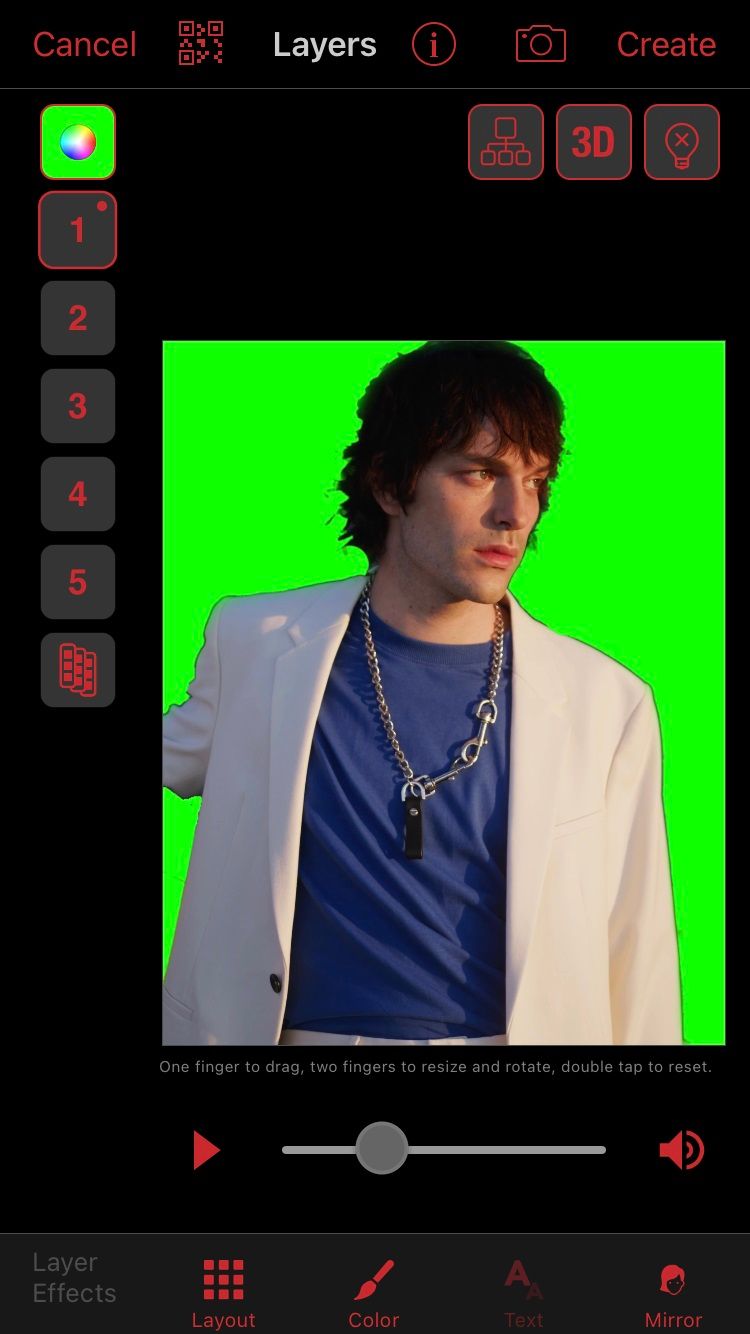
Wait for it to process, and hit Done at the top right. When you're back in the Multi-Layer window, you'll see the isolated subject on top of the colored screen you've selected.
3. Clean Up
After masking the subject, you've probably noticed the edges are a little blurry—this happens with lower-quality footage or compositions with a limited color palette. Don't fret, there's a way to clean this up.
This step won't work if you've already created the clip from the Multi-Layer window. So after erasing the background, go back to the Mask Detail window by tapping the video layer, and then selecting Edit Mask > Erase. From there, choose the magnifying glass icon.
At the bottom, you'll see a number of blue lines, with each one representing a frame. You can select an individual frame by tapping on it or using the arrows right above it—a line will turn red to indicate it's selected. We recommend starting on the first frame and working your way to the end of a sequence.
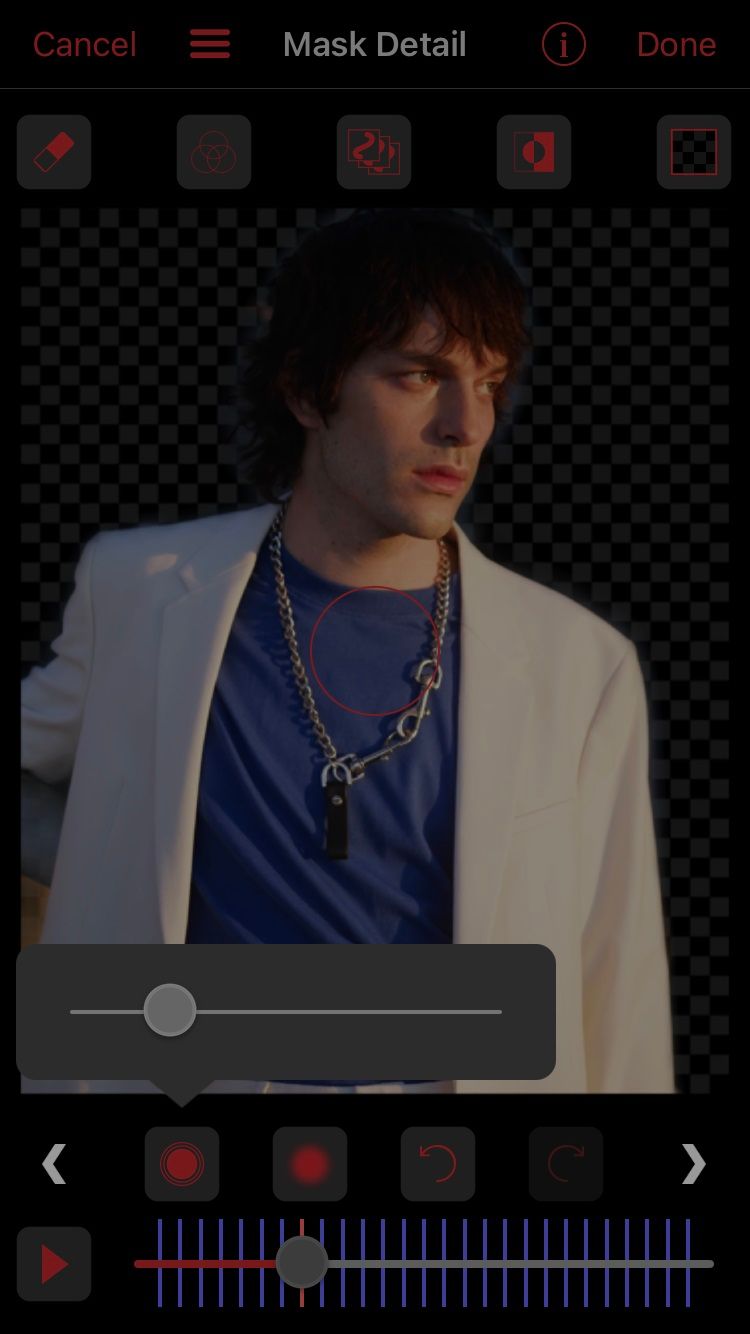
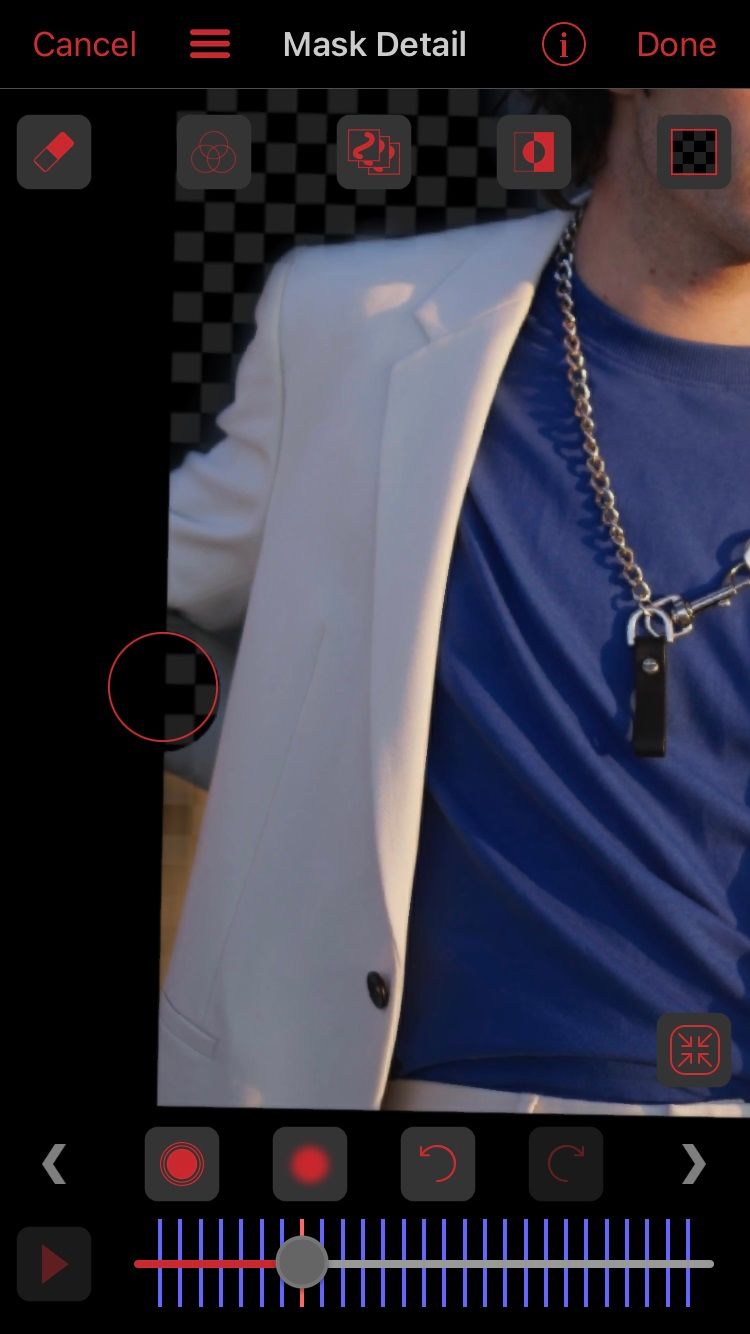
Make sure the pencil tool icon is set to Erase at the top left. Control the size and hardness of the eraser with the circular icons at the bottom. Now, drag your finger over the frame to erase the parts that the detector missed.
You can zoom in on the frame by pinching it with two fingers. Set the Draw tool (represented by the pencil icon) to fix any mistakes you made while erasing.
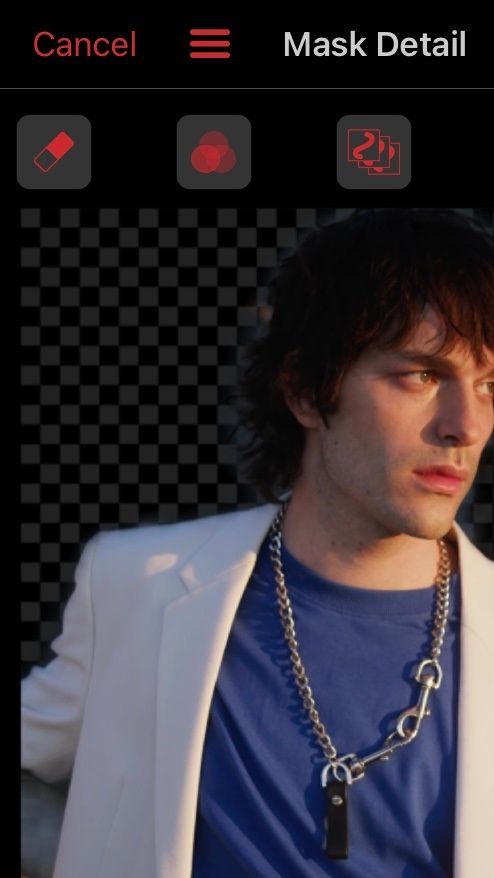
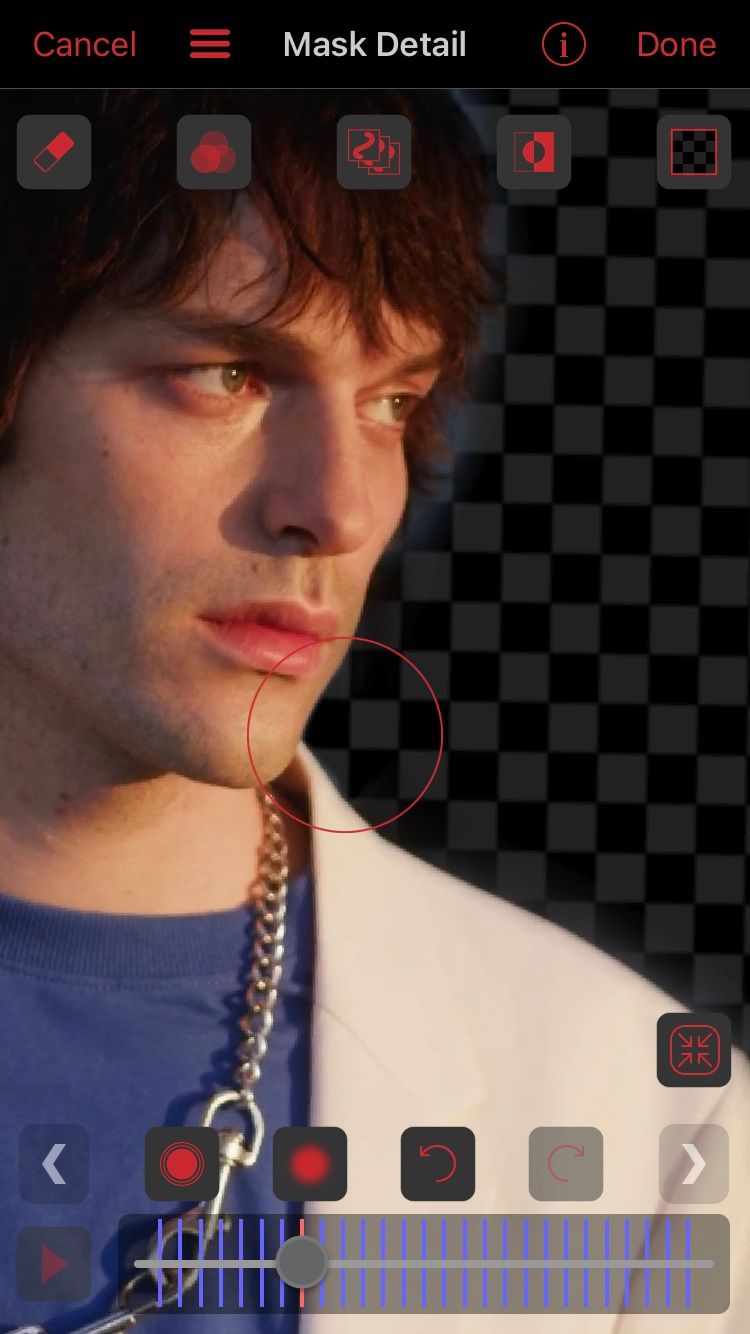

The Color Button assists with areas that are difficult to erase by hand. Enable it by tapping the icon with the three circles at the top.
By selecting this option, the eraser will only affect the background. When you drag your finger over the frame, it preserves the subject as much as it can, even when your finger overlaps it. You can achieve the same results if you select the Draw tool, but it will fill in the background instead of erase it.
4. Save the Mask
Once you've erased the background and cleaned up the edges, we recommend saving the mask. This is in case you missed something in cleanup, and can't go back after creating the clip.
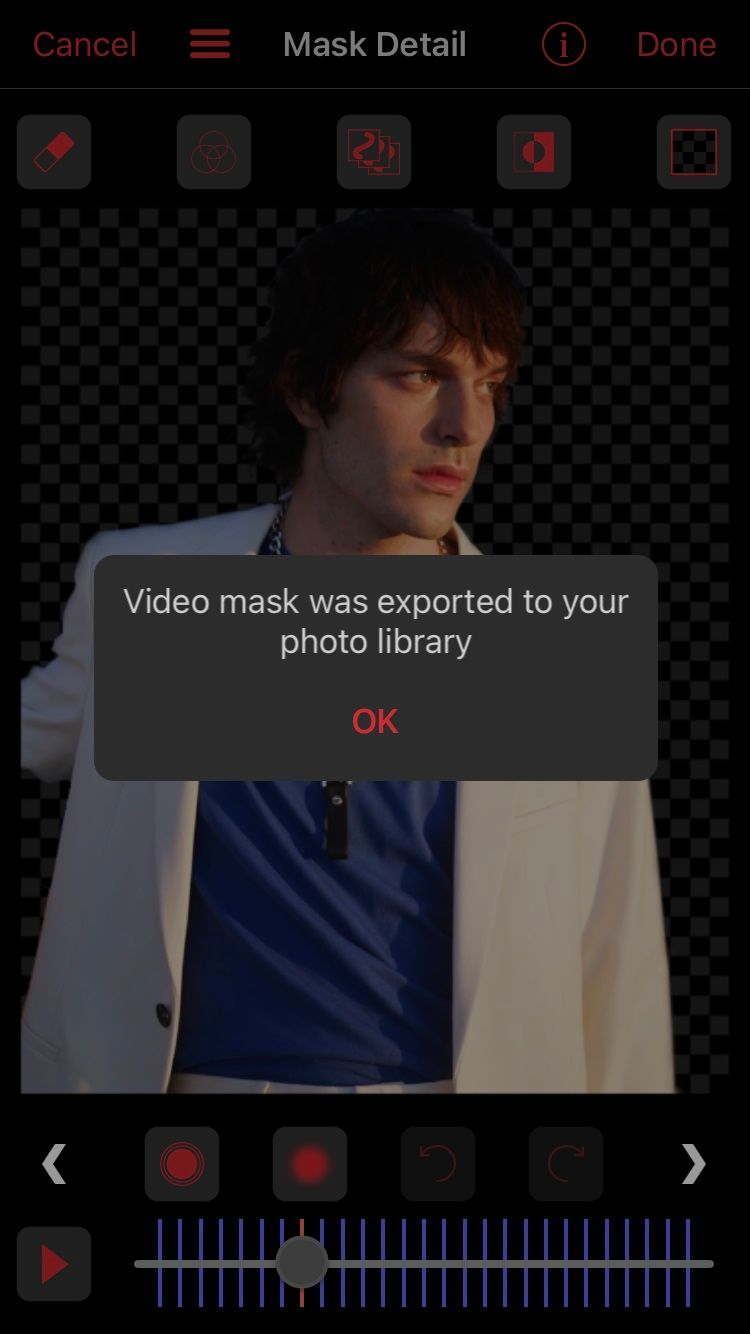
While you're still in the Mask Detail window, open the menu by tapping the three stripes at the top left, and select Export Video Mask. It will save the mask outline as a black and white video format to your camera roll.

If you find yourself in a situation where you need to re-edit the whole thing, open Multi-Layer, set the green screen just like in the first step, and import the video clip to a layer.
Tap the layer again, select Add Mask, and open the menu in the Edit Mask window by tapping the three stripes at the top left. Then, select Import Video Mask.
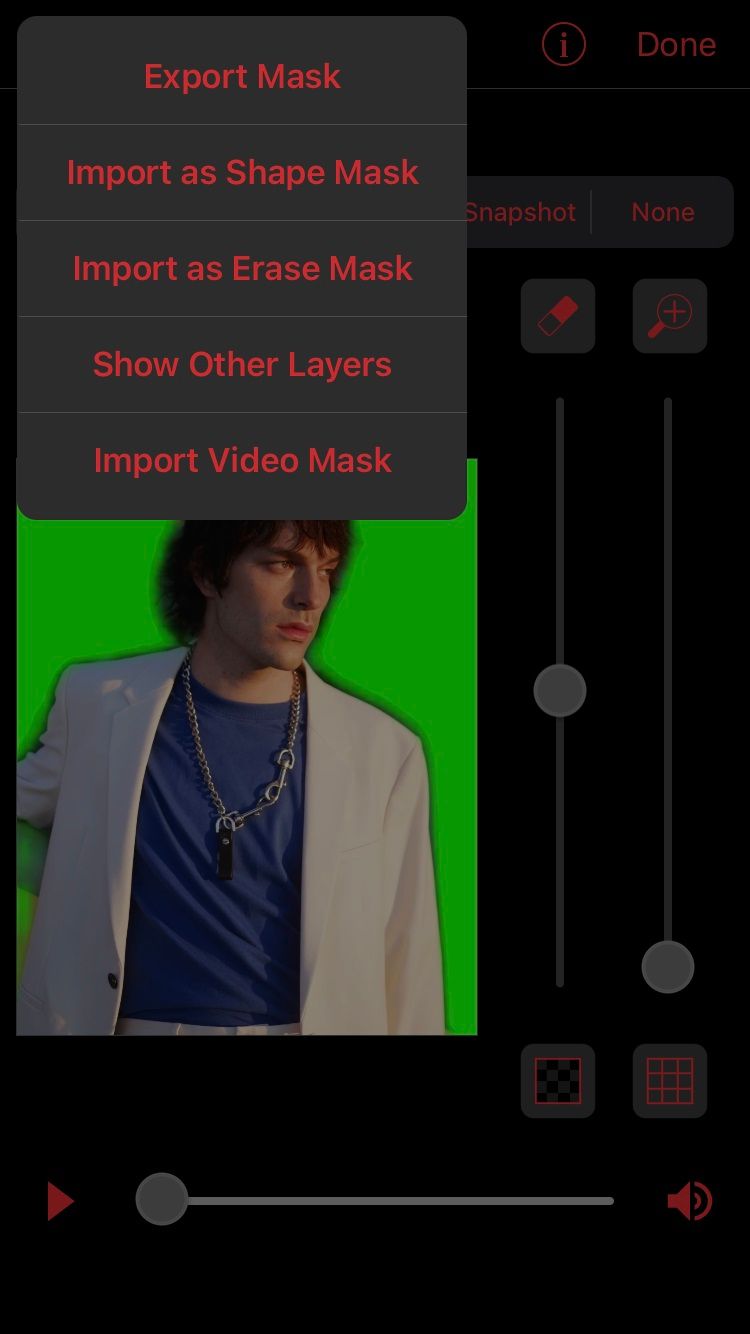
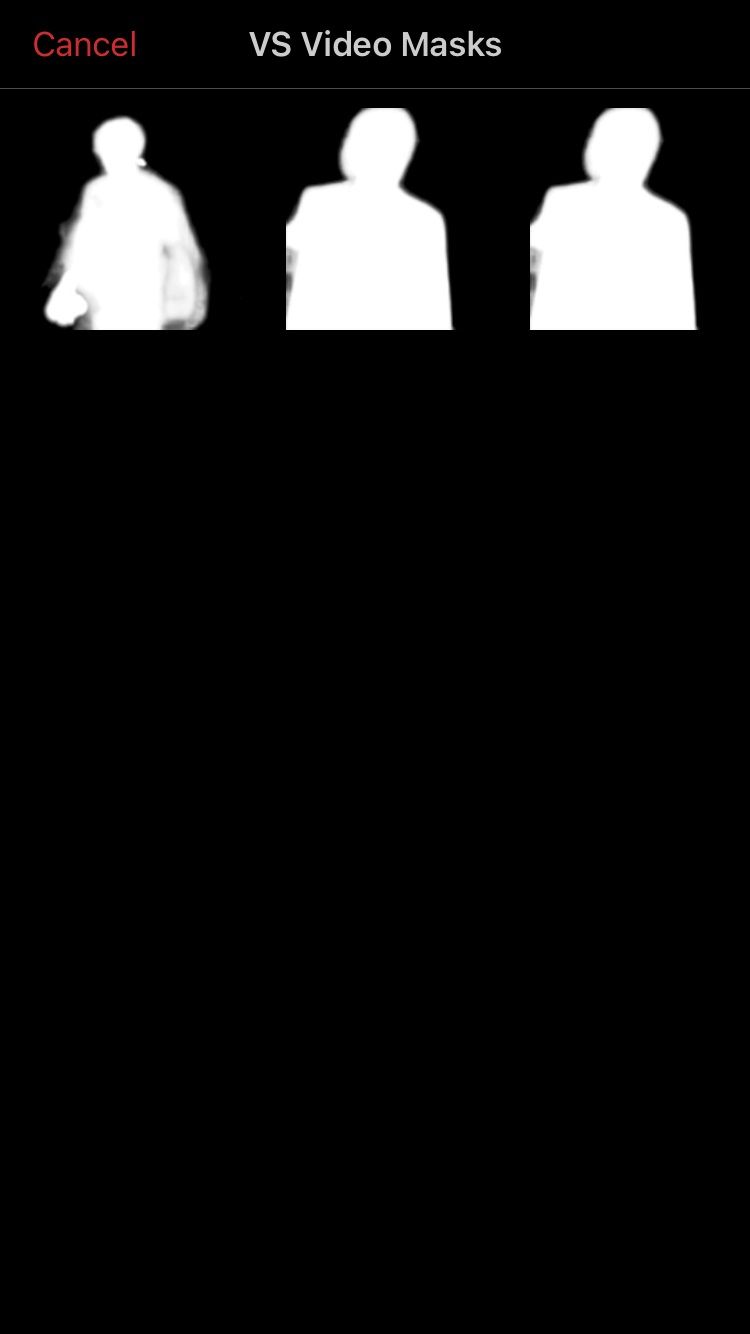
Select the mask that you've just exported to your camera roll. It will import the exact mask settings that you've created in steps two and three, and give you the option to edit them. To do this, simply select the magnifying glass icon and make the necessary adjustments in the Mask Detail window again.
Who Needs an Actual Green Screen?
Admittedly, creating a green screen video in Video Star can be a long and often tedious process. But all of its specialized masking tools and features allow you to get a more detailed and higher-quality result than in other editing apps. Better yet, you don't even need a green screen!

