Whether you pronounce it as "GIF" or "JIF" (both are correct), you’ve definitely seen one before and probably used it. These short video clips are integrated into just about every texting app, from WhatsApp to Facebook Messenger and even Skype.
But did you know that you can create a GIF by yourself? You can make a GIF from a video that you recorded, from a funny TV show scene, or even from a YouTube video. Here is a step-by-step guide on how to make a GIF from a video using Photoshop and GIPHY.
Why Should You Create a GIF From a Video?
GIFs are loads of fun. They can help you come up with clever responses to messages, and give you the opportunity to be sarcastic or silly. A picture is worth a thousand words, and since GIFs are actually a series of pictures—they are worth even more. So if you enjoy sending them to your friends, you might enjoy making your own.
But GIFs are not just fun and games. They can also serve as a marketing tool. On most social media platforms, including a video with your post can help generate higher engagement.
On top of that, newsletters are shown to have a higher click-through rate when they include a video. Since most GIFs are smaller files, you can easily add them to emails. So if you’re convinced, here are the best methods to turn videos into GIF.
How to Turn a Video Into a GIF With GIPHY
GIPHY is one of the most popular websites for finding these looped video clips. You may recognize the name from WhatsApp and other messaging apps, which enable you to search for GIFs via GIPHY.
It’s probably so popular because it makes it incredibly easy to turn a video into a GIF. Moreover, when people upload their creations, they can add tags to the video, which makes it even easier to search for specific GIFs on the platform.
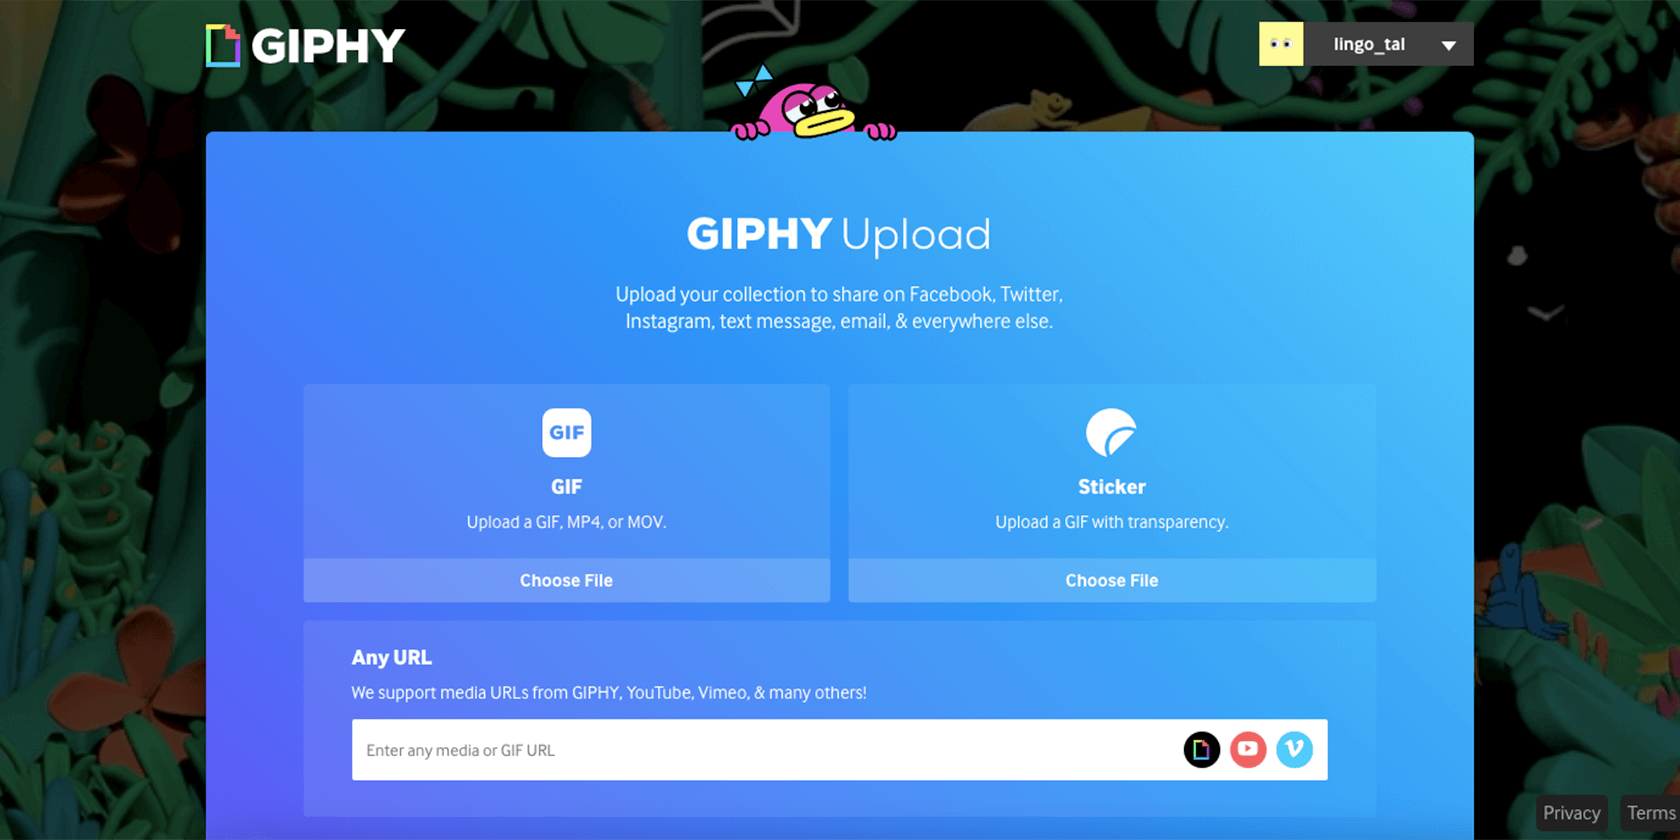
To turn videos into GIFs, you first need to create a user account. After that, click Upload at the top of the screen. Before you get started, make sure you use a video that will run nicely on a loop. You can upload a video from your computer, or enter a URL.
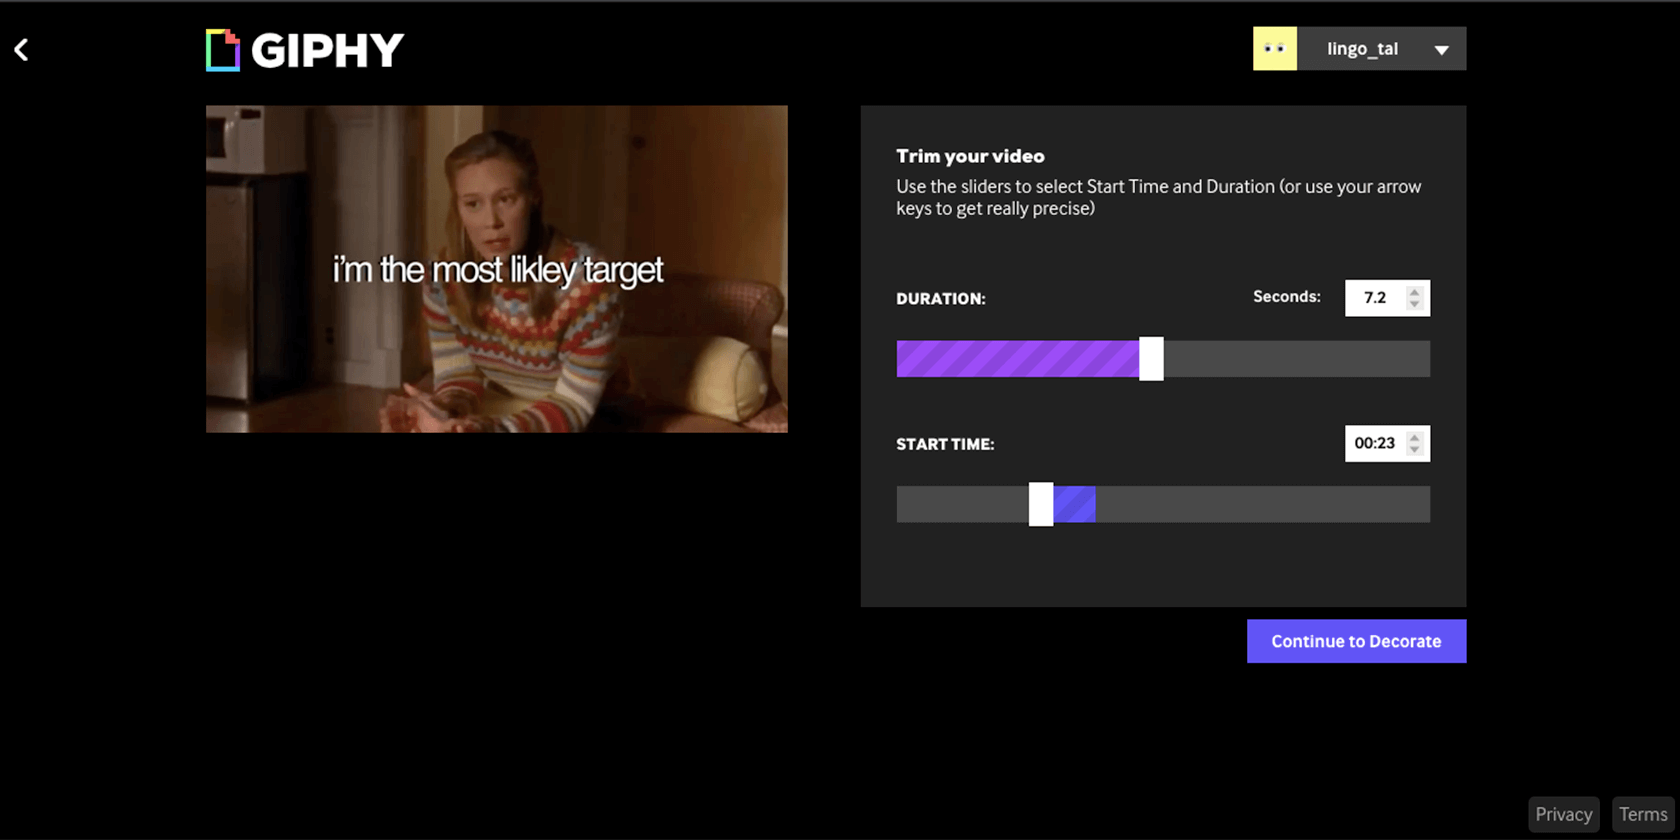
The next screen is where you trim the video to look good on a loop. Take into account that it can only be 30 seconds, and in most cases, shorter is better.
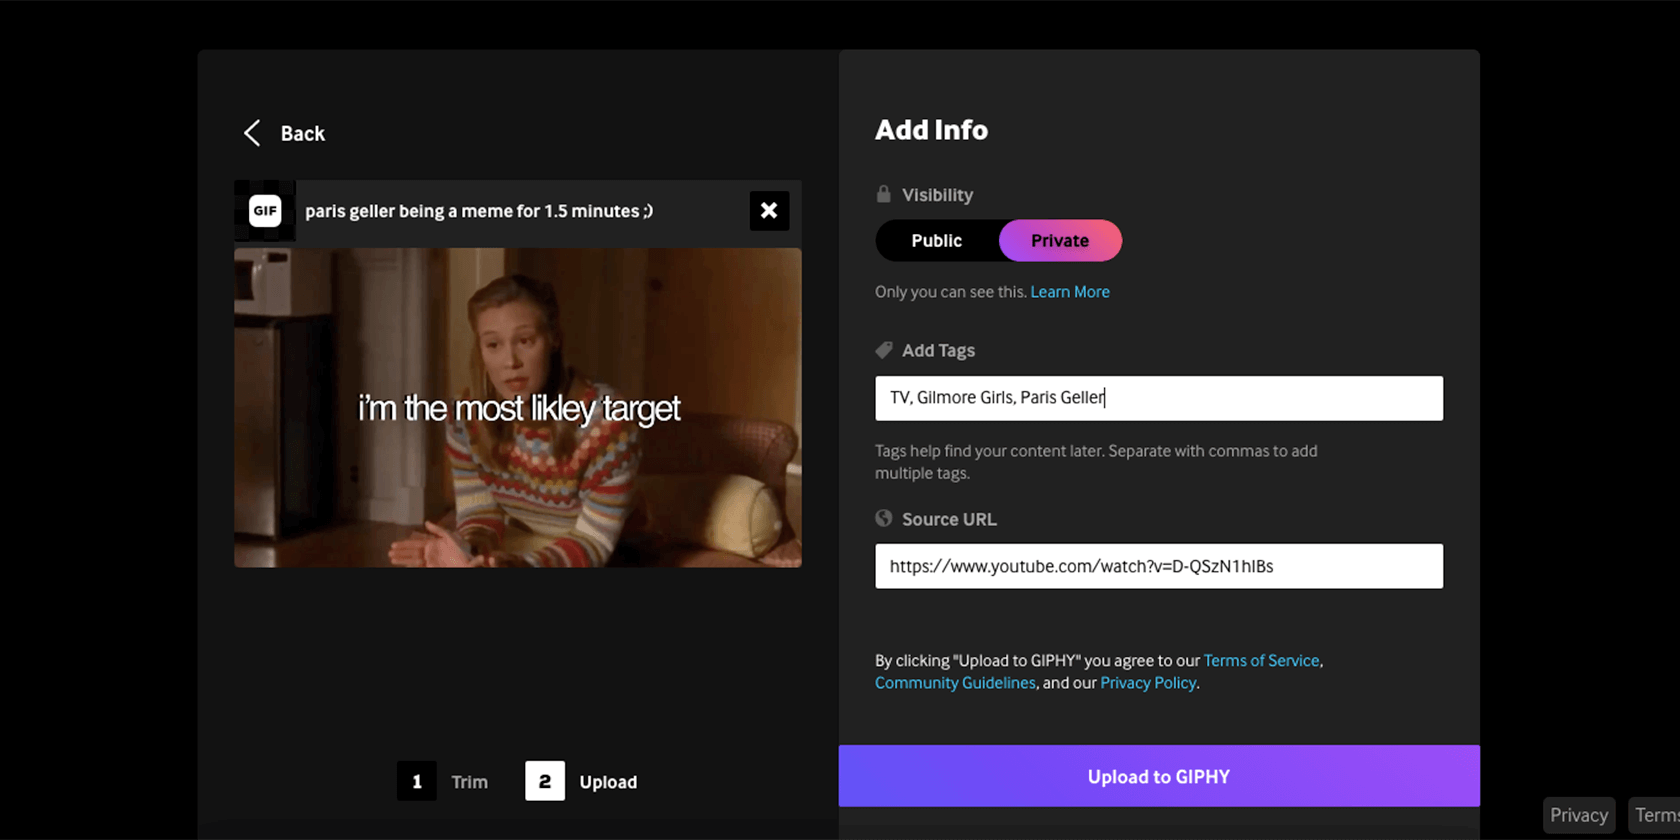
After you click Continue to Upload, you can adjust the video info. First, you can decide to either make it private or public. If you go for a public video, you can add tags to help it appear in searches. And finally, you can add the source URL.
Decorating Your GIFs With GIPHY
There is another way to upload a video to GIPHY, which provides you with a few more editing options. However, you can only create GIFs that are up to 15 seconds long. To start, press Create instead of Upload, and add the video you want to use.
The next screen looks a bit different but also lets you pick the start and end time for the GIF. When you're finished, hit Continue to Decorate.
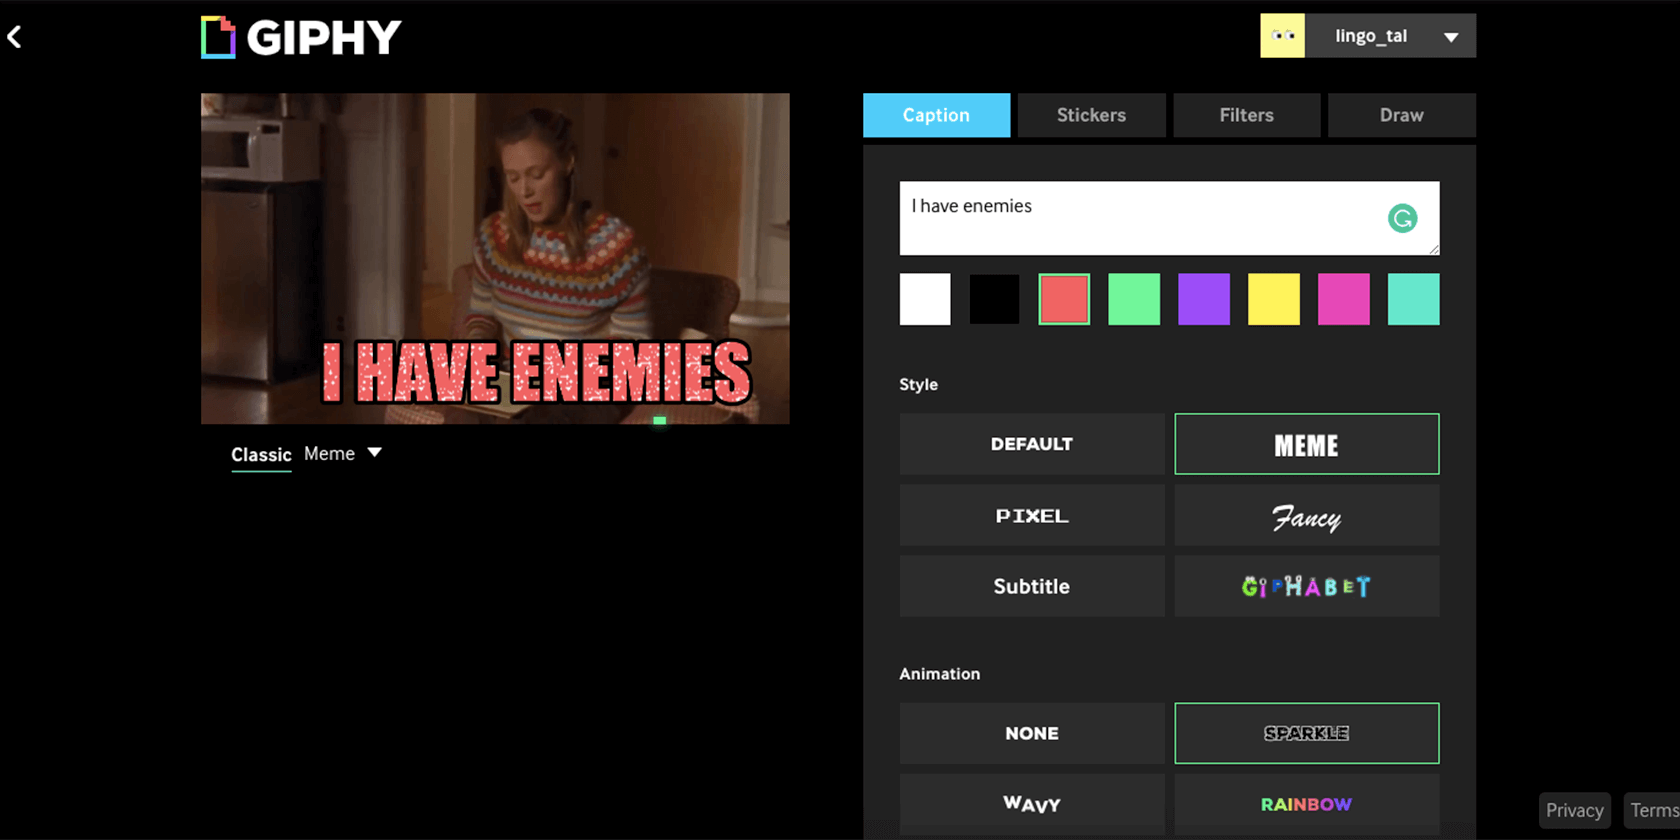
At the following screen, you can add a text box and play around. You can change the animation, color, and font. You can also add filters, stickers, and even draw on the video.
When you’re done, upload like before—either as a public video or as private. GIFs you upload can be shared via the website, or you can right-click and download them to your computer.
How to Use Photoshop to Convert a Video to a GIF
GIPHY provides you with a simple and straightforward way to create GIFs. However, if you want more control over the outcome, Photoshop is the way to go.
This software is more advanced, so you will need some basic editing knowledge to use it. If you’re completely new to it, you might want to refer to some tutorials before you get started. For those of you who are already familiar, we’ll jump right in.
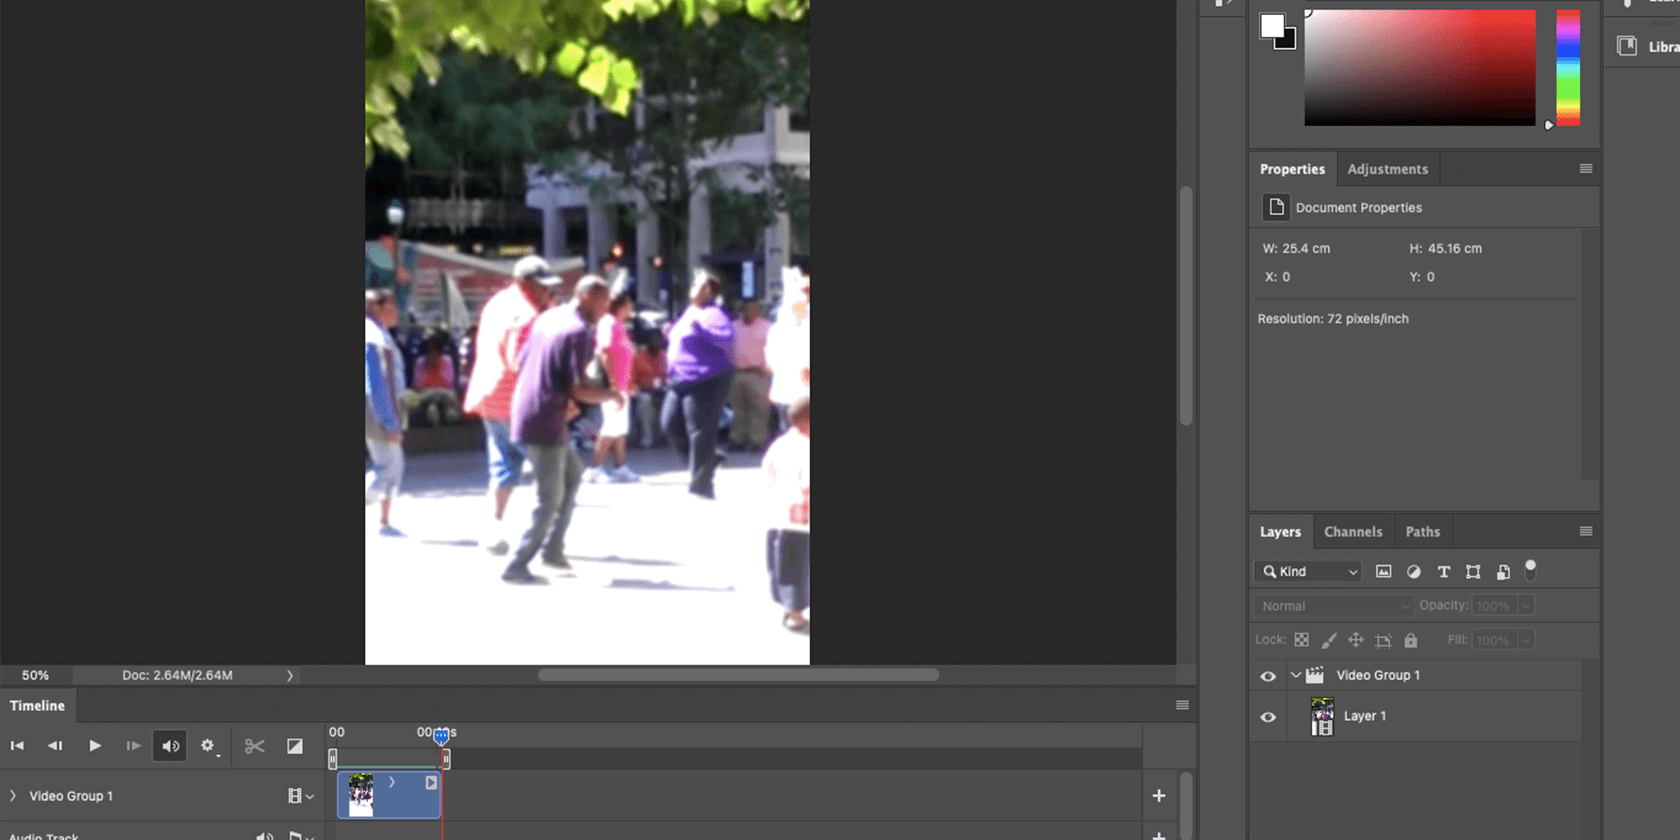
To start, go to File > Open and pick your video. Once it loads, Photoshop will show the Timeline bar, to help you navigate through it. To trim the video, drag either side of the Timeline, and press Play to ensure you’re happy with the result.
From here, the possibilities are endless—you can crop the video into a square, choose filters to sharpen the image or stylize it, change it to black and white, and more.
Adding Text to a GIF With Photoshop
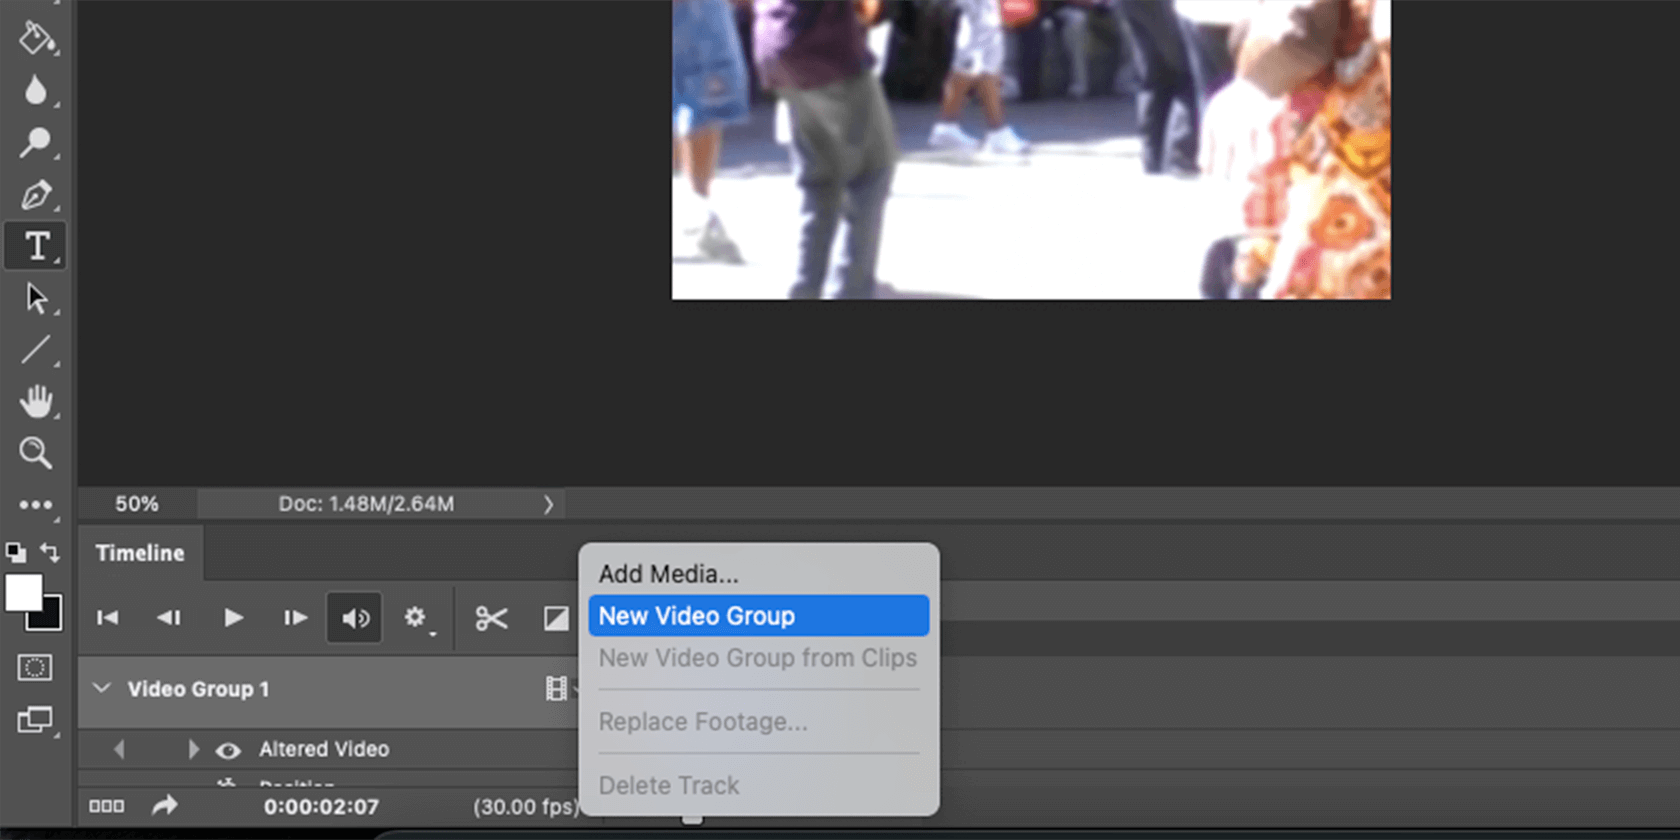
To add text to the video, you need to create a new video layer. This option is located on the Timeline, in the arrow next to Video Group 1. Pick New Video Group from that menu, and then select the Text tool.
After you type your text, you can decide how long you want it to appear with the Timeline indicators. You can also drag the text to make it overlay a certain portion of the video. You can add multiple layers with different text, or even add an image with a transparent background.
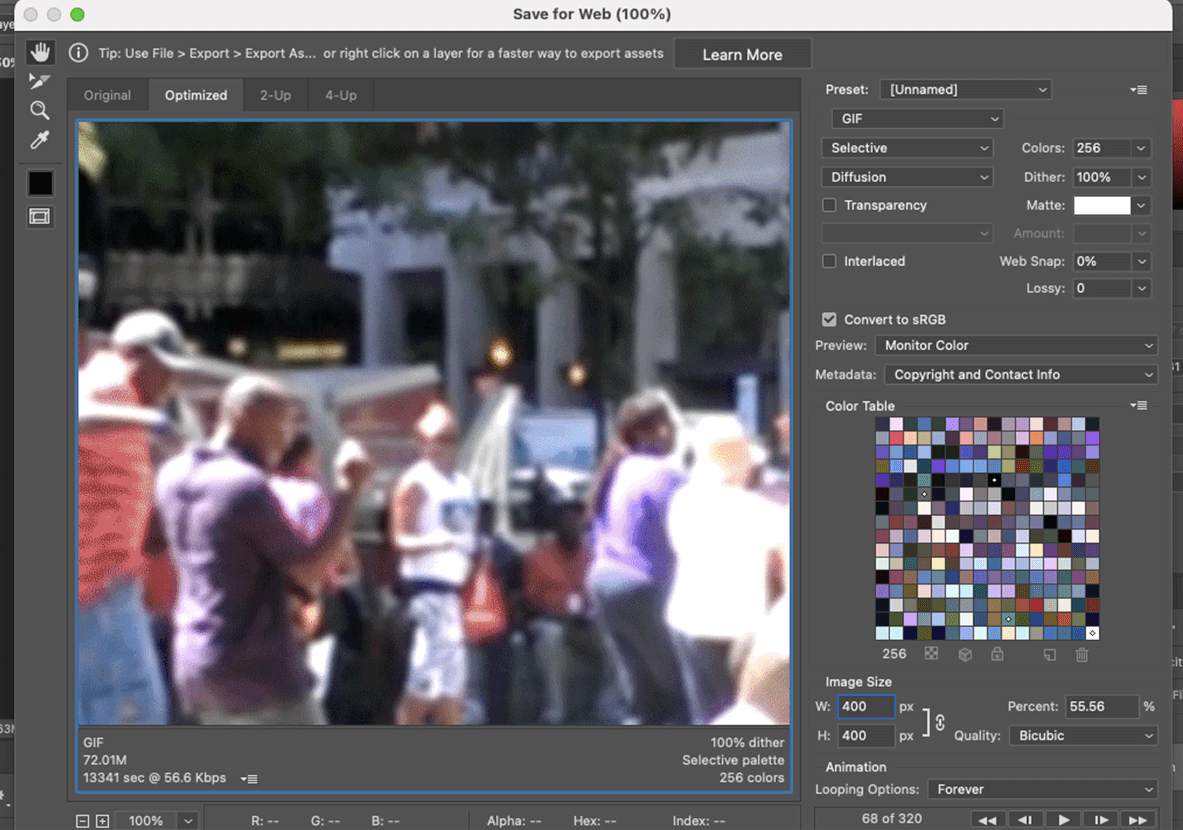
Before you save it as a GIF, make sure that the image size is reasonable, as bigger videos generate a larger file, which defeats the purpose of a GIF.
To save, go to File > Export > Save to Web (Legacy). In the next window, the only thing you need to do is make sure the file type is GIF, and that you pick Forever under Looping Options. After that, hit Save, and you’re done.
Diving Into the World of Video Editing
Now that you’re familiar with the basics of editing a video to create a GIF, maybe you’re curious about other video editing possibilities. Fortunately, there are multiple video editing applications available for Mac, Windows, and even your smartphone.
You can use these tools to edit a video to perfection before saving it as a GIF. Or maybe you can just use it to create full-on videos with sound, to really showcase your creativity.


