An image that has a transparent background is a bliss to work with. You can position these images anywhere on your canvas and not see an interrupting white background right behind it.
White backgrounds are common with images of logos and icons. Thanks to Adobe Illustrator, you don't have to scorch the internet looking for a PNG of the logo you want. You can simply remove the white background on your own.
Read on to find out how you can remove the white background from an image in Illustrator, and how you can export your vectors as transparent PNGs.
How to Remove a White Background in Illustrator
There are instances when a design you downloaded comes with a white background instead of a transparent one. This white background gets in the way of seamlessly using the image in other designs.
If you have an image of this sort, you don't have to waste your time in search of one with a transparent background. You can use Adobe Illustrator to easily remove the white background. Adobe Illustrator has a wonderful tool called Image Trace. This tool allows you to convert traditional bitmap images to vectors.
Bitmap images are created from rows of pixels, whereas vectors consist of shapes and lines. With Image Trace, you can turn your bitmap image into a vector and simply omit the white background. Here's how to do it:
- Open your image with Adobe Illustrator.
- On your keyboard, press Ctrl + Shift + D (or Cmd + Shift + D on Mac). This will show the transparency grid, which allows you to see if your image is transparent or not.
- Select the image on the artboard with the Selection Tool. You can press V on your keyboard to activate this tool.
- In the menu bar up top, click on Window. This will open a dropdown menu.
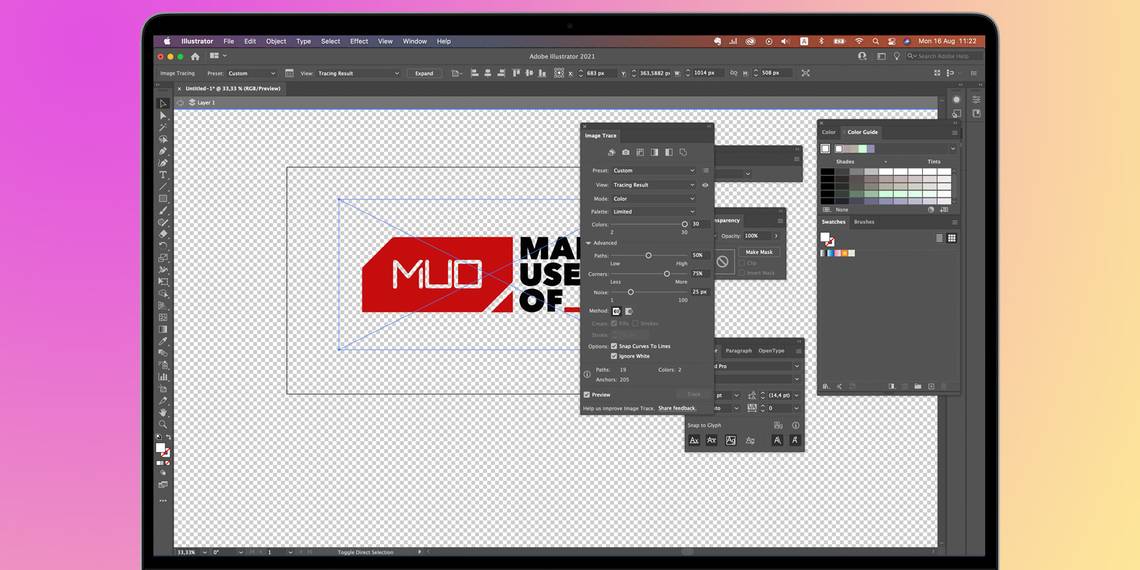
- In the dropdown menu, select Image Trace. The Image Trace menu will appear.
- In the Image Trace menu, change Mode from Black and White to Colored.
- Open the Advanced settings by clicking the triangle next to it.
- In Options, check Ignore White.
-
Click on Trace.
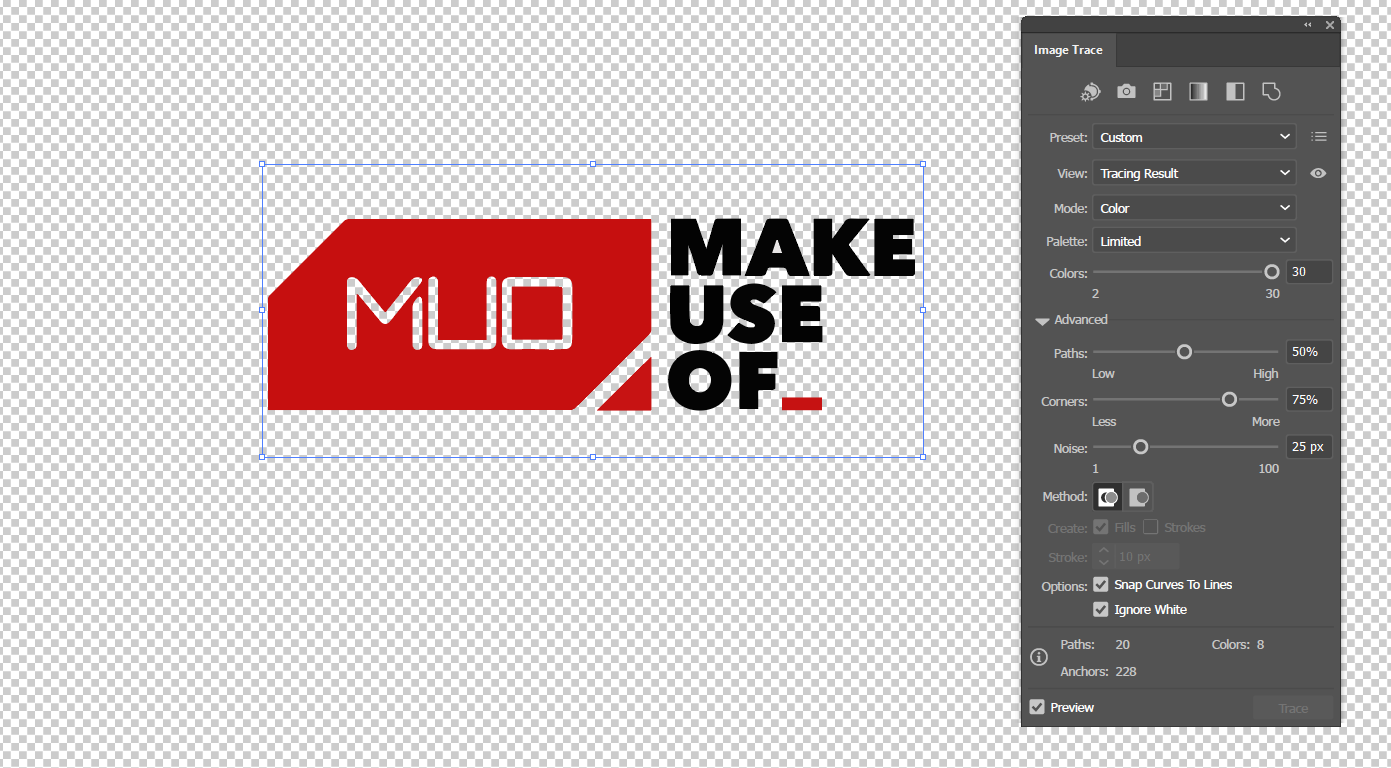

Image Trace will then turn the image into a vector and remove the white background! If you want to learn more about the Image Trace tool in Illustrator, read our article on how to trace an image in Adobe Illustrator.
How to Export Your Vector as a PNG With a Transparent Background in Illustrator
Now that you have a vector with a transparent background, you'll want to export it that way. In order to achieve this, all you need to do is make sure one setting is set correctly in the PNG options window. Here's how:
- From the menu bar, select File.
- In the File menu, hover on Export, and then select Export As.
- Select the export destination and input the file name.
- From the Save as type menu, select PNG.
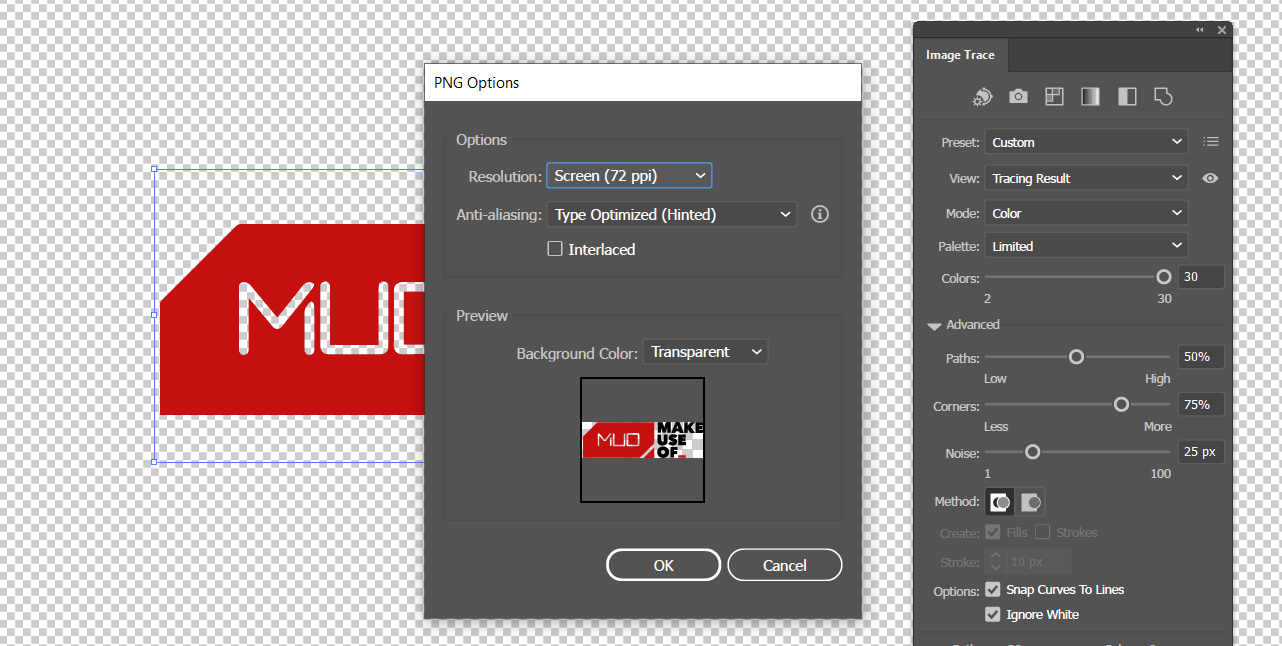
- Click Export. The PNG Options window will appear.
- In the Preview section of PNG Options, make sure that the Background Color is set to Transparent.
-
Select OK.

There you have it! You can now go to the file destination you chose, and find your PNG image with a transparent background. Alternatively, you can also export your image as an SVG file. SVG images will have a transparent background as well.
Achieve the Look You Want With Adobe Illustrator
The biggest letdown when you finally find the perfect image for your project is realizing that it comes with an annoying white background. At least that would've been the case if you didn't know how to use Image Trace.
With the help of Image Trace in Adobe Illustrator, you can remove the white background from any image and export it with a transparent background. Just remember to export your new image as a PNG or SVG file, or else the white background will reappear.
Removing the white background is only one of the useful things you can achieve with the Image Trace tool. Vectorizing your bitmap images gives you several other benefits that are also worth knowing.