
If you use Canva to create presentations for work, lead magnets, PDFs, or anything similar, you may need to insert a table once in a while. The simplest way to do that is to print screen the table you created elsewhere, and paste it in Canva as a picture.
However, it is not the most practical way, especially if you want to be able to change the data in the future or if you want to make it easy to copy data from the table. Here’s a guide on how to make a table in Canva.
How to Create a Table in Canva

If you are completely new to Canva, we recommend that you read more about what Canva is and what it’s used for. This is a great tool for a variety of professionals, but it’s also for people who want to create graphics in their day-to-day life.
However, if you’re here, we’ll assume you’ve had at least some experience with the software, and already have an account. In that case, let’s dive right into the guide:
- On the home page, click Create a Design. You can pick whatever size you want, as you can resize the table to fit.
- Click on the Elements tab on the left side of the new screen.
- Scroll down to Tables.
- Click See all so you can browse all the options.
- Click on the type of table you like to add to your workspace. You can also drag it onto your canvas.
That’s it, it’s that easy to add a table. The automatic template comes with three columns and four lines (one for the title), but no worries, you can change it to fit your needs.
How to Customize a Table in Canva
Now that you know how to insert a table in Canva, let’s see what you can do with it. First, just like any other element in Canva, you can move and resize it. However, there are many more features available:
-
Add a row or column. If you hover next to the borders of the table, you’ll see a plus sign. When you click on it, Canva will add a new row or column next to that border.

-
Delete a row or column. To do that, click on a cell, and click the ellipse (…) either above the column or next to the row. Pick Delete row/column from the pop-up menu.
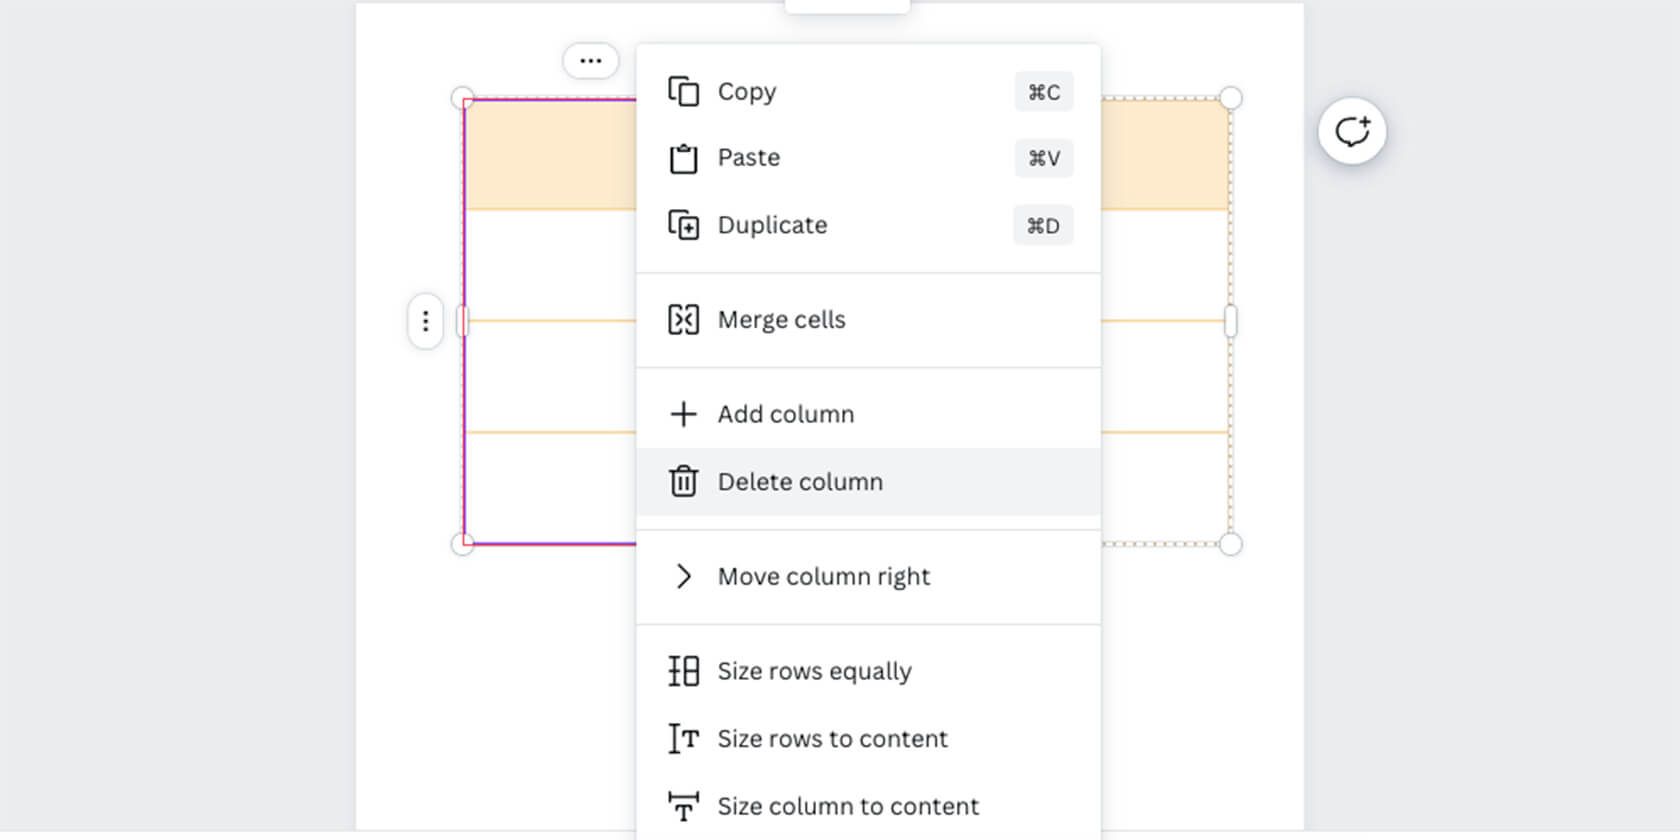
- Merge cells. Pick the cells you want to merge while holding Shift, then right-click and pick Merge cells.
-
Change borders. Select the table and click the Border button on the top menu. You can remove the border completely with the Border Style button—simply set it to zero. Then you can choose to add a border to just the lines, or just the columns.

-
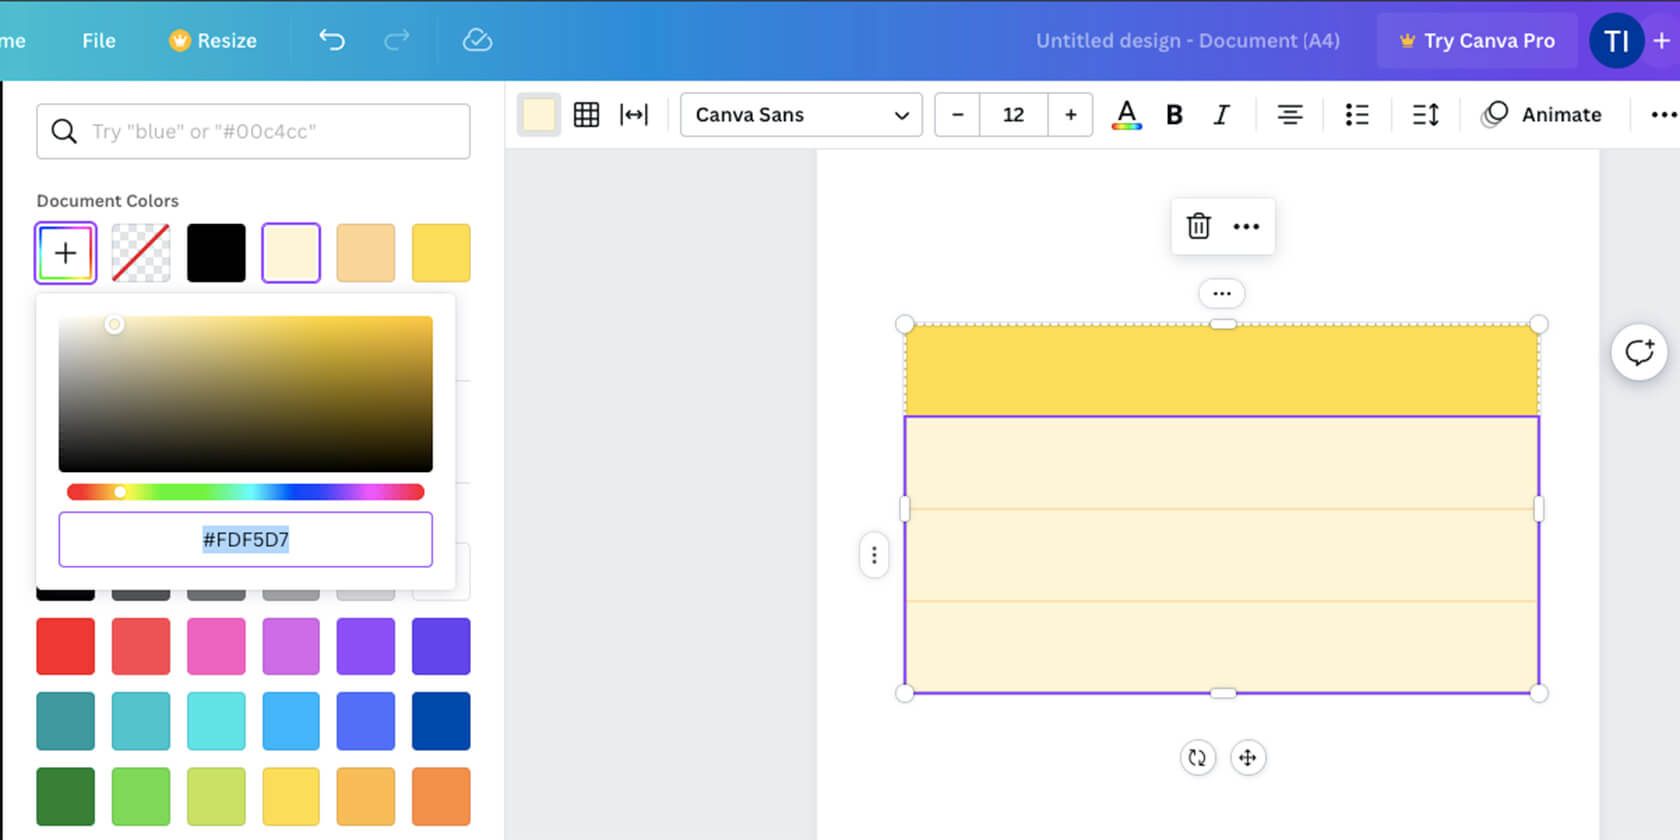
Change colors. There are custom designs you can choose from, but you can also change the design of something you already picked. You can change the border color under Borders. The cell colors are the button to the left. This will fill whatever you pick, whether it’s a row, column, or cell.


These are the most basic ways to change your table. However, there are plenty of other options, like cell spacing and padding, and fitting the cells to your content. You can customize the text you input into the table and even add animation once you feel confident.
Moreover, Canva also has a mobile app if you want to create documents on the go. See our beginner’s guide to the Canva app to learn more about that.
Easily Add Tables to Your Canva Projects
We hope that this guide helped you understand how to make a table in Canva. Once you get familiar with the software, it’s quite an easy task to accomplish. And after you’re done with that, you can move on to more complicated tasks, like adding images, designing templates, and so much more.