
Have you been eyeing the GarageBand app that's been sitting on your home screen, untouched? Perhaps you've opened it out of curiosity but got overwhelmed by the layout, not knowing where to start.
You're in luck. Today, we're going to show you how to make a song on GarageBand, from beginning to end.
There are three key elements to every song: the beat, bass, and layering instruments or vocals for melody. This guide will be helpful to anyone who's new to music editing, but a musical inclination will definitely work in your favor.
1. Getting Started With Your Project
GarageBand lets you compose, edit, and even remix music, but before we can get to the fun parts, you need to know how to start a project.
Ensure that you have GarageBand installed on your Apple device. In this article, we're going to focus on the GarageBand app for iOS.
Download: GarageBand for iOS | Mac (Free)
Open the GarageBand app. Before creating a project, have a look at the Menu by tapping the three-dots icon at the top right. From here, you can create folders, select files, connect to a server, and organize your projects.

At the bottom, you'll see Recents and Browse. Tap on Browse, and it'll take you to a list of locations from where you can import existing projects.

If you haven't created any files yet, the app will have opened to a near-empty home screen, with a white document labeled Create Song. Tap on it. Alternately, you can also tap the plus (+) icon at the top right.

2. Choose an Instrument
Upon creating a song, you'll see an array of options to choose from. It typically shows the Keyboard first by default—just swipe to view everything else. We recommend starting with Drums, as a beat is the foundation of any track.
When hovering over Drums, tap on Smart Drums.

This is a great drum choice for those who are just getting started since it's simpler to edit with than acoustic drums.
3. Create a Beat
After selecting your instrument (in this case, we've selected the Smart Drums), it'll open the editing window of that instrument. The editing window is where you will modify and record the instruments.
In the middle of the window, there's a grid, and to the right, there are assorted parts of a standard drum kit. You're going to hold down on the drum icons and drag them onto the grid.

As soon as they are placed on the grid they'll start to play. You can stop and start the playback by tapping the Power icon to the top left of the grid.
Layer the drum icons to different complexity and loudness levels as displayed around the borders of the grid. Play around with it until you're satisfied with the beat.
If you're at a loss for creativity, tap the Dice icon to the bottom left of the grid and it'll produce a random beat.
4. Record Your Instruments
Once you've got your beat laid down, you're going to want to record it in order to embed the data into the file. This is the case for any instrument on GarageBand. You can come up with the most brilliant sounding composition, but it'll be of no use if you don't record it, and you won't be able to add other instruments to the song before recording the first one.
Tap the red circle in the top panel to start recording. A four-click metronome will count you in, and it'll play back in real-time as it records.

You can record the instrument for as long as you want—keep track of the recording duration in the time bar at the top. To stop, either tap the red circle again or tap on the Stop icon (the square).
5. How to Navigate the Project Window
Recording your first instrument is just the tip of the iceberg. We're going to show you how to navigate the project window, which is where you'll be doing the editing and altering of your song.
When you're in an instrument's editing window, tap on the icon at the top left that looks like a stack of bricks.
This will direct you to the project window. You'll see your recorded instrument laid out in its digital format. Drag the sidebar on the left to reveal several editing tools.
From there, you can Mute the track, Solo it, and control its volume. Tap on the Instrument icon to reveal more tools such as Duplicate, Merge, and Automation for fading music in or out.

All these tools will come in handy for editing the final song after adding all your instruments.
At the top left is the FX tool. Select the track you want to edit, tap FX, hit Record, and apply the effects in real-time. This is not a necessary step, especially for beginners, but it's fun to play around with and can create some cool sounds.

Tapping the Settings icon at the top right will give you even more modification options. And last but not least, to add more instruments to your song, tap the plus (+) icon at the bottom left, and it'll redirect you to the instrument options where you first started your project.

The instruments you pick from here will be added to the same project window as the first instrument—it's all part of the same file. This way, you can perform edits over the entire song.
6. Add Bass
Bass is a necessary part of a track since it bridges the gap between the beat and the melody created by other instruments or vocals.
After tapping the plus (+) icon on the project page, scroll to Bass and select Smart Bass since it's the easiest one to play. This is where your musicality will come in handy since you'll have to tap the strings with a melody that makes sense in real-time.

If that's too complicated for you, you can turn on Autoplay. To do this, switch to Chords by tapping the striped icon to the right, and then tap on the knob icon in the top-right. Select a complexity level ranging from one to four, and choose a key from the bass chords. It will auto-play.

Like your first instrument, hit Record to add the track to the file. You'll hear all the other instruments that you've added so far during playback unless they've been muted in the project window.
7. Layer Instruments
Now that you have the foundation of your song, it's time to start the melodies. You can do this by adding Keyboards, Guitars, or even record your own voice. Keep scrolling through the instrument options to find something that's to your liking.

Whichever instruments you choose, follow the same process for adding, playing, and recording them. Note that not all the instruments will have auto-play. We suggest using ones that do if you're a beginner.
8. Master Your Song
Mastering is the process of cleaning up the track mix. You'll do this in the project window—refer to step five for the tools and features of the project window. This will include volume controls, fades, trims, and effects.
String instruments will have an additional editing feature. Go to the project window, double-tap on the instrument track, select Edit, and you'll be directed to a new editing window.

Here, you can polish up timing issues with individual notes by dragging them, delete unnecessary notes, and trim them. You can also add notes by sliding the pen icon at the top left and tapping on the notes panel.

At this stage, your project window should look something like the image above.
9. Export Your Masterpiece
What's the point of making an awesome track if you're not going to show off your work?
Here's how to export your song:
- From the Project window, tap the downward arrow at the top left and select My Songs. This will save your project to the GarageBand library.
- Locate your project in the library, hold down on it, and select Share from the popup menu. Then, select the Song format.
- Choose a quality, and edit the details of the project if you want to, then tap Share at the top right.
-
From the popup menu, select Open In. Then, from another popup, tap Save to Files. Select the location you want to save it to.
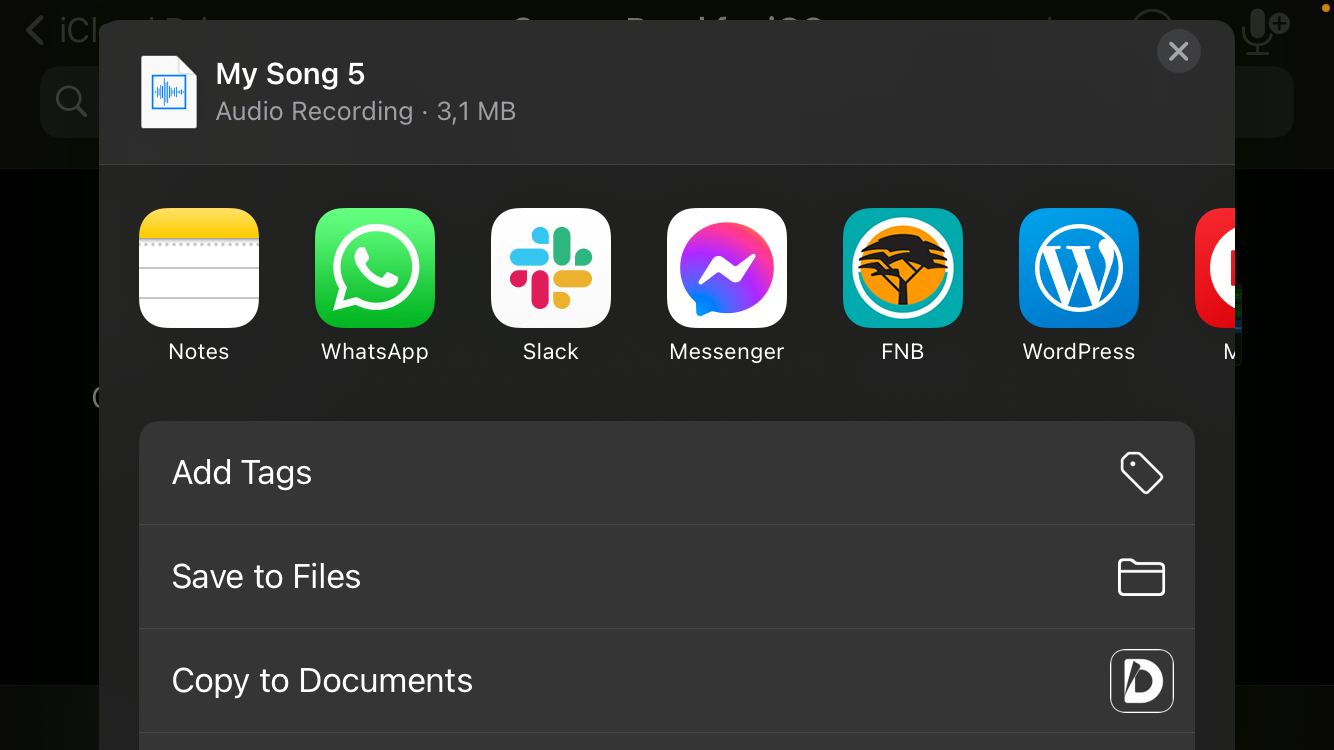
- You can also directly send it via a messaging app or open it in another editor from the same popup as mentioned above.

Tap Into Your Musical Genius With GarageBand
You don't need to be a pro music producer or have years of music theory under your belt to make a good song. GarageBand is designed for anyone to be able to make something creative.
Use the above steps as your beginner's guide for how to make a song on GarageBand. The more you try your hand at it, the better you will get.