If you are a programmer, you might already be familiar with the nuances and capabilities of Visual Studio Code. The tool is ideal for developers and programmers alike, who want to configure and run several programming languages from a single platform.
Here's a small introduction to its build features, especially for people wondering about Visual Studio Code and its related usage elements.
What Is Visual Studio Code?
Microsoft Visual Studio Code, as the name suggests, is an open-source code editor powered by Microsoft. It offers plenty of debugging options to the end-users, including embedded Git control, syntax highlighting, code completion, code refactoring, an integrated terminal, snippets, and much more.
Like Visual Studio Code, a few other competitors in the market offer a similar structure and coding facility to the end users. For example, if you were to compare Visual Studio Code and Atom, its closest competitor, how would you know which one to choose between two? This is where the true identification knowledge comes to the fore.
You can install Visual Studio Code on a Windows PC, on macOS, and even on Linux distros. While the methodology for each Linux distribution is different, there are three prominent ways to install Visual Studio Code on Ubuntu.
- Install it from the terminal, using the Snap package.
- Use apt along with Microsoft's package repository. These repositories cater to Linux users specifically.
- Use Ubuntu's GUI to install the software on your system.
Here's how you can install Visual Studio Code on Ubuntu using either of these three methods:
1. Installing the VS Code Snap Package Through the Ubuntu Terminal
Microsoft maintains and updates the snap package for Visual Studio Code within Linux. The Snap installation method and the Snap Store has a lot of features, each catering to various software installations. You can pick and choose the ones which come closest to your requirements.
You can install snaps either from the command line or via Ubuntu Software.
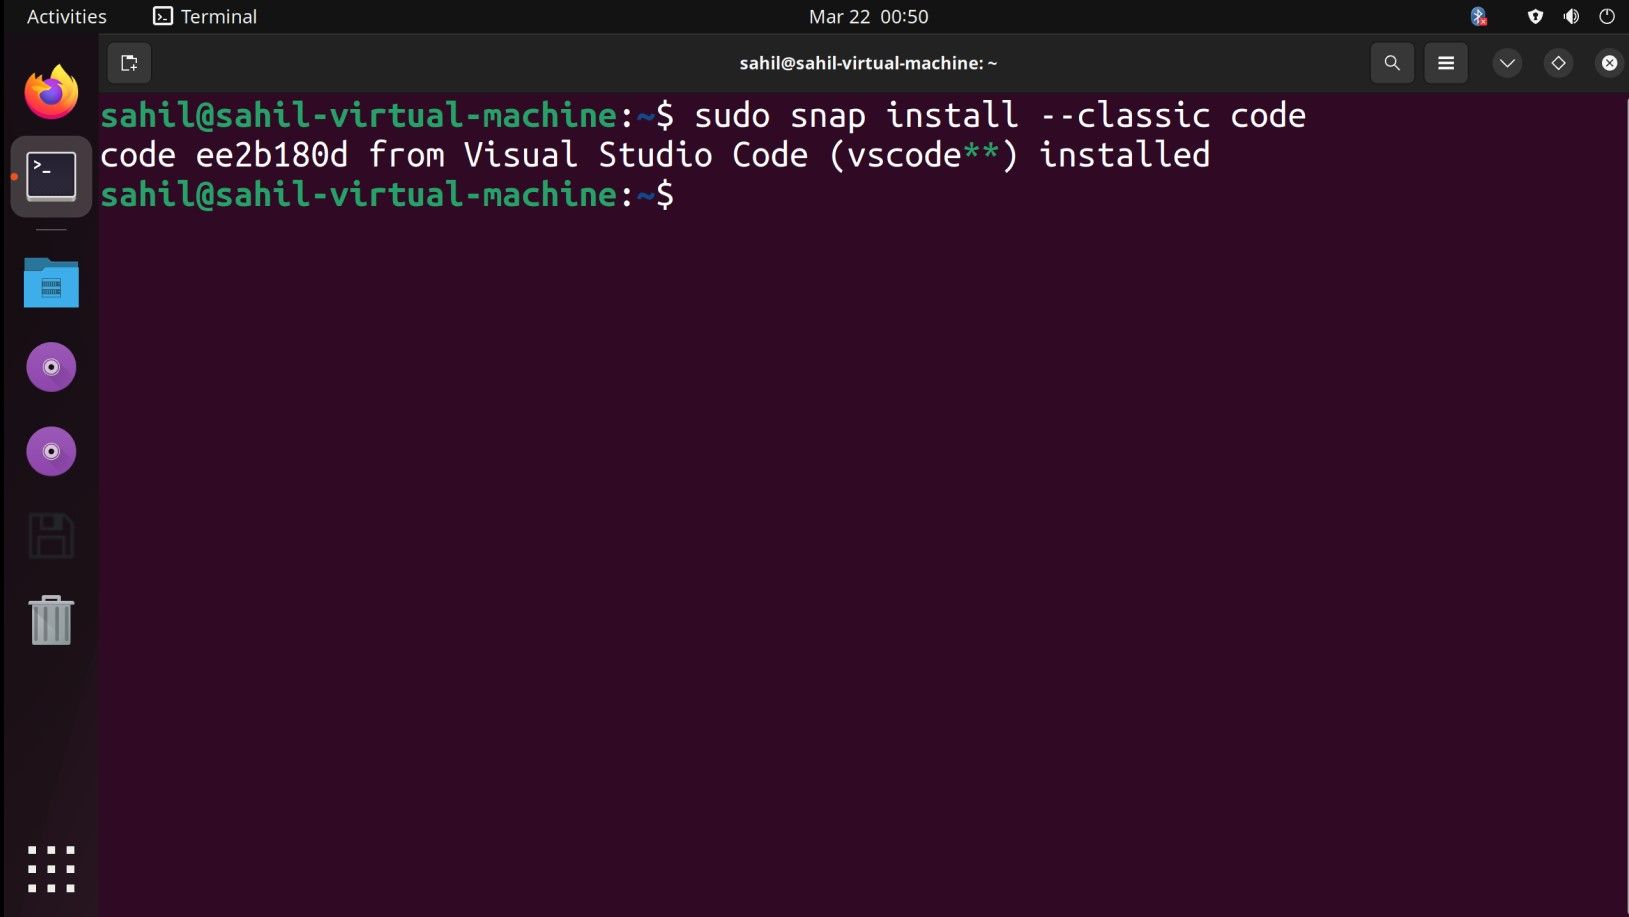
To install the Visual Studio Code snap package, open the terminal and type the following command to kickstart the installation process:
sudo snap install --classic code
This is it; once the installation completes, you can open Visual Studio Code from the terminal or the Applications menu. To open it via the terminal directly, type in the keyword code.
code
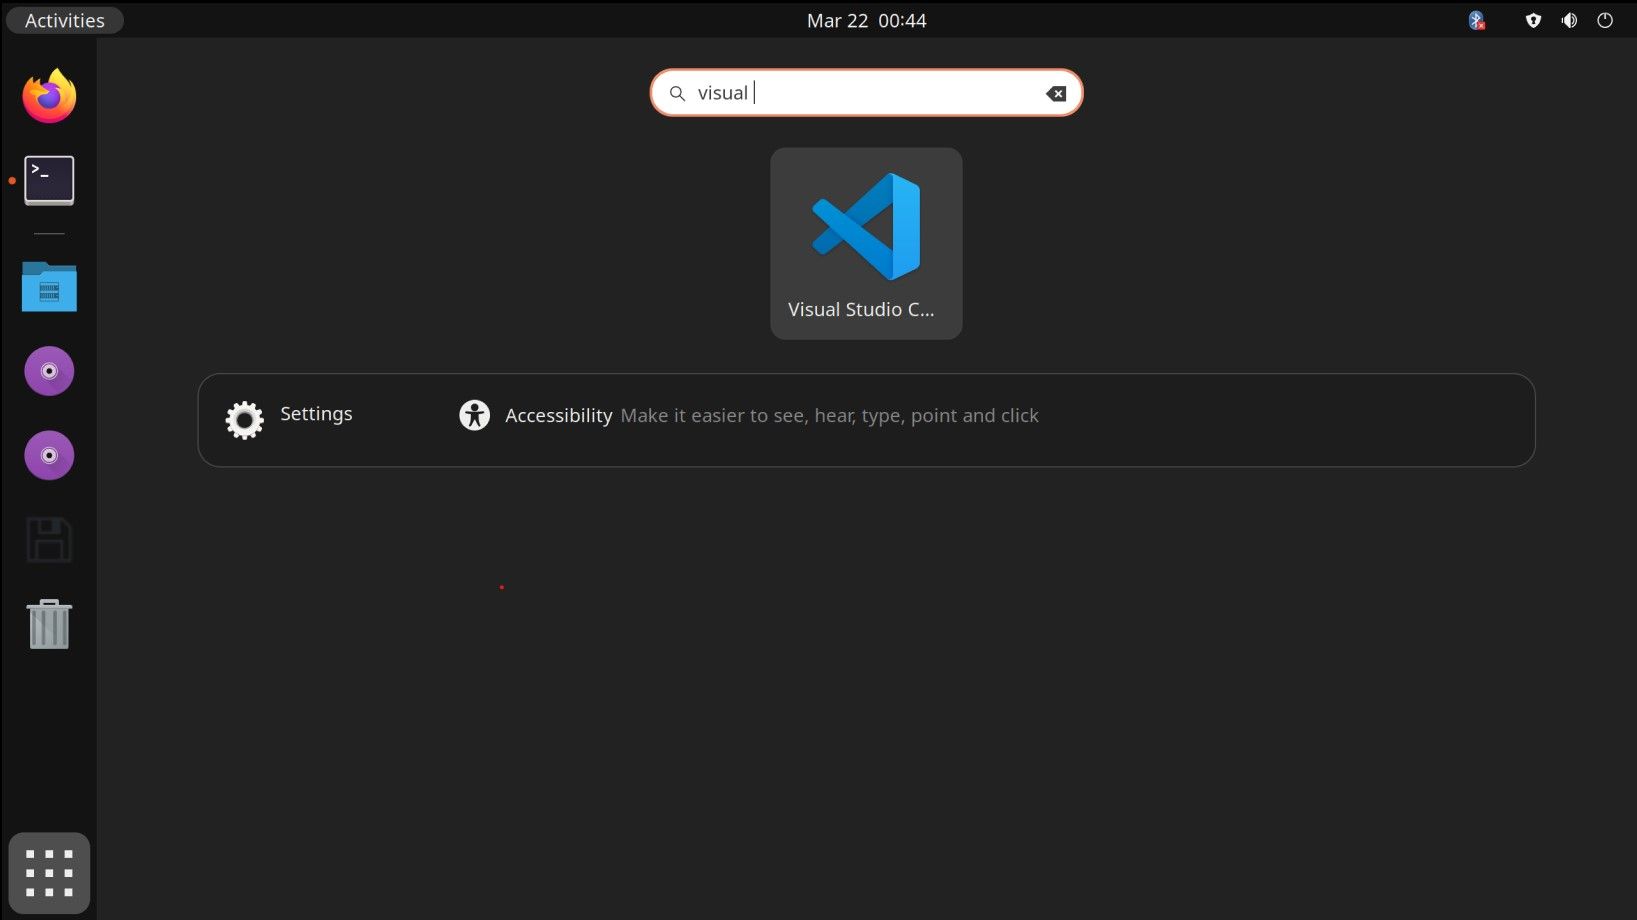
Alternatively, to open it from the Applications menu, you can type in Visual Studio Code in the search bar and click on the icon to open it.
Remove Visual Studio Code With the Snap Method
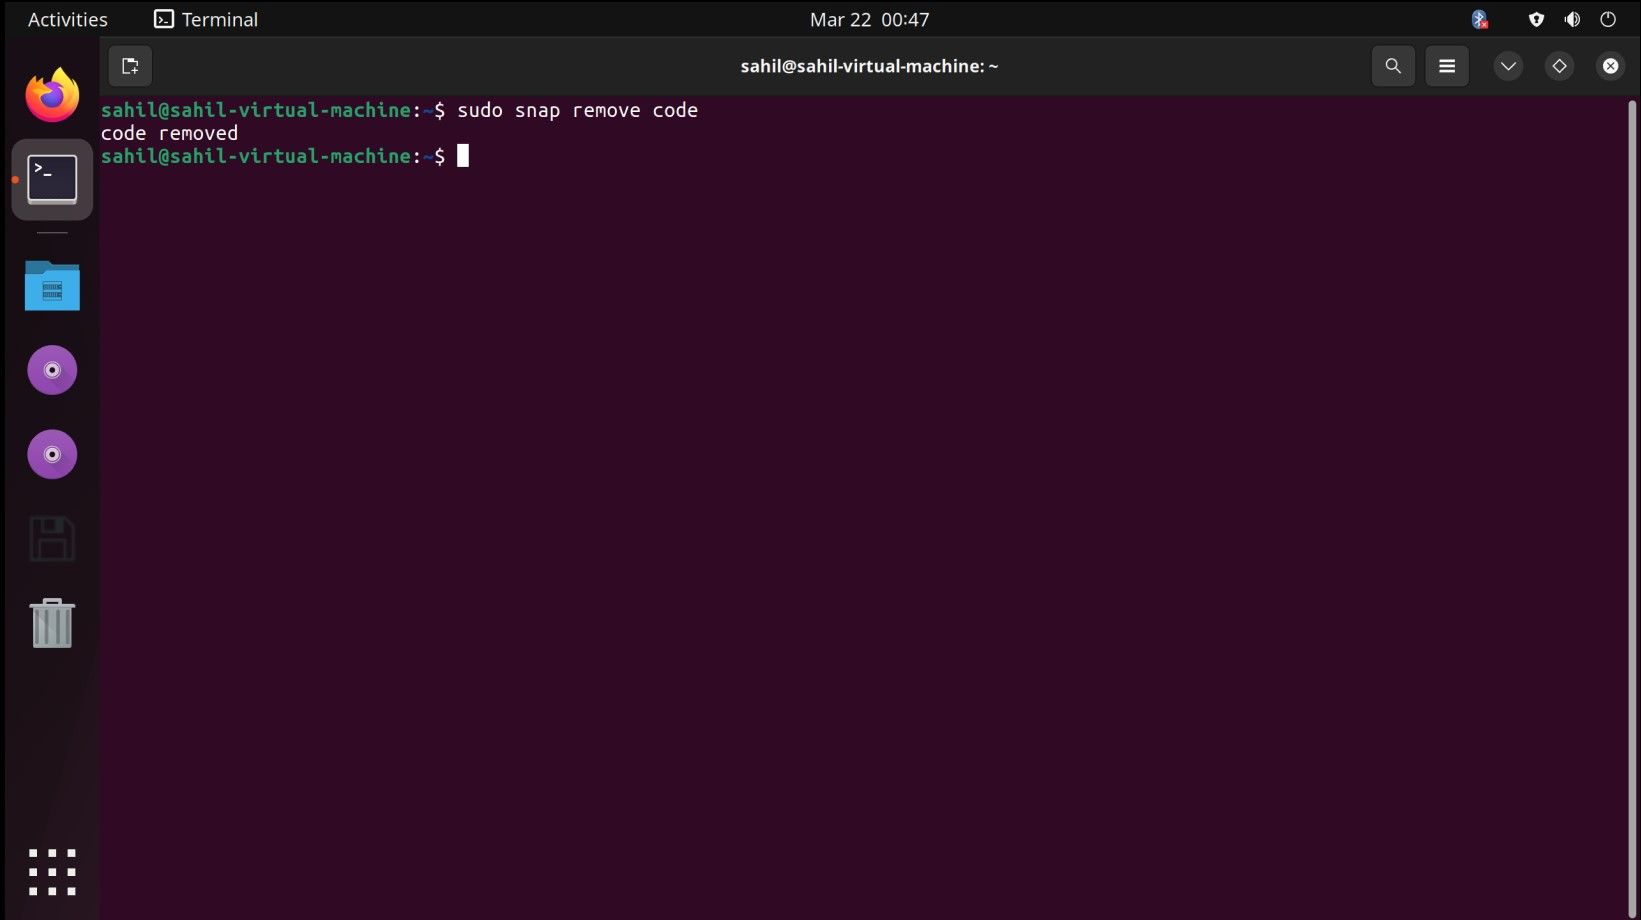
To uninstall Visual Studio Code's Snap package, you can use the following command within the terminal window:
sudo snap remove code
2. Installing VS Code Using APT on Ubuntu
Alternatively, you can install Visual Studio Code using Microsoft’s repository and the default package manager apt on Ubuntu. Follow these steps to install the software using the official repository.
Step 1: Update and Upgrade Your Existing Packages
First, update all the packages on your system using the following commands:
        sudo apt update
sudo apt upgrade -y
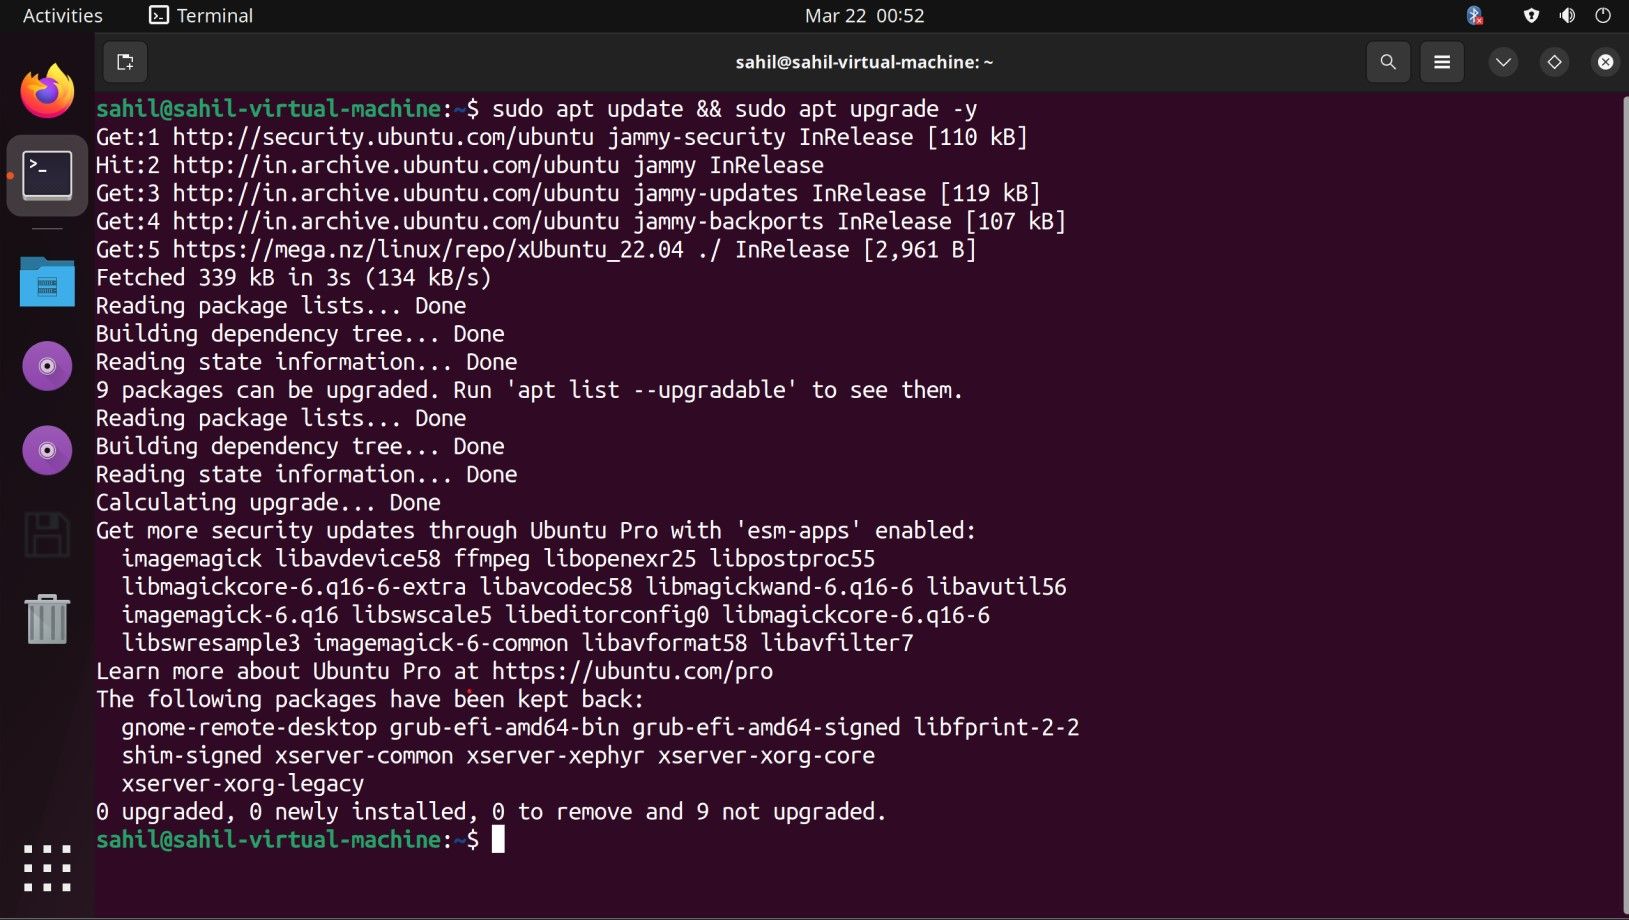
Power users can also issue this code in a single line:
sudo apt update && sudo apt upgrade -y
Step 2: Install the Repository Dependencies
Once you have updated and upgraded the packages, it's time to install the necessary dependencies for adding the repository. Type the following command in your terminal:
sudo apt install software-properties-common apt-transport-https wget
Step 3: Import Microsoft’s GPG Key
Then, use wget to import Microsoft’s GPG key:
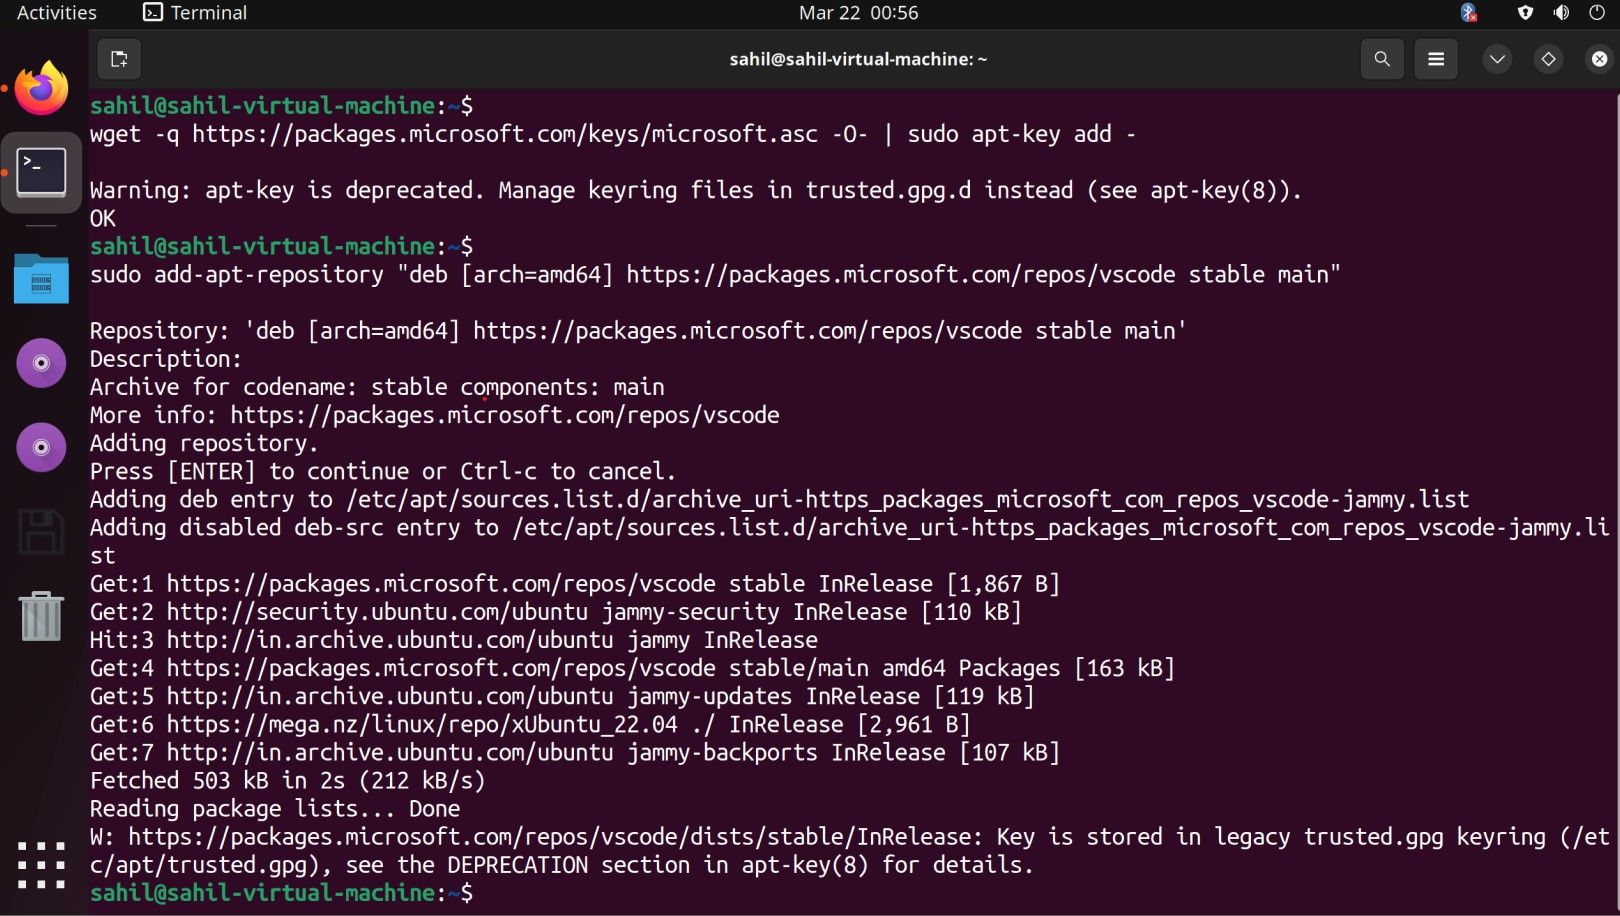
wget -q https://packages.microsoft.com/keys/microsoft.asc -O- | sudo apt-key add -
Step 4: Enable the VS Code Repository
To enable the VS Code repository, run the following command:
sudo add-apt-repository "deb [arch=amd64] https://packages.microsoft.com/repos/vscode stable main"
Step 5: Install Visual Studio Code via the apt Command
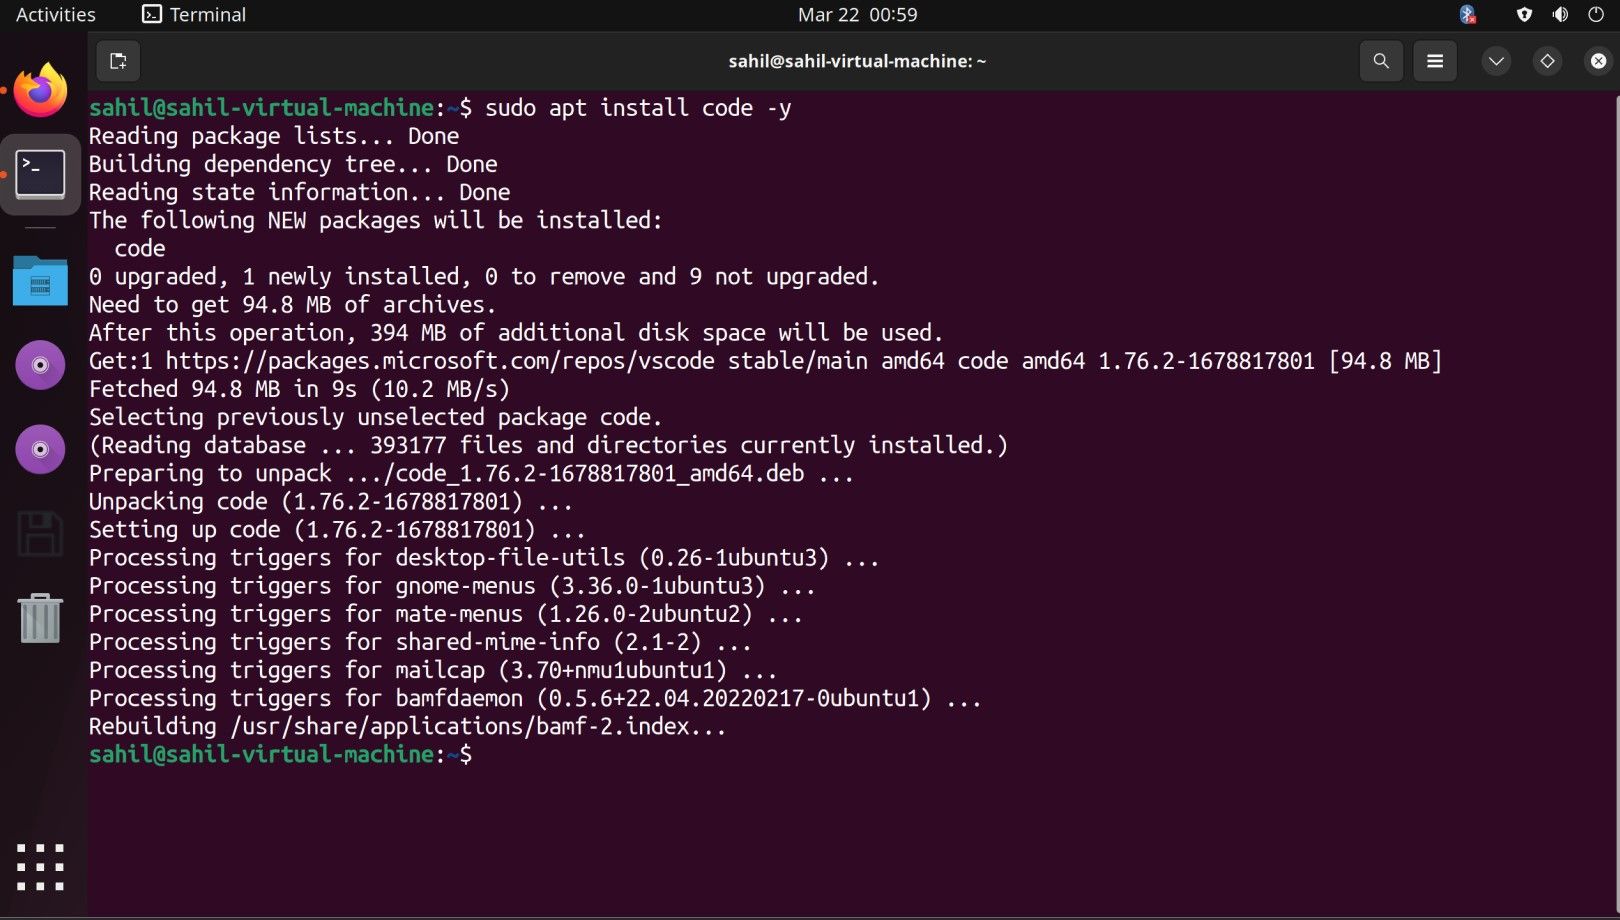
As soon as you enable the repository, install the software package using the following command:
sudo apt install code -y
Update Your Existing Software Version
To update your existing VS Code version to the newest available version, run the update/upgrade commands in this manner:
sudo apt update && sudo apt upgrade -y
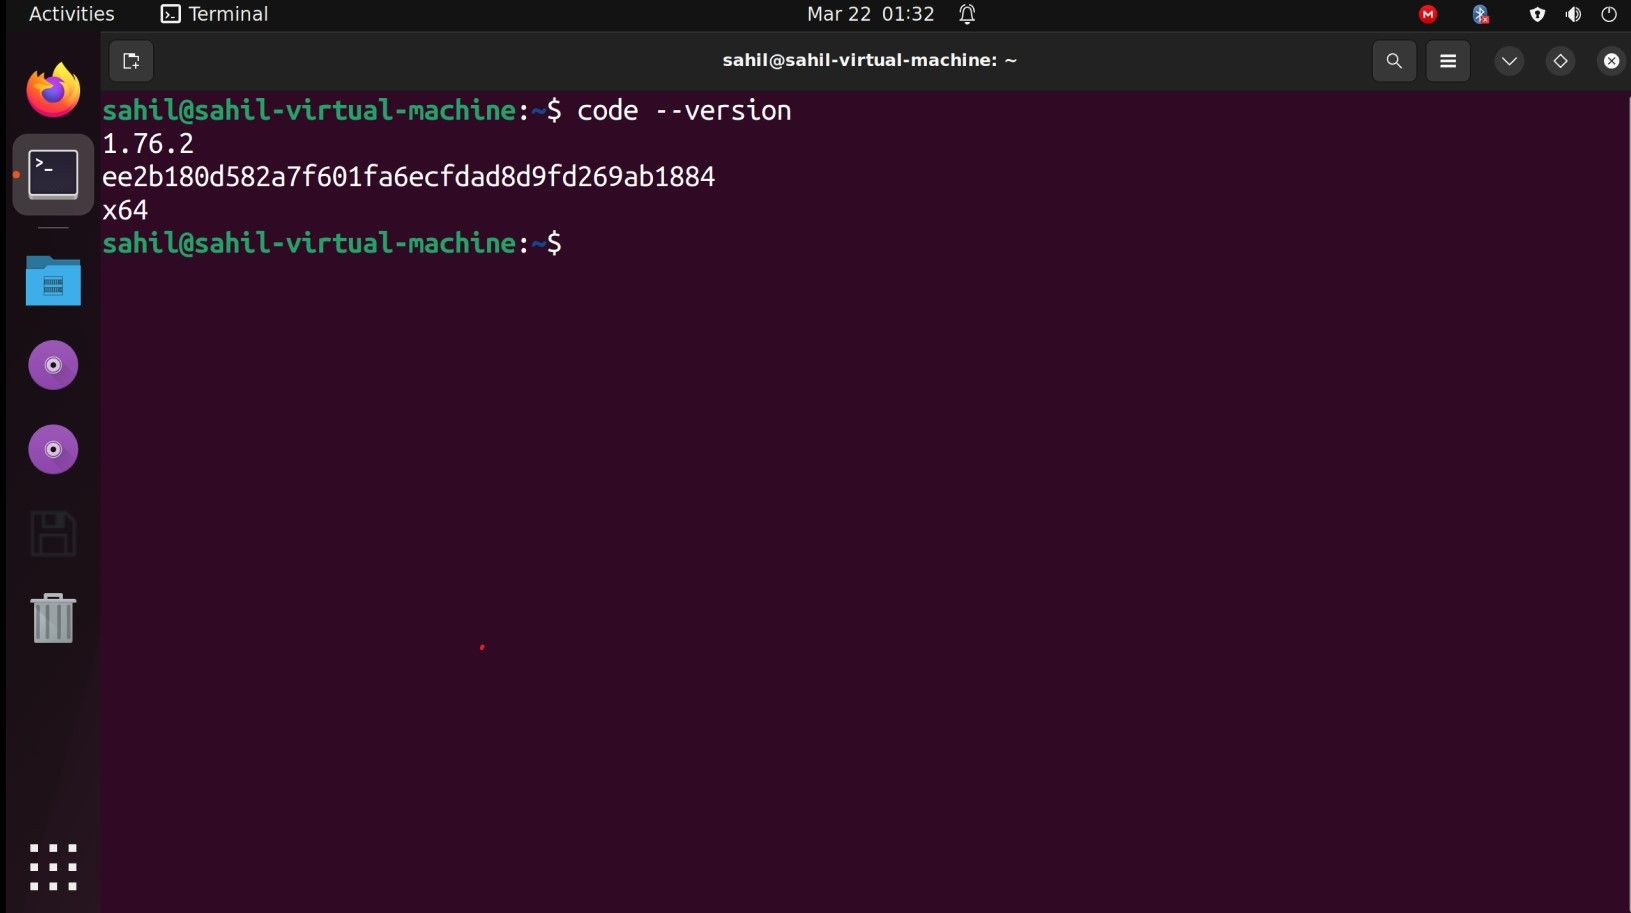
This will recognize the newest versions available and update your existing version as per the latest release. Post installation, you can cross-check the installed version, using the --version command, as follows:
code --version
Remove Visual Studio Code Using APT
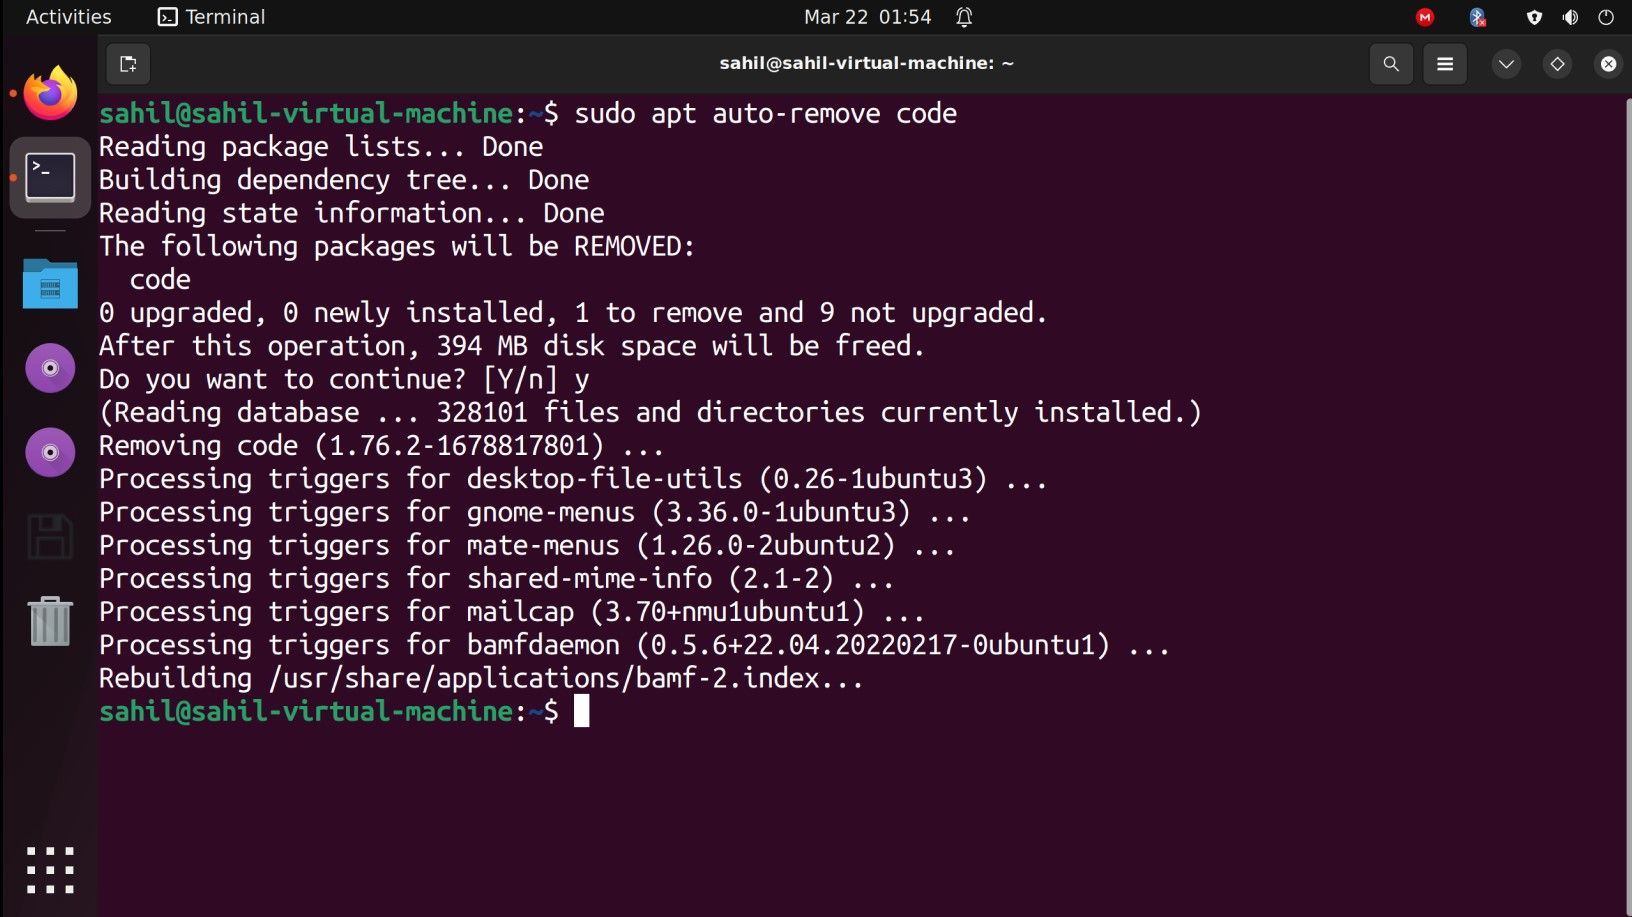
The removal process with the apt method is relatively straightforward. All you have to do is type in the following command within the terminal window:
sudo apt auto-remove code
Make sure you type y when prompted. Post-completion, the software will no longer be available on your machine.
3. Installing Visual Studio Code Using the GUI
You can also install Microsoft Visual Studio Code from your Ubuntu's GUI. If you are not a fan of the terminal, using the desktop environment for installing the package is your next best option.
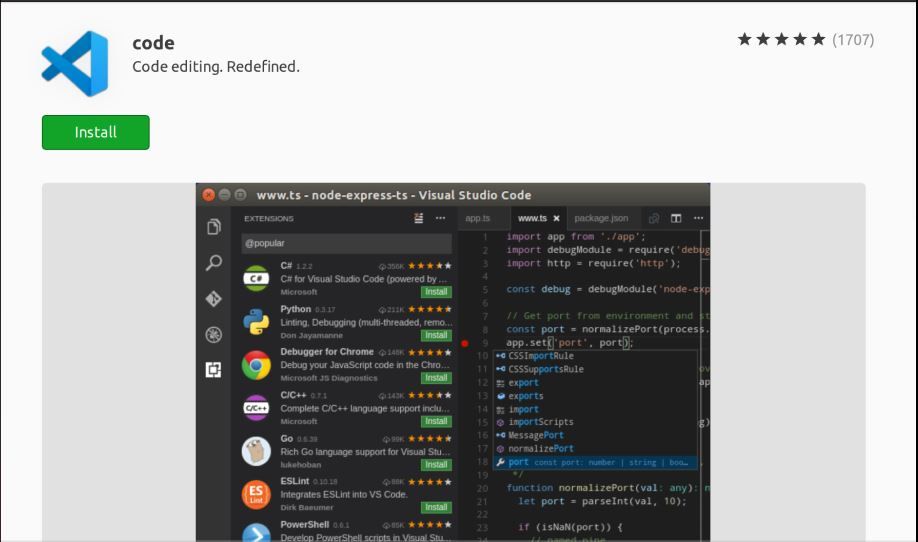
To install Visual Studio Code, launch the Ubuntu Software app from the Applications menu. Search for Code and select the first result. Then, click on Install.
Once the installation is complete, you can open Visual Studio Code from the terminal or directly from the Applications menu.
Remove Visual Studio Code via the Software Center
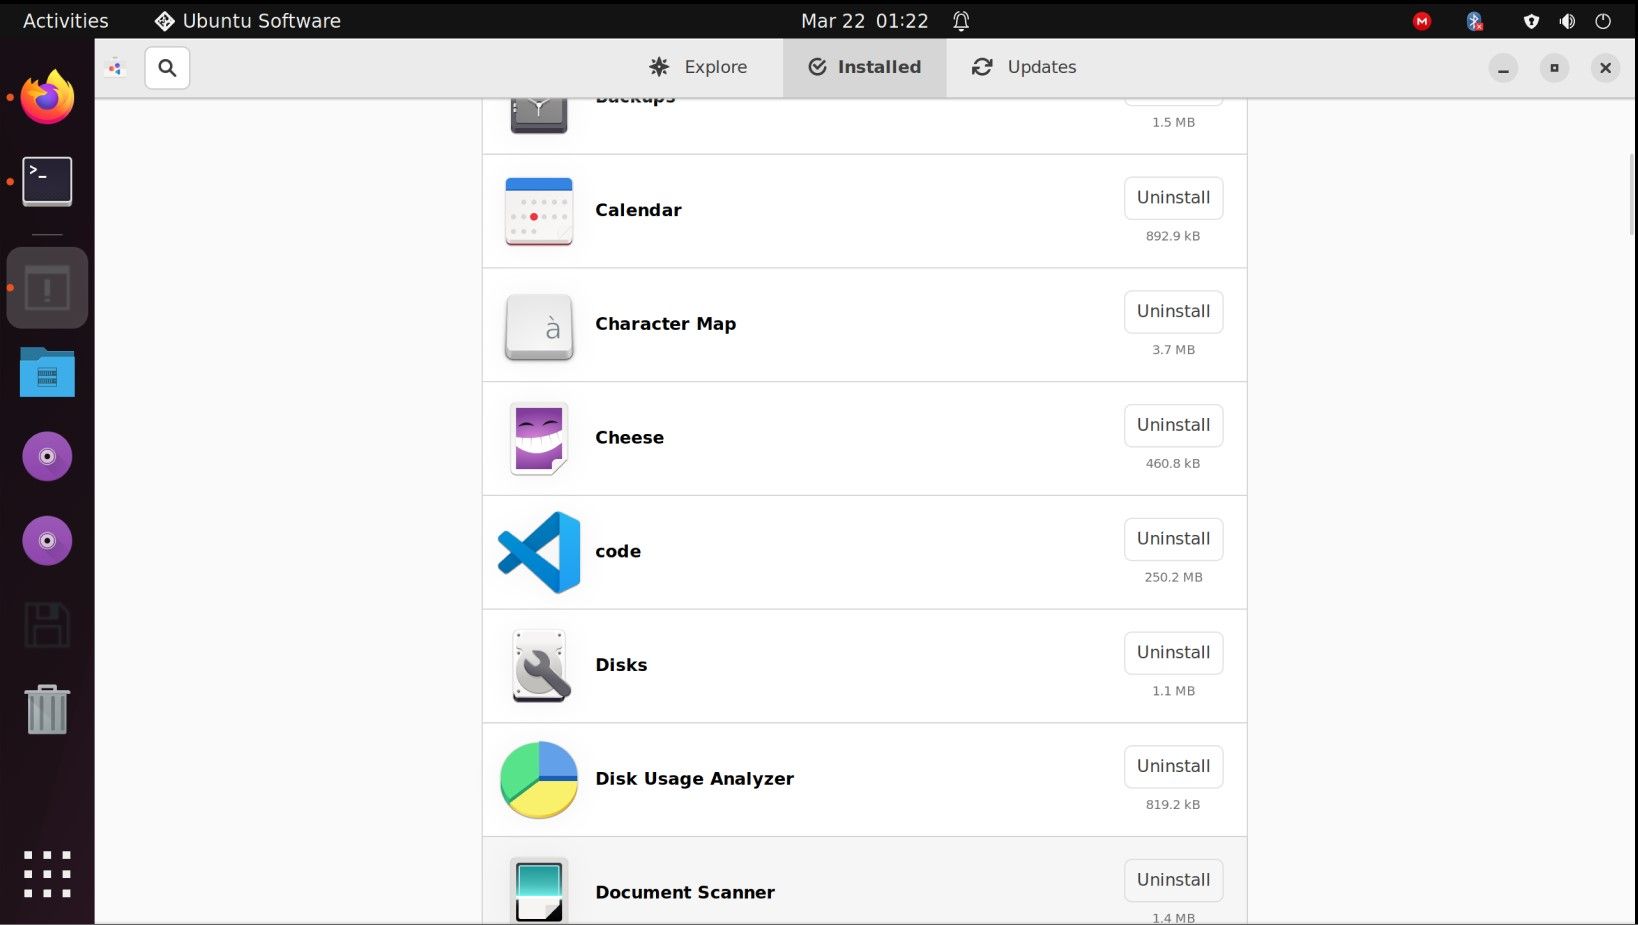
To remove Visual Studio Code installation from the application window, navigate to the Software Center on your Ubuntu machine. Go to the Installed tab at the top of the screen.
Scroll to the Code icon and click the Uninstall button to uninstall it.
It's always a good practice to reboot your system after installations/removals.
Using VS Code for the First Time
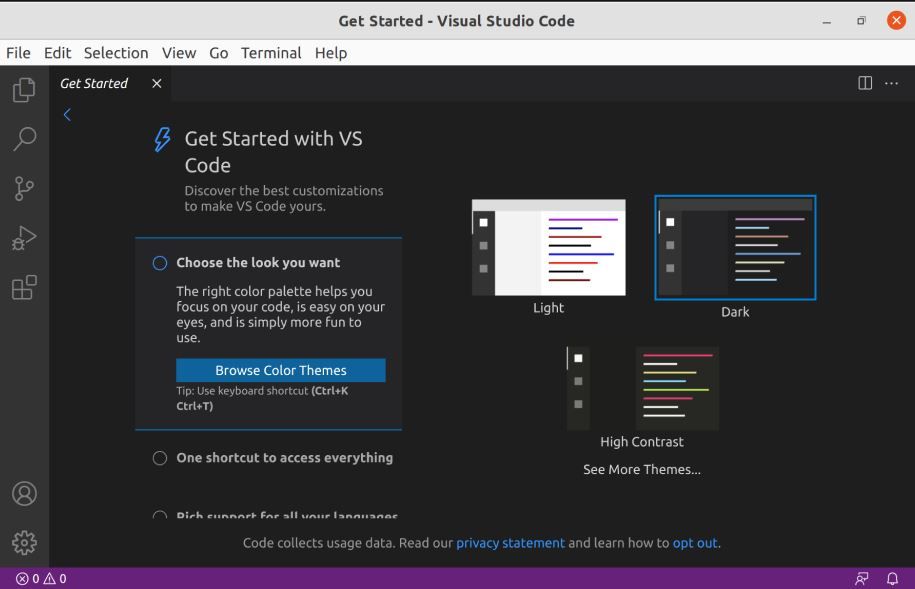
Post-installation, as soon as you open VS Code on your Ubuntu machine, you would be greeted with the following screen:
If everything looks in order, you can install the extensions and configure the editor as per your preferences. Given the software's multi-faceted functionalities, even gamers can download and install Visual Studio Code's gaming extensions to enhance their usage.
Writing Code With Visual Studio Code on Ubuntu
Now you know how to install Visual Studio Code on Ubuntu, and, as you've seen, it is a rather simple process. Given the various ways of installing packages, you can pick and choose a process at your convenience so that you can download the software and use it whenever you want.
Visual Studio Code isn't the only code editor available to you as a Linux user. You can test other editors and find which one suits you the best.


