While USB ports are becoming more and more commonplace in homes, some houses still don't have any. If you are in this situation, don't worry: installing a USB outlet is quite simple. Below, we describe the six steps you must follow for proper installation. But before that, let's look at the benefits of installing a USB power outlet.
Benefits of a USB Power Outlet

You might be wondering why you need a USB power outlet at home. After all, most of our devices these days come with their own chargers, and there are also many DIY phone chargers that anyone can build, so why do we need another one? Here are two key reasons:
- You never know when you’re going to need an extra charger. If you have a USB power outlet, you can charge your devices even if you can’t find your charger or your computer's USB ports are not working.
- A USB power outlet is also more convenient than a regular outlet. You can use it to charge your devices without worrying about how the plug goes in.
What You Need

There are a few tools you need to install a USB power outlet. Here are the main ones:
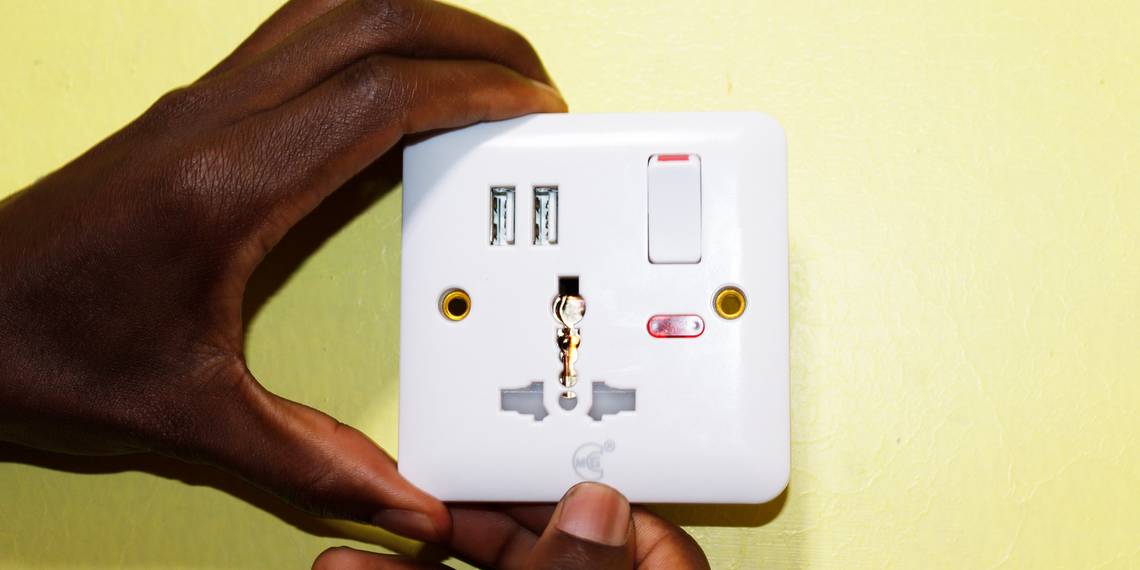
- USB power outlet: You can get this in any local hardware store.
- Power drill: To drill holes in the wall.
- Screws: For attaching the USB power outlet to the wall.
- Screwdriver: To loosen the screws from the holes where the wires will be inserted.
- A wire cutter: To cut and remove the outer cover of the wires and splice them into the existing ones.
- Any type of USB cable and phone: For testing if the USB power outlet is working well.
Once you have all your tools and supplies, simply follow the instructions below to easily add USB charging capabilities to any room in your home or office.
Important Safety Note: Before doing any mains wiring in your home or office, always make sure that the mains power is turned off to avoid the possibility of electric shocks. If in doubt, consult a qualified electrician.
Step 1: Find the Area to Install the Outlet

The outlet should be placed near where devices will be charging, and it should also be easily accessible. One way to find the best location is to map out where all the devices that will be using the outlet are located. This will help to ensure that the outlet is placed in a convenient spot. For example, if you want to charge your phones, you can install a USB power outlet near your seating or bed.
Another consideration is the length of the cords that will be used to charge devices. The outlet should be close enough to outlets so that cords can reach them without being stretched or tangled. Moreover, you can also replace existing power sockets with a USB outlet. Once you decide the outlet location, ensure it’s clean and debris-free, and you can mark it using a pencil or pen.
Step 2: Drill Two Pilot Holes
Using a drill, make two pilot holes for the screws that will hold the outlet in place. When drilling pilot holes, be sure to use a bit that is slightly smaller than the screw. This will create a snug fit and help to keep the screw in place. Additionally, you can make an opening in the wall where you can insert the USB outlet and the casing, which should fit snugly. The casing often comes with two sections on both sides that can support the screws, as shown below.

Step 3: Loosen the Screws on the USB Outlet

Loosen the screws a little using the screwdriver. Doing this will allow the wires from the power source to pass through easily. Make sure you tighten the screws back up once the wires are in place to ensure everything is good. If you don't have a screwdriver handy, you can also use a paperclip or other small objects to loosen the screws. Just be careful not to lose them as you loosen them.
Step 4: Remove the Plastic Covering on the Power Cables

To remove the plastic covering on the three power cables, ensure that power is turned off from the main switch first! Then, use a wire cutter to pull the plastic away from the cables gently. Once it's pulled away, you should be able to see the wires exposed. Be careful not to remove the entire plastic, just enough so the wires can be inserted into the USB outlet with ease.
Step 5: Insert the Screws Into the Holes
Insert the screws into the pilot holes after inserting them into the USB outlet and tighten them. When screwing in the screws, be sure not to over-tighten them, as this can strip the threads and make it difficult to remove the outlet. Also, you can keep it loose to make it easier to insert the wires in the next step. If you have difficulty getting the screws started, try using a slightly larger drill bit to widen the pilot holes.
Step 6: Insert the Wires Into the USB Power Outlet
The colors used for electrical wires vary throughout the world. For instance, in the US, neutral is white, live is black, and earth is green. Check your own territory's standard wiring colors before starting to connect your USB outlet.

To connect the wires, ensure that the live wire (red in our example photos) goes to the port labeled "L," and the neutral wire (black in our example) should go to the one labeled "N." Below, we demonstrate how they are labeled.

The earth wire (green) should then be inserted into the remaining port. Finally, twist on a wire connector to secure each of these wires. Once all the wires are connected, screw on the faceplate and turn on the power to test it out. You can try charging a device to see if it’s charging correctly. The image below shows the USB power outlet being used to charge the phone. You have now successfully installed your USB power outlet!

Common Issues When Installing a USB Outlet
Here are some of the most common problems people run into when trying to install a USB power outlet and how to solve them:
- The outlet is in an awkward location: This can make it difficult to reach, or it may be in the way of other things in your home. It’s important to install the USB power outlet in the right location.
- Incorrect wiring: Ensure the outlet is properly wired, and the polarity is correct. Incorrect wiring can damage your devices or cause them not to work properly.
- Loose connections: Check all the connections to ensure they're tight. Loose connections can cause problems with power delivery and may create fire hazards.
- Damaged outlets: If the outlet itself is damaged, it will need to be replaced. Inspect the outlet for any cracks, burns, or other damage.
- Overheating: If your outlet or devices are overheating, it can indicate an electrical problem. Check for loose connections, damaged outlets, and other potential issues.
Charge Your Devices Without Straining
With the steps above, you should be able to install your USB power outlet anywhere in your house or office with ease. With this handy new addition, you can charge your devices without worrying about finding the right charger, and you'll also be able to charge multiple devices at once. Just be sure to follow all safety precautions when working with electricity. If you face any challenge, seek help from an electrician.