One of the easiest upgrades to your smart home is replacing your front door's standard deadbolt with a new smart lock.
Most smart locks are simple to install, and many allow remote monitoring. We'll show you how to install a new smart lock and get it working correctly.
Why Should You Install a Smart Lock?
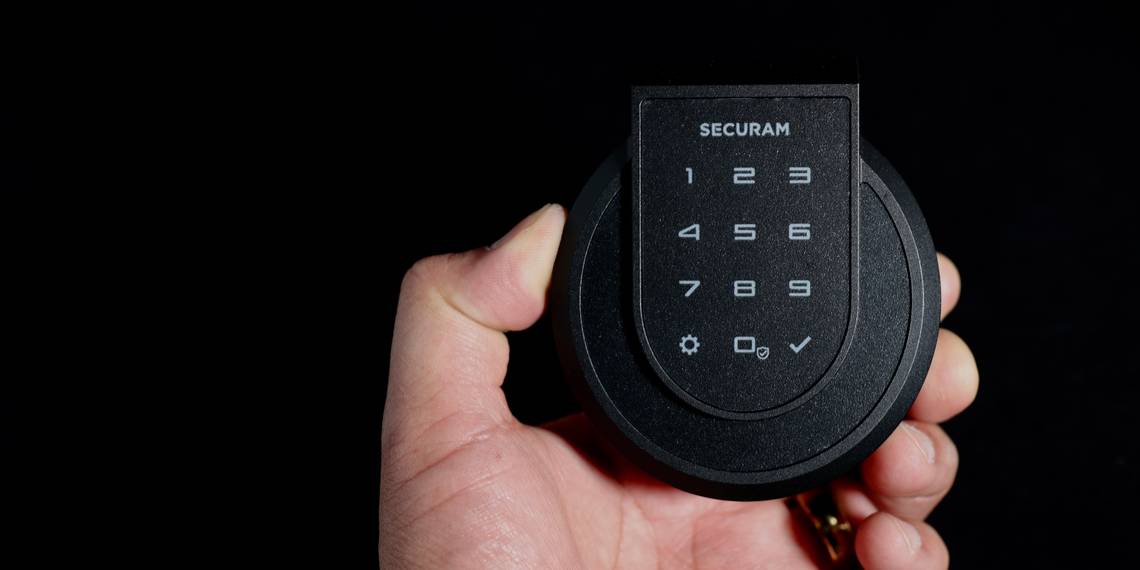
The biggest benefit that a smart lock offers is convenience. Many smart locks can be opened via an app or with a numeric code instead of with keys. Some, like the SECURAM Touch, use a biometric fingerprint scanner to allow access.
Another reason to install a smart lock is to monitor who is accessing your home. Do you employ professional services like a house cleaner or a gardener? Smart locks provide you with the ability to allow entry to your home remotely and/or only during specified time periods.
Do you have rambunctious teenagers? A smart lock that notifies you when someone enters or exits will make them think twice about breaking curfew. Finally, smart locks often offer upgraded security features like specially cut keys or specific access codes to help deter thieves.
Ready to install your own smart front door lock? Let's begin.
What You'll Need
- Smart lock kit
- Philips screwdriver
- Smartphone
- Drill (optional)
Note: The lock in the photos is the SECURAM Touch smart lock. It comes as a kit with all the necessary hardware included. Most other smart locks are similar.
Remove the Old Lock

Before you install your new smart lock, you'll need to remove your old lock. Usually, this is held in via one or more Philips screws. You'll find them on the inside of the door.
Remove these screws from the lock, and the lock should separate into two halves leaving only the deadbolt. The deadbolt will then unscrew from the edge of the door. Once you remove the deadbolt screws, the entire assembly should slide right out.

The strike plate on the door jamb will also need to be removed. Here is a quick tip: swap the 3/4-inch screws that came with your smart lock strike plate for 3-inch screws. Longer screws provide a more sturdy strike plate.
Most door frames are made using two layers of material called a "jack" and a "king" stud. In these cases, adding 3-inch screws means your strike plate is secured through the jack stud and partially into the king stud.
For the door to be kicked open, a large enough force would have to be applied to damage both layers of the framing.
Install the New Deadbolt and Strike Plate

The SECURAM kit in our example comes with a new deadbolt, strike plate, and hardware. The next step is to install these new parts in place.
Using your Philips screwdriver, install the screws for the new deadbolt into the top and bottom holes of the deadbolt mounting plate. Then install the strike plate.
If you'd like to install longer screws for the strike plate, but the holes are too shallow, you'll need to drill out these holes a bit. Two small pilot holes should be good enough to keep the door jamb's wood from splitting and to allow the screws a little extra guidance as you drive them into the jamb.

Once the strike plate and deadbolt are installed, close the door. Throw the deadbolt a few times to make sure it is correctly aligned. Make sure that the deadbolt extends all the way into the new strike plate.
If the deadbolt stops before the lock is fully locked, then you'll need to drill out the receiving hole on the door frame that accepts the deadbolt. In the example above, the deadbolt cavity's edges needed to be adjusted with a wood file to accommodate the new deadbolt.
Install the Front Half of the Lock
In this example, the lock must be installed into the door, and the ribbon cable must be fed under the deadbolt. Because almost all smart locks come with two sides, the front side will need to be held in the lock opening so that it doesn't fall out while installing the rear mounting bracket.
For this, SECURAM has included a strip of painter's tape. This tape is available at most big-box hardware stores. Gaffer's tape would work as well if you have that available. So would masking tape. The goal is to hold the lock face tight to the door without leaving any sticky adhesive residue.

Tape over the front part of the lock and then close the door. Once the rear mounting bracket is in place, remove the tape.
Install the Rear Mounting Bracket

The rear mounting bracket should only be installed one way; otherwise, the lock will not slide into place. SECURAM has included two sets of screws for this installation: a shorter set for the standard 1 3/8-inch thick door and a longer set for the slightly thicker 1 1/2-inch to 1 3/4-inch doors.

Measure your door thickness to determine which screws to use. If you are unsure or don't have a measuring device handy, try the shorter screws first. If they don't work, then you'll need to use the longer set.

Install the back half of the lock. In our example, the lock has a tab that can be accessed by removing the battery cover. Once the cover is off, lift the metal tab, set the back portion of the lock in place, and press the tab down. This should secure your lock.
Install the Batteries and Open/Close Magnet

Next, you'll need to install the batteries. The SECURAM lock takes two CR123 batteries. If your smart lock uses a battery that you're not familiar with, it might be a good idea to purchase an extra set of batteries as a backup.

If your door has an open/close detection, like the SECURAM, you'll need to install the included magnet on the jamb within 3/4-inch of the lock. Peel off the plastic backing off the magnet adhesive and secure the magnet into the door frame. Once this task is complete, the hardware installation is finished. Now all that is left is to program the lock.
Program the Lock


Programming the SECURAM Touch lock consists of downloading an app to your mobile device, registering an email address, sending a verification code, accessing the wireless network, and adding your device.
This process will be similar to most other smart lock devices. It is recommended that you consult your smart lock manufacturer's official documentation to determine exactly how to pair your lock with your mobile device.
Once you've got everything paired, then make sure to test the lock. Some, like the SECURAM, have the ability to detect fingerprints in addition to the keypad and Wi-Fi functions.
If you have a key code, make sure to write it down and keep it in a safe place until you commit it to memory. Now is also a good time to configure any additional users.
Download: SECURAM App (Free) iOS | Android
Enjoy Your New Smart Lock
Adding a smart lock to your home allows easier access for family members, visitors, and in-home professional services.
With a smart lock, you'll gain the peace of mind that comes with knowing who is accessing your home and when. By installing a smart front door lock, you'll be investing in the safety and security of your smart home.