RHEL or Red Hat Enterprise Linux is more than just an operating system or server solution. It is rather an ecosystem built for and around enterprises. From conglomerates to critical infrastructures such as banks and government bodies, all rest their faith in the Red Hat system.
Though it may purely be enterprise-grade software, it doesn't mean one can't get a taste of it without belonging to a corporation. You can download a free copy of Red Hat Enterprise Linux with a no-cost subscription and give it a shot today!
This guide will walk you through how to download and install Red Hat Enterprise Linux.
Step 1: Grab the RHEL ISO!
To install a new operating system, regardless of on a disk or a virtual machine, you need the operating system's disk image (ISO). The ISO file contains important system and setup files necessary for a successful installation.
Since the RHEL ISO file size is roughly 10GB, make sure that your USB or DVD has enough free space to accommodate the setup files. If not, you can easily clear up space using the terminal.
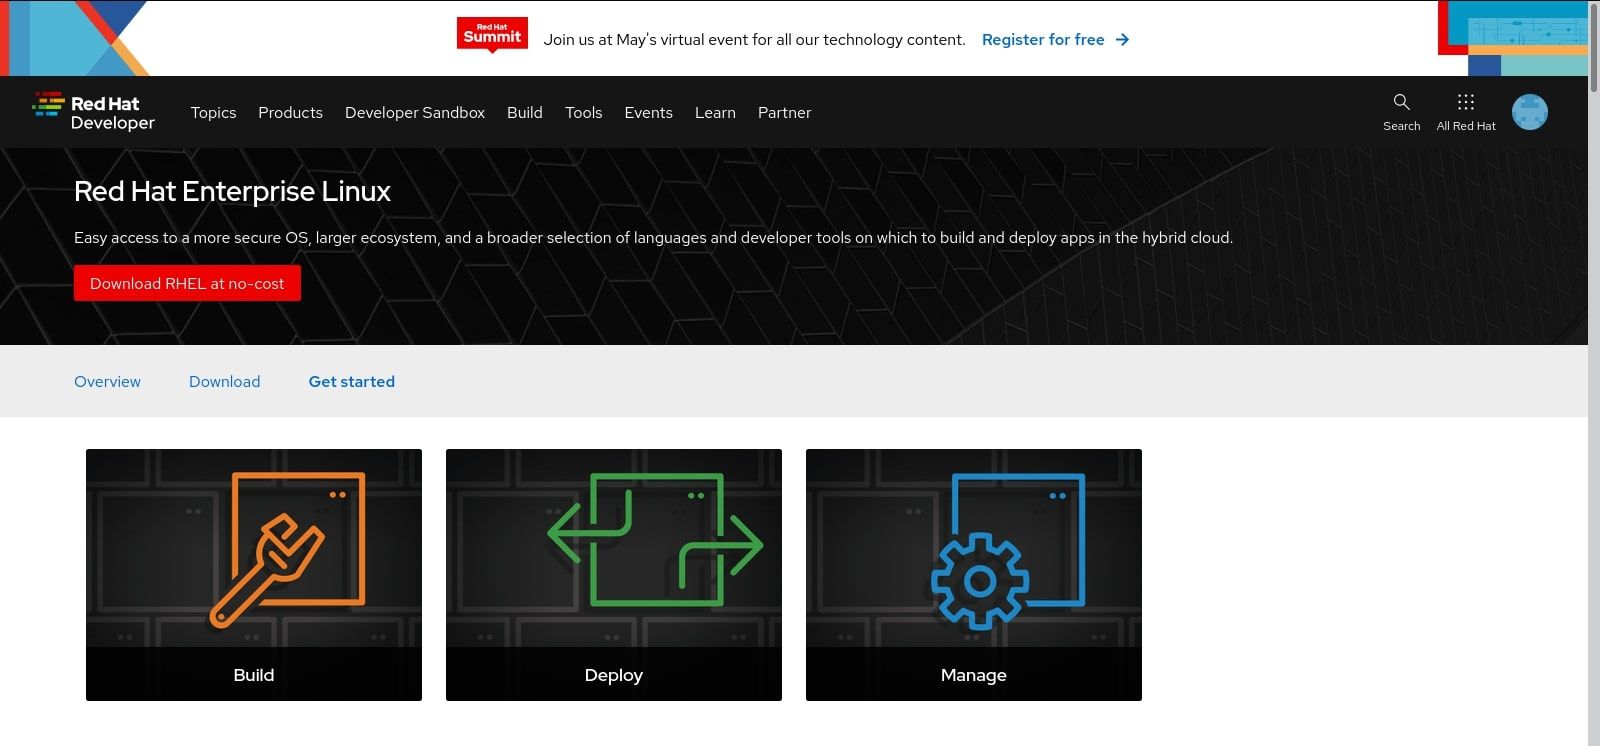
A preliminary step to downloading the latest RHEL ISO is to sign up for an account. Click on Register and fill in the necessary credentials on the website. You may be asked to activate your account with a confirmation email. Finish up with the process to unlock the ISO download.
Download: Red Hat Enterprise Linux (Free, Paid subscription available)
Step 2: Prepare the Virtual Machine
For those who will be installing Red Hat bare-metal on their systems, you need to create a bootable USB instead of setting up a virtual machine. You can skip this step if you're planning to install RHEL directly on your system.
If you have a history of setting up virtual machines, this should be a piece of cake for you, and you might as well skip to the next step. For those uninitiated with this process, read on. We'll assume you have VirtualBox downloaded and installed already. If not, this guide on how to install VirtualBox will help.
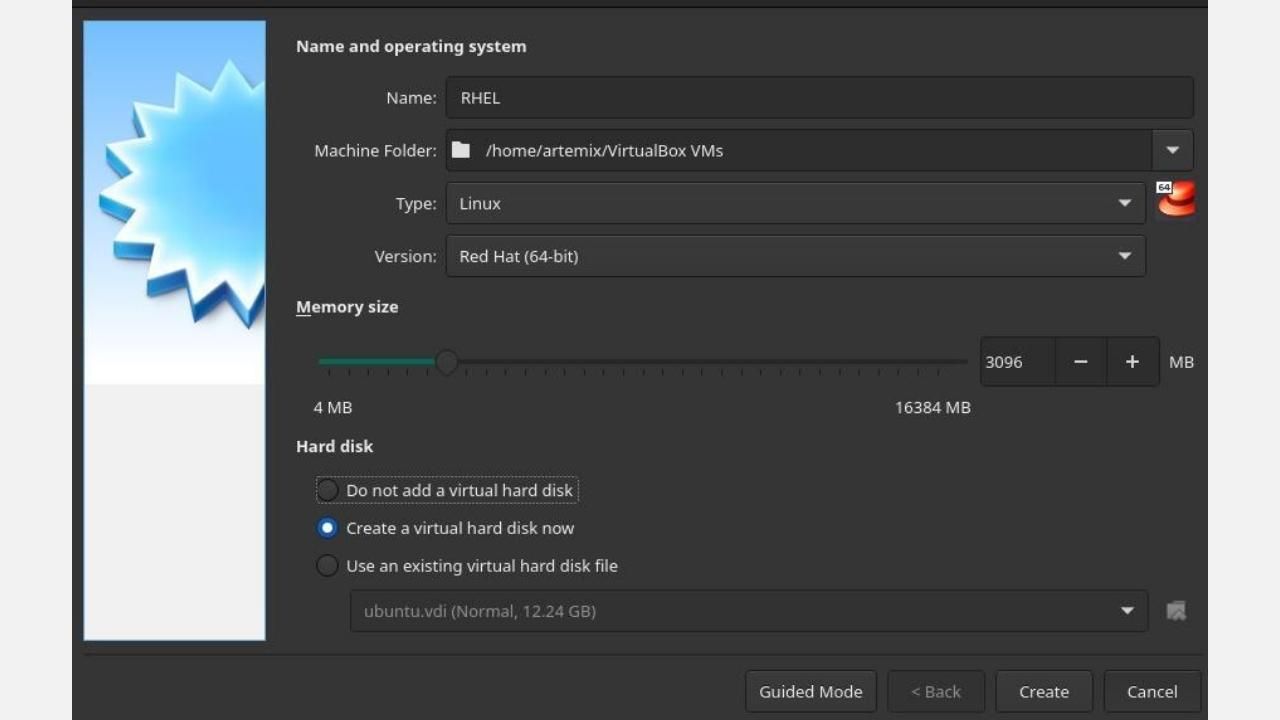
Fire up VirtualBox and Click on New. Under machine Type, select Linux and Red Hat (64-bit) as the version. Allocate a minimum of 3096MB memory size. As for the size of the hard disk, you can either choose to retain the settings or up the ante. Don't decrease the size, though.
Once the system configurations are done, click on Create. You should now see your newly created virtual machine on the left panel.
With basic configurations out of the way, it's time to feed the virtual machine with an ISO to read the setup files from.
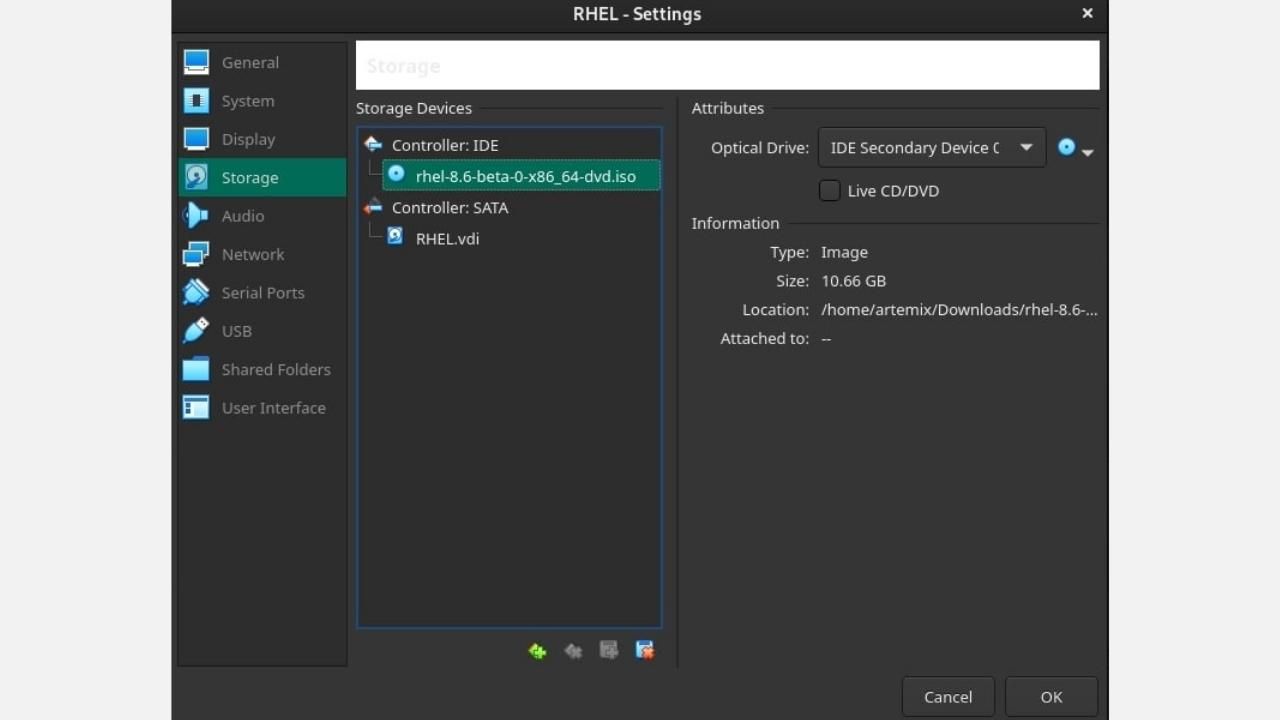
Head over to the Settings of the virtual machine and click on the Storage tab. Under Controller: IDE, click on the disk-like icon and select the RHEL ISO file you had previously downloaded.
Step 3: Installing RHEL
If you're installing RHEL on a virtual machine, click on Start to fire up your newly created VM. For those who've created a bootable USB, plug it in and boot from the USB drive instead.
On the GRUB bootloader screen, use the arrow keys to select Install Red Hat Enterprise Linux System and hit Enter.
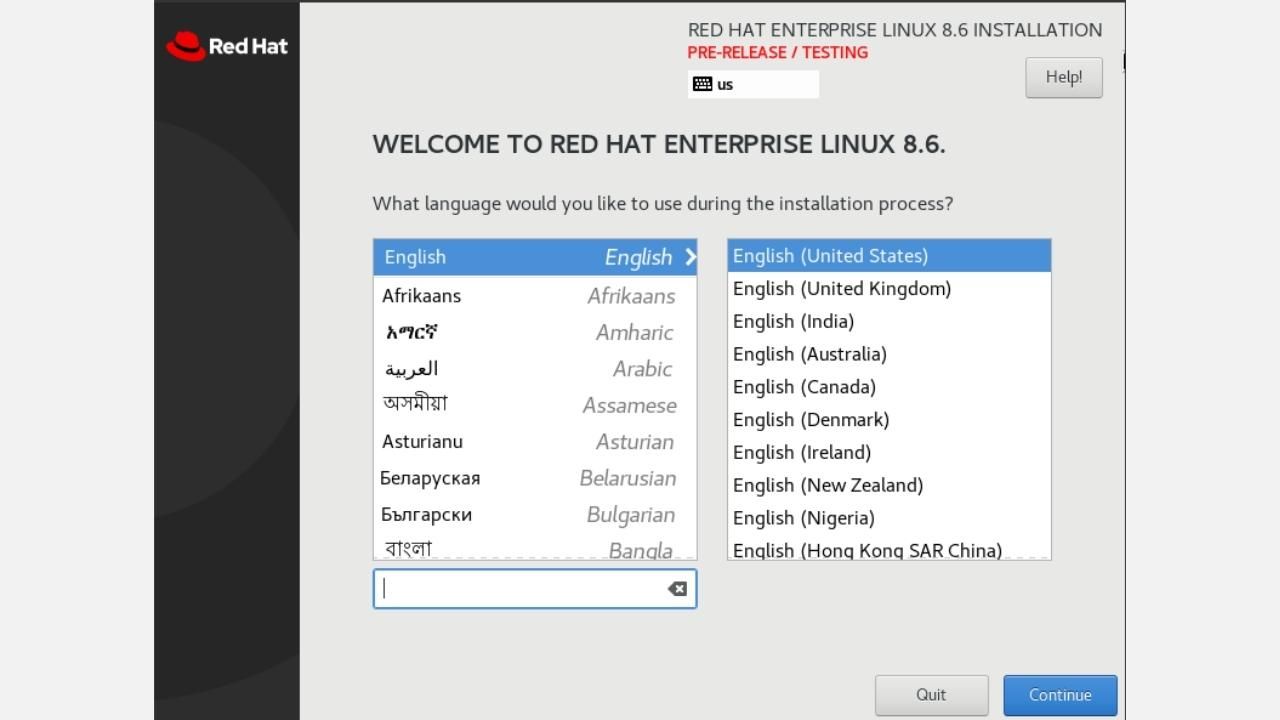
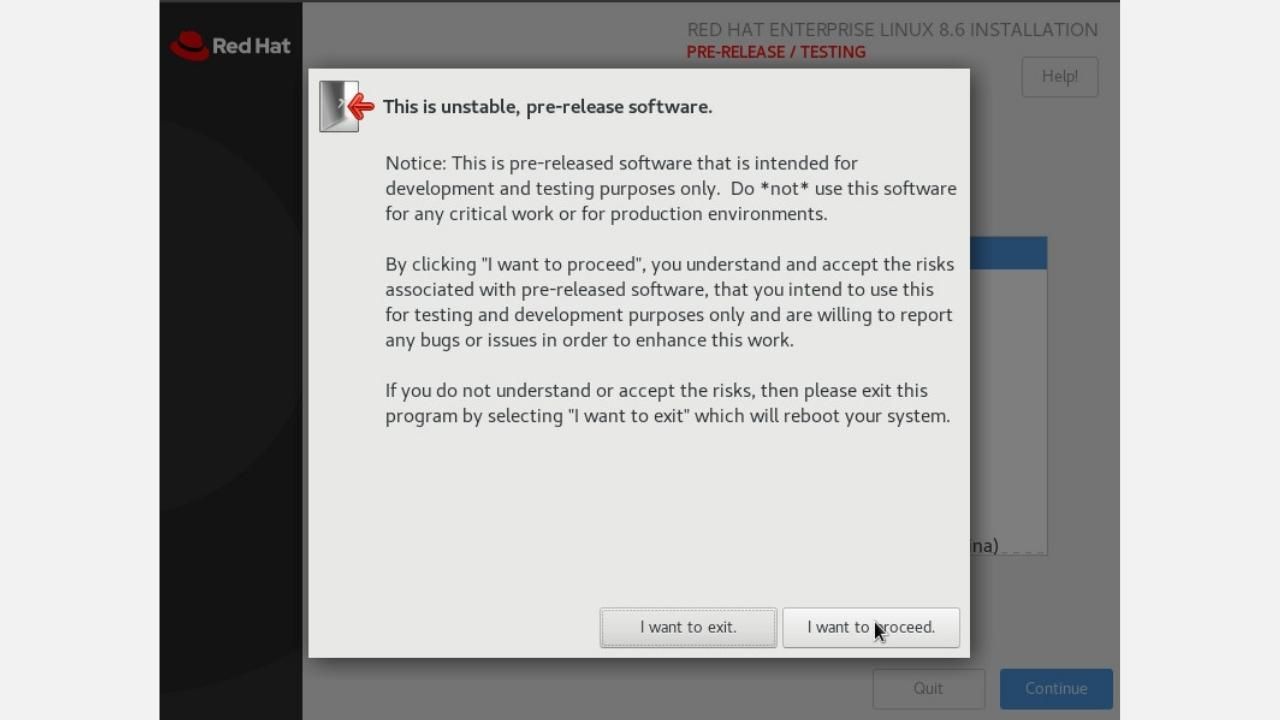
A screen should load up for you to select your preferred language and locale. Confirm your selection, and you will be met with a follow-up prompt alarming you that the build version is not ready for a production environment and asking you to confirm the installation or roll-back changes.
Word of caution: If you are looking to install RHEL bare metal, you should rethink it. In case you are really determined, we suggest you get a paid, ready-to-deploy build of RHEL. Since this is a free version, it is an experimental build that could potentially be prone to errors and crashes.
For those on virtual machines, you can safely click on I want to proceed. That should lead you to the RHEL installation dashboard wherefrom you can partition the disk, set up the user profiles, and perform a lot of other important configurations.
Select the virtual disk you had previously allocated to install RHEL and click on Done.
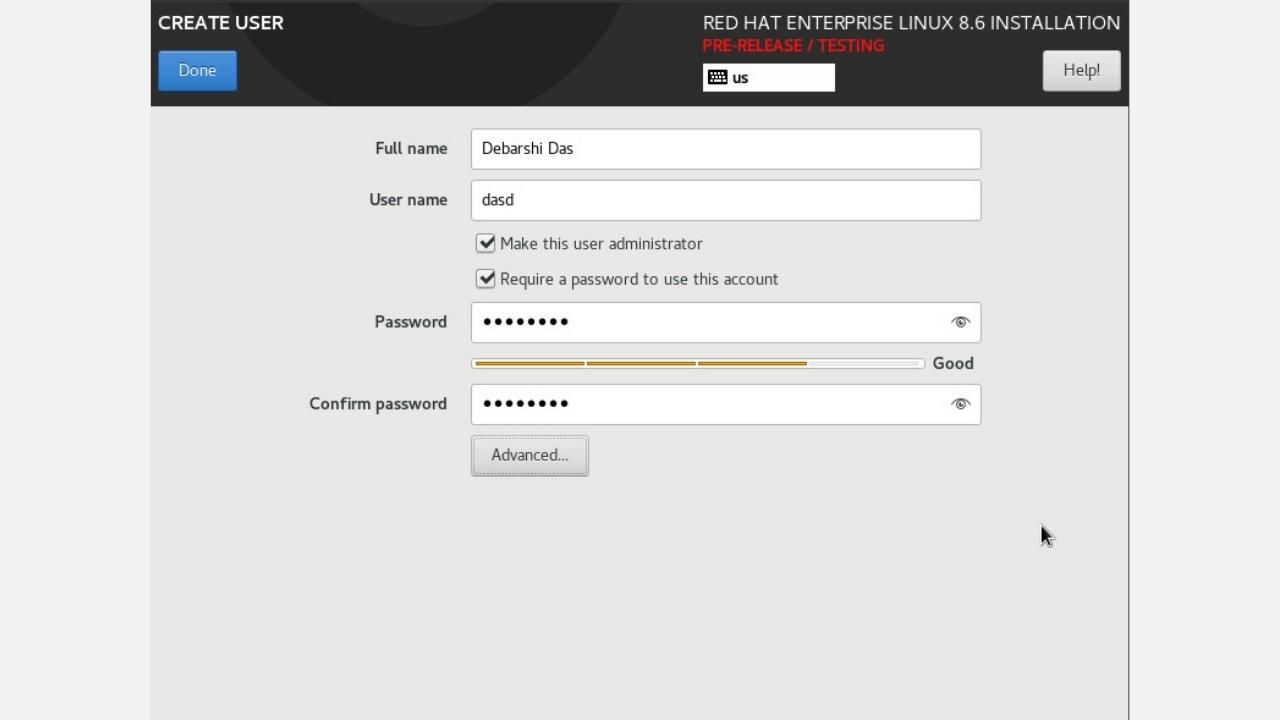
Next, create a user profile to log into when Red Hat boots up after installation. The process is no different from any other Linux installation. If you have prior experience installing any Linux distro, you should be good to go.
Finally, set a unique and lengthy root password for the admin account to wrap it up. Once you've checked off all the pre-installation to-dos, click on Begin Installation to install Red Hat Enterprise Linux on your system.
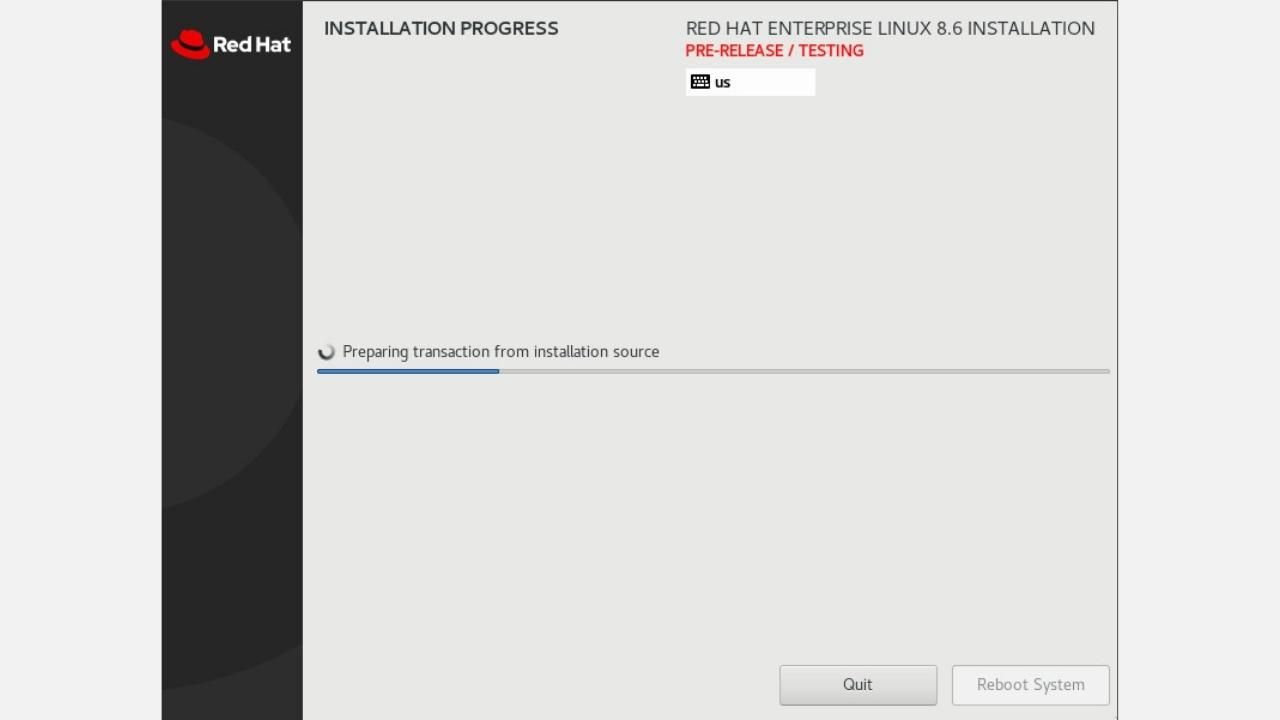
Grab some coffee because it might take up to a few minutes, depending on your system hardware or the resources you've allocated to the virtual machine.
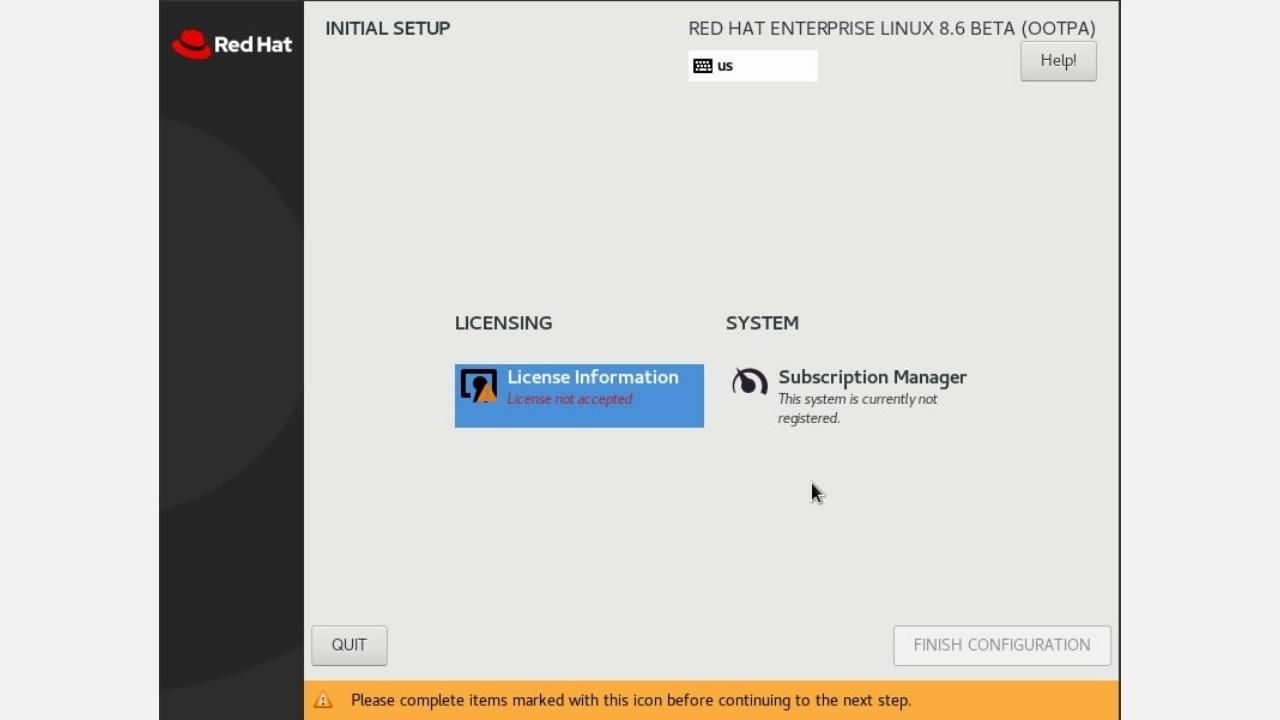
Once the installation finishes, hit the Reboot button to restart your machine and boot into a fresh RHEL installation. On logging in for the first time, you might be prompted to agree to the license information.
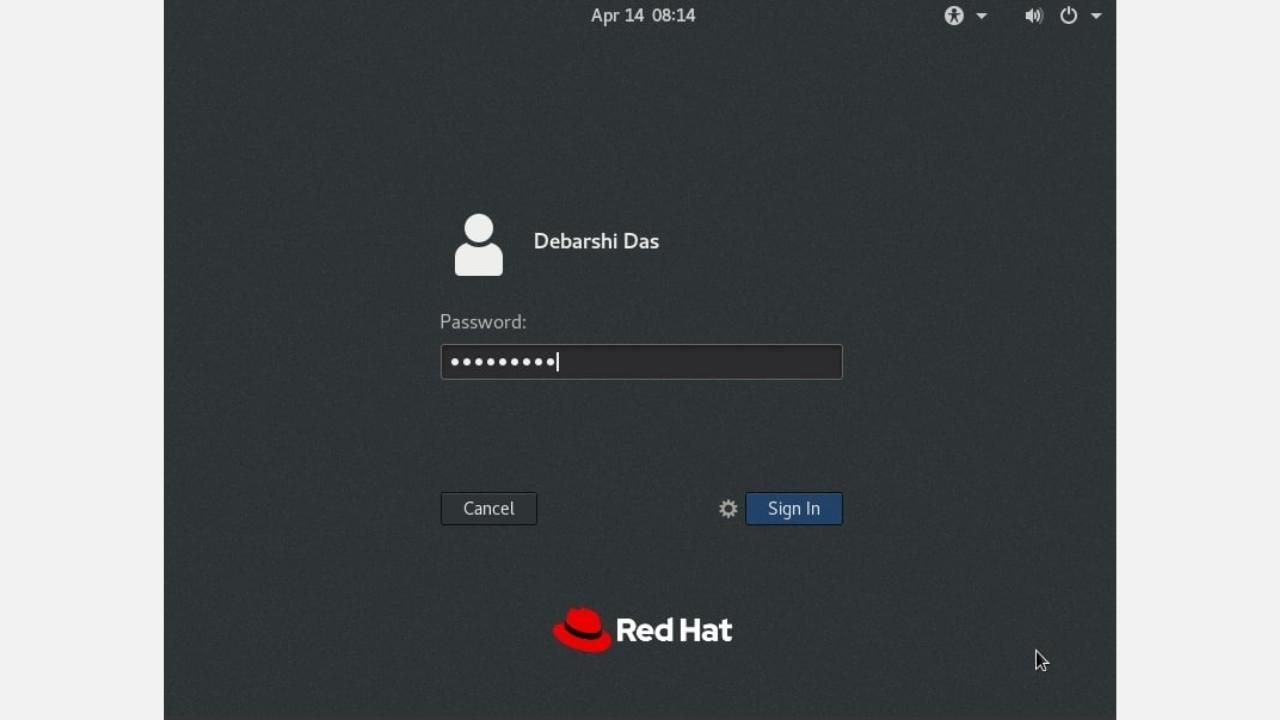
Carefully wade through the terms and conditions. If you're satisfied with the document, click on I agree to the license agreement and follow it up by hitting the Finish Configuration button. It will directly throw you into the login screen, which by the way is the GNOME Display Manager (GDM), of RHEL.
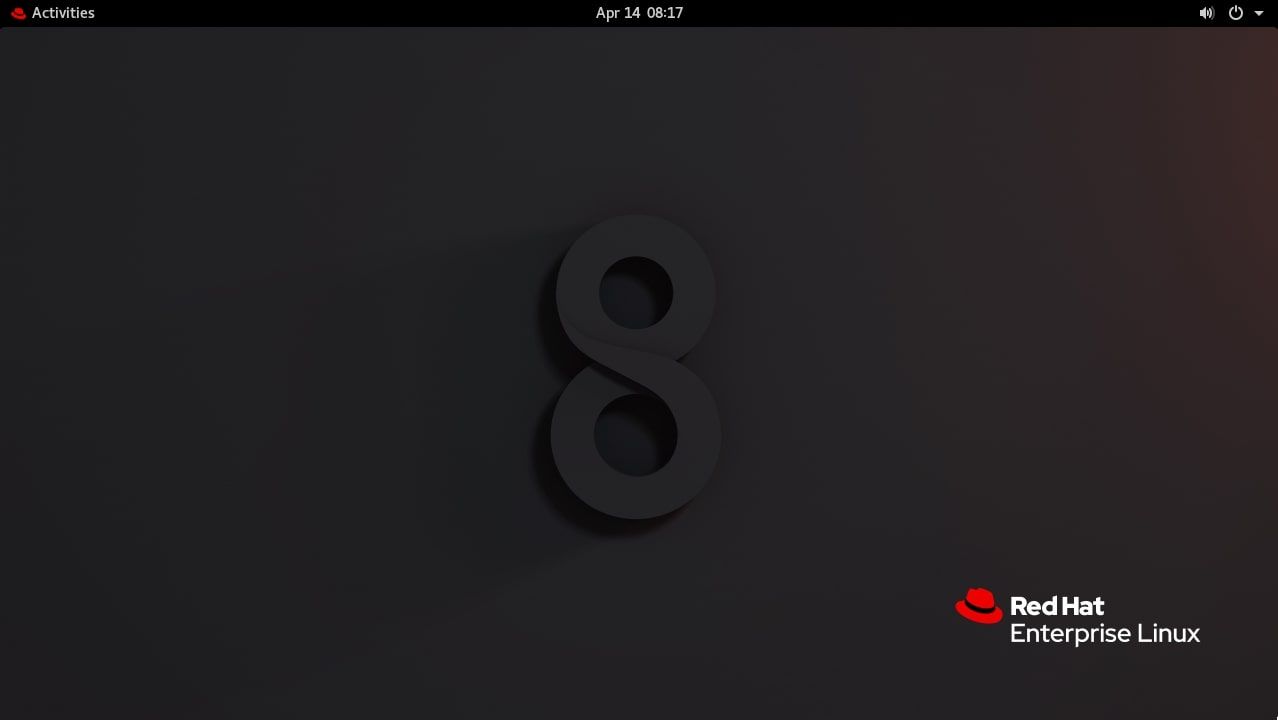
Log into the account with the credentials you set during installation and there you have it—Red Hat Enterprise Linux running on your desktop.
For those who installed it on VirtualBox, don't forget to eject the ISO file otherwise there may be conflict during boot up. That concludes the installation process of RHEL. It is pretty straightforward, though not as user-friendly and streamlined as distros using Calamares.
Step 4: Post Installation Wrap Up
With the installation process behind us, it is natural to find yourself excited to tinker with the distro, try out commands, and whatnot. However, there's a crucial post-installation task you must take care of. Otherwise, you won't be able to make any changes to the system, which includes installing software, as menial as Neofetch.
As we previously mentioned, RHEL is a subscription-based OS. You need to procure your no-cost license to avail even basic services.
To activate your no-cost subscription, fire up a terminal and using the subscription manager, register yourself.
subscription-manager register --username yourusername --password yourpassword
Follow it up by attaching the subscription manager.
subscription-manager attach --auto
If everything's in order, you should now be able to execute commands, install packages, and update your system, which by the way is the next task you need to do.
sudo dnf update
Once your Red Hat system has been registered and activated, update it at the earliest you can. Since this is a beta, unreleased build, developers will be experimenting a lot.
So every update bears a chance of either breaking or fixing your system. Although you won't be able to tell which update does what, it's still best practice to keep your system up to date.
Securing Your RHEL Server
Your RHEL system might be up and running, but it's still not practically secure. If you're going to be using it as a server, you might as well put in the effort to fortify it.
There are plenty of free and open-source security tools which secure and safely administer your system. We've handpicked a chosen few that you would want to deploy on your RHEL system or any Linux system for that matter.


