Proxmox is an open-source type 1 hypervisor based on Debian. It's primarily meant to run on bare metal hardware, but you can also install it within an operating system.
Let's take a look at how you can install Proxmox on a Linux server. For this guide, we'll demonstrate installation on a rack server, but you can install Proxmox on a workstation or laptop hardware as well.
Step 1: Prepare the Proxmox VE ISO
The first step is to download the Proxmox VE ISO from the website.
Download: Proxmox VE
Once downloaded, write the ISO to your flash drive using a program such as balenaEtcher. We'll use a Ventoy-configured USB to do so. Ventoy allows you to have multiple bootable ISO images on a single USB drive.
There are several other ways to create a bootable USB from an ISO file if you don't wish to use Ventoy or balenaEtcher.
Step 2: Starting the Proxmox Installer
Next, plug in the USB drive to your server and power it on. Access the boot menu by pressing one of the Fn keys or the Esc key to boot from your USB drive. In our case, it's the F10 key.
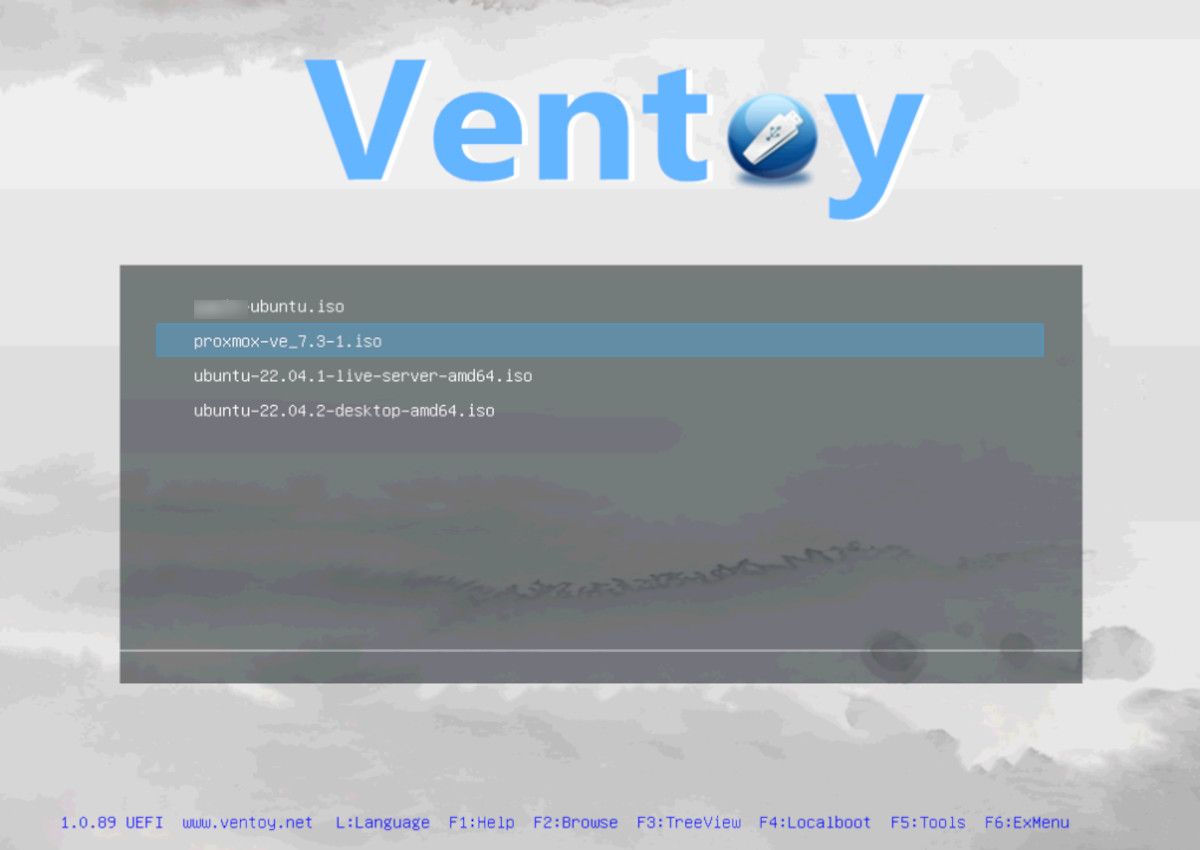
If you're using Ventoy, select the ISO image that you want to install. Select the image you want to boot from and press Enter.
If you created the bootable USB using tools other than Ventoy, you won't need to select the ISO file from the menu.
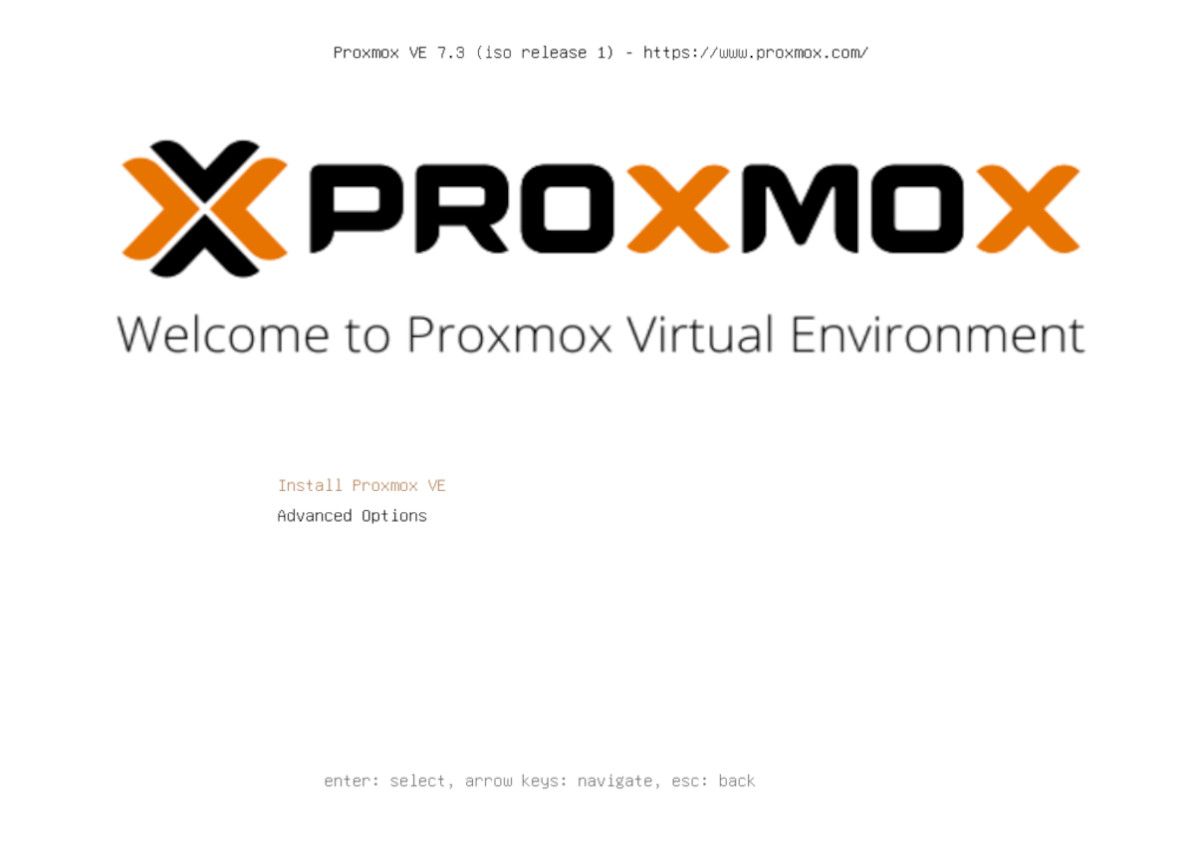
Highlight Install Proxmox VE and press the Enter key on your keyboard to start the installation.
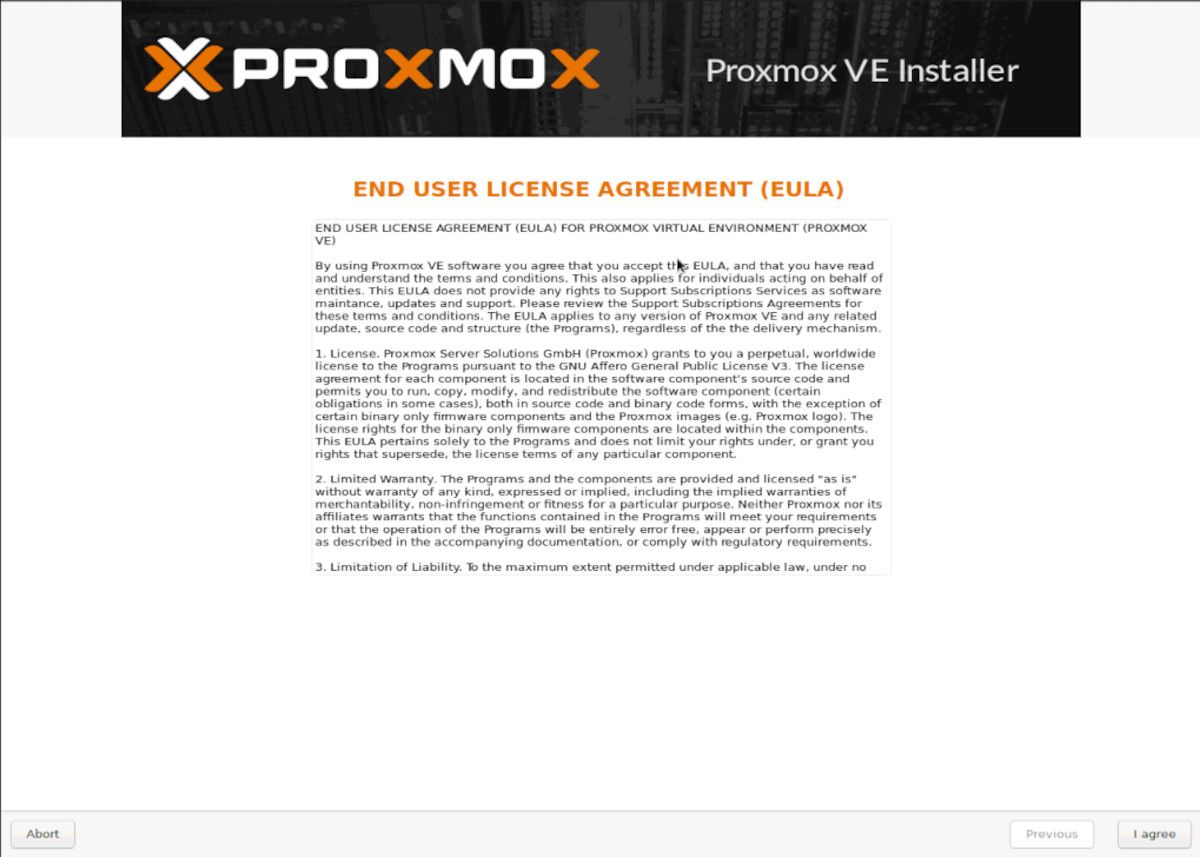
Next, you'll need to agree to the End User License Agreement (EULA) terms. Take a proper look at them and click the I Agree button to continue.
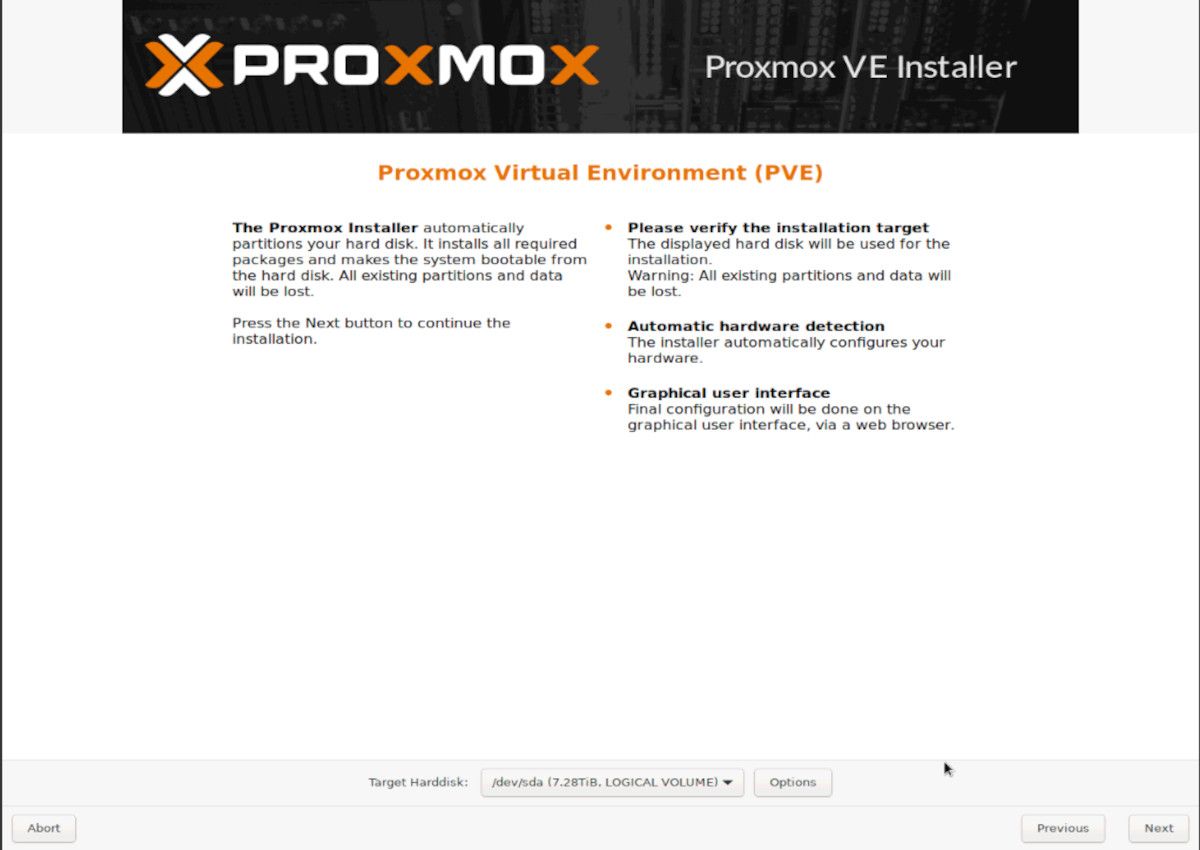
If you have several hard disks on your system, you'll need to select the disk on which to install Proxmox. For advanced disk configuration options, press the Options button. Proxmox uses the ext4 filesystem by default.
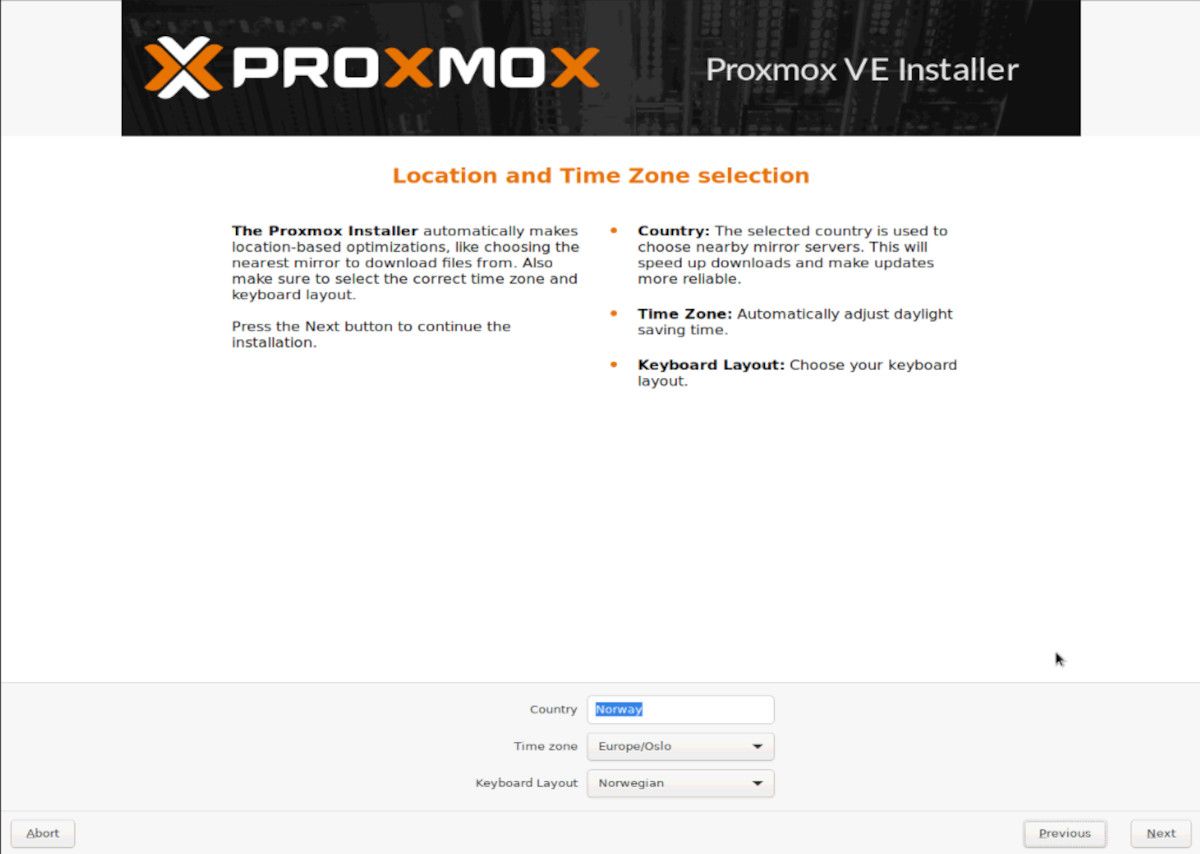
On the next page, set your localization options, including your location, timezone, and the keyboard layout of your choice.
Soon after, you should set the password for the Proxmox root user. Use a strong password here, since the root user has total control over a Linux system. Also, provide an email address for receiving important Proxmox notifications straight to your mailbox.
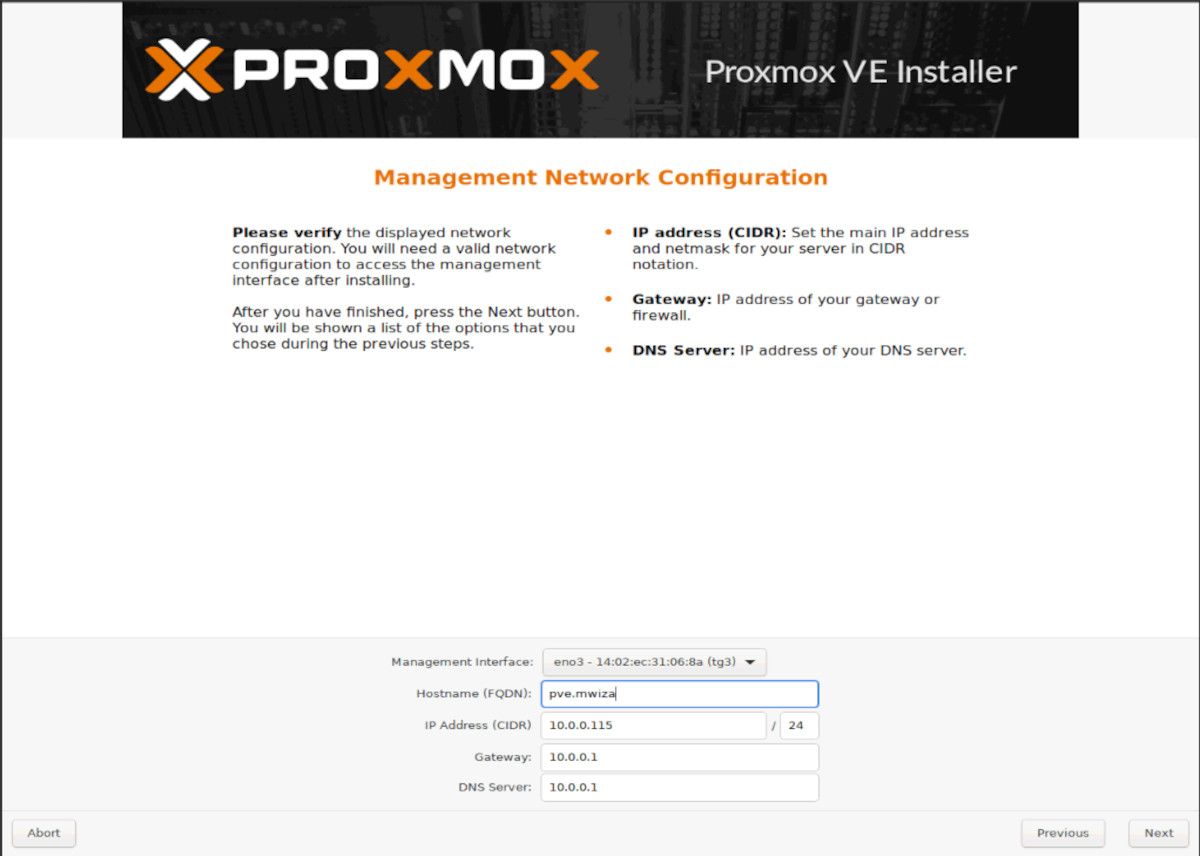
Proxmox comes with a compressive GUI for the management of your VMs. If you have a DHCP server, it'll auto-assign you an IP address. Otherwise, simply enter the network details manually. You'll use the IP address set here to access the Proxmox management GUI later.
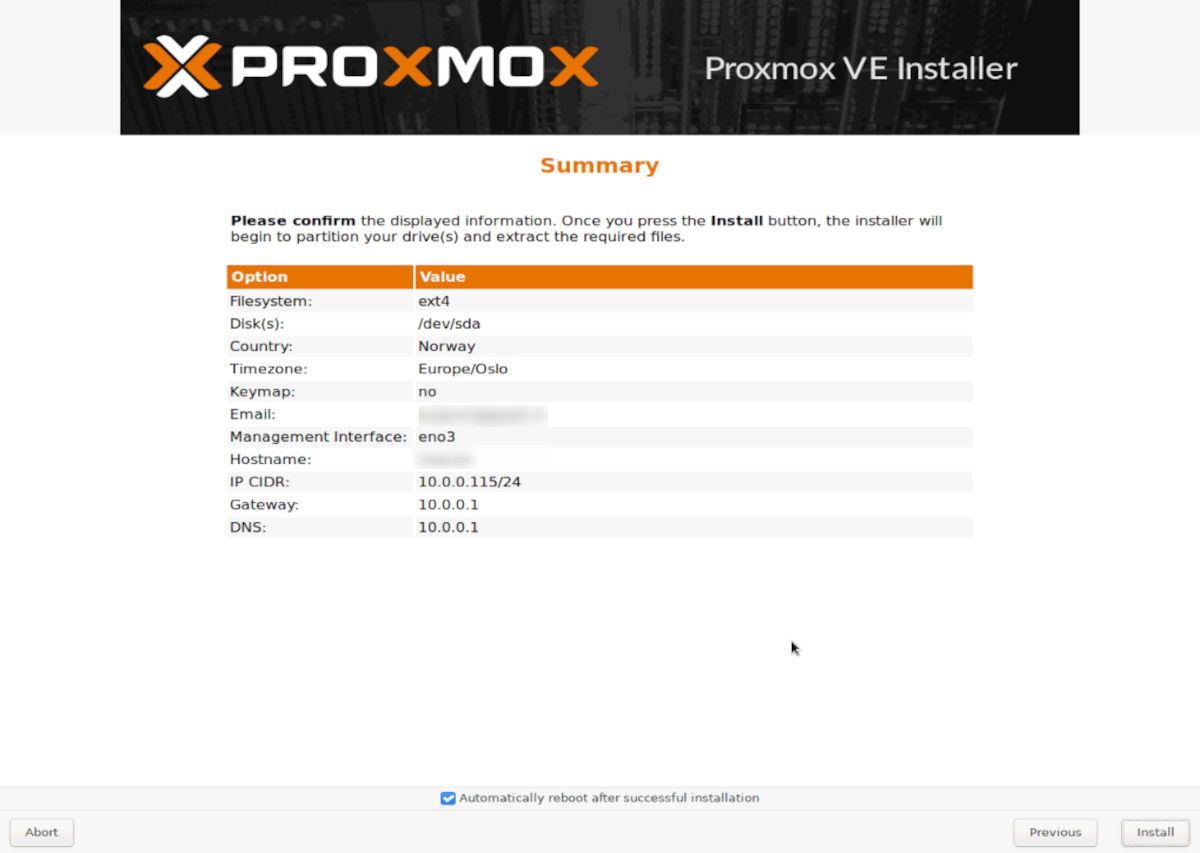
The next page presents you with a summary of the installation configurations. Press the Install button to proceed.
Step 3: Logging Into the Proxmox VM
Once the Proxmox installation is complete, the system will reboot.
The Proxmox welcome message looks as follows. Use the IP address you're provided to log in to the management GUI using your web browser.
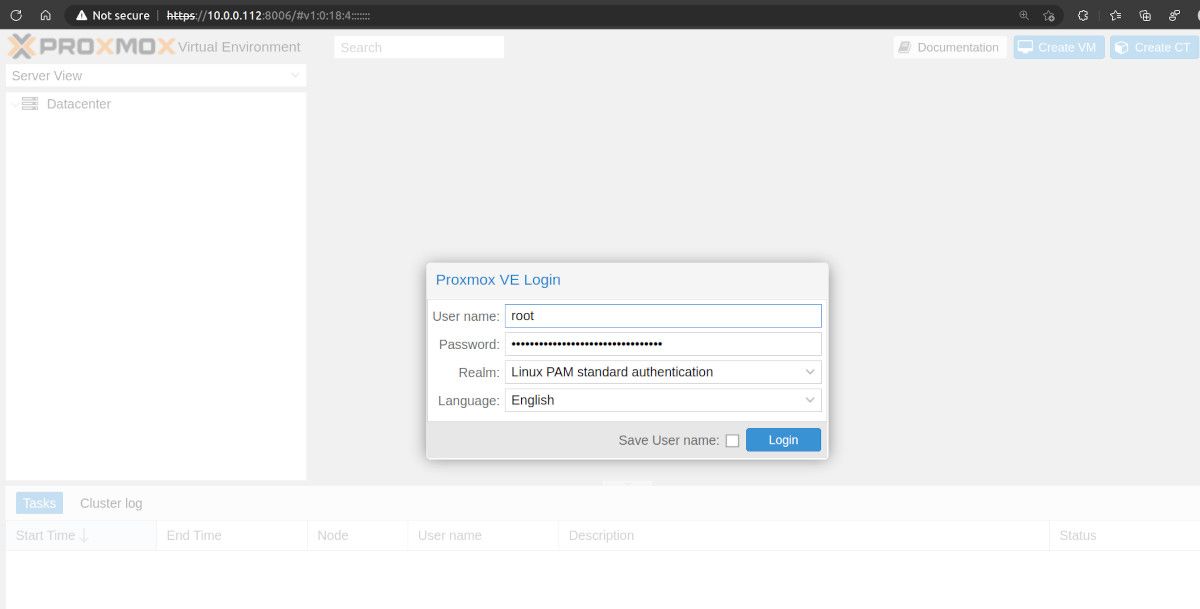
Head over to your browser and enter the IP address provided. On the login page, enter the username root, and password. Use the same details to log in via the terminal console.
Once logged in to the dashboard, you can create virtual machines and manage other Proxmox configurations.
Proxmox Is Cost Effective and Reliable
Proxmox allows you to run and configure both simple and complex virtual machines in a hosted environment. It is a robust system used in data centers and enterprises.
Proxmox is an ideal choice if you want virtualization without paying so much toward license fees. If you want to set up virtual machines on your computer, hypervisors like VirtualBox and VMware are worth considering.


