Garuda Linux, an Arch-based distro, is the one to heed. From simplifying Arch's learning curve to providing a series of different desktop environments, Garuda Linux has it all. This aesthetically pleasing distro is every Linux user's delight, as it's relatively easy to install on your PC.
If you are toying with the idea of installing the distro, but aren't sure how to do it, then here's a simple guide to help you through the process.
Installation Requirements
For this guide, we'll install Garuda Linux on VirtualBox. The steps are the same for those who want to install it directly on their computer (excluding the virtual machine part).
Some pre-requisites include VirtualBox and the Garuda Linux ISO.
You need VirtualBox's latest version on your system. If it is not installed already, you can download it from Oracle's website.
Download: VirtualBox
Download the latest Garuda Linux ISO image from the official website, to install on your virtual machine/PC.
Download: Garuda Linux
This guide uses Garuda Linux XFCE for illustration purposes. You can also go with the Garuda Linux Dr460nized edition, which offers a dark and elegant "dragonized" desktop.
If you want to install Garuda Linux directly on your PC (without using virtual machines), consider skipping step one.
Step 1: Creating a New Virtual Machine
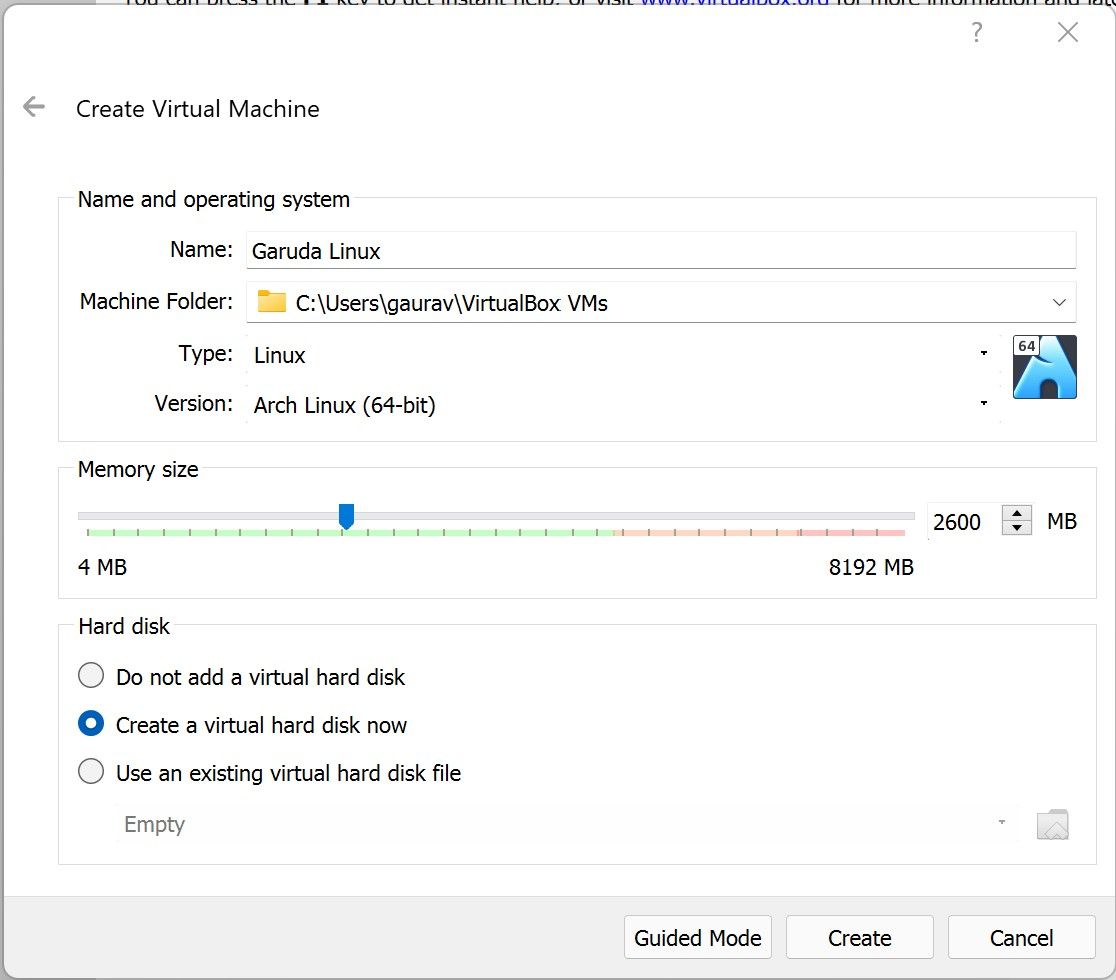
To install Garuda on VirtualBox, click on the New button to create a new virtual machine. On the following screen, enter the desired name of the virtual machine.
In the Machine Folder field, you can retain the default storage location or change it as per your requirements.
Under Type, select Linux. Choose Arch Linux (64-bit) under the Version category. The Garuda Linux installer needs at least 2.5GB of memory. Allocate at least 2600MB as the memory size. Note that you can choose to allocate more memory if you want to.
Leave the Hard disk option as it is (default value: Create a virtual hard disk now).
Click on Create.
On the next screen, you can change the following options (not mandatory):
- File Location: Location where the virtual machine is stored
- File Size: The VM's file size
- Hard Disk File Type: Leave at default (VDI)
- Storage on Physical Hard Disk: Leave at default (Dynamically allocated)
Click on Create to proceed.
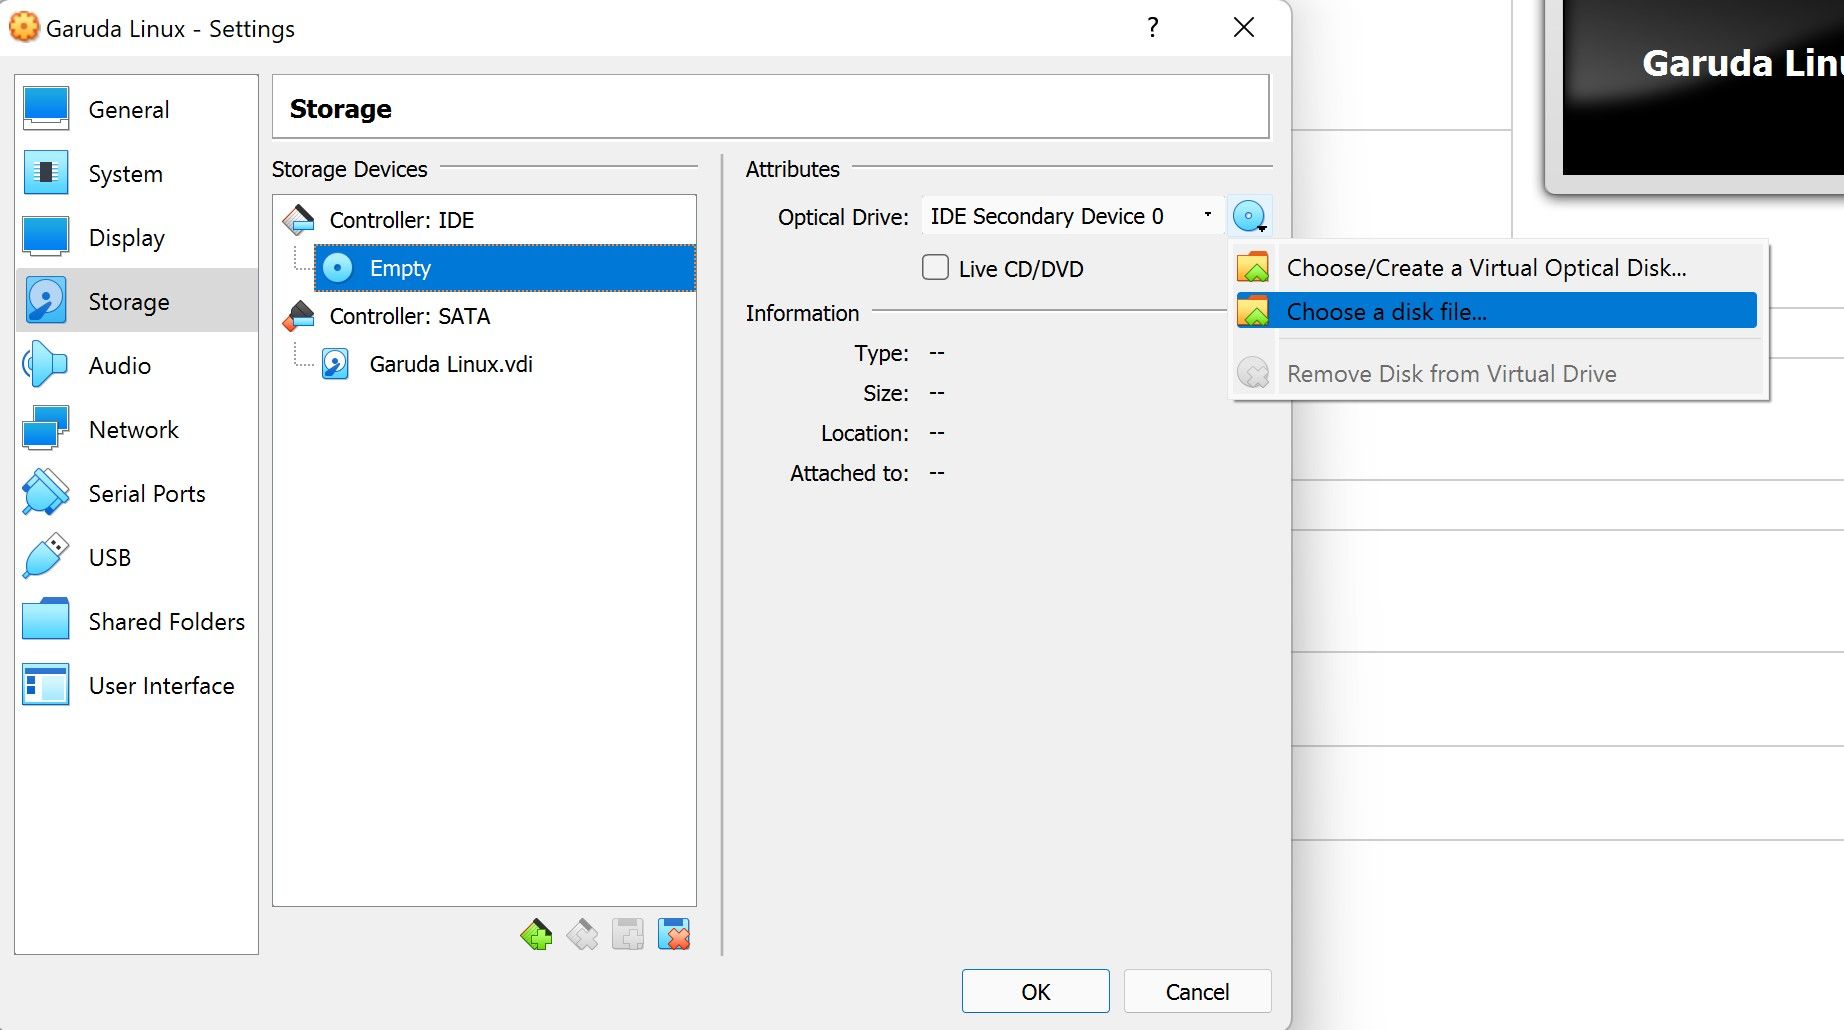
Now that the basics are out of the way, you will see the VM icon on the left pane. Click on Settings for your virtual machine and add the ISO image for Garuda Linux.
To do that, navigate to Storage under the list of options, and under Controller: IDE, click on Empty. Then, click on the CD icon next to Optical Drive on the right panel. Click on Choose a disk file and select the ISO image from your local drive.
Click Ok, once you have selected the parameters.
Step 2: Installing Garuda Linux
To install Garuda on your PC without using a virtual machine, you need to create a bootable Linux USB using the ISO image and boot your computer with it. Then, proceed with the next steps.
Once everything is done, click on Start to fire up your newly created virtual machine from the VirtualBox dashboard.
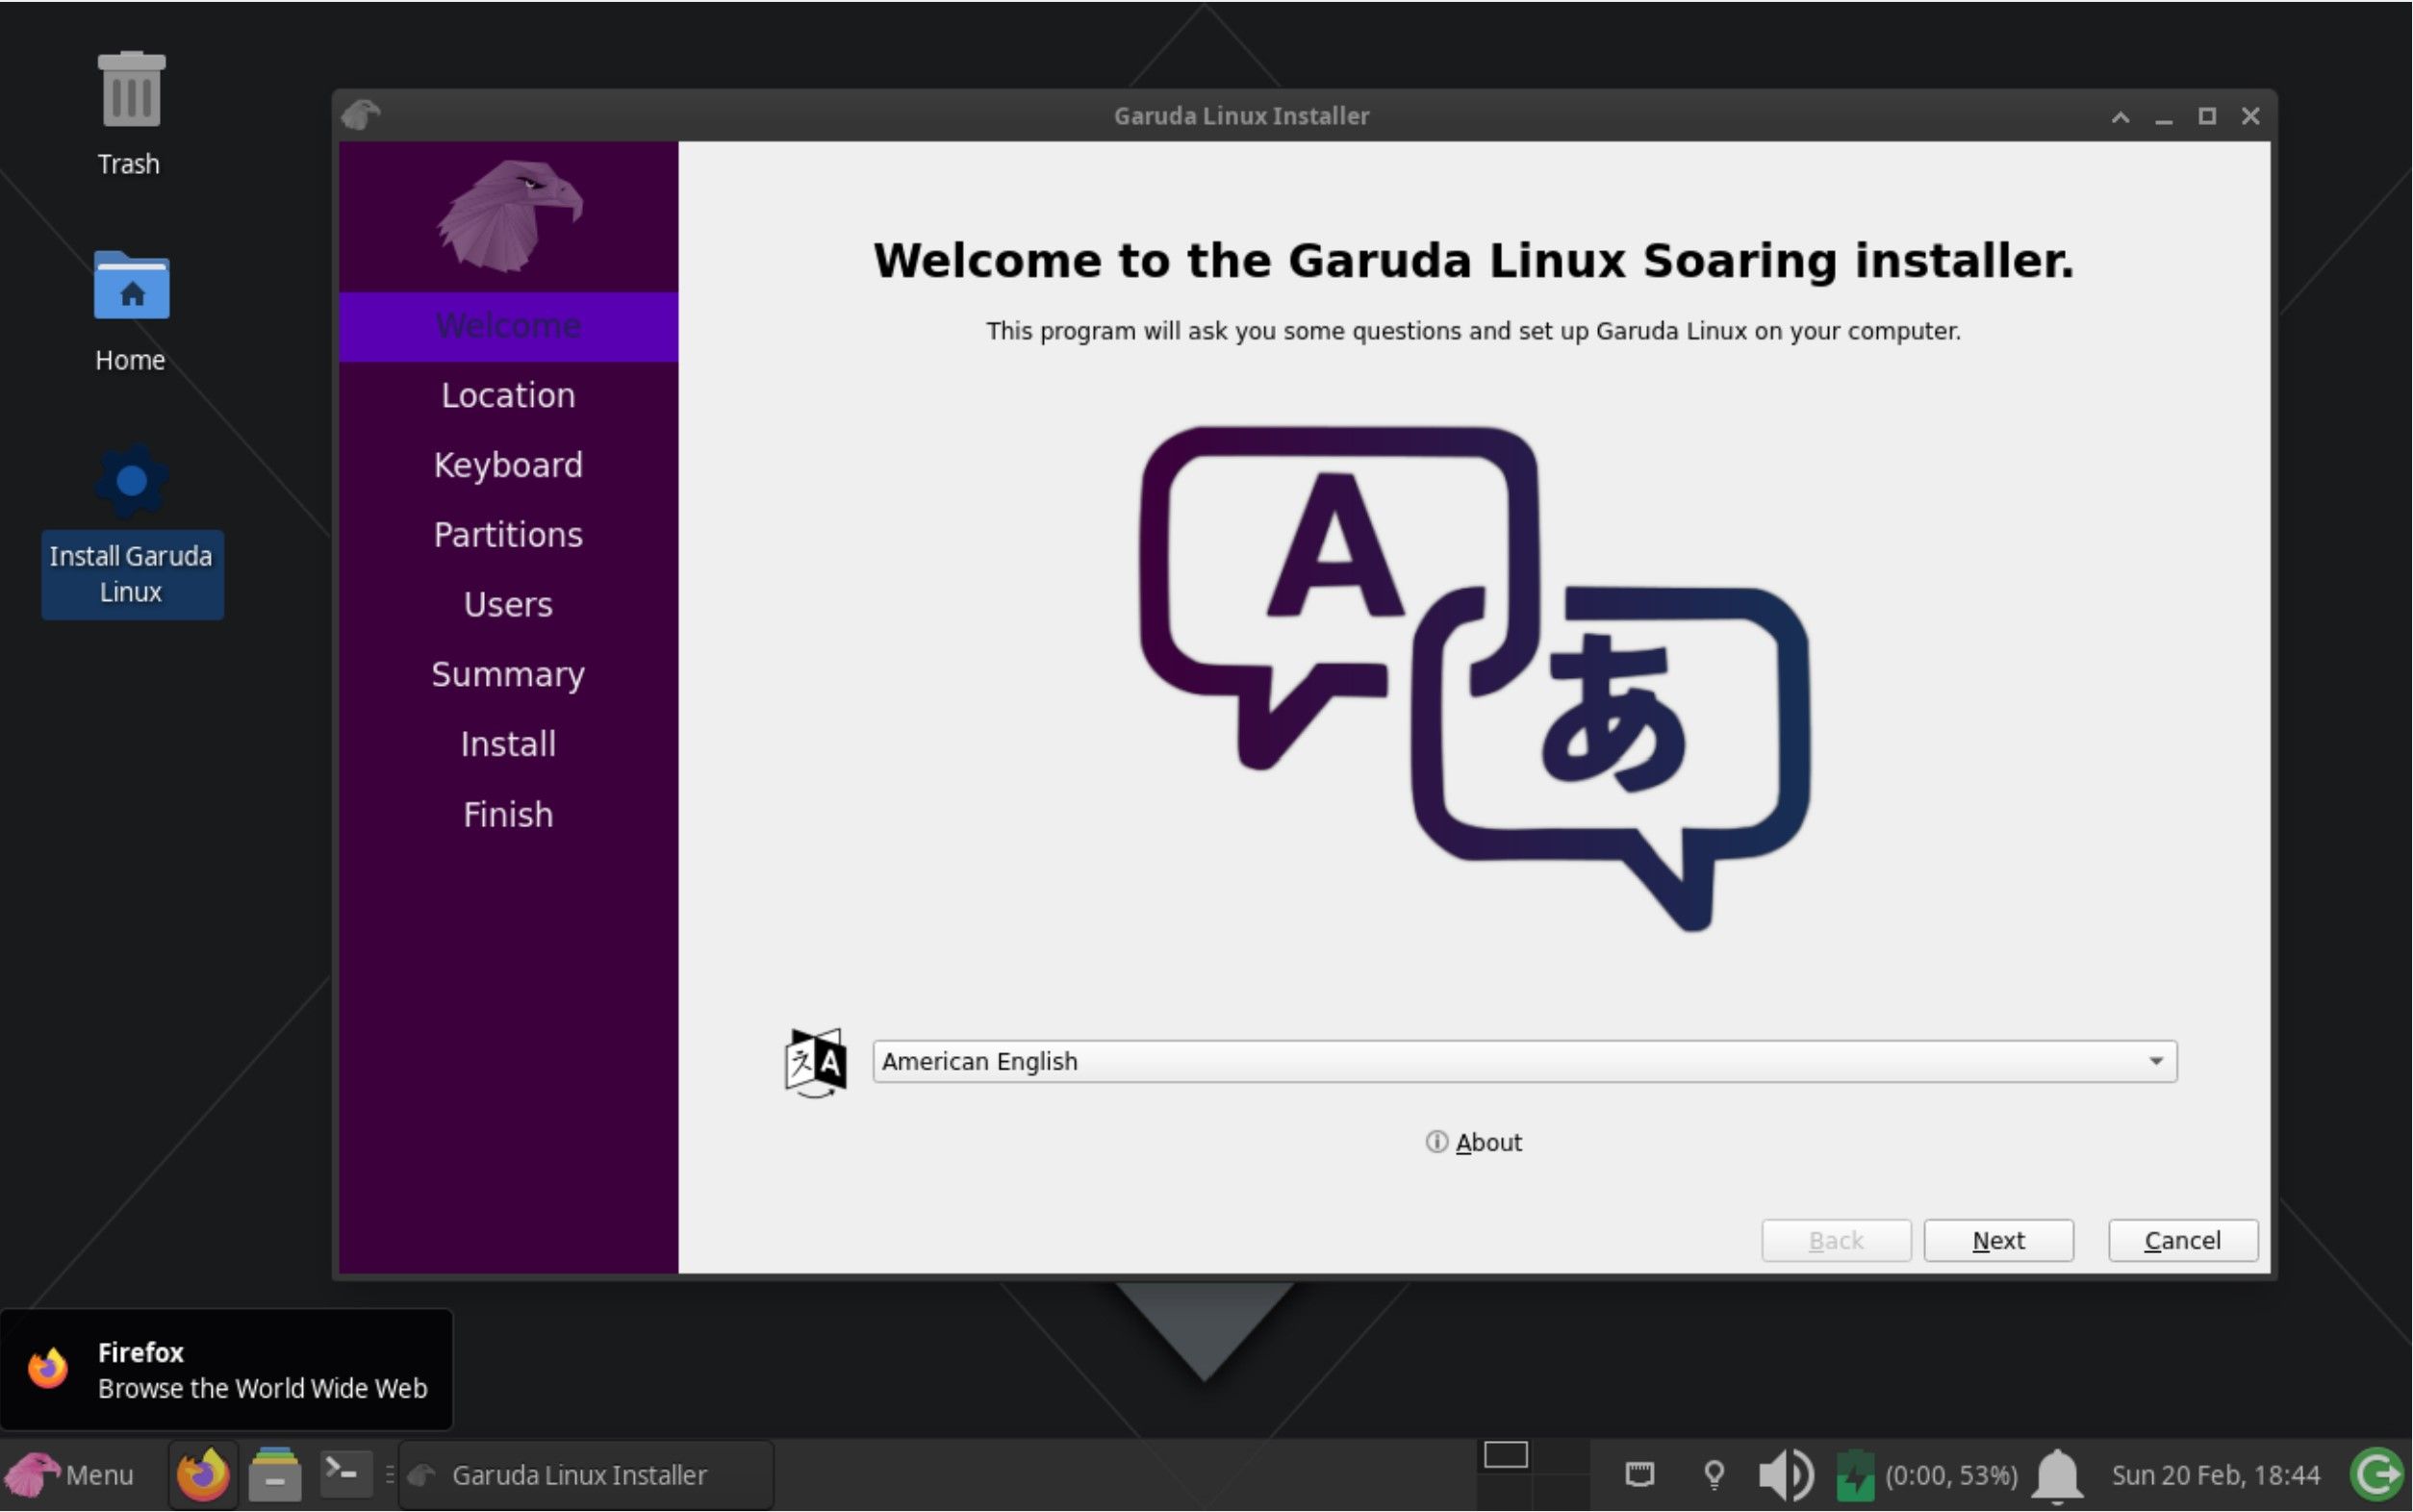
Once the machine loads, you will notice a new icon on the desktop.
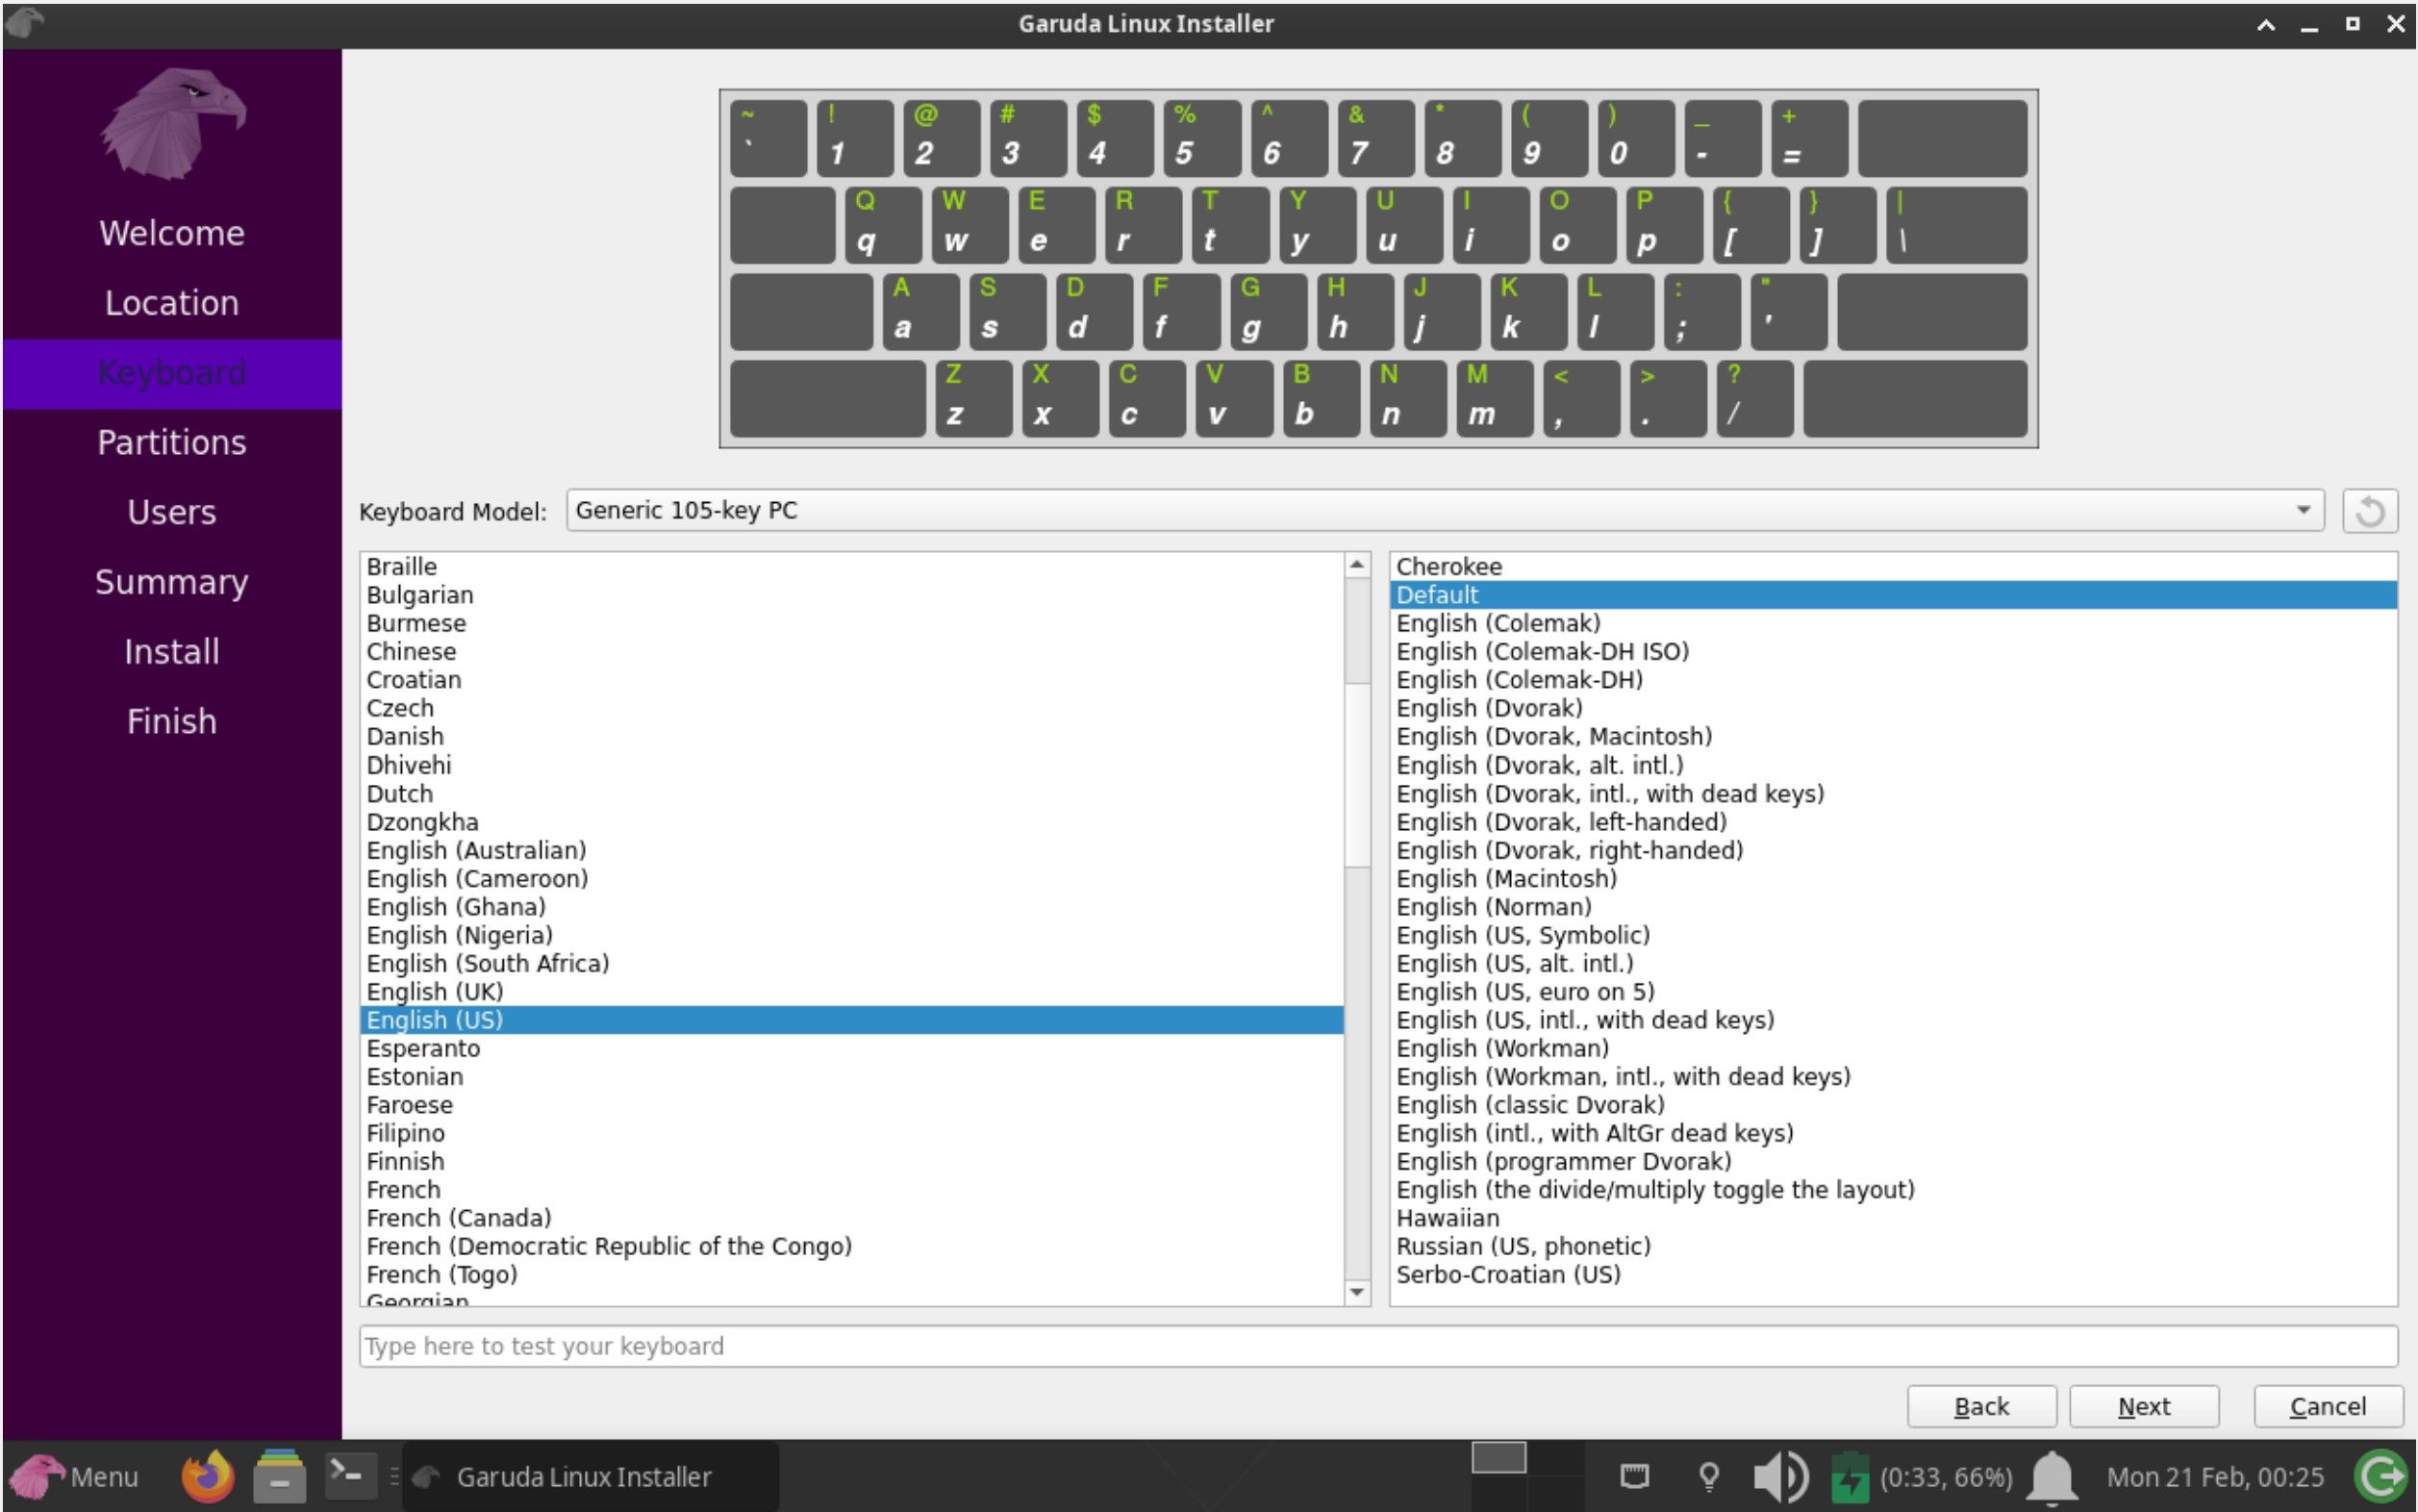
Click on the Install Garuda Linux icon to continue. Then, on the welcome screen, select your preferred language, and click Next.
Select your region and time zone accordingly. Click Next once done. On the following screen, select your preferred language and hit Next.
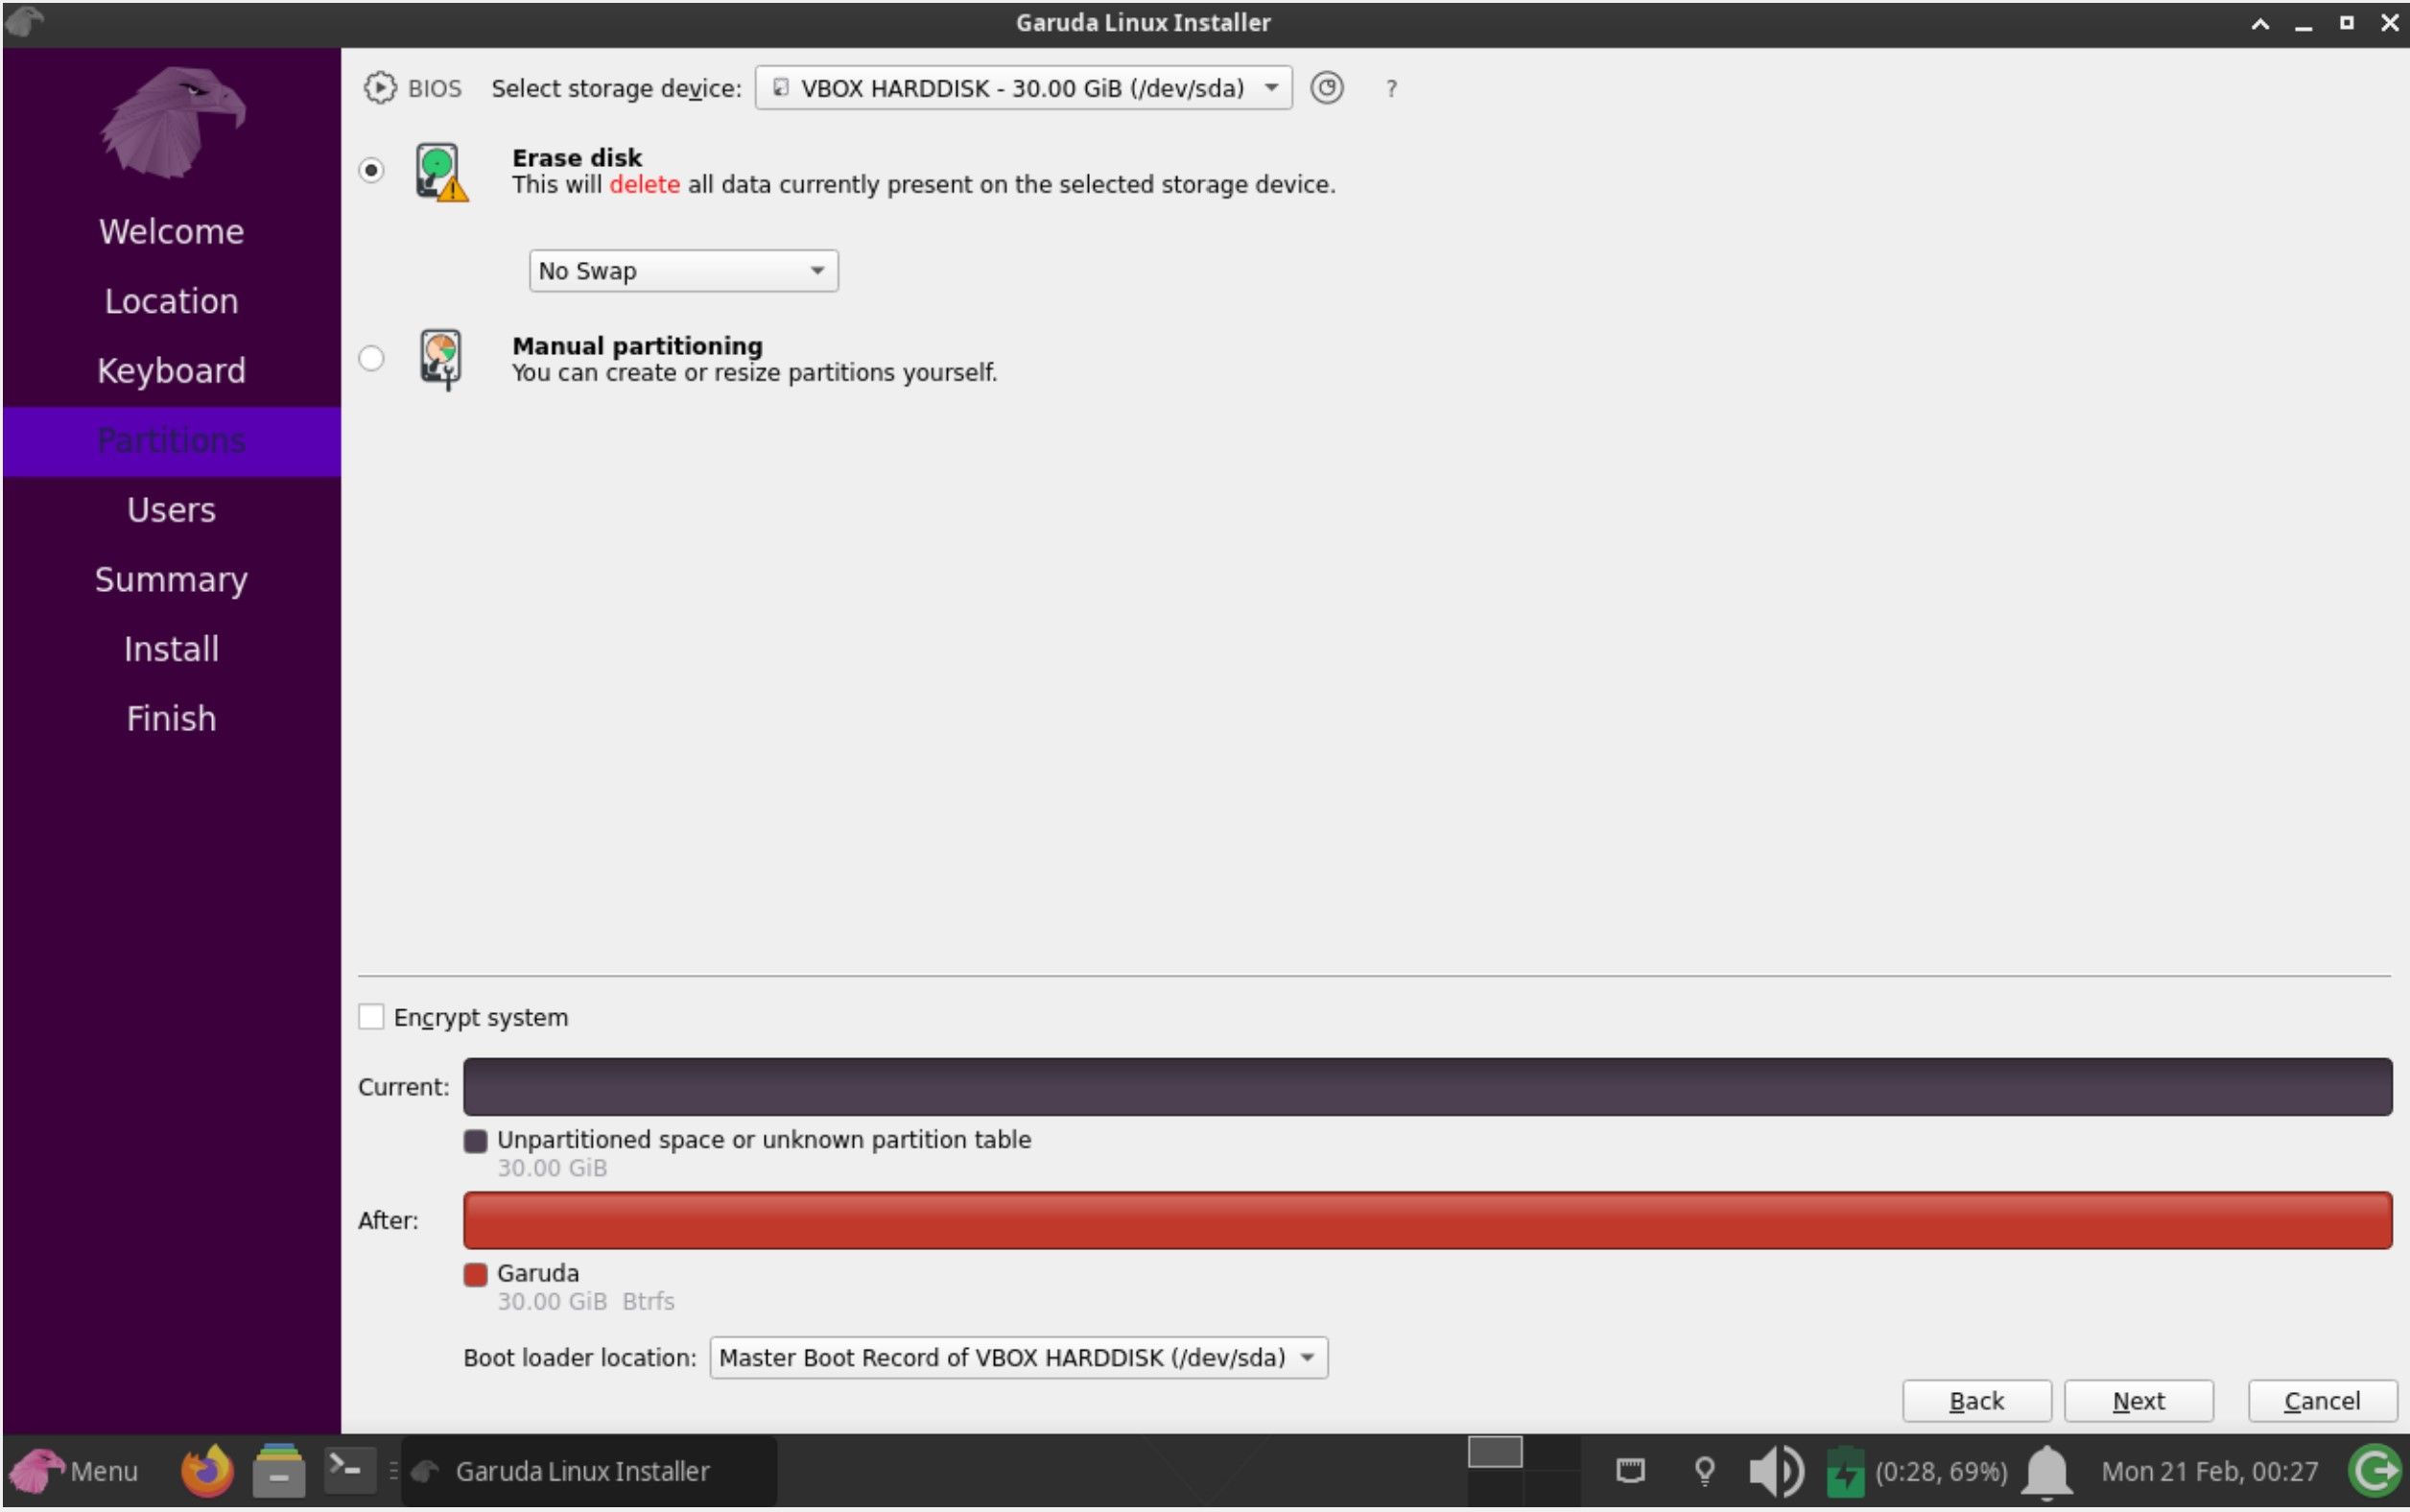
On the subsequent screen, the installer will present you with two options, asking you for the disk allocation method. These options include Erase disk and Manual partitioning. Depending on how well you know your OS capabilities, you can choose the preferred option.
If you're installing Garuda Linux on a virtual machine, you can proceed with Erase disk. For those who plan on dual-booting Linux with Windows, Manual partitioning is your best bet as it gives you fine-grained control over your partitions.
When you move to the next screen, you need to enter your new user account's name and password.
You can set the root access and username accordingly if you want the same credentials for your standard users and the superuser.
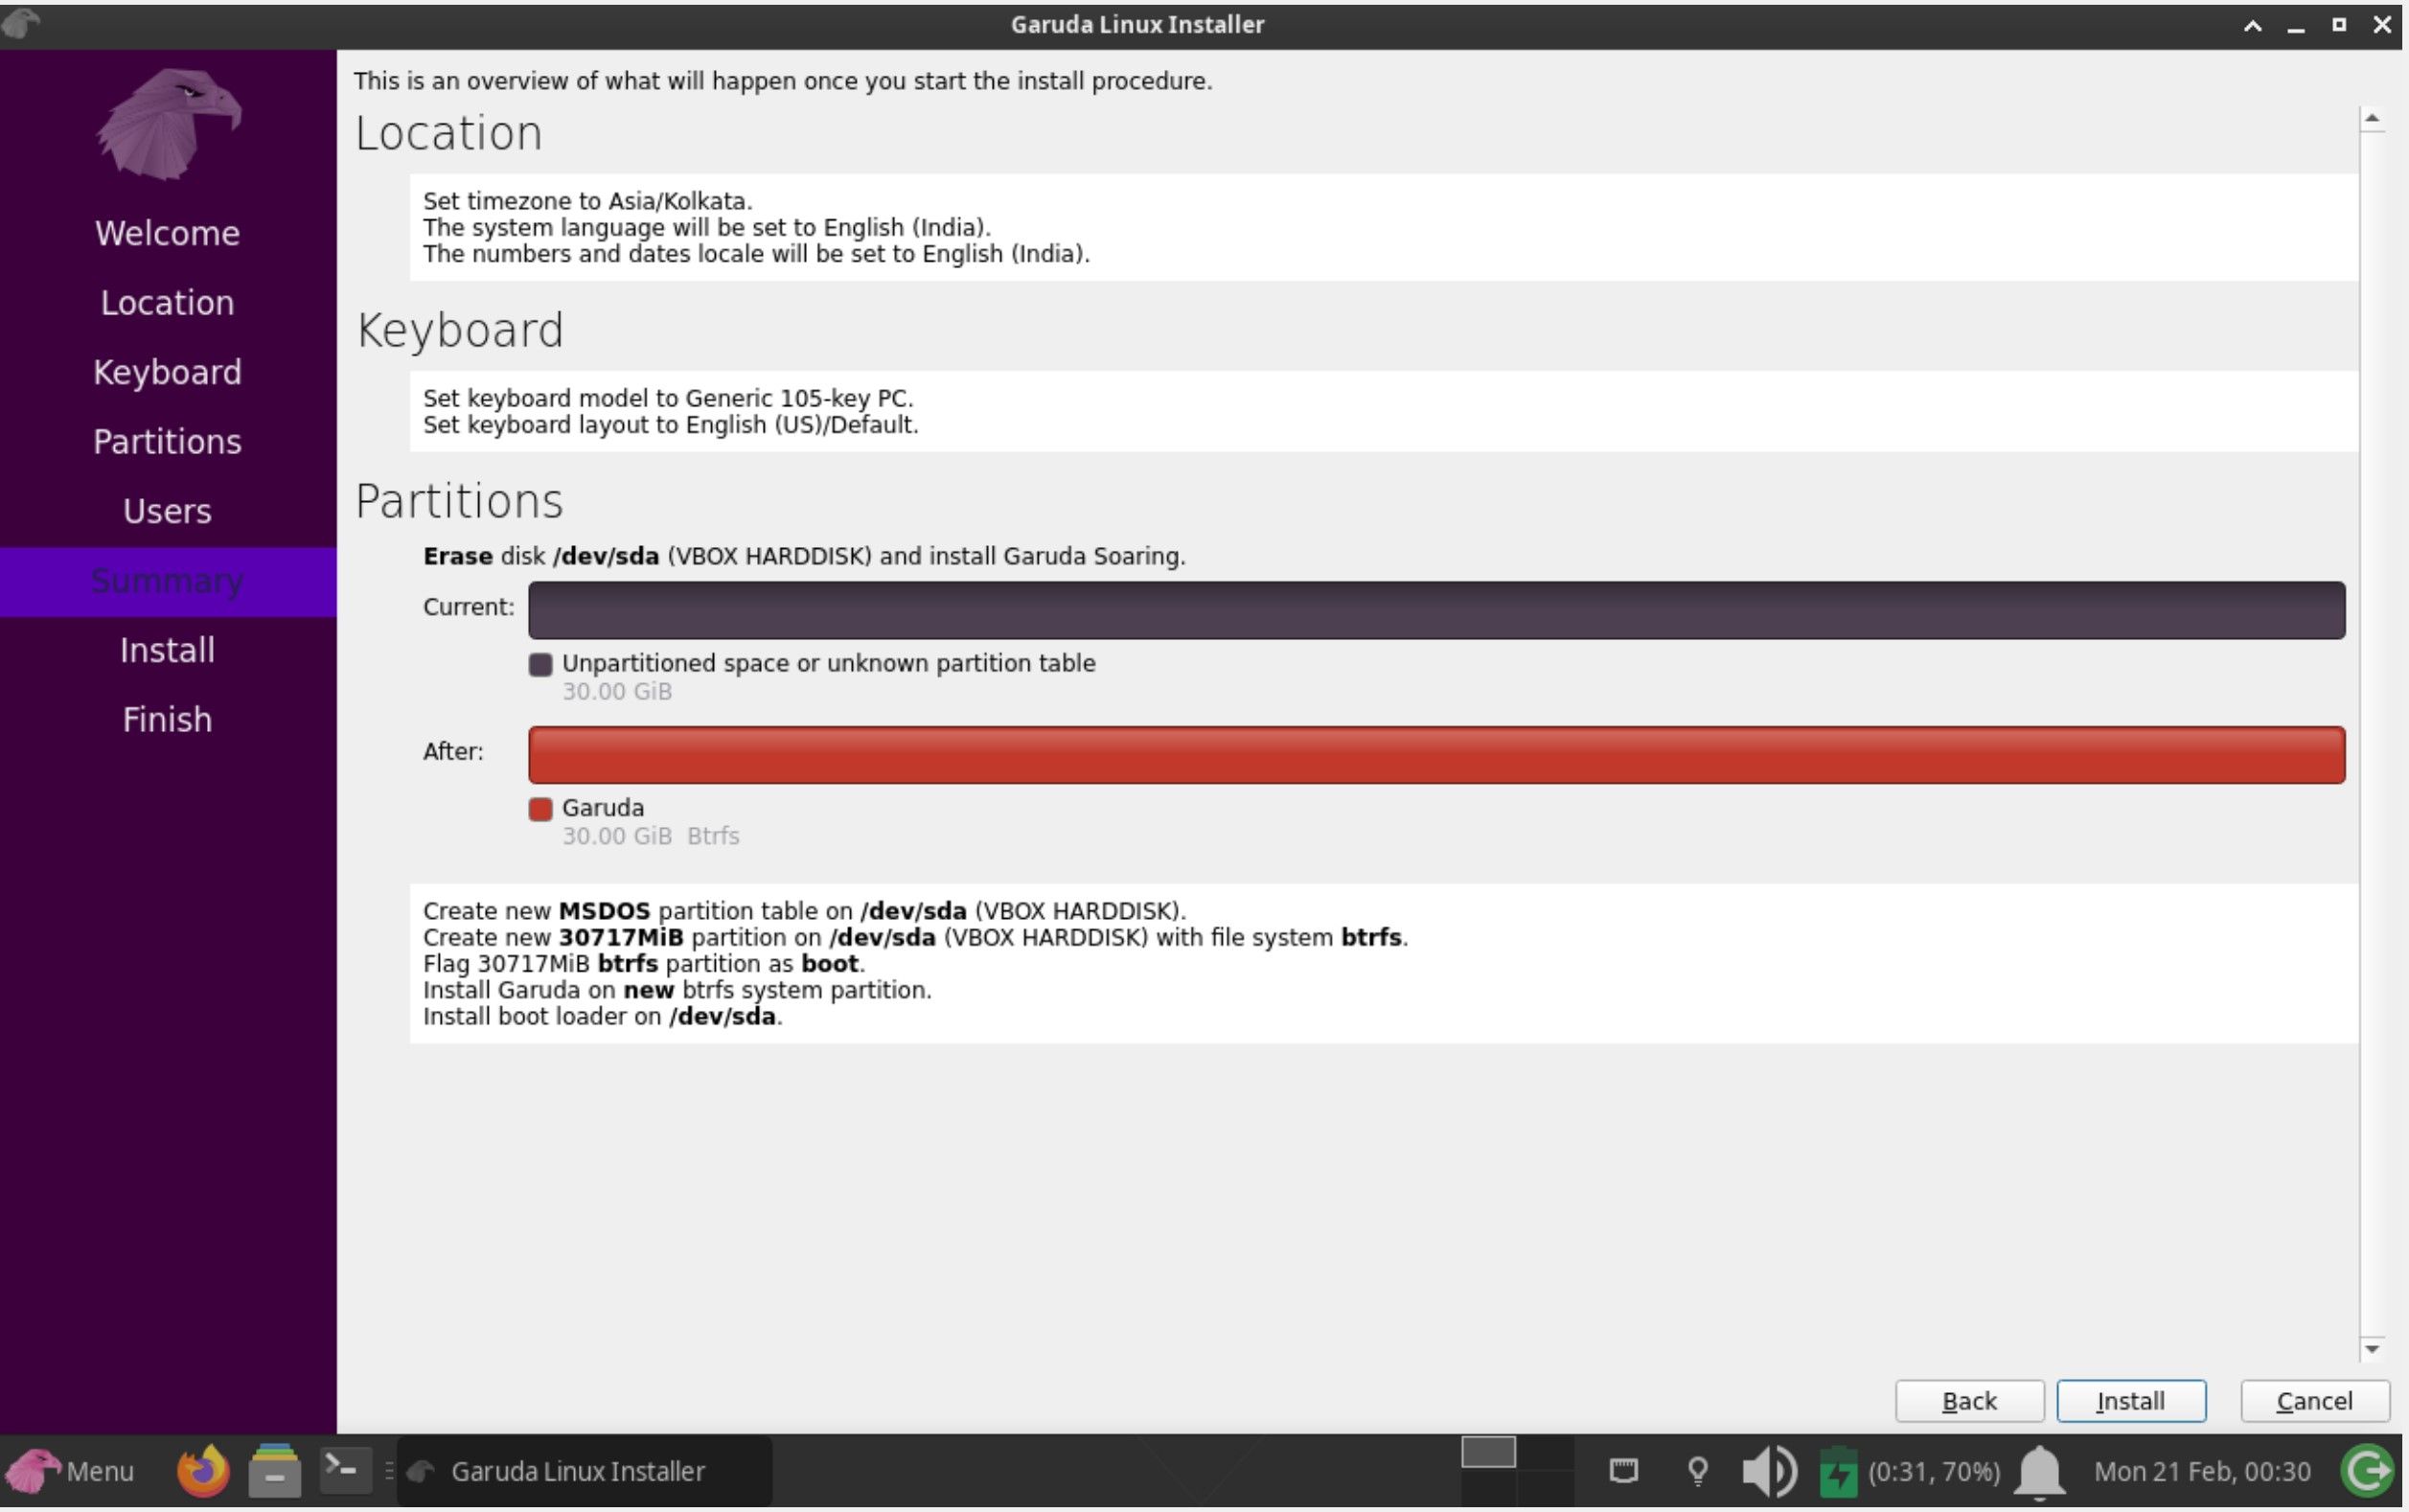
As you move towards the last step, you can review the final layout and cross-check if everything is in order. Click on Install, once verified.
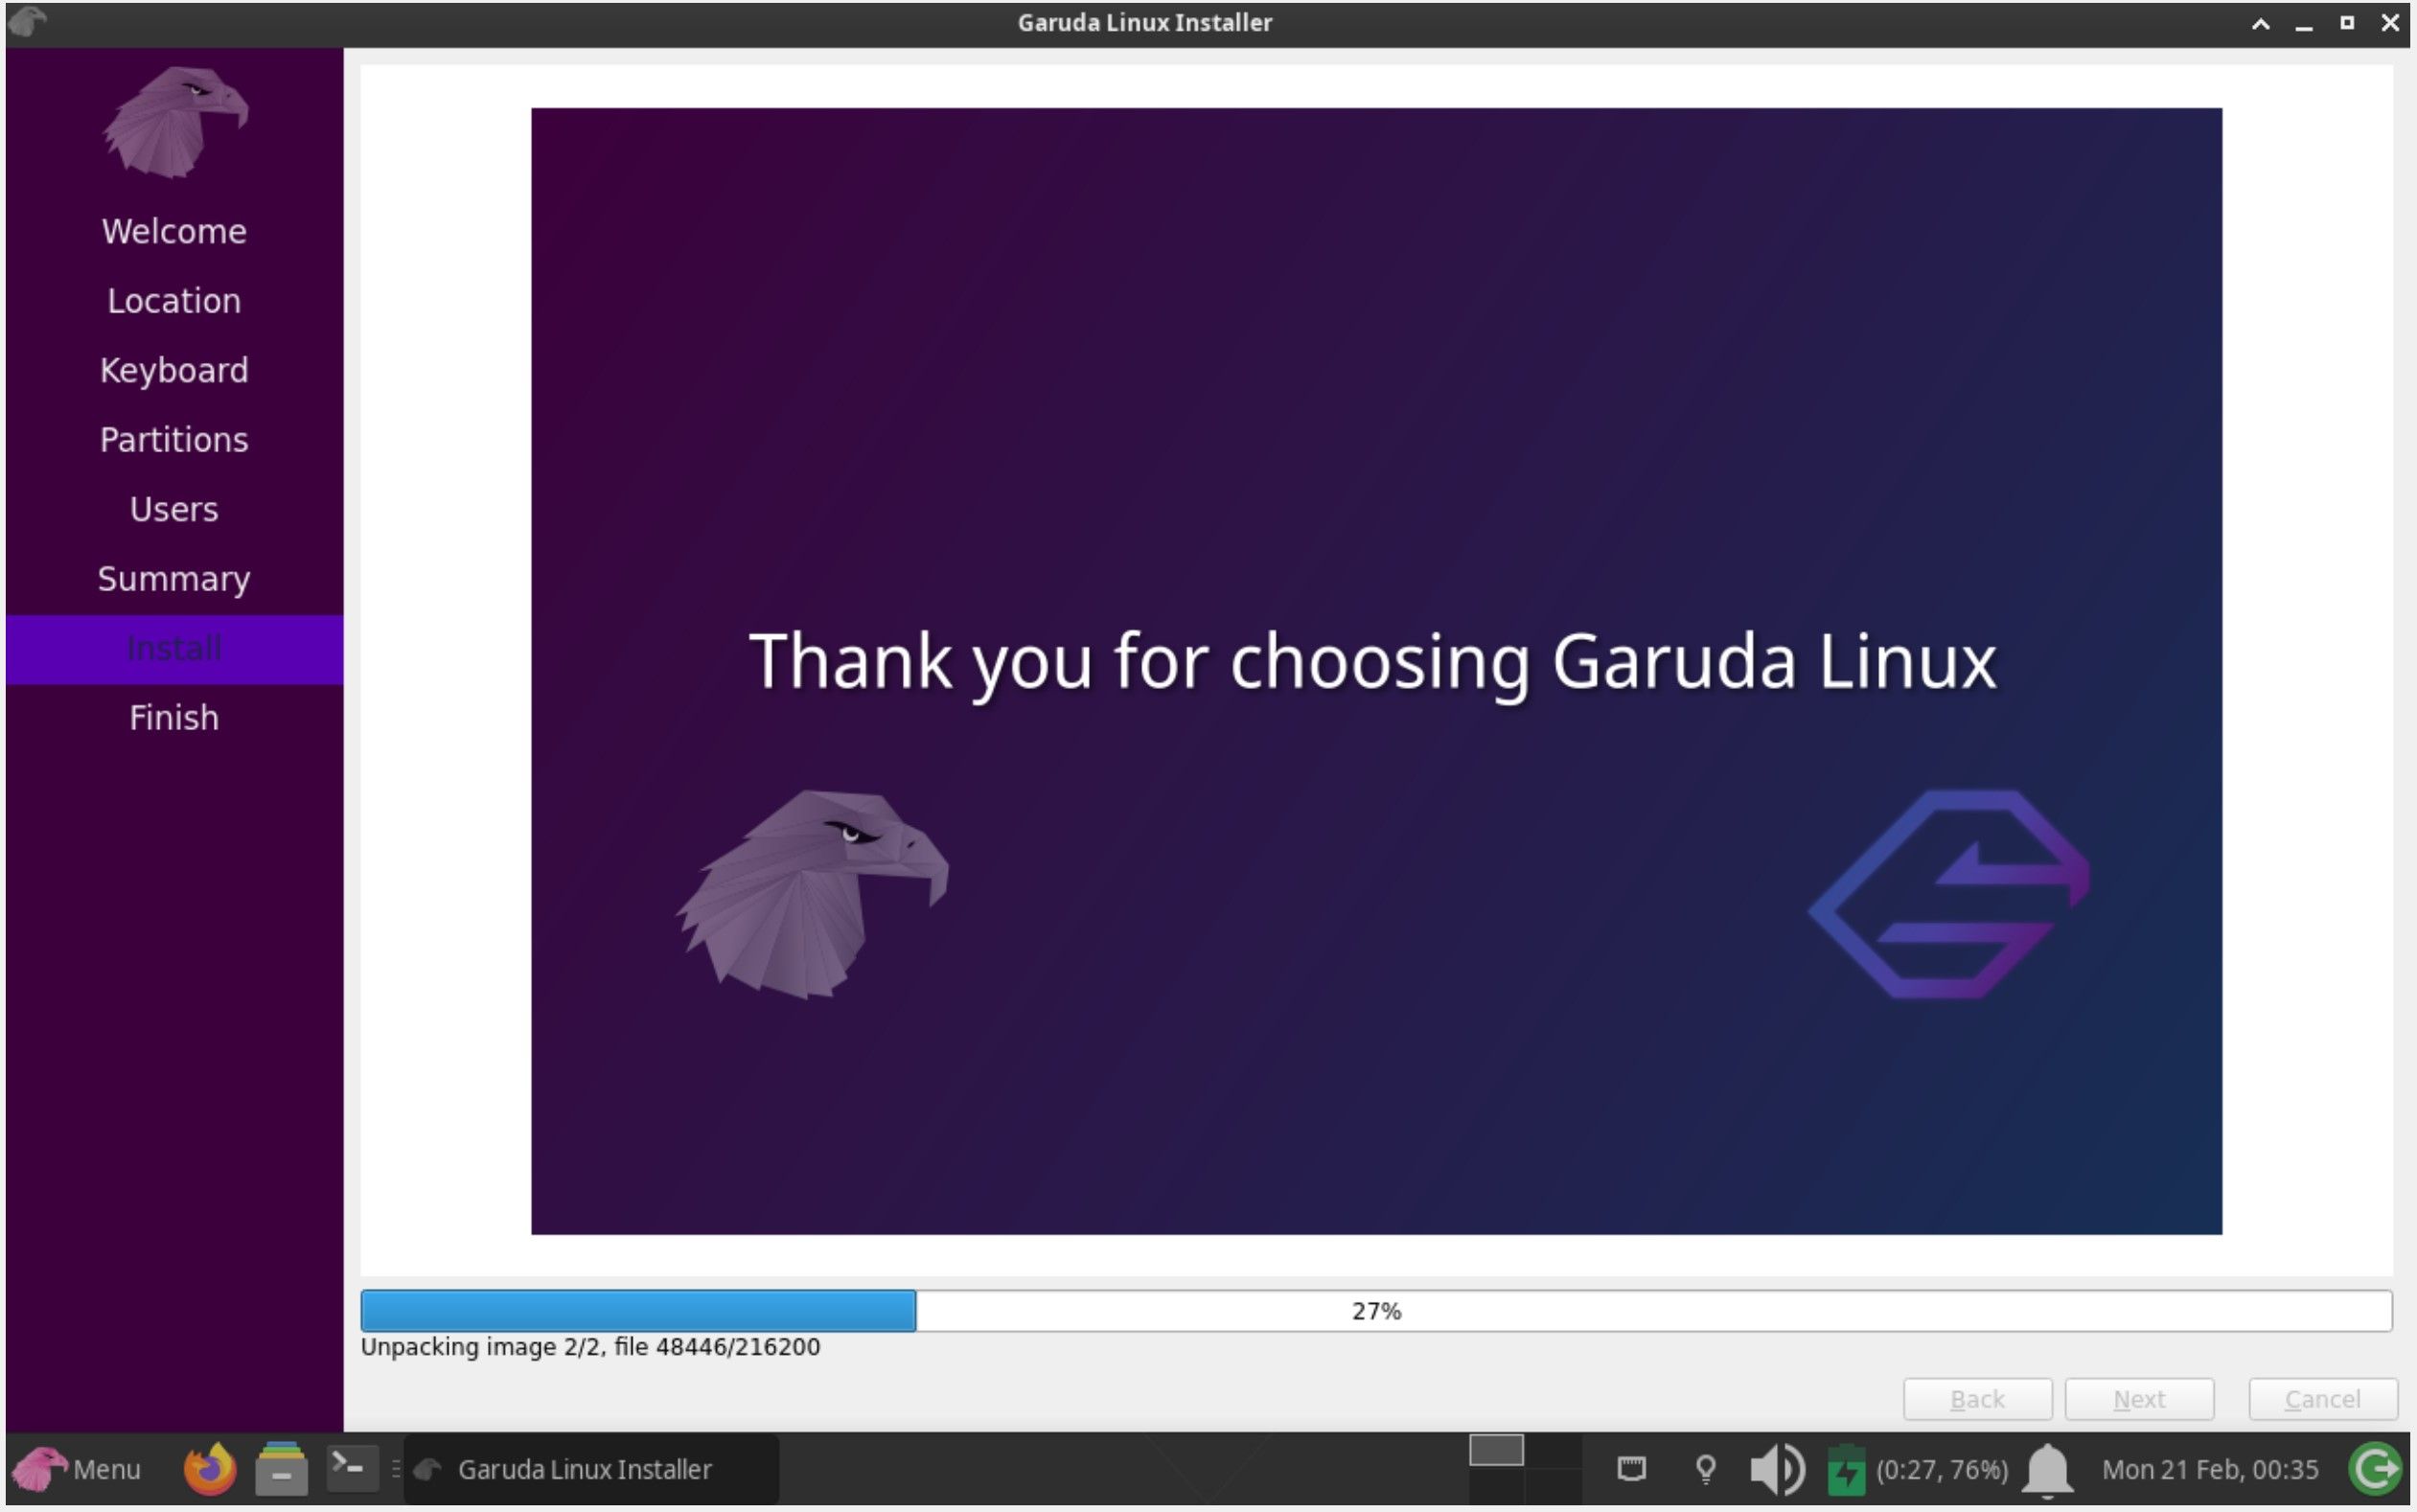
Once all the formalities are completed, Garuda Linux will begin installing on your system.
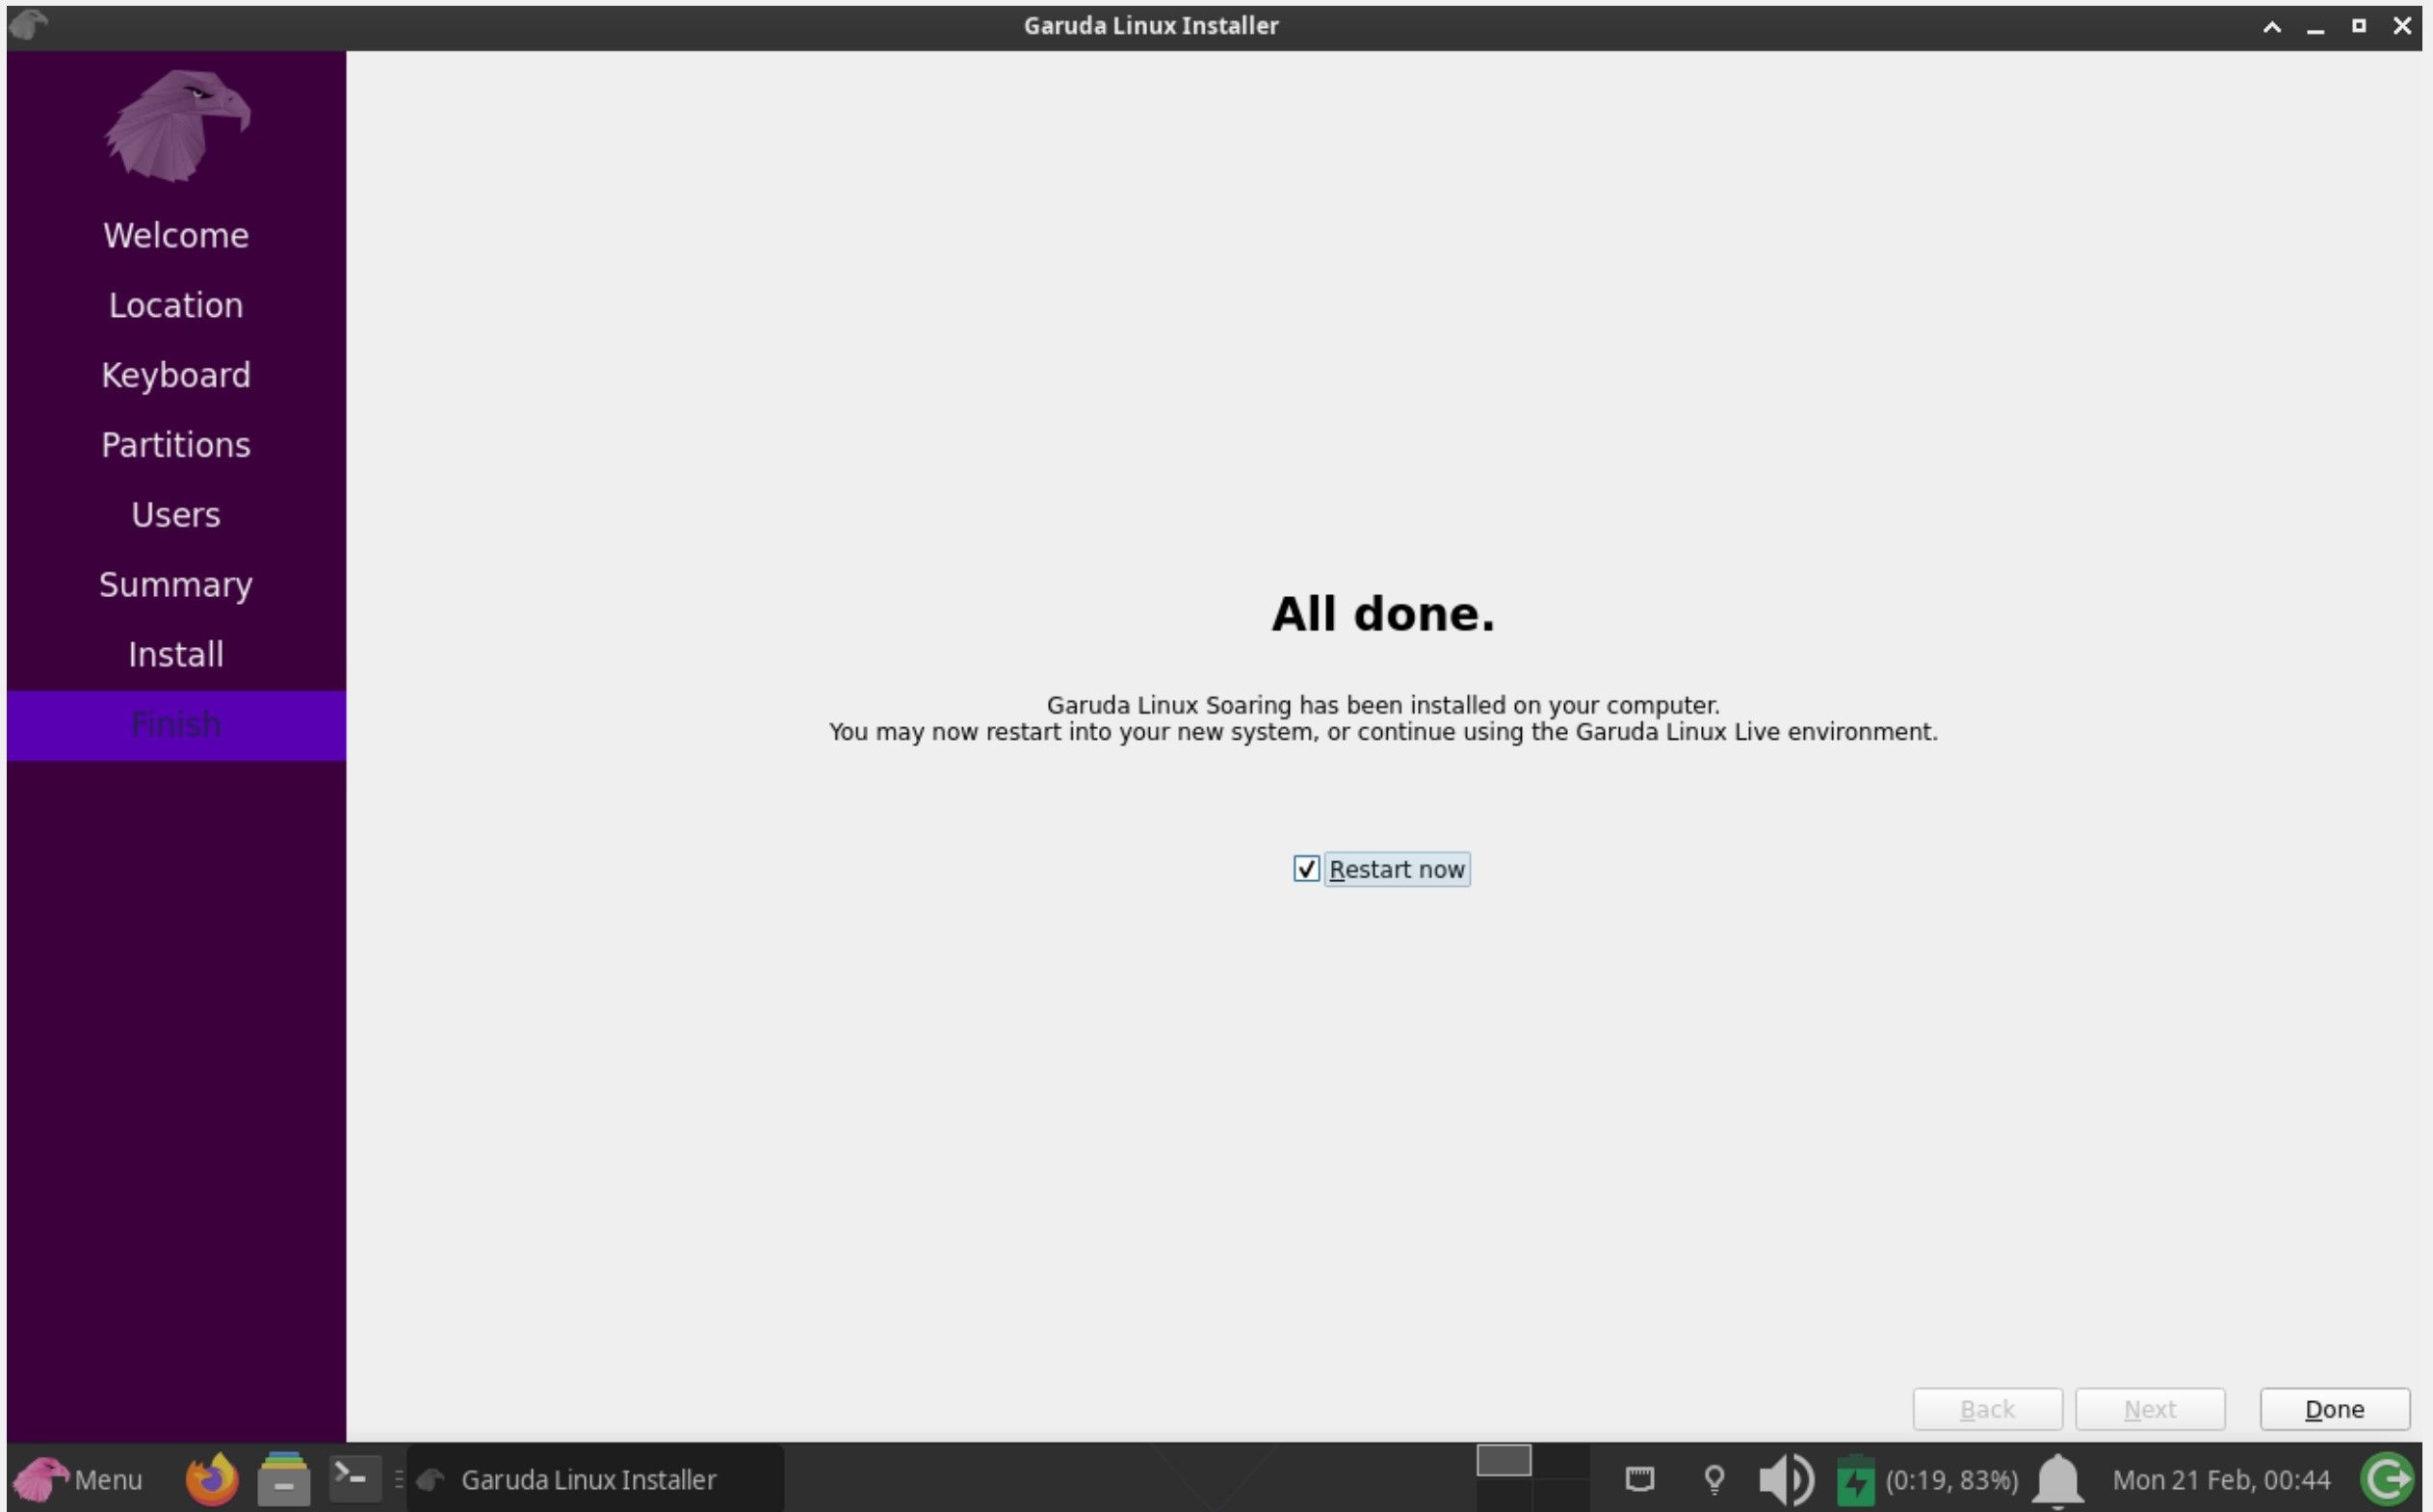
Post-installation, reboot your system, for the changes to take place on your machine. Click on Done to restart the machine.
For VirtualBox users, don't forget to remove the Garuda Linux ISO from the virtual machine, otherwise the machine will boot using the image instead of the storage.
Garuda Linux Is an Easy-to-Install Version of Arch
These steps will install Garuda Linux on your computer. Before installing it, make sure you allocate sufficient storage and RAM to the virtual environment. If you allocate the right pre-requisites, your distro will be ready in no time at all.
Garuda Linux offers the power and features of Arch Linux packed in an easy-to-use installer. Even if you're a beginner, you can effortlessly install the OS on your system; all you have to do is follow the on-screen instructions.

