Apache Tomcat, also known as Tomcat Server, is an open-source web server with the Servlet container to launch Java-based web applications. Tomcat includes JavaServer Pages (JSP), WebSocket, Java Servlet, Java EL, etc., for an entirely Java HTTP web server environment to run the Java code.The great community of skilled developers maintains the Tomcat server under the management of the Apache software foundation. Therefore, the Tomcat server provides excellent accessibility to work on the Java-based application efficiently. Cross-platform support means that it's available for both Windows and Linux. The latest version of Apache Tomcat is 10.0.18, so in this guide, we will explain how to install Apache Tomcat 10 on Ubuntu 20.04.
1. Installation of Java (The Latest Version)
First, note that if you have just installed Ubuntu 20.04 on your system, you must add a new user in Linux before setting up Apache Tomcat.
As we have mentioned, Apache Tomcat is used for Java-based applications, requiring the latest version of Java. The latest version of Apache Tomcat requires JDK 8 (Java Development Kit) or a higher version to function correctly. You can install the newest version of JDK by running the following commands in the Linux terminal:
sudo apt update
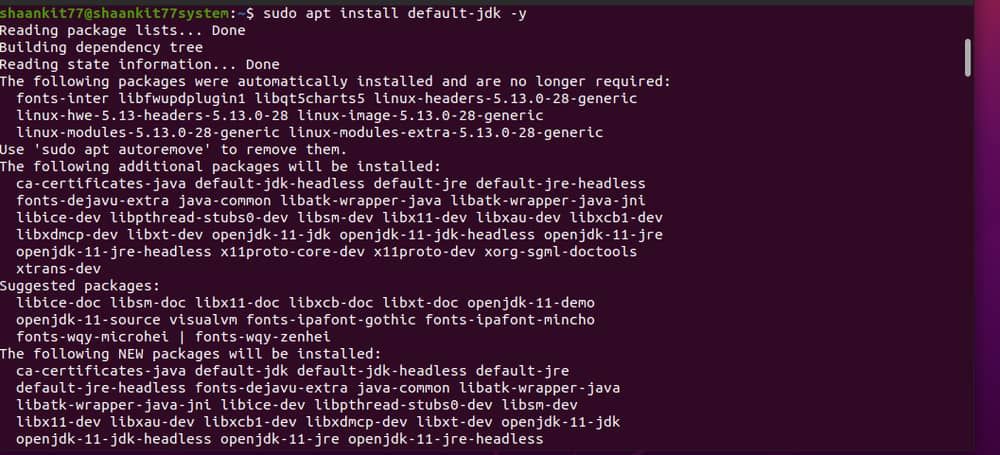
sudo apt install default-jdk -y
We have used -y in the above command to surpass the installation confirmation automatically. Next, you have to check and verify the Java version through the following command:
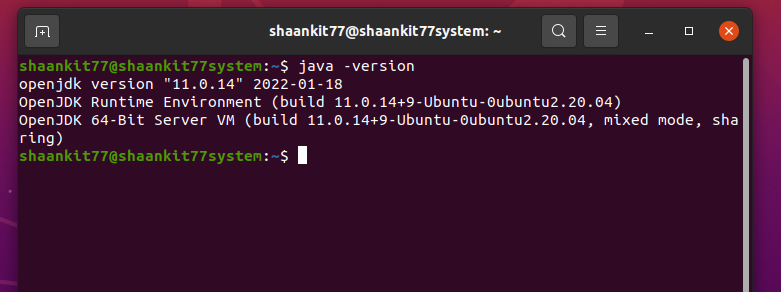
java -version
As you can see in the above image, we have the latest version of OpenJDK, 11.0.14. It also shows important information about the OpenJDK Runtime Environment and server.
2. Apache Tomcat 10 Installation
Apache Tomcat has an active development team that delivers the latest updates regularly, so download it from the official server using the below command:
wget https://dlcdn.apache.org/tomcat/tomcat-10/v10.0.18/bin/apache-tomcat-10.0.18.tar.gz
If you are reading this guide months after posting and there is a new update after 10.0.18, make sure you change the version in the above command. Otherwise, the command will not work, and you will get errors while downloading the latest version of Apache Tomcat.
Once you download the Tomcat tar.gz file, extract the tar archive with the command given below:
tar xvf apache-tomcat-10.0.18.tar.gz
Now move the extracted files to home directory (/usr/share/apache-tomcat) using the following command:
sudo mv apache-tomcat-10.0.18 /usr/share/apache-tomcat
You can also use the following command to extract and move the Tomcat directory at the same time instead of doing it one by one:
sudo tar xzvf apache-tomcat-10*tar.gz -C /opt/tomcat --strip-components=1
3. Setting Up the Tomcat User Account
Running the Tomcat server through a specific user account is a good idea for security purposes. Execute the below command to create a new user account:
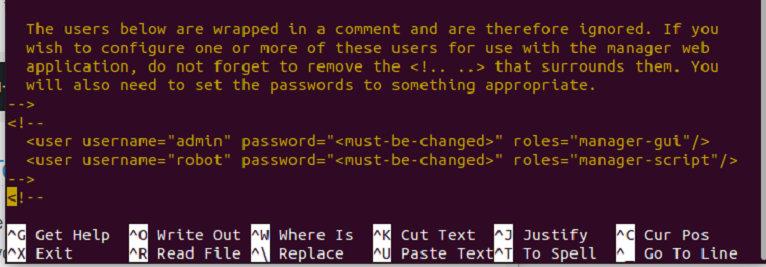
sudo nano /opt/tomcat/conf/tomcat-users.xml
Now, change the username and password according to the requirements and save it:
Change the roles to manager and host-manager, and set their passwords accordingly.
Finally, set the required file permissions in the Tomcat directory as follows:
        sudo chown -R tomcat:tomcat /opt/tomcat/
sudo chmod -R u+x /opt/tomcat/bin
4. Enable Access to Apache Tomcat
You can access host-manager and tomcat manager applications as localhost only, so it is important to configure the access permissions. There are two ways to allow access, either from allowing the particular remote systems or allowing all systems. Open the context.xml file to edit it for the manager and the host-manager applications:
sudo nano /opt/tomcat/webapps/manager/META-INF/context.xml
sudo nano /opt/tomcat/webapps/host-manager/META-INF/context.xml
Now change the lines by adding the IP address which you will access. See how to find your IP address in Linux if you need help:
allow="127\.\d+\.\d+\.\d+|::1|0:0:0:0:0:0:0:1|10.0.2.15" />
At last, save the file, and the system will allow access for the manager and host manager.
5. Set Up the Tomcat Systemd File
Tomcat has bash script accessibility for starting and stopping the services. However, you can create a startup script for managing all tasks as a systemd service. So first, open the tomcat.service file in vim using the below command:
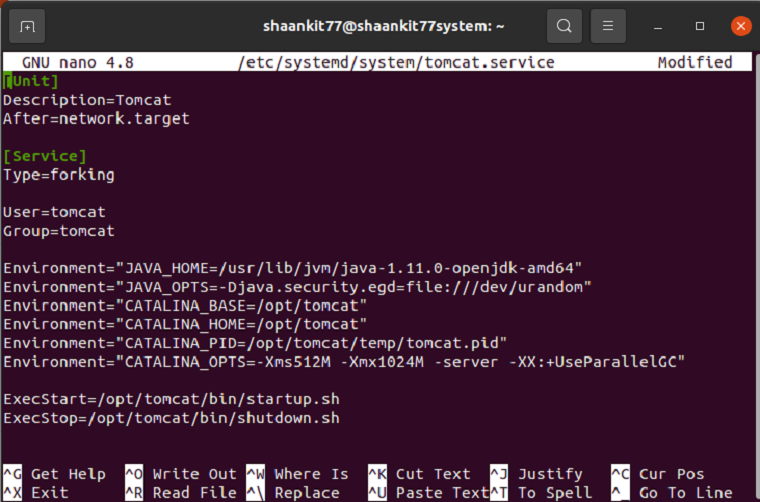
sudo nano /etc/systemd/system/tomcat.service
Now paste the following content in the vim editor and save it:
        [Unit]
Description=Tomcat
After=syslog.target network.target

[Service]
Type=forking
User=tomcat
Group=tomcat
Environment=JAVA_HOME=/usr/lib/jvm/default-java
Environment='JAVA_OPTS=-Djava.awt.headless=true'
Environment=CATALINA_HOME=/usr/share/apache-tomcat
Environment=CATALINA_BASE=/usr/share/apache-tomcat
Environment=CATALINA_PID=/usr/share/apache-tomcat/temp/tomcat.pid
ExecStart=/usr/share/apache-tomcat/bin/catalina.sh start
ExecStop=/usr/share/apache-tomcat/bin/catalina.sh stop
[Install]
WantedBy=multi-user.target
Run the below command to reload the systemd service to load the changes done in the file.
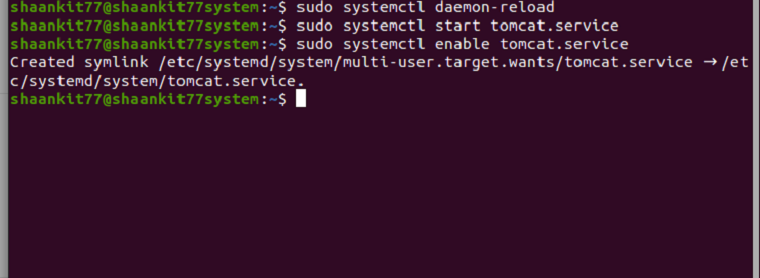
sudo systemctl daemon-reload
Now, start and enable the tomcat application using the commands given below:
sudo systemctl start tomcat.service
sudo systemctl enable tomcat.service
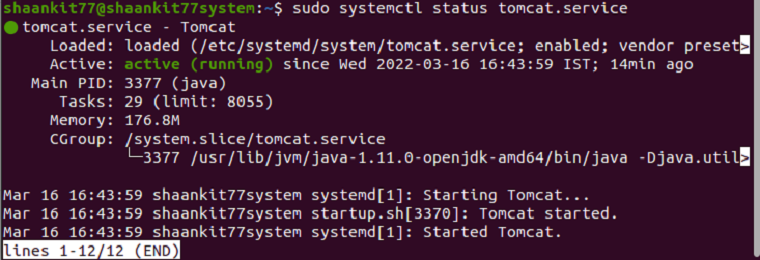
Let's verify the status of the Tomcat service by running the following command in the terminal:
sudo systemctl status tomcat.service
Here, in the above image, the system is displaying "active (running)" in the status.
6. Access the Tomcat Web Server
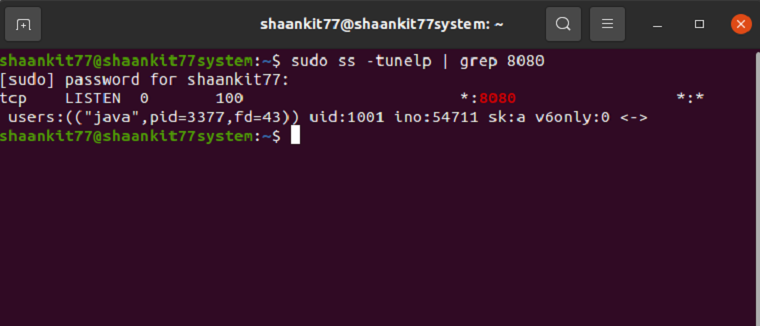
By default, Tomcat Server runs on port 8080, but you can check it using the following command:
sudo ss -tunelp | grep 8080
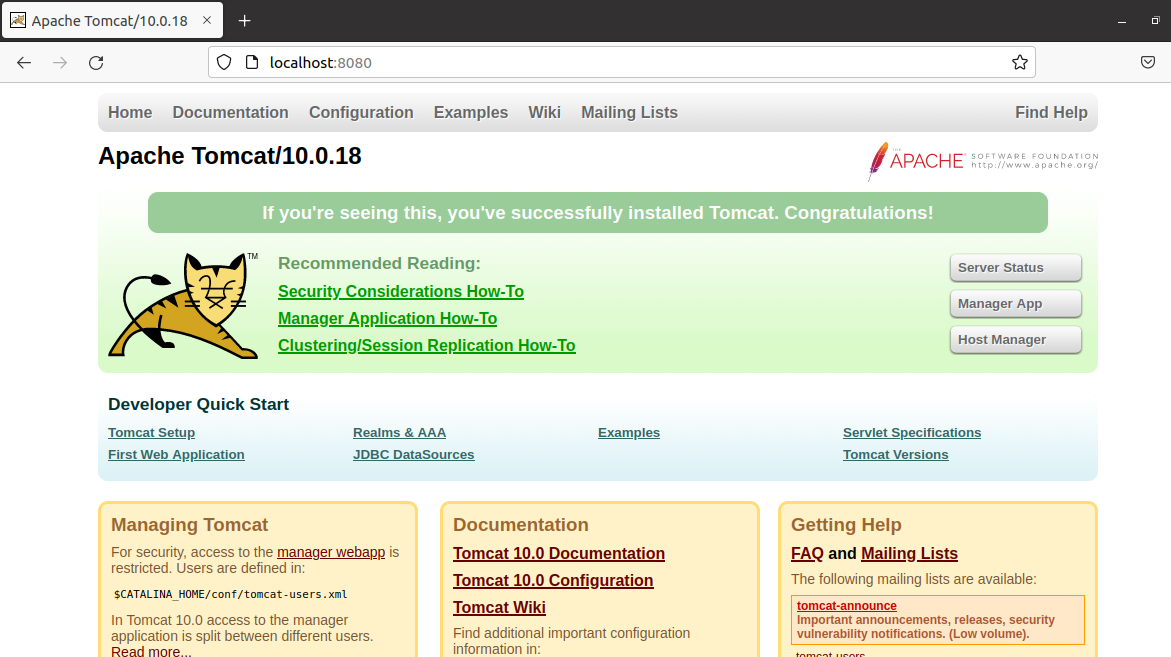
Now access the Tomcat server from the browser:
http://localhost:8080/
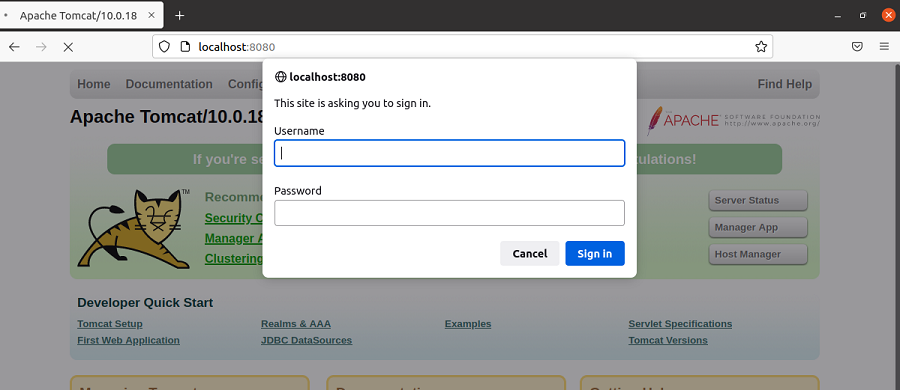
Finally, provide a username and password to access Tomcat 10 from your Linux machine:
You can check the server status, download the manager app, and host a manager from the web interface. If you encounter any error while accessing Tomcat 10 from the web browser, you should reload the tomcat.service again. It will help to give a fresh start to the Tomcat service and load all the data to work correctly. Once you reload the tomcat.service, then please start, enable and check the status of the tomcat.service as we have mentioned above.
You Installed Apache Tomcat 10 Successfully!
So this is how you can easily install and set up Apache Tomcat 10 on Ubuntu 20.04. We have divided the process into six distinct steps, where we have considered everything about the installation of Tomcat 10.
Please be sure that you follow the steps one by one, as it is essential for successfully setting up of Apache Tomcat. Don't get confused in the installation process because the process starts up by installing the Tomcat 10 and ends up by accessing the Tomcat server from the web browser. ​​​​​​There are a few shortcuts that we have used in the above methods, as these shortcuts will help you install Apache 10 easily.


