Almost all smart home devices you buy require you to install an app, sign up, and connect them to the internet cloud server before you can start controlling them. Although cloud services are more convenient, they also store your activity data, such as when, where, or how you use your devices, and may have privacy issues.
This may not concern most but if you are someone who considers privacy, you can use Home Assistant to control your smart internet of things (IoT) devices and add automation to your smart home locally —without using any cloud service or integration.
What Is Home Assistant?
Home Assistant is a free, open-source, and lightweight home automation software that runs on top of Home Assistant Operating System, formerly known as HassOS—a Linux-based operating system.
You can install and set up Home Assistant OS on your old laptop or desktop lying around to make better use of it. You may also use a Raspberry Pi 4 or Raspberry Pi 3 to set up Home Assistant, which uses much less power and footprint.
Home Assistant allows you to add and take control of all your smart home devices via the local network, providing better security and reliability than the cloud-based alternatives. Also, your devices will continue to work, and you can control them even when the internet is down or unavailable. Since it's local, the response time is also faster and your activities are not recorded or leaked to the internet.

You may also mix your local Home Assistant with the cloud if you want to remotely control your smart home devices using the Nabu Casa cloud, which is developed by the founders of Home Assistant exclusively for Home Assistant. It's fully encrypted, secure, and does not store any data on the server.
Set Up Home Assistant on Raspberry Pi
To set up and install Home Assistant on Raspberry Pi 3 or later, you need the following:
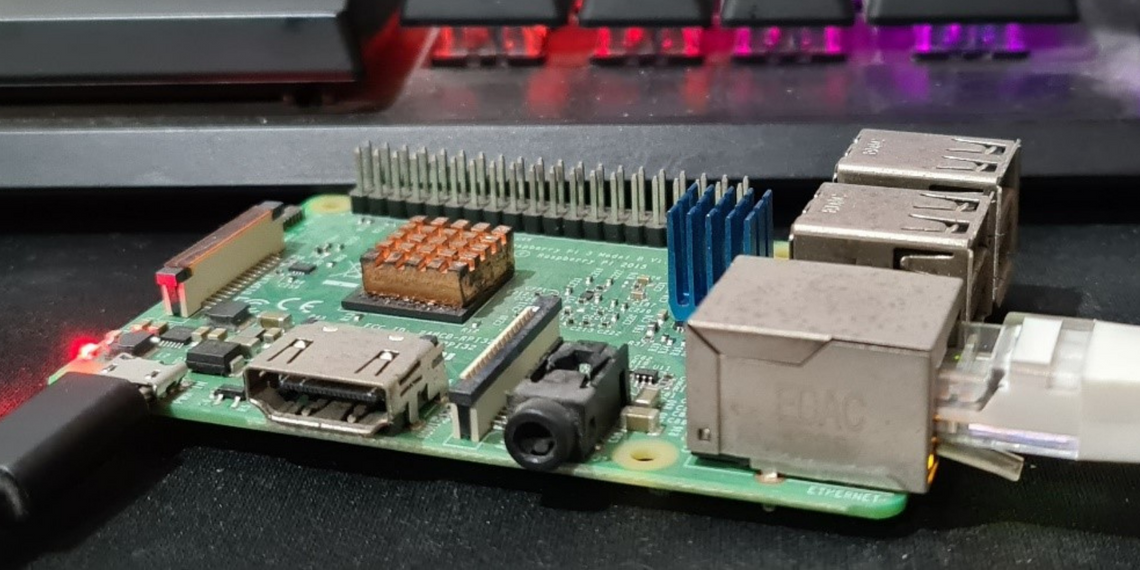
- A Raspberry Pi 4 with at least 2 GB RAM is preferred. I have used Raspberry Pi 3 for my Home Assistant setup as I already have one— works without any hiccups.
- Suitable power supply for your chosen Raspberry Pi
- A 32 GB Micro SD Card (preferably class 10 from brands like Samsung, SanDisk)
- A card reader or adapter if you have a laptop with a card slot
- Home Assistant OS file for your Raspberry Pi model (see below)
- Balena Etcher to flash OS file (available for both macOS and Windows)
- Ethernet LAN cable for a reliable and stable connection with your local network
Step 1: Flash Home Assistant OS Image to Micro SD Card
Download the Home Assistant OS image for your Raspberry Pi.
Connect the Micro SD card to your system using a card reader or adapter. Make sure the card is empty and there is no data on the card.
Then download, install and open Balena Etcher program on your Windows or macOS system. Windows users may also use Rufus to flash the Home Assistant OS image to an SD card.
In Balena Etcher, click Flash from the file and choose the Home Assistant OS image.

Click Select Target and choose the connected Micro SD card.

Click Flash and wait for the process to complete. This may take a while.

After the Home Assistant OS image is flashed successfully, eject the Micro SD card and connect it to the Raspberry Pi’s card slot.
Step 2: Boot Raspberry Pi
To boot Home Assistant, connect the LAN/Ethernet cable to the Ethernet port on Raspberry Pi.

Connect the correct power supply to turn on the Raspberry Pi. Do not use your smartphone charger or adapter to power on Raspberry Pi as it may fail to boot due to low voltage or current.
Wait for a few minutes as it boots and updates. This can take up to 20 minutes.
Step 3: Setup Home Assistant
To set up and configure Home Assistant, open the web browser on your Windows, macOS, or smartphone and go to http://homeassistant.local:8123.
If you are using older Windows, use a network scanner app, such as Fing, on your smartphone to find the IP address of your Raspberry Pi Home Assistant. Make sure both devices (smartphone and Raspberry Pi) are connected to the same router or network.
You may also look into your router's DHCP settings for the IP address.
Then type the IP address of your Raspberry Pi in the web browser, such as http://xx.xx.xx.xx:8123.
TIP: You may reserve an IP address for the Raspberry Pi on your router to keep the IP always the same.
This opens up the Home Assistant user interface in the browser window.

After installing all the updates, the Home Assistant will display the following screen to create an account.

Enter your name, username, and password to create your account. Ensure the password you enter is strong. Then click Create Account.
Then choose your location using the Detect button, select Unit System, Currency, and click Next.

If you don’t wish to share any data, click Next.

If there are smart devices in your home connected to your network, Home Assistant will automatically display them for integration. You can select them and setup or do it later. Click Finish.

At this stage, the Home Assistant installation and setup is complete.
Fast-Tracked Home Automation
With Home Assistant setup, you can start creating rooms, add and set up your smart home devices to the Home Assistant dashboard, create automation based on events or activities. You can also install various add-ons and integrations available in Home Assistant to extend functionalities, and add support for more smart home devices.
You may also build DIY smart home automation projects using ESP8266/ESP32 microcontroller and add them to your Home Assistant.