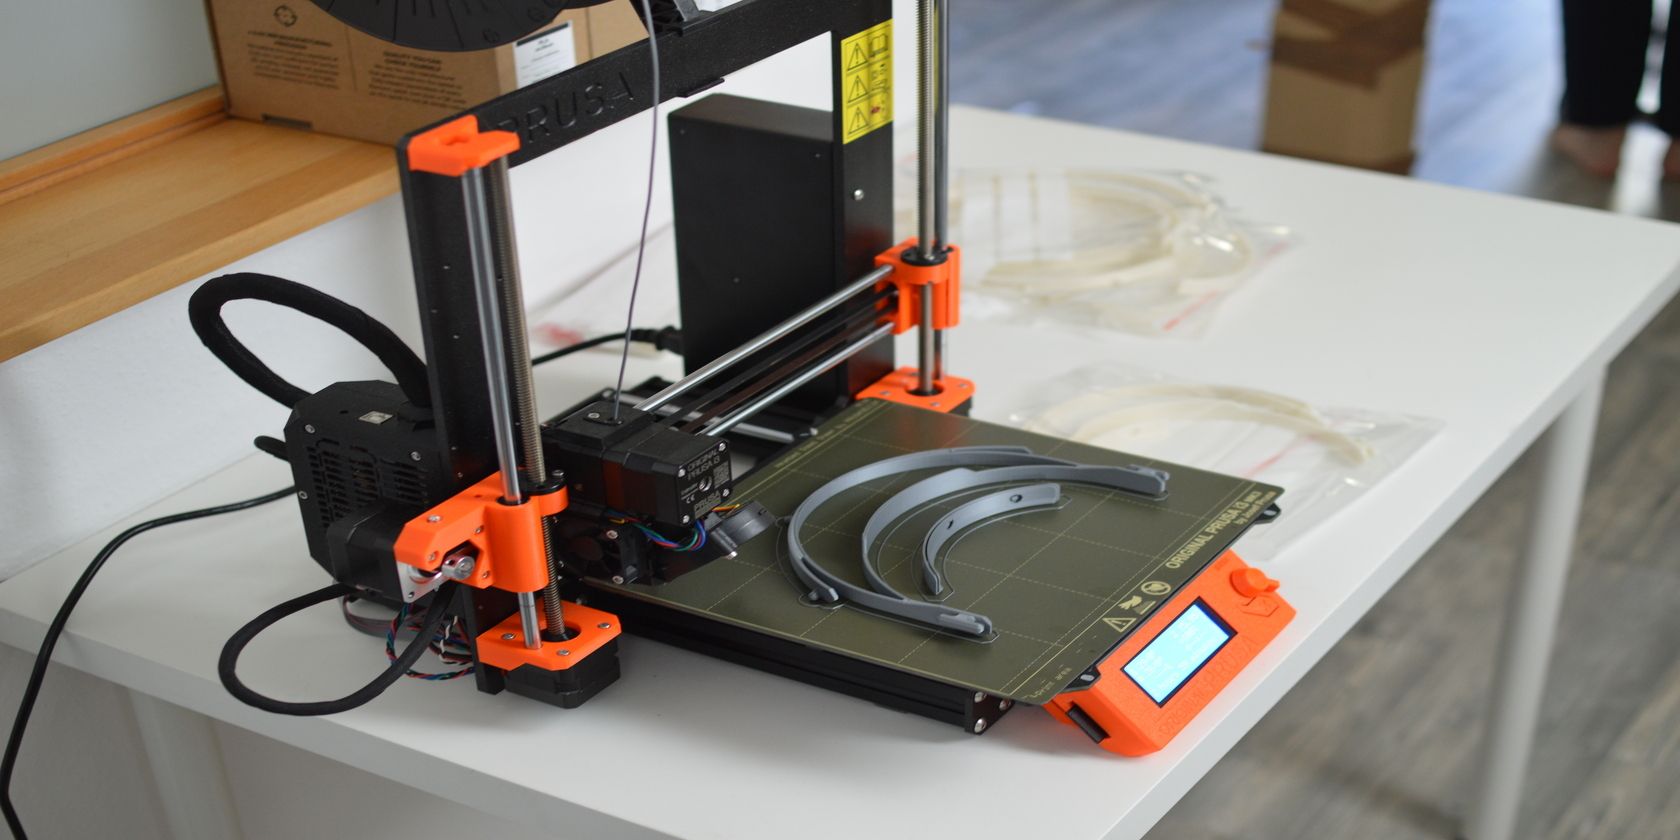
The extruder is one of the most essential components of a 3D printer and is directly responsible for the quality and complexity of the 3D print. The idea behind a dual extruder system is to have a 3D printer capable of printing an object with two color schemes. Let’s take a look into how 3D printing extruders work before delving into the details of the dual extruder upgrade.
How Do 3D Printing Extruders Work?
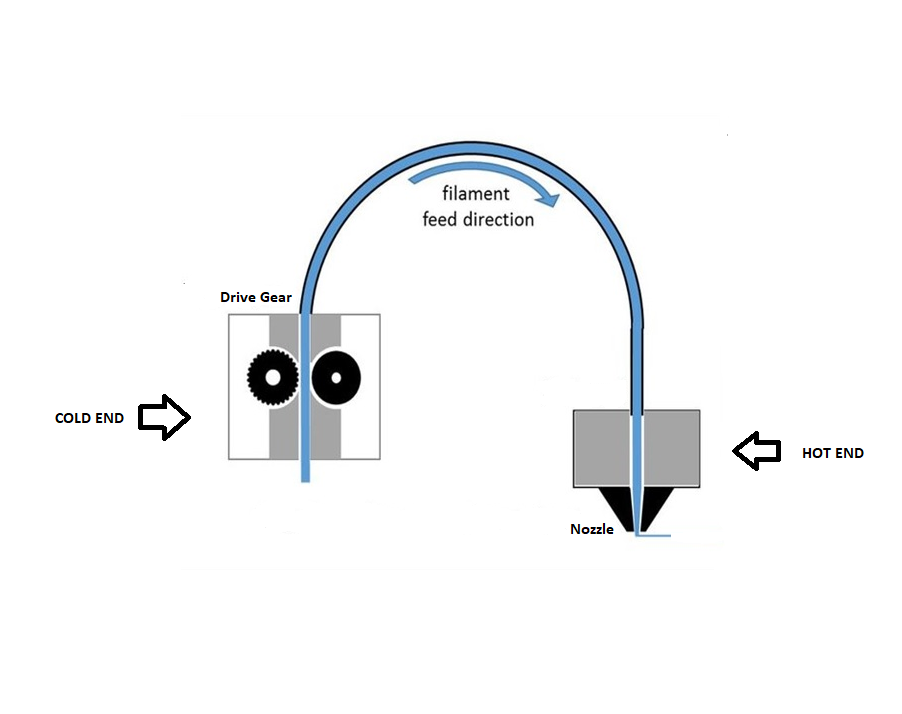
The extruder is made up of two parts:
Cold End: The cold end consists of the stepper motor, gearing, spring-loaded idler to hold the filament, and PTFE tubing to guide the filament into the Hot End.
Hot End: The Hot End is the part where the filament is melted and extruded out of the nozzle. In a Bowden 3D printer extruder system, a filament feed tube inserts the filament directly into the heat break through the heat sink. The melted filament is then injected out of a nozzle.
The following paragraphs will guide us on how to upgrade a single extruder system to a dual Bowden extruder system by adding an extruder motor and a mixing hot-end for the filaments. The modification will give us the ability to be able to use two filaments and print unique objects with dual-color schemes.
What Do You Need to Start the Upgrade?
You need the following components for the modification.
- Spool Holder: For the second filament you would require an additional spool holder.
- Stepper Motor: This additional stepper motor will be used as part of the extruder assembly for feeding the second filament. To connect the stepper motor to the control board, a stepper motor driver is also needed.
- Extruder: An extruder assembly similar to the original extruder is needed to go with the stepper motor since the firmware requires both the extruders to have the same e-steps.
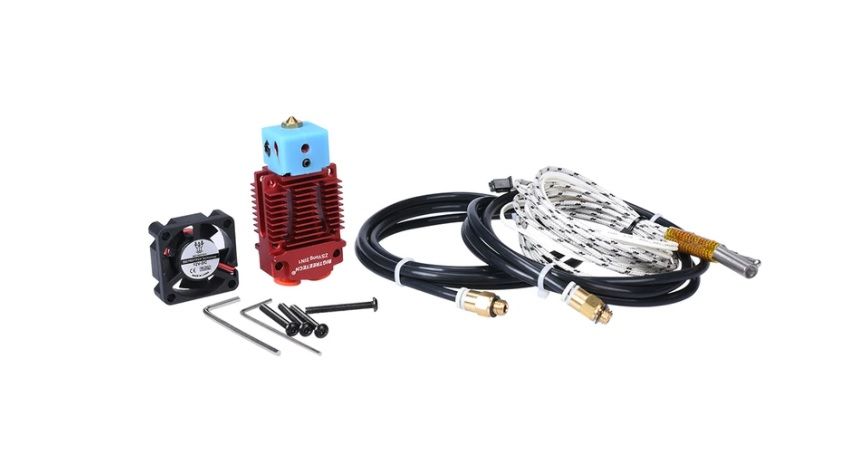
- Hot End: The hot-end for the modification used here is the BIGTREETECH Mixed Color 2 In 1 Out Hotend Dual Extruder kit. The hot-end kit comes with a thermistor, cooling fan, and PTFE tube.
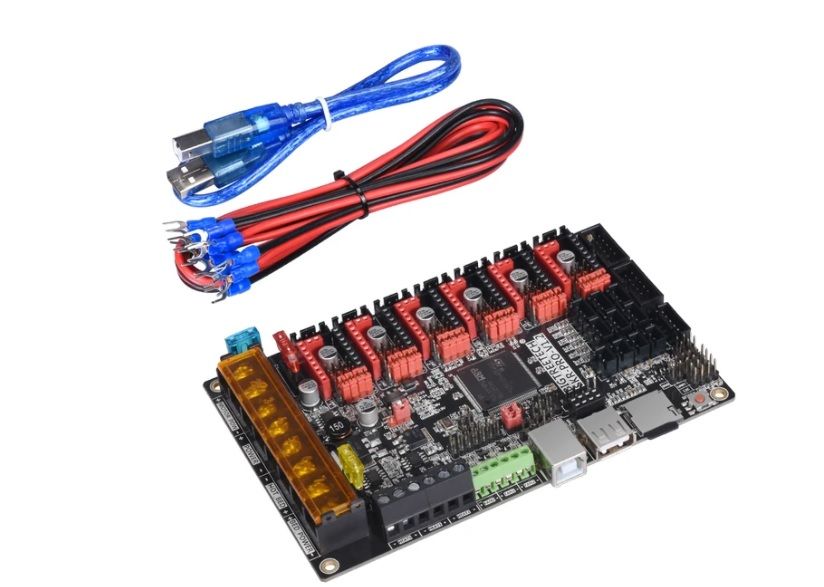
- Control Board: The control board on most 3D Printers comes with four stepper motor slots. To install the extra stepper motor, an additional slot on the control board is required. BIGTREETECH SKR Pro v1.2 is our choice of control board for this upgrade but any control board with five stepper motor driver slots is suitable for the modification.
How to Set Up a Dual Extruder
The upgrade requires the following modifications to be made to the hardware, electronics, firmware, and slicer program.
Hardware Modification
Spool holder
The additional spool holder can either be printed according to the frame specifications of the 3D printer by using models available on Thingiverse or a universal spool holder can be bought online. The assembly of the spool holder is fairly simple and requires a bracket screwed to the frame on which the spool is mounted or bolted. One tip to keep both the spools working efficiently is to position them parallel to mirror each other.
Extruder and stepper motor
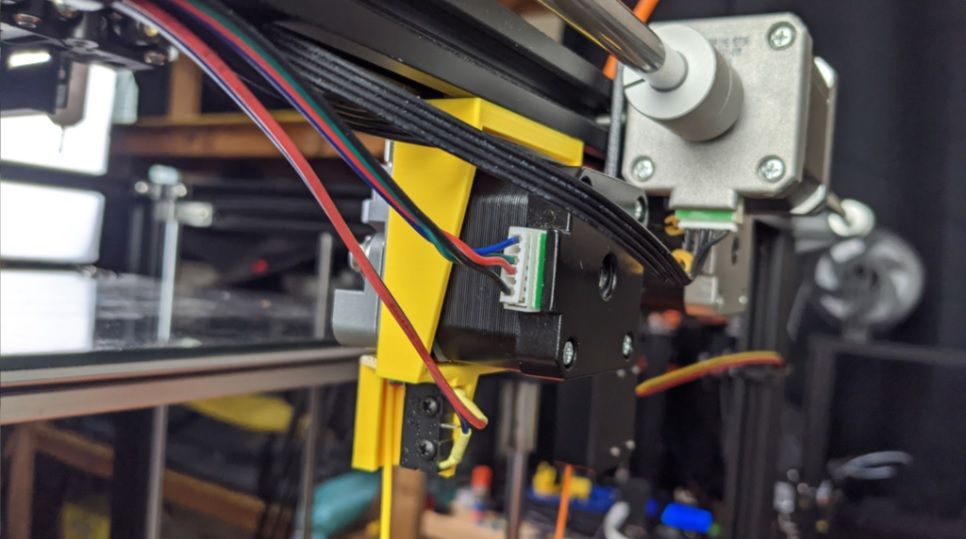
The extruder assembly is attached to the stepper motor and is mounted on top of the frame using an extruder mount bracket. Thingiverse provides some great bracket designs for different 3D printers which can also be customized according to requirements. The extruder motor assembly should be similar to the default extruder and positioned similarly on the frame.
Hot-end
The default hot end of the 3D printer is to be replaced by The BIGTREETECH Mixed Color 2 Into 1 hot end. The assembly requires the hot end mount bracket, which can be downloaded from here. The fan is screwed onto the hot-end and the thermistor wire is connected from the hot end to the controller board. The PTFE tube is then coupled from the extruder to the hot-end.
Electronics Modification
Control Board
As we require a controller with five stepper motor drivers, we will replace our existing board with BIGTREETECH SKR Pro v1.2 if the default board has only four stepper motor driver slots. Wiring from the extruder-stepper motor assembly will be connected to the control board in the fifth slot. If you are unfamiliar with how to set up a controller board, we will be covering that in detail in the future.
Firmware Modification
Marlin is the most compatible firmware for 3D printers and supports a wide variety of controller boards. The firmware configuration is fairly simple and requires only the following changes to be made to the Marlin firmware configuration.h file. The files can simply be opened using a visual studio code and the following changes are to be made:
In configuration.h:
        #define MIXING_EXTRUDER (Uncomment)

#define MIXING_STEPPERS 2 (Set to 2)

#define GRADIENT MIX (Uncomment)

#E1_DRIVER_TYPE (Uncomment and set to match the stepper motor driver being used)
Check the direction of both the extruders is the same:
        #define INVERT_E0_DIR true

#define INVERT_E1_DIR true
Check the current and micro-steps for the extruders:
        #define E0_CURRENT

#define E0_MICROSTEPS

#define E1_CURRENT

#define E1_MICROSTEPS
After the firmware is updated, we can do a PID autotune on the new Hot-end end. This can be done by the console or if the 3D printer has an LCD interface, there is an option for PID autotune where you can set the value for the desired temperature and the number of cycles for the PID tuning.
Slicer Modification
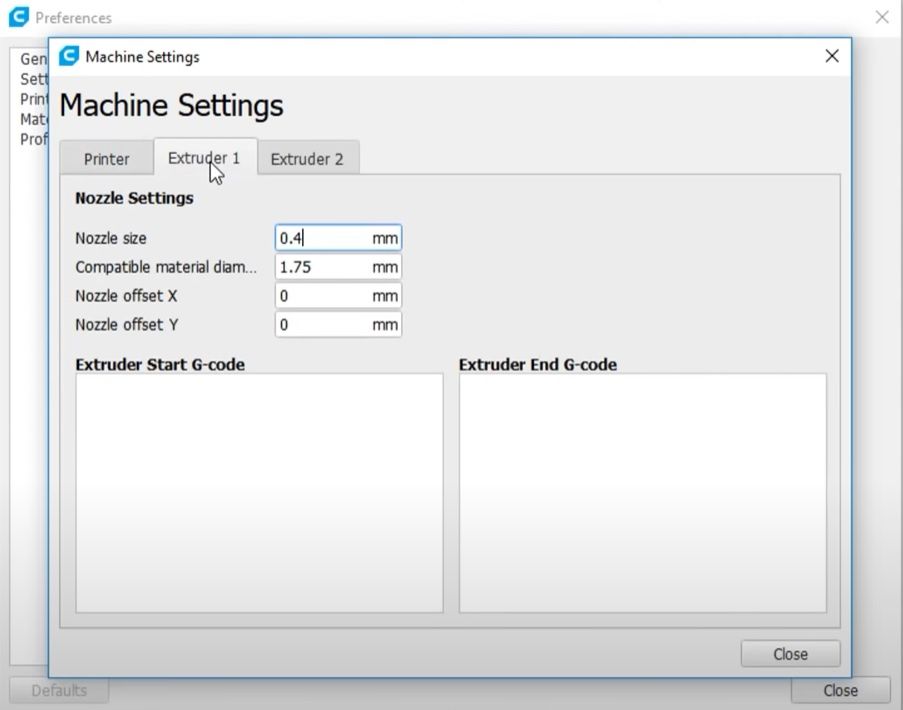
The slicer software we will be using for our modified printer is Cura but the upgrade is compatible with all slicing softwares with minor changes in the setup. In Cura, we simply go to settings and add a 3D printer. After the printer is added go to machine settings and put in all the values for the printer dimensions. Change the number of extruders to two and then configure each extruder individually. Finally, import a dual-color model from Thingiverse and start printing with the upgraded 3D printer.
Try a Dual Extruder Today
The dual extruder upgrade is a detailed modification and requires an intermediate level of understanding of working with 3D printers. It is a great learning experience for users interested in upgrading their 3D printers and are willing to spend some time tweaking their printer settings.

