When you’re getting your YouTube channel off the ground, you’ll want to show clear signs of improvement on each video you publish. And as you’ll quickly learn, you will need to think about more than just the visuals.
How your videos sound is just as important as how they look—and you could argue a strong case for the audio being the most important aspect of the video. Unfortunately, many built-in camera microphones won’t do the job for you in the long term.
You can improve the audio quality in your YouTube videos using several methods, and we’ll discuss eight of these below.
1. Invest in a Microphone

Purchasing a microphone is the easiest way to improve your YouTube videos’ audio quality. You can buy mics that will fit as an extension on your camera, which is probably an ideal choice if you plan to vlog. If you’re more interested in talking-head videos, you can get one that plugs into your computer.
Microphones that are great for YouTube are surprisingly affordable, and you’ll find several options. You can put some in front of you as you talk, while others will need to hang from a height instead. Think about your preferences and how much space you have when making this decision.
If you use a plug-in mic for your computer, you can synchronize the audio with your video in your editing software.
2. Edit Your Voice
Compared to a default built-in mic, buying a proper microphone will drastically improve the sound quality in your YouTube videos. However, it’s only the starting point; when you record your audio, you should probably still make a couple of extra tweaks.
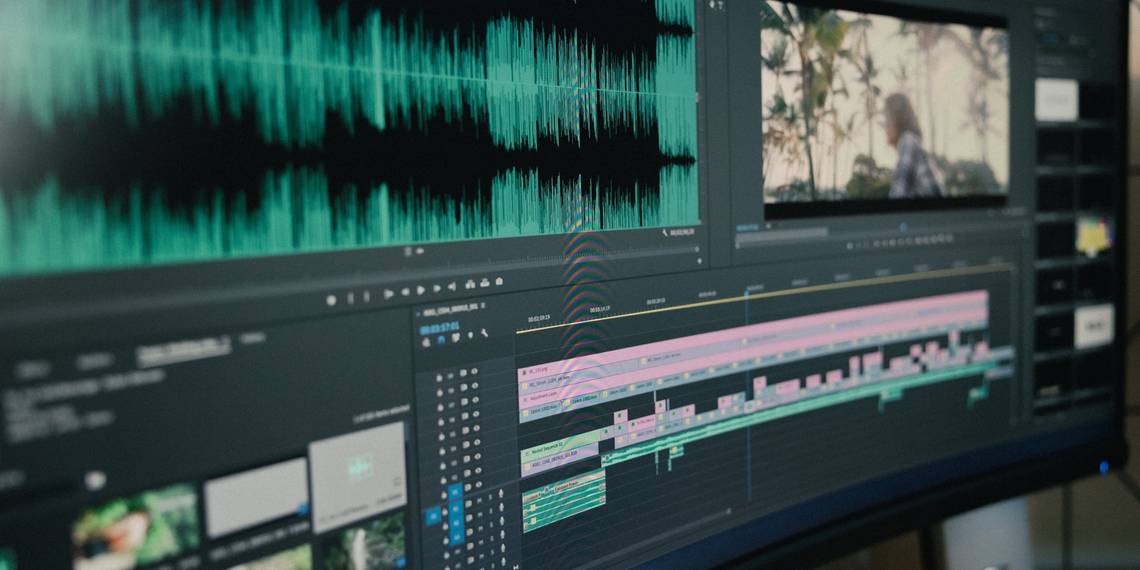
If you want to make your audio sound crisper or raise its volume, you can use editing software to achieve your desired results. Adobe Audition’s primary purpose is to alter the sound quality, but you can also use Premiere Pro. Consider capping the maximum decibels (dB) your audio can reach in the latter.
If you don’t have an Adobe subscription, you can use tools like Final Cut Pro instead.
3. Avoid Tapping Surfaces When Talking
When you record audio for YouTube videos, you’ll need to remember that the microphone you use is probably sensitive to picking up noise.
Your viewers will find it incredibly annoying if you keep tapping on surfaces while talking during your YouTube videos. A clear example is when you put your hands on the table in front of you while gesturing.
While you’ll probably make hand gestures when recording videos, try to keep your hands away from hard surfaces. Doing so will take a little practice, as you’re basically unlearning a habit.
4. Practice Projecting Your Voice

Even if you’re genuinely passionate about the content you make, it’s a little difficult to project this in your first few videos. You’ll probably feel nervous, which will translate in your voice and body language. You might also be worried about disturbing the neighbors by talking—which could result in you not projecting your voice.
Becoming a confident speaker is a difficult skill to learn, but it’s something you should spend time on if you want to grow your YouTube audience. You can find several free resources on YouTube, courses on websites like Udemy and Skillshare, and apps that can help with public speaking.
5. Remove Background Sounds in Post-Production
While recording your YouTube videos, you will sometimes find that background noise is unavoidable. If you’re vlogging in a noisy environment, you’ll have even less control than those that produce talking-head videos.
And viewers tend to find background noise irritating.
You can remove background sounds in post-production software—or at least reduce them. Premiere Pro, Final Cut Pro, and DaVinci Resolve have several tools that can help you make your videos sound less distracting.
6. Speak Slowly and Clearly
You’ll probably question why you spoke so fast when you look back on your first few YouTube videos. Doing so not only makes you sound nervous, but it also makes editing the audio more difficult.
If you want to make your audio sound better, speak slowly and clearly; you can remove long pauses in the post-production process. While having a couple of notes is a good idea, you might want to refrain from writing a script; doing so will make you sound unnatural.
7. Change the Direction of Your Microphone

If your audio is inconsistent in your videos, you might not need to do too much. Sometimes, something as simple as changing the direction of your microphone will help make you sound a little louder and more confident when you speak.
If your audio doesn’t sound as loud as you’d like it to be, consider moving the mic a little closer to you, or move it up or down if you have one that sits on your table.
Some microphones come with extra accessories that can, in some cases, make your audio sound better. However, if you find that it’s not having this effect, you can remove them.
8. Mute Your Computer

If you’re recording audio from your computer for YouTube videos, you need to make sure that there is no external noise—apart from you speaking—going into the mic. Needless to say, the sound coming out of your computer can cause an echo that can make your file almost impossible to listen to.
Before recording the video, make sure you mute your computer beforehand, or simply move the mic away from the speakers.
The Audio Is Just as Important as the Visuals in Your YouTube Videos
The audio of your YouTube videos doesn’t need to be perfect, but you must ensure that it’s easy to listen to at the very least. Eliminating simple errors will go a long way in this respect, and this guide has given you helpful tips to avoid these errors.
If you already know that you want to continue with YouTube in the long term, we strongly recommend that you invest in a microphone. Using editing software will also help enhance your voice.