Firefox Reality was once the standard immersive web browser, particularly on stand-alone headsets, including earlier Oculus Models. However, the web browser was retired by Mozilla. Since then, Meta has designed its own immersive web browser for use in its Quest headsets.
Most of the functions work very similarly to the kind of browsers that you’re used to on desktop and mobile devices. And, a lot of features tell you what they are when you point at them with the controller. However, just by the nature of being designed for virtual reality (VR), some features are a little difficult to find if you don’t know what they are.
Opening the Quest Browser

From your home, select the grid icon on the toolbar to open your selection of downloaded apps. The Meta Quest browser is installed by default, so you have it ready to use, even if this is your first time putting on your headset.
Where the tile lands on your app grid may vary, but the Meta Quest browser tile is light purple with the outline of a ringed planet. When you point at it with your controller, the name should appear on the tile. Pull the trigger to open it.
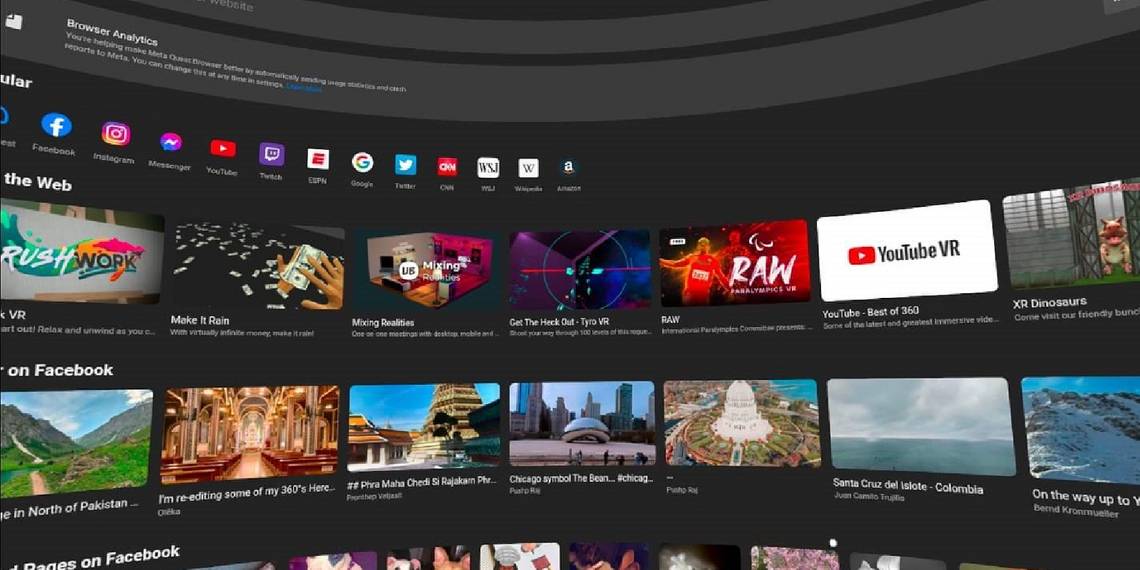
Moving Your Browser Window

At first, the browser window is pinned to the top of your toolbar. If you want to move around, change your position and then hold both of the Oculus logo buttons (or Meta logo buttons, depending on how new your headset is), and the toolbar and browser window will move to your new center.
However, you can also detach your browser window from the toolbar. To do this, aim your controller at the white line in between the browser window and the toolbar, pull the trigger, and move the browser window away from the toolbar.
You can move the browser screen straight up or to the side. You can also move the browser window further back by pushing away from you while holding the white bar.
Resizing Your Browser Window
When the browser window is moved away from you, it takes on a nice, curved appearance that can be more comfortable for some applications. That is particularly true when you make the screen larger.
When the browser window is detached from the toolbar, white brackets appear on the corners. Select any one of these brackets and drag it toward the center of the browser window to shrink it or drag it away from the center of the browser window to expand it.
Find the size that works for you. The browser window does have a maximum size, but this maximum size is so large that you can’t see the whole screen without moving your head.
This can be nice for immersing yourself in 2D content through your headset. But remember, immersive web applications like 360 videos usually have a special VR button that takes you into the scene instead of looking at a window.
Other Select Commands
There are a few other unique commands that you can do in the Meta Quest browser. These are always in the same place, no matter where your browser window is in your complete view—and no matter how large it is.
The microphone icon to the right of the search bar is to enable voice inputs. This can be handy if you don’t like entering text with the controller and VR keyboard. There are other useful voice commands throughout the Meta Quest ecosystem, but these need to be enabled through the device settings.
To the right of the microphone is a bookmarks tab, nothing out-of-the-ordinary there. But, to the right of the bookmarks tab is another icon that can present websites in either mobile or desktop format.
Figure Out the Meta Quest Browser
Explaining how the basic features of the Meta Quest browser work doesn’t begin to scratch the surface of what you can do with it. How you use the browser within your Quest home and what you do with the growing quantity and quality of immersive web content is a whole new world.