The update error 0xC1900101 - 0x4000D sometimes pops up when the users try to install the latest updates on their computers. It typically occurs when installing the 22H2 update and force reverts the system to Windows 10.
There can be a number of reasons behind this error, such as corrupt Windows update components, your device not meeting the update requirements, and insufficient space for the update. Below, we look at the solutions that you can try to resolve the problem on Windows 10 and 11.
1. Begin With Basic Troubleshooting
Since the error code does not mention the cause of the error, it can be tricky to find the right solution. This is why we recommend that you begin your troubleshooting with some basic steps. By doing this, you will be able to identify the source of the problem and, in most cases, solve it without having to move on to more complicated and time-consuming methods.
Try these methods one by one to get started:
- Check that all the Windows update services are running normally: the system requires certain updates and components to be functioning for installing the updates. If any of these services are not functioning properly, you will encounter issues like the one at hand. Make sure all these services are running properly, and restart them if you think one of the services might be acting up.
- Run the Windows Update troubleshooter: Microsoft has developed this utility to scan the system for issues that might be affecting the update process, specifically. This tool scans the system for issues and then suggests fixes for the ones identified. You can apply the fixes using the troubleshooter as well.
- Run system scans: If the troubleshooter fails to identify the error, then the next action should be to scan the system for errors using SFC and DISM. The former looks for the corrupt system files and replaces them with their healthier counterparts. DISM, on the other hand, is responsible for repairing a corrupt system image. If there is a corruption issue in the system, both these tools together will help you fix it in no time.
- Make sure your system follows the installation requirements: In some cases, the issue was caused because the users had downloaded Windows 11 on incompatible hardware by bypassing the installation requirements of secure boot and TPM. If that is the case for you, then you can upgrade using the ISO file directly.
If the problem persists even after trying these quick troubleshooting techniques, move to the next methods mentioned below.
2. Free Up Space to Upgrade
There is also a chance that your device does not have sufficient space for the upgrade. In this case, you can simply use the disk cleanup tool or manually delete unnecessary files.
We suggest you start by deleting the older Windows versions. The system saves this data when you upgrade to a newer build.
Here is how you can do that:
- Press the Win + I keys together to open Windows Settings.
-
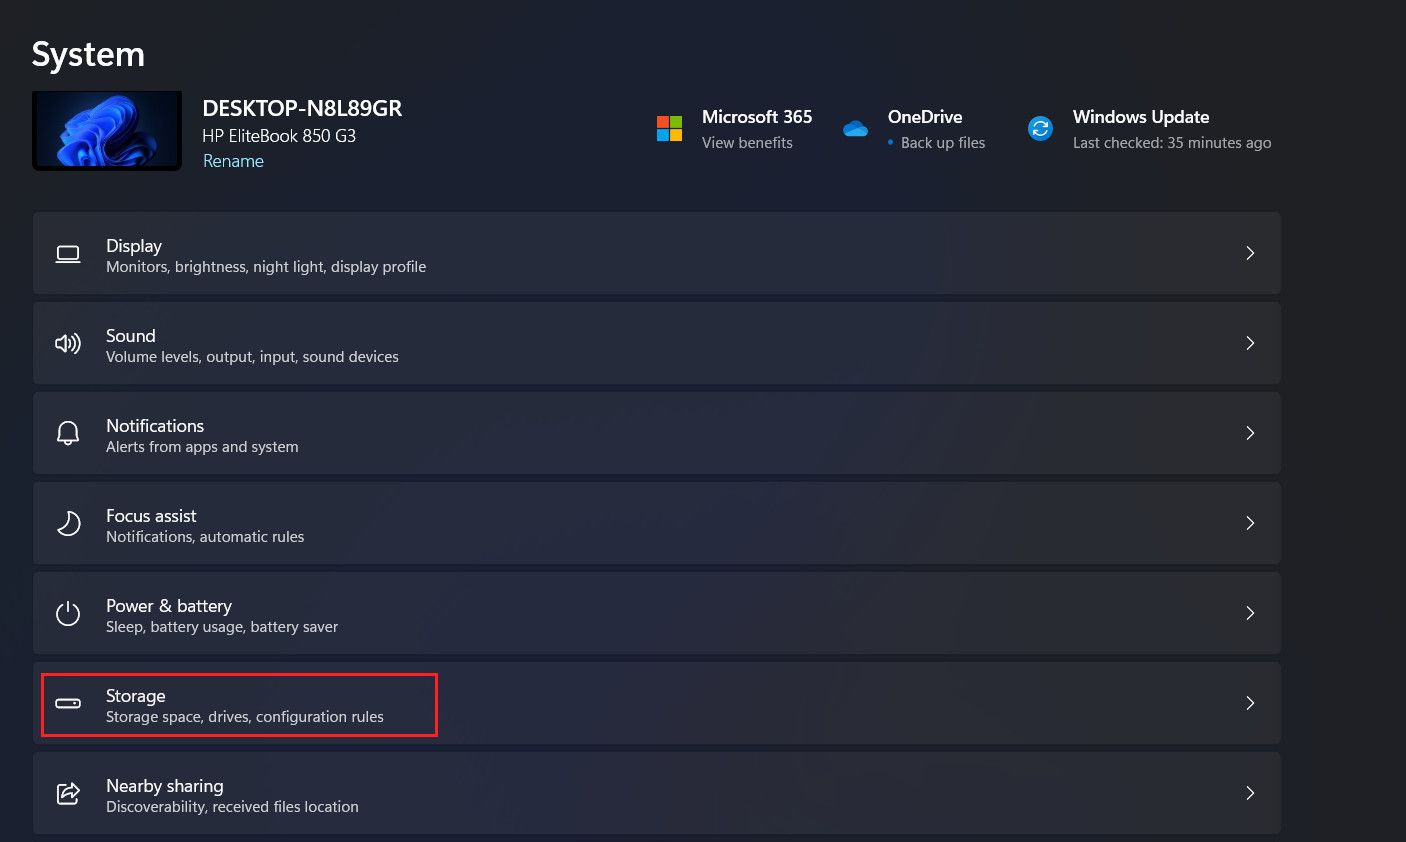
Choose System from the left pane and click on Storage on the right side of the window.
-
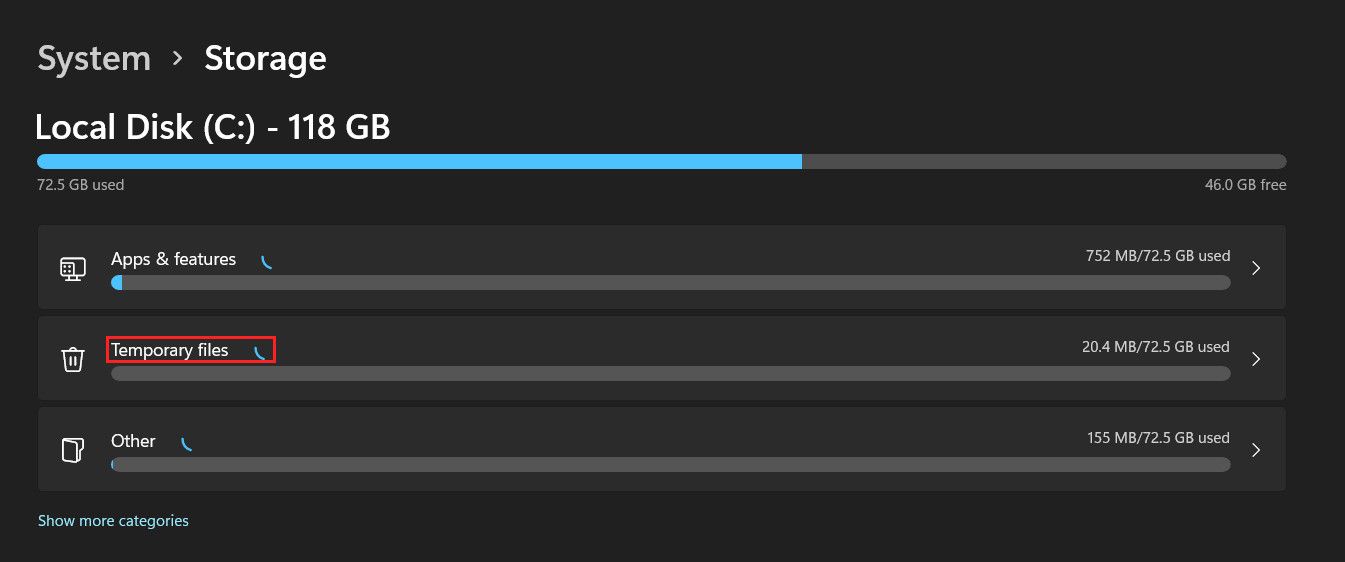
Locate the Temporary files option and click on it.
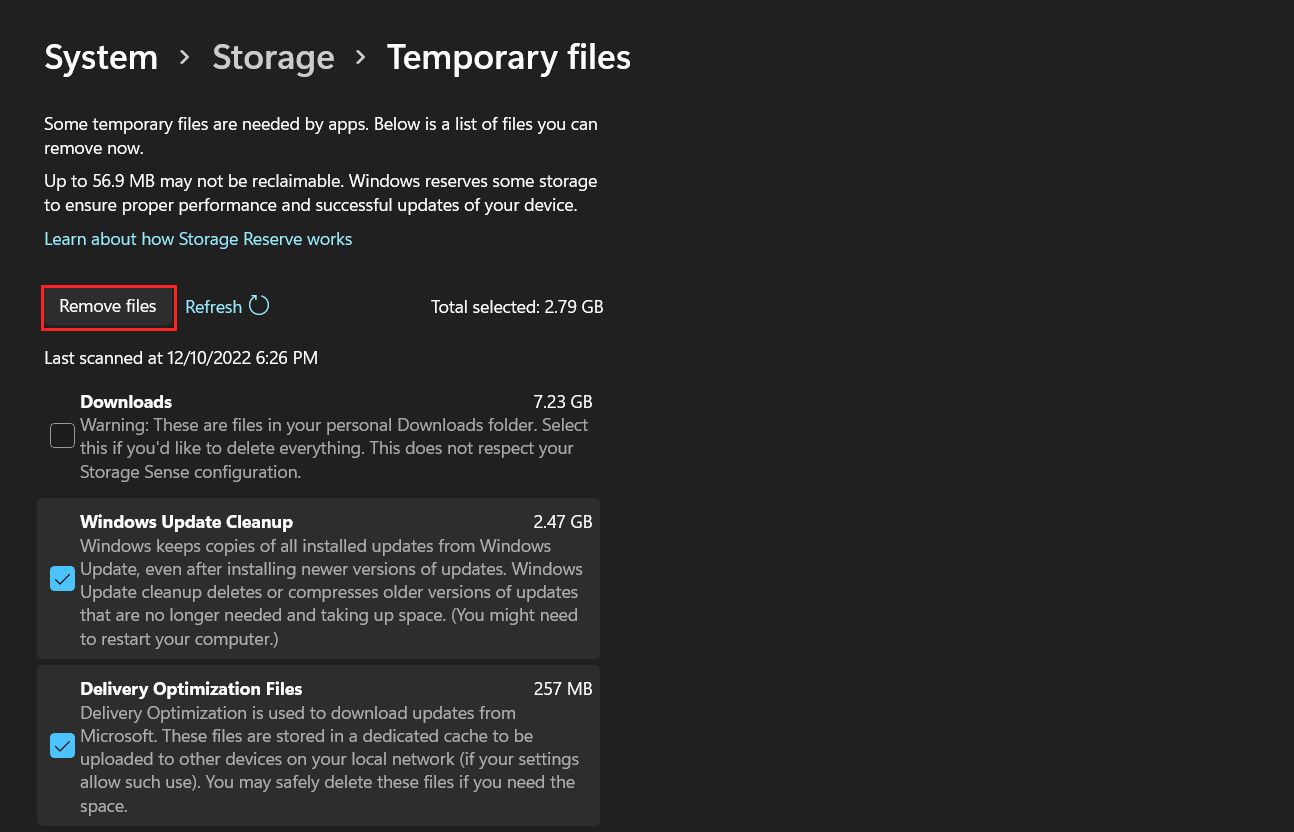
- Checkmark the box for Windows Update Clean-up. You can also select the other files you do not need here.
-
Click on Remove files and wait for the process to complete.


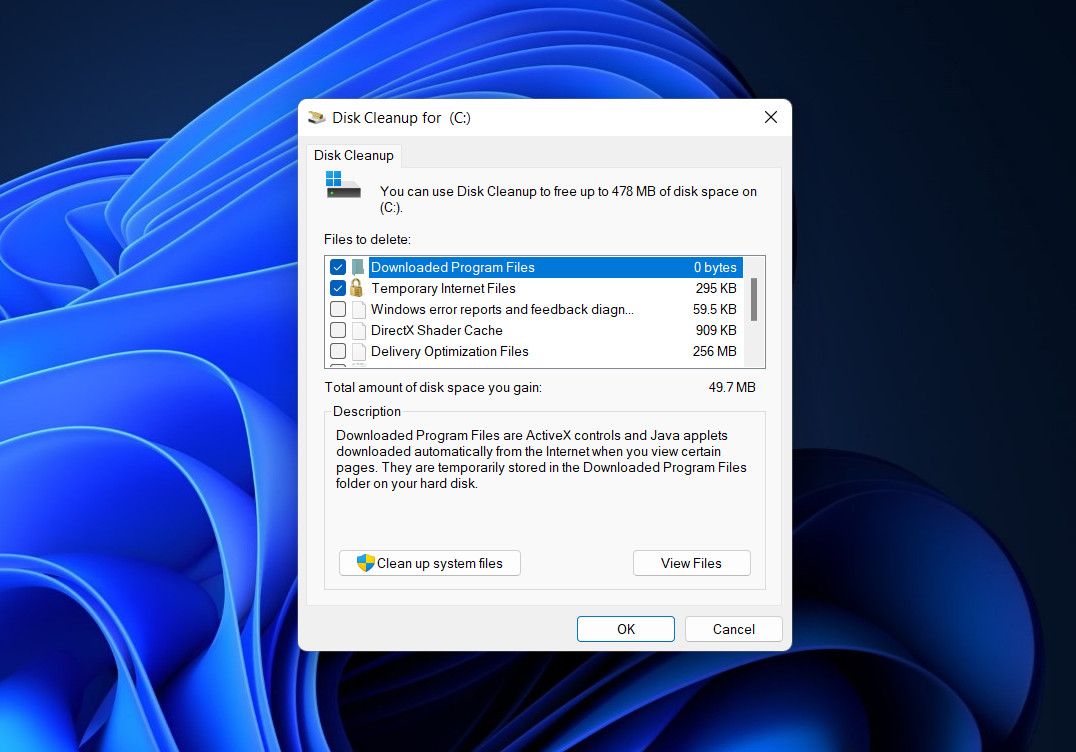
Alternatively, you can use the Disk Cleanup utility to create space in the targeted drive. Here is how:
- Open a Run dialog by pressing the Win + R keys together.
- Type cleanmgr.exe in Run and click Enter.
- In the following dialog, choose the targeted drive and click OK.
-
Now, choose the files that you want to remove and click OK again.

Once the process completes, check if the issue is resolved.
3. Update BIOS
The issue can also be caused due to the BIOS being outdated. Since Windows 11 has quite strict installation requirements for its updates, you are likely to run into issues if the BIOS is not up-to-date.
In this case, the best way to resolve this issue is by heading to the manufacturer's website and downloading the latest BIOS version. You can check your current BIOS version by typing System Information in the search area of the taskbar and clicking Open. In the following dialog, look for the BIOS version category and note down the version from there.
You can also easily update the BIOS if your motherboard has a BIOS Quick Flash button. That way, you don't have to go through hoops and loops just to ensure your BIOS is updated to the latest version.

4. Update Drivers
You must also make sure that the drivers installed on the computer are all up-to-date. An easy way to look for faulty/outdated drivers is via the Device Manager utility.
Here is how you can do that:
- Type Device Manager in Windows Search and click Open.
- In the following dialog, expand all the categories one by one and look for any drivers with a yellow exclamation mark. This sign appears when a driver is either corrupt or outdated.
-
Once a driver is identified, right-click on it and choose Update driver > Search automatically for drivers.
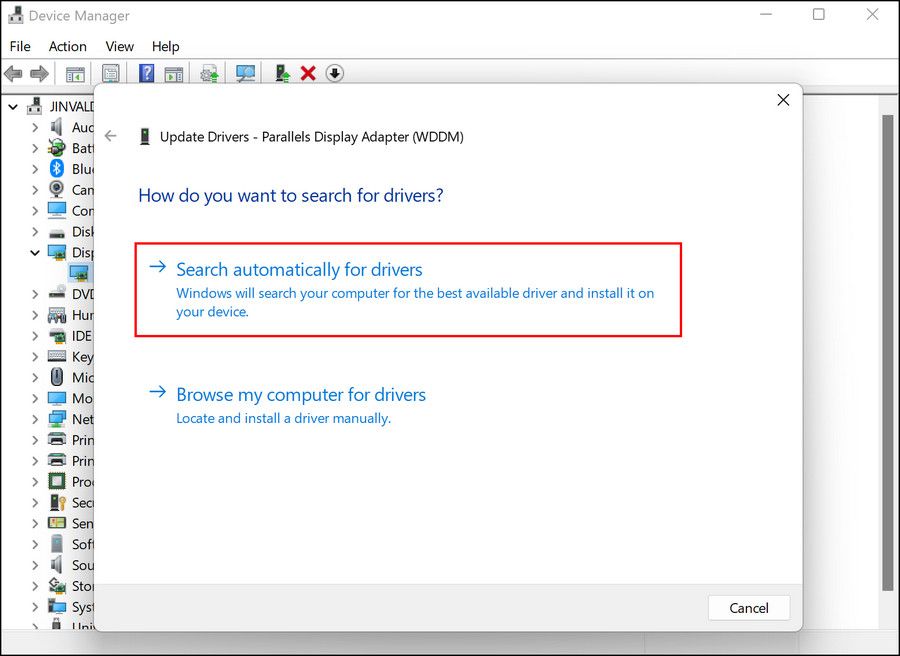
- Follow the on-screen instructions to proceed and then check if the issue is resolved.

5. Clean Install Windows
If none of the methods have worked for you and you are still facing the issue, then you can use the Windows ISO file to do a clean installation of Windows 11. This will automatically install new updates (like the 22H2 update) on the system.
The good thing about this method is that it provides you the option to keep all your files and folders, so you do not have to worry about losing them.
Update Error 0xC1900101 - 0x4000D, Resolved
You should now be able to update to Windows 11 22H2 version successfully. To prevent such issues from occurring in the future again, make sure you keep your drivers updated. We also recommend removing the junk files every then and now to create space for the updates.