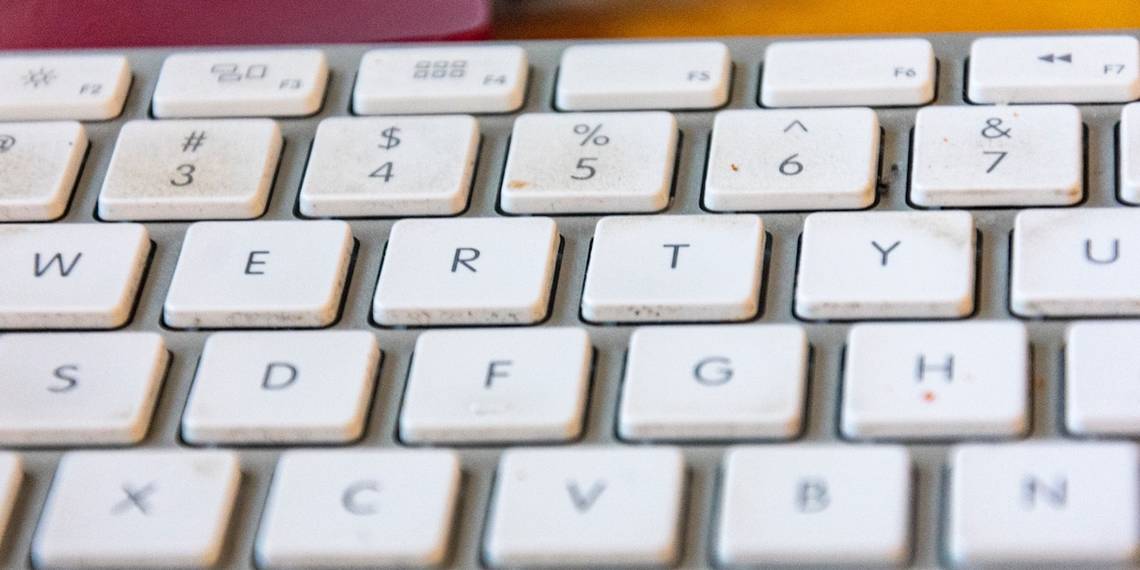
If you've recently found that your MacBook keys are hard to press and don't work smoothly when typing, you may have sticky keys.
A spilled drink, food crumbs, or just plain dust might be the cause, but don't worry: there are three things you can do to fix it today.
What Are Sticky Keys?
If you've ever eaten food at your desk, or drunk coffee next to your laptop, then chances are you've spilled something on your keyboard. Even if you wipe it off straight away, it might leave a sticky residue on your keys. You will know if this has happened if your keys feel crunchy or spongy when you press down on them, making it incredibly frustrating to type smoothly.
There is also a Windows sticky key function that you might know about, but that's not what we are talking about here.
Additionally, you might have heard about Apple's replacement keyboard program. This deals with a separate hardware issue that causes keyboard letters to repeat or not appear at all. If you suspect that's your problem, you can head to the Apple website to see if you qualify.
However, if you know that your keyboard has a build-up of dirt, crumbs, or grime, and you want to know how to clean sticky keyboard keys, you're in the right place.
How to Fix Sticky Keys
Tools required:
- Spudger tool
- Rubbing alcohol (isopropyl alcohol)
- Compressed air
- Cotton swabs
- Toothpick
- Paper towel
- Dish soap
Option 1: Cleaning the Surface
If you want to know how to clean a sticky keyboard with the least amount of effort, start by cleaning around each affected key with a cotton swab and rubbing alcohol. You might find that removing any surface-level crumbs or dirt will quickly solve your sticky keyboard problem with the least amount of effort.
1. Completely turn off your MacBook.

- In the top left corner of the screen, click on the Apple symbol.
- Select Shut Down
- Make sure that your MacBook isn't plugged into a charger.
2. Use a toothpick to remove any large pieces of dirt from around the keycap.
3. Dip a cotton swab into the rubbing alcohol.
- Make sure it isn't dripping with liquid.
- Never use water directly on your MacBook as it can cause damage to the electronics.
4. Use the cotton swab to wipe around the affected key.

- This will help to remove any sticky residue, grime, or dirt build-up.
- Note: don't use rubbing alcohol to wipe the top of keycaps as it may degrade any protective coating applied to it.
5. Test your keys.
- If they are still sticky, continue to the next option.
Option 2: Using Compressed Air
Another relatively easy method is to clean your keyboard's sticky keys using compressed air to blow out any debris, dust, or crumbs.
1. Completely turn off your MacBook.
- In the top left corner of the screen, click on the Apple symbol.
- Select Shut Down
- Make sure that your MacBook isn't plugged into a charger.
2. Position your MacBook vertically.

- You want to have your MacBook on a slight angle; you can hold it against a wall to help.
3. Spray the keys with compressed air.
- Use a left to right motion.
- Keep the can at the distance indicated on the packaging.
4. Rotate the MacBook to the right and repeat step 3.

5. Rotate the MacBook to the left and repeat step 3.

6. Test your keys.
- If they are still sticky, continue to the next option.
Option 3: Removing the Keycaps
If cleaning around the surface of the keys doesn't fix the sticky keys, you might need to clean under the keycaps themselves. However, proceed with caution: it's extremely easy to break the key mechanism when trying to remove keys on a MacBook.
Later MacBook Pros with butterfly key switches are especially notorious for being fragile and easy to damage. Earlier MacBook models use a scissor-switch mechanism, which is a little more sturdy but still requires a careful approach.
Either way, consider your skill level before charging ahead. Read through all the steps first and if you don't feel confident following these instructions, you could try asking a friend to help you instead.
1. Completely turn off your MacBook.
- In the top left corner of the screen, click on the Apple symbol.
- Select Shut Down
- Make sure that your MacBook isn't plugged into a charger.
2. Find out what type of keyboard you have.
- There are two types: scissor switches and butterfly switches.
- Butterfly switches are lifted from the top, while scissor switches are lifted from the bottom.
- In this YouTube video, you can see that on this 2014 MacBook Air the switches are lifted from the bottom.
- While this YouTube video shows that the MacBook Pro (2016-2018) keycaps lift from the top.
3. Use the spudger tool to lift one key corner.

- Pry under one corner with the spudger tool and lift slowly until you hear a click.
- Do not remove your spudger tool yet.
- If you have the butterfly key switches, lift from the top left or right corner. If you have scissor key switches, lift from the bottom left or right corner.
- Note: special keys like the Shift and arrow keys have hooks in slightly different places. Refer to the videos in step 2 to find out more.
4. Slowly move the spudger sideways till you hear a second click.

- If you lifted the left corner first, move sideways to the right (and vice versa).
- Be careful not to lift the entire key too much at this point as it will still have hooks securing it.
5. Carefully unhook the keycap.
- Do this while not lifting the key any higher. If you feel any resistance, you should stop.
- Get close to the key to look underneath to help find the hooks.
- Wiggle the key gently to help find where it is attached.
6. Place the keycaps in a bowl with soapy water.

- Let the keycaps soak while you clean the keyboard.
7. Clean underneath the keycap.

- Use a cotton swab dipped in rubbing alcohol to wipe the area underneath the keycap.
- Make sure the cotton swap isn't dripping liquid.
- Cleaning the surface a few times with clean cotton swabs will help avoid having to repeat the process later.
8. Clean the keycaps soaking in water.
- Using a cotton swab, gently clean the keycap using soapy water.
- Use a paper towel to dry the keycap completely.
9. Replace the keycap.

- Follow the same steps for removing the keycap but in reverse.
- Start by sliding the keycap into the hooks.
- Next, gently put pressure on the remaining corners. You will hear a click once they are in place.
- You shouldn't need to force it on, so start over with the hooks if you suspect it's not working.
- Note: be careful replacing keys like the letters H and I as they do have a correct up/down orientation. Look underneath the cap to see where the hooks are.
10. Test your keys.
- If the problem was due to dirt, dust, or spilt liquid, then your cleaning efforts should have solved the issue!
No More Sticky MacBook Keys
By the end of this guide, you should know exactly how to clean sticky keyboard keys on your MacBook. With a little care, these methods can be done at home with cheap and easy-to-get tools.
In the future, we should all aim to do some regular light cleaning to keep our keyboards from building up dirt. But if not, don't worry: you can always refer back here if you need to get under your keycaps for a deep clean.