
If you want to install old apps on Windows 11, you need to install .NET Framework v3.5 first. But during the installation process, you might encounter the 0x800F0950 error.
If this error is causing you issues, here are all the solutions to fix .NET Framework 3.5 installation error 0x800F0950 on Windows 11.
What Causes .NET Framework 3.5 Installation Error 0x800F0950 on Windows 11?
There can be multiple reasons behind why you see the error message. But among all, the primary culprits are listed below.
- The error message can pop up if the system doesn't feature the latest .NET Framework package.
- The problem can occur due to the remnant of the previous .NET Framework installation.
- Corrupt Windows components can also trigger the .NET Framework 3.5 installation error 0x800F0950 on Windows 11.
It's very easy to troubleshoot the error message. Let's check out all the solutions you can try in this situation.
1. Download the Latest Windows Version
The error message can pop up due to the outdated Windows version. You will have to update the Windows to fix the problem.
Here's how to do it.
- Open Settings using the Win + I hotkey.
- Click on Windows Update from the left pane.
- Click on Check for updates.
Windows will search for pending updates and install them if available.
2. Enable Windows Update Service

The next thing you can try is to enable the Windows Update services. If the service is disabled on your system, you will struggle to download any new update.
Here's how to enable the Windows Update service.
- Open the Run dialogue box, type services.msc, and press Enter.
- Locate Windows Update, right-click on it, and choose Properties.
- Change Startup type to Automatic.
- Click on Start under Service status.
- Click on Apply > OK to save the changes.
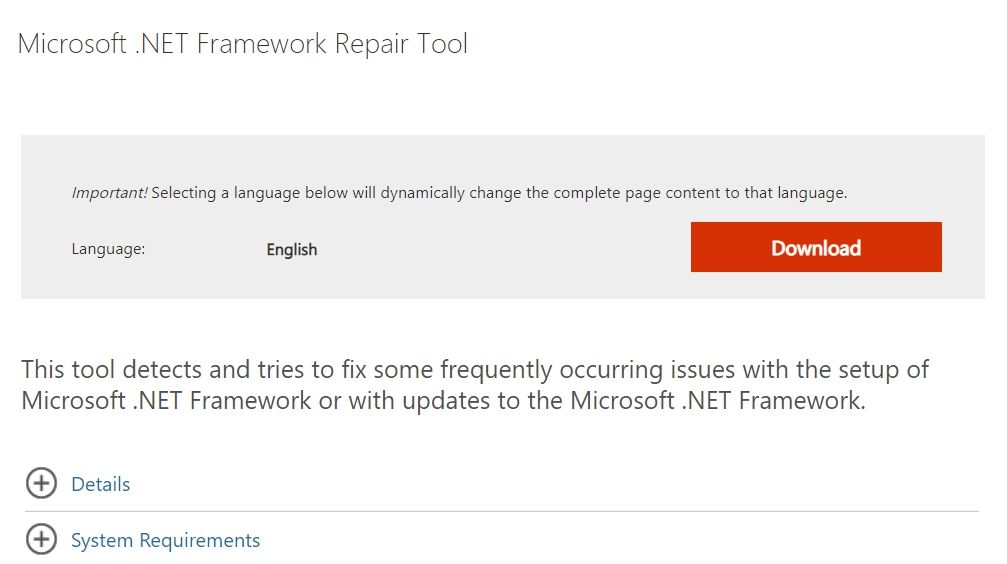
3. Use Microsoft .NET Framework Repair Tool
Like any other application, .NET Framework leaves some remnants every time you try to install it on the system. If these remnants get corrupted for some reason, you'll face different installation issues. In this situation, you can use the Microsoft .NET Framework Repair Tool.
The tool will look for and fix the issues that pop up during the installation of the Microsoft .NET Framework. Here are the steps to use the tool on your system.
-
Visit the Microsoft .NET Framework Repair Tool website, and download the tool to your system.
-
Launch the tool and follow the on-screen instructions to fix the .NET Framework installation issues.
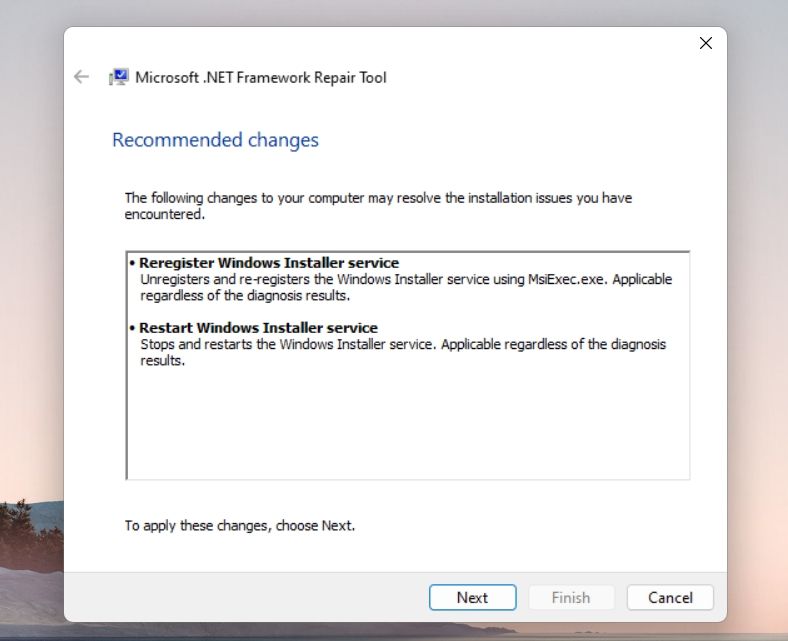


Reboot the system, and check if you're still struggling with the problem.
4. Run Windows Update Troubleshooter
Windows Update troubleshooter is a built-in utility to resolve any update-related issues. You can run the Windows Update troubleshooter by following the below steps.
- Open Settings.
- Click on Troubleshoot under the System tab.
- Choose Other troubleshooters.
-
Click on Run next to Windows Update.
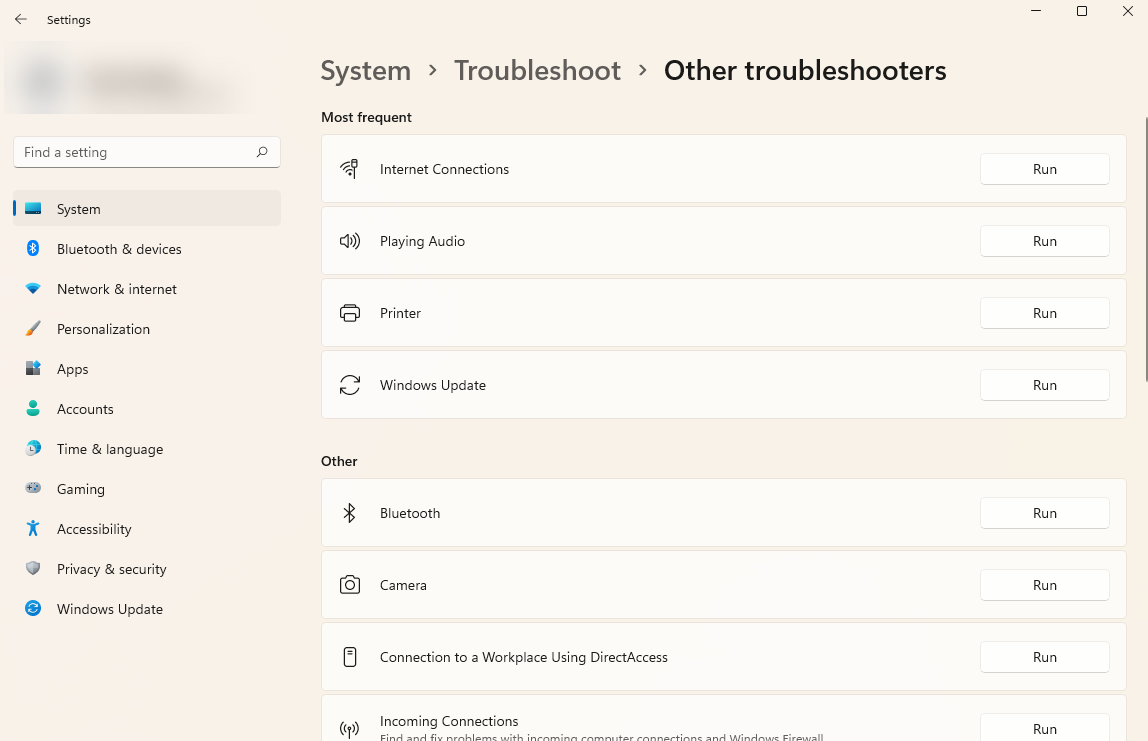
- The Window Update troubleshooter will pop up.

Follow the on-screen instructions to fix the issue.
5. Use Windows Features To Install .NET Framework 4.8
The next thing you can try in this case is to install .NET Framework 4.8 from Windows Features. The situation applies when you face an error while downloading the Framework from an external installer.
Here's how to install .NET Framework 4.8 from Windows Features.
- Open the Start Menu; type Turn Windows features on or off, and press Enter.
-
Select .NET Framework 4.8 Advanced Services.
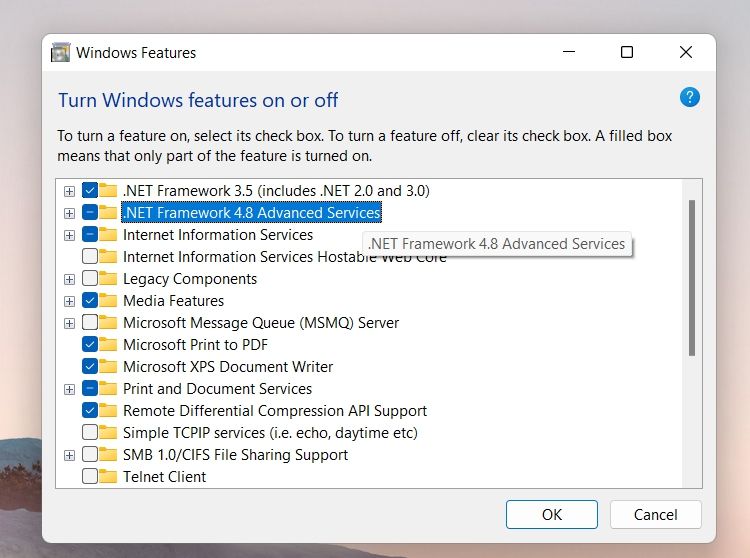
- Click on OK to save the changes.

Windows Features will look for the required file and install it on your system. Once done, restart the system and check if the problem continues.
6. Use DISM To Install .NET Framework
If using the Windows Features wasn't helpful, you can consider installing .NET Framework by running a DISM command. This method requires you to have compatible installation media.
Here are the steps you need to follow.
- Insert the compatible installation media into the system. Or, if you have an ISO file, mount the ISO on your system.
- Open Command Prompt in the administrator mode.
-
Type the following command and press Enter. Make sure to replace "X" with the installation media drive letter.
Dism /online /enable-feature /featurename:NetFX3 /All /Source:<strong>XXX</strong>:\sources\sxs /LimitAccess
Wait until the command is executed. Once done, restart the system, and check if you're still facing the problem.
7. Reset Windows Update Components
The problem can occur due to corrupt Windows Update components. You will have to reset the Windows Update components to fix the problem. Here's how to do it.
- Open Command Prompt in administrator mode.
-
Type the following commands and press Enter.
        net stop bits
net stop wuauserv -
Run the following command to delete qmgr*.dat files.
Del “%ALLUSERSPROFILE%Application DataMicrosoftNetworkDownloaderqmgr*.dat” -
Reset the Background Intelligent Transfer Service and Windows Update Service by executing the below commands.
        sc.exe sdset bits D: (A;;CCLCSWRPWPDTLOCRRC;;;SY)(A;;CCDCLCSWRPWPDTLOCRSDRCWDWO;;;BA)(A;;CCLCSWLOCRRC;;;AU)(A;;CCLCSWRPWPDTLOCRRC;;;PU)
sc.exe sdset wuauserv D: (A;;CCLCSWRPWPDTLOCRRC;;;SY)(A;;CCDCLCSWRPWPDTLOCRSDRCWDWO;;;BA)(A;;CCLCSWLOCRRC;;;AU)(A;;CCLCSWRPWPDTLOCRRC;;;PU) -
Change the directory to System32 by running the below command.
        cd /d %windir%
ystem32 -
Next, copy-paste and execute each of the below commands.
        regsvr32.exe atl.dll
regsvr32.exe scrrun.dll
regsvr32.exe msxml.dll
regsvr32.exe msxml3.dll
regsvr32.exe msxml6.dll
regsvr32.exe urlmon.dll
regsvr32.exe mshtml.dll
regsvr32.exe shdocvw.dll
regsvr32.exe browseui.dll
regsvr32.exe jscript.dll
regsvr32.exe vbscript.dll
regsvr32.exe actxprxy.dll
regsvr32.exe softpub.dll
regsvr32.exe wintrust.dll
regsvr32.exe dssenh.dll
regsvr32.exe rsaenh.dll
regsvr32.exe gpkcsp.dll
regsvr32.exe sccbase.dll
regsvr32.exe slbcsp.dll
regsvr32.exe cryptdlg.dll
regsvr32.exe oleaut32.dll
regsvr32.exe ole32.dll
regsvr32.exe shell32.dll
regsvr32.exe initpki.dll
regsvr32.exe wuapi.dll
regsvr32.exe wuaueng.dll
regsvr32.exe wuaueng1.dll
regsvr32.exe wucltui.dll
regsvr32.exe wups.dll
regsvr32.exe wups2.dll
regsvr32.exe wuweb.dll
regsvr32.exe qmgr.dll
regsvr32.exe qmgrprxy.dll
regsvr32.exe wucltux.dll
regsvr32.exe muweb.dll
regsvr32.exe wuwebv.dll -
Next, You'll have reset Winshok by running the below command.
netsh winsock reset -
Restart the services you stopped earlier by executing the below commands.
        net start bits
net start wuauserv
Check if the problem is fixed.
8. Run an SFC Scan
System File Checker, aka SFC tool, is a Windows built-in utility that checks for corrupt and missing system files. Running SFC will be helpful if the problem is being caused due to corrupt or missing system files.
Here are the steps to run an SFC scan on Windows 11.
- Open Command Prompt in administrator mode.
-
Type the following command and press Enter.
sfc /scannow

Wait until the command is executed successfully. After that, reinstall the .NET Framework.
Installation Error 0x800F0950 Fixed
Hopefully, the solutions were helpful in fixing the error message. By default, Windows 11 features the latest .NET Framework, but you might need to update the version with a new OS update.