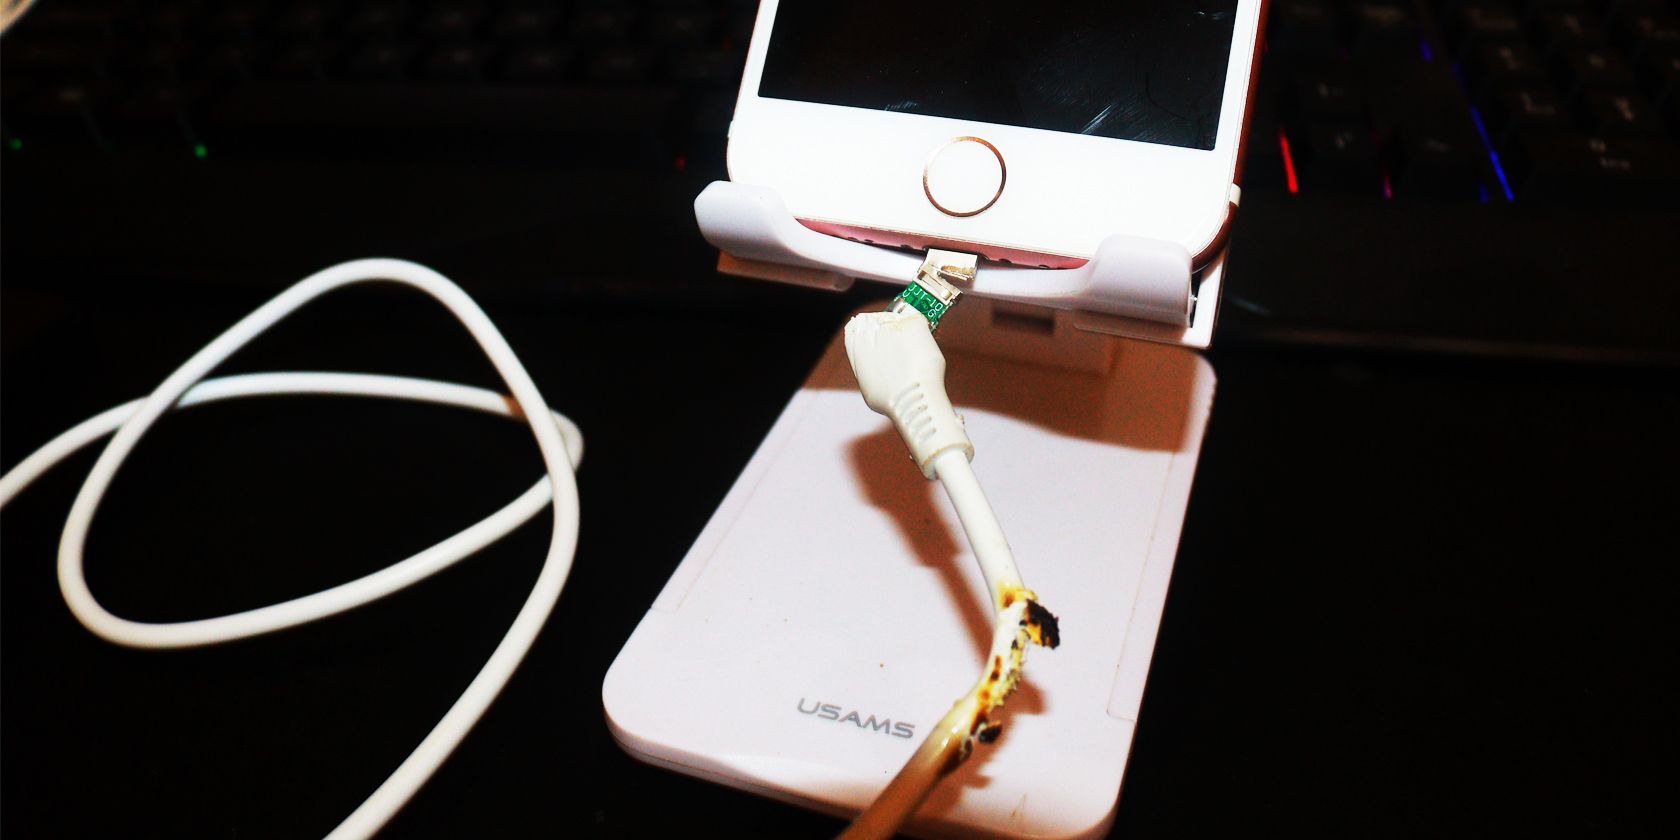
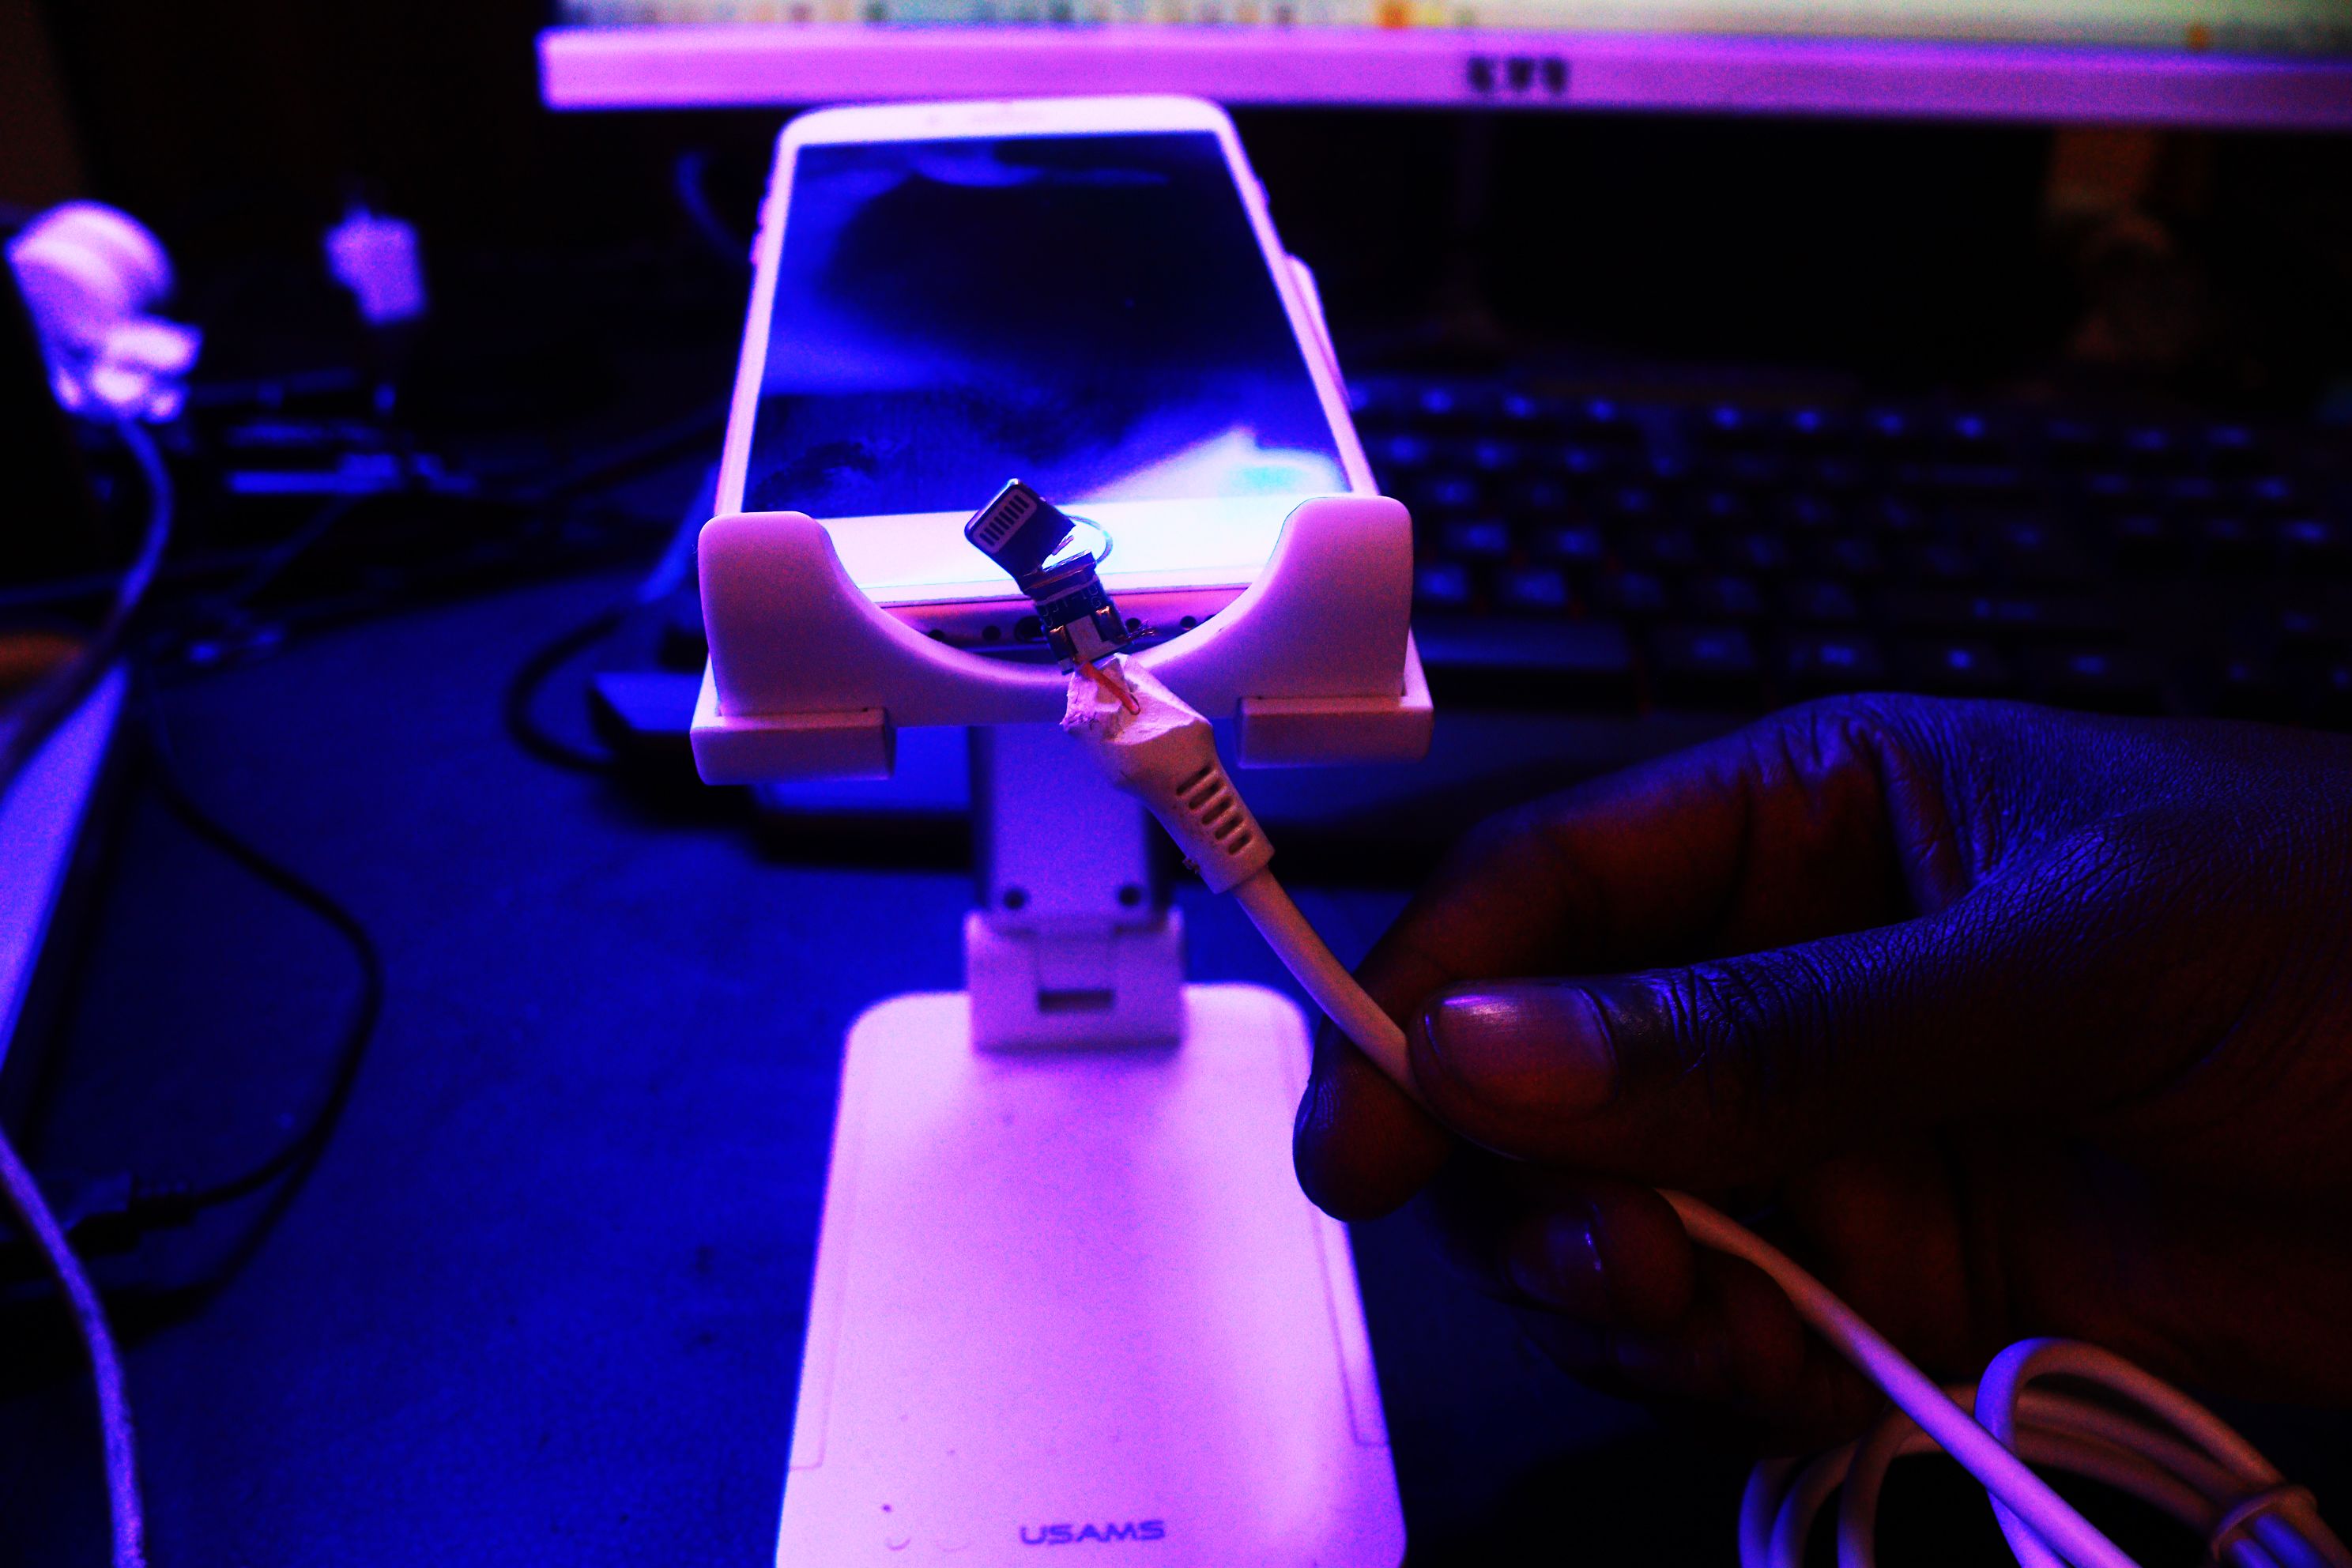
If you have an iPhone, you know that having a charger cable is necessary. Unfortunately, these cables can sometimes break. What happens when you have broken your iPhone charger cable? Do you have to buy a new one? Not necessarily! You can follow simple steps to fix a broken iPhone charger.
What You Need to Fix a Broken iPhone Charger
To fix a broken iPhone charger cable, you need a few things. These include:
- Cutting nippers: For removing the covering of the charger.
- Electrical tape: This is essential for covering the exposed wires, insulating connections, and protecting against moisture or dust that could cause further damage.
- Soldering iron: For melting and joining the pieces of metal together. You can also use it to repair any breaks in the wires.
- Wire cutter: You will use it to remove any part of the wire that may have become damaged or frayed.
- Safety gear: It's essential to keep yourself safe while repairing the broken charger.
- Multimeter: You can use it to measure electrical current and detect any existing problems within the charger and know exactly where the problem is.
You can follow the steps below to learn how to fix a broken iPhone charger.
Step 1: Locate the Break in the Cable
First, you'll need to locate the part of the charger that has issues. A multimeter can come in handy for diagnosing the specific part that is broken if you can't see it physically. When using a multimeter to test the charger wire, it is first essential to identify the positive and negative leads.
Place the positive lead on the metal connector at the end of the wire, and place the negative tip on the exposed wire. Once everything is in place, the multimeter should be set to the "continuity" setting. If the multimeter beeps, this indicates that there is continuity and that the wire is not broken. If there is no continuity, the wire has issues, and you will need to fix it.
Step 2: Open the Break and Expose the Wires
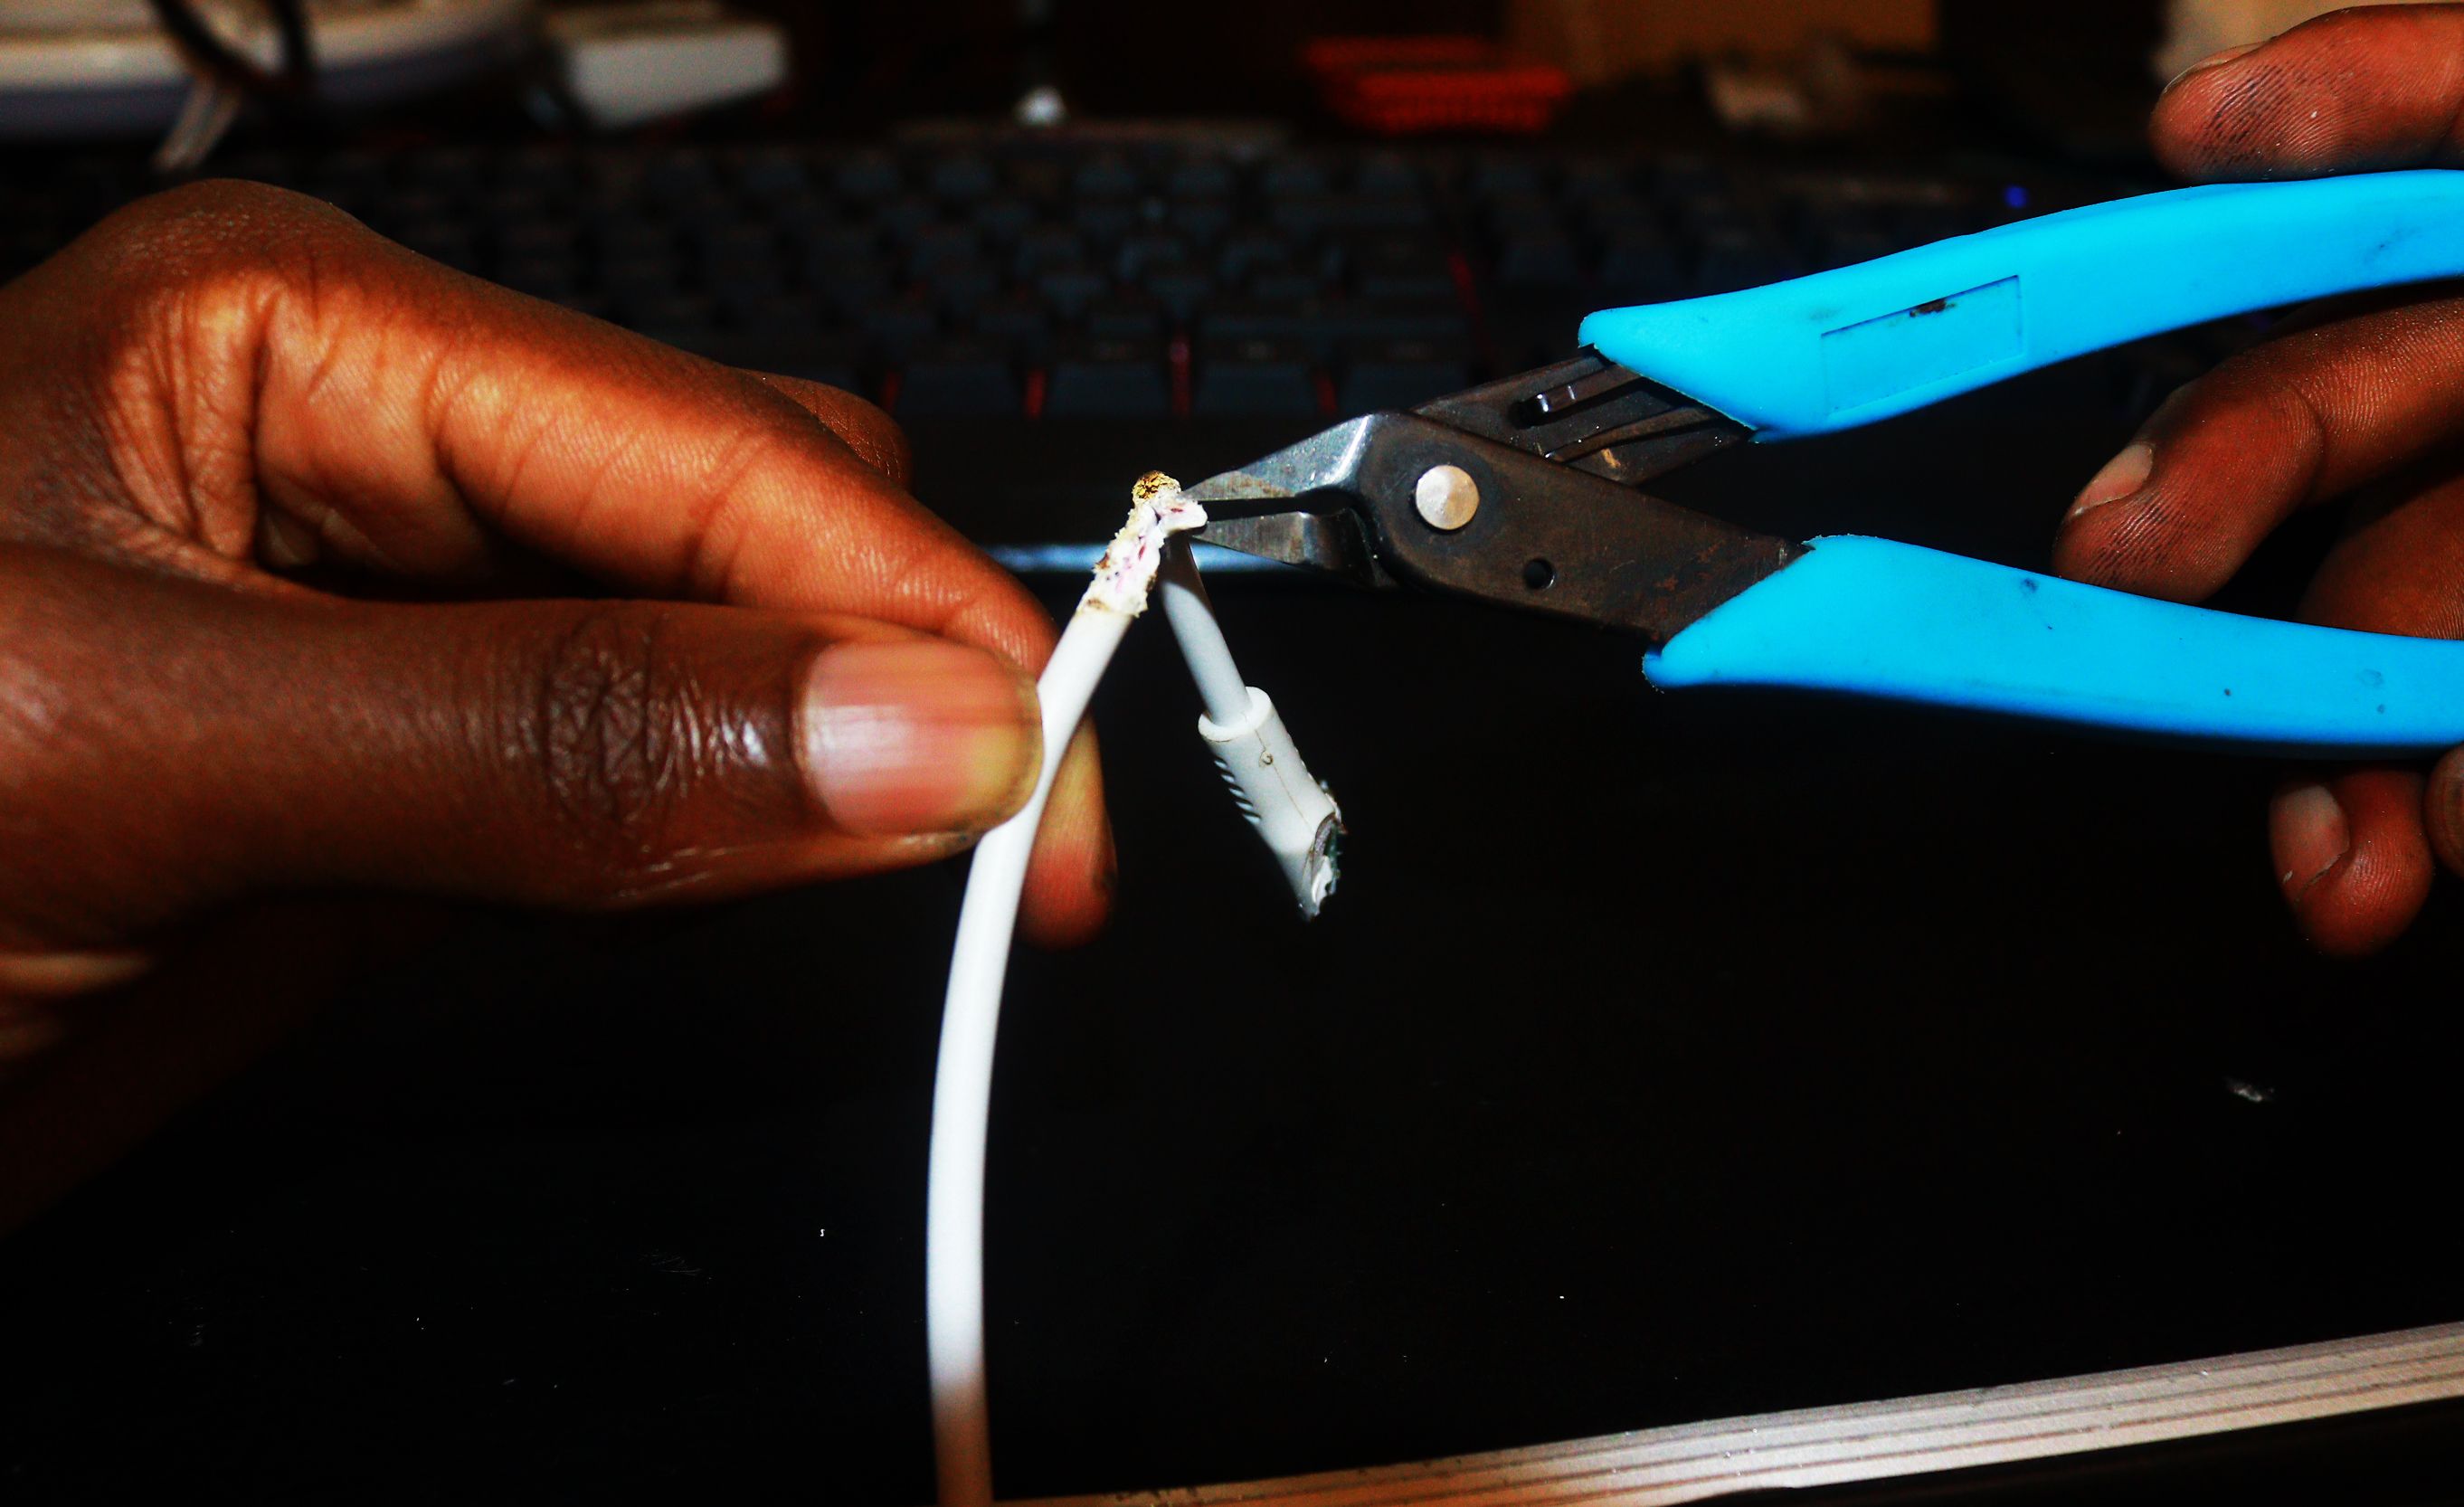
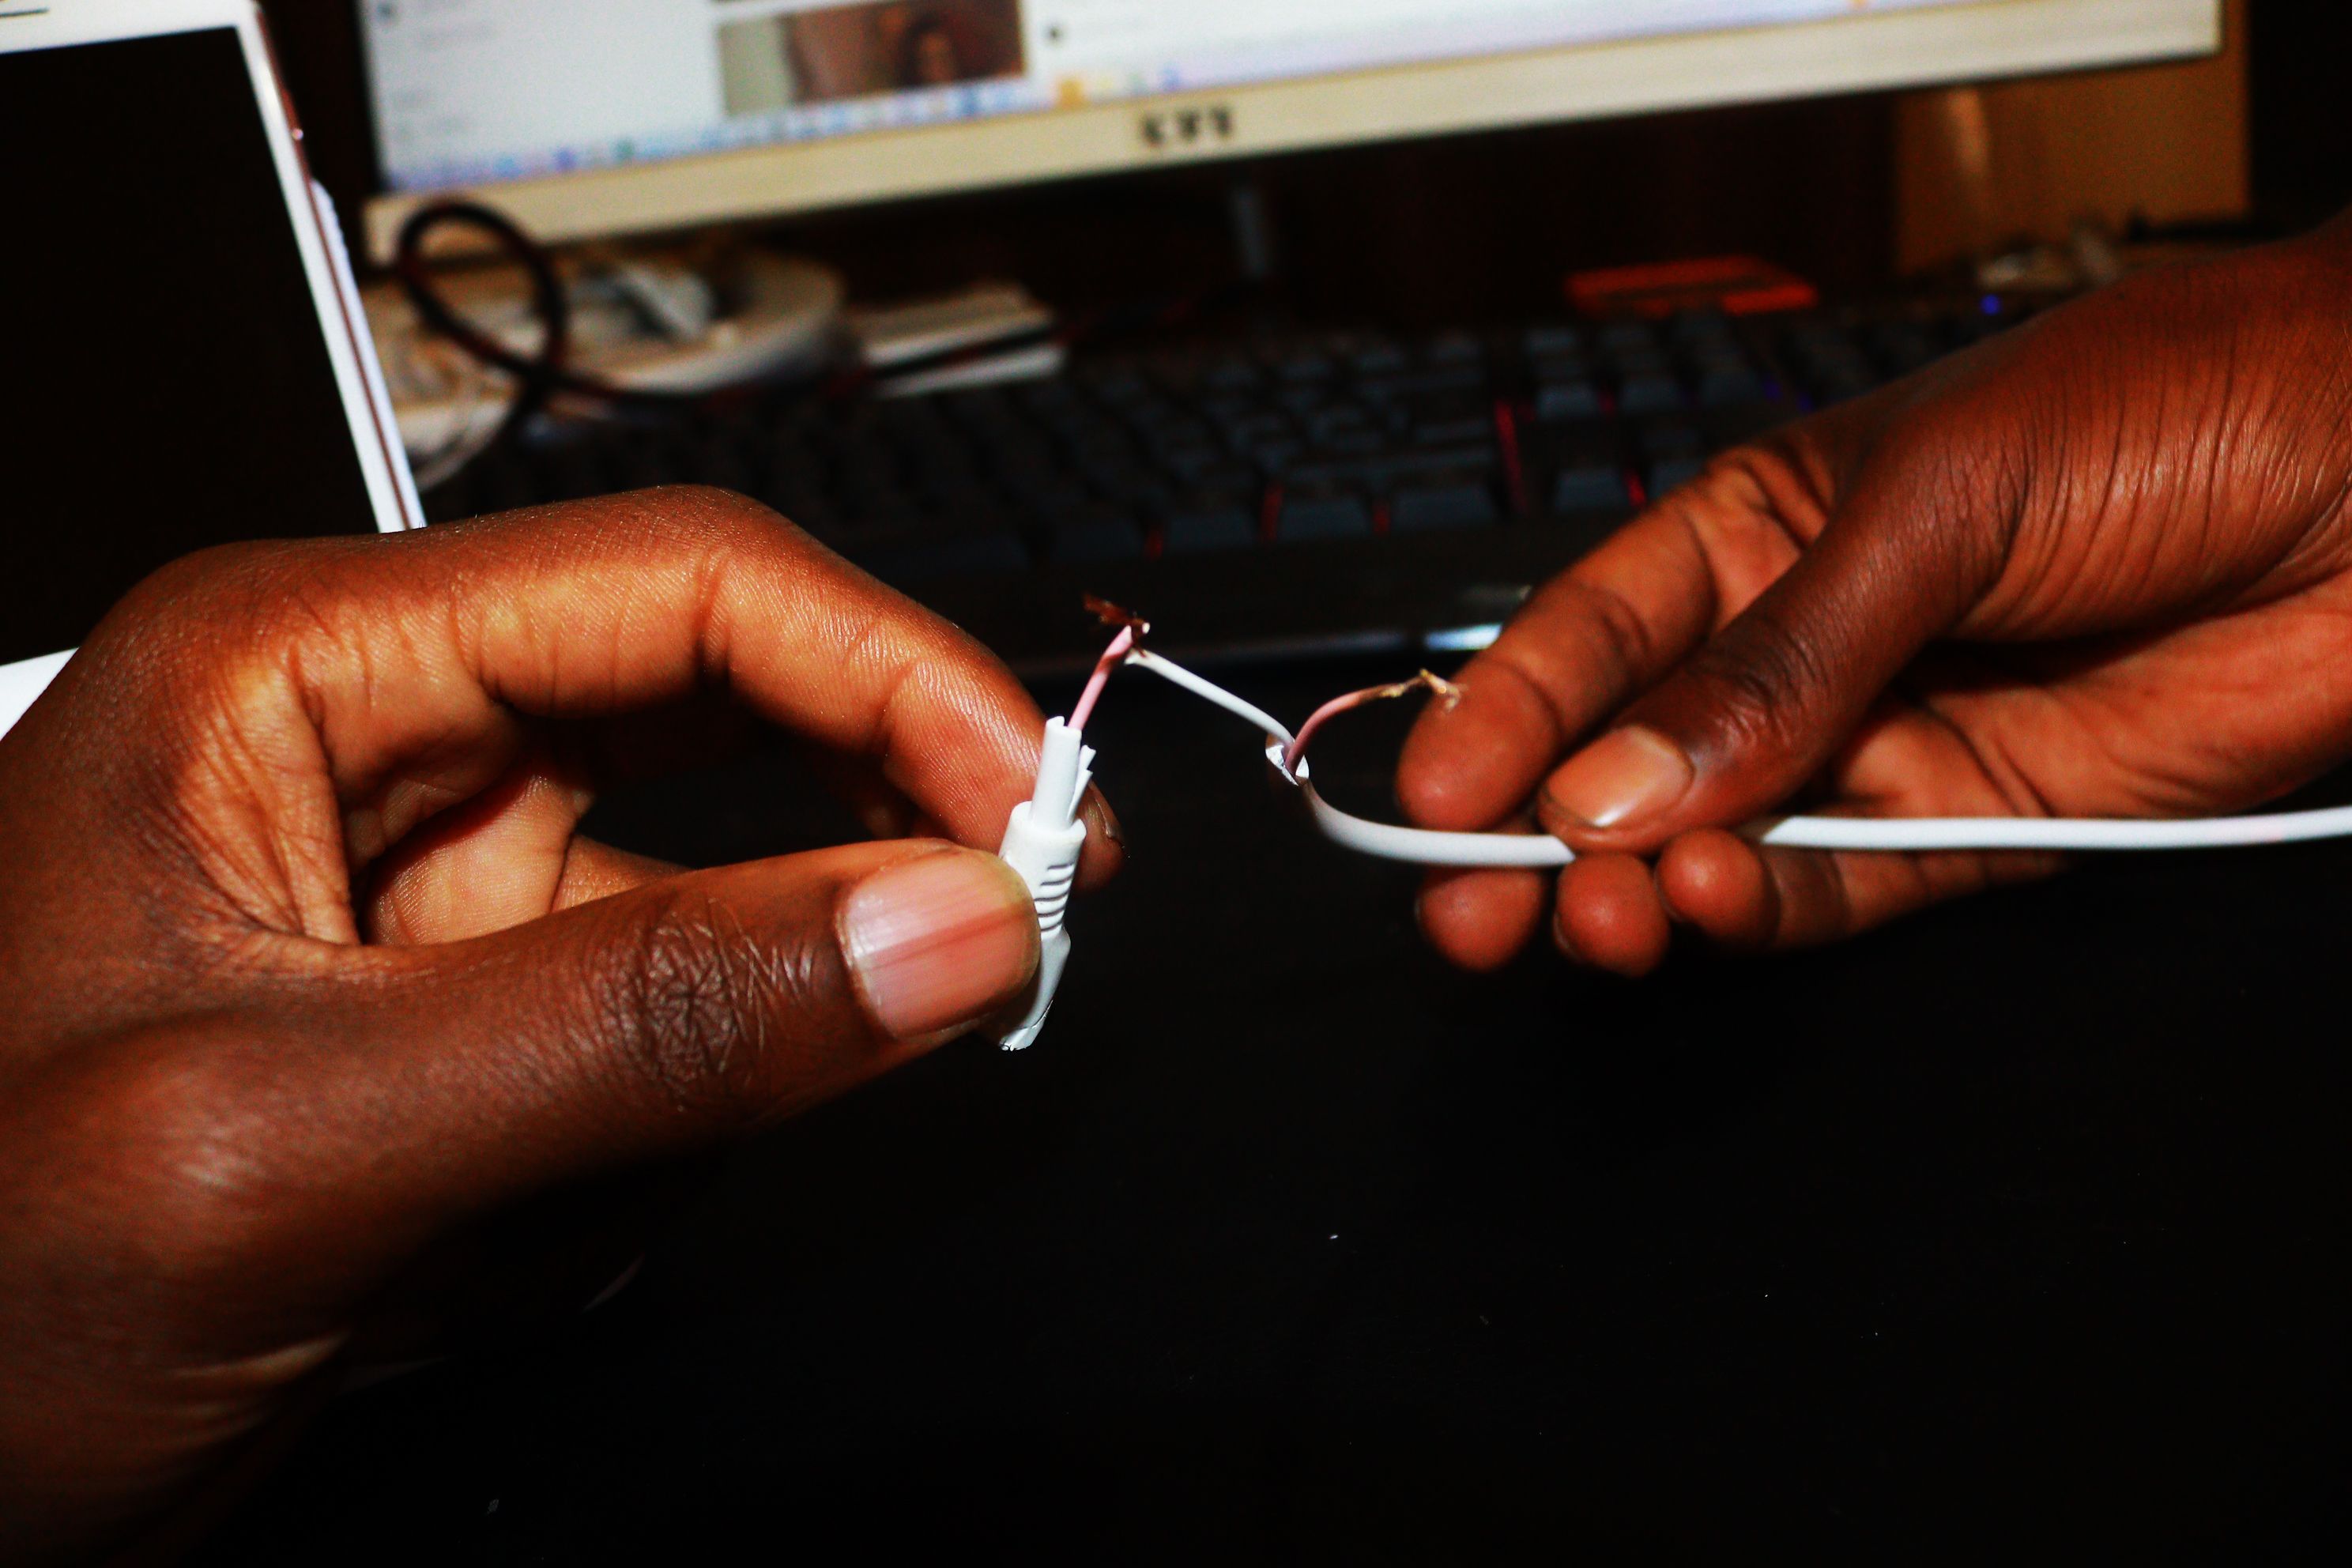
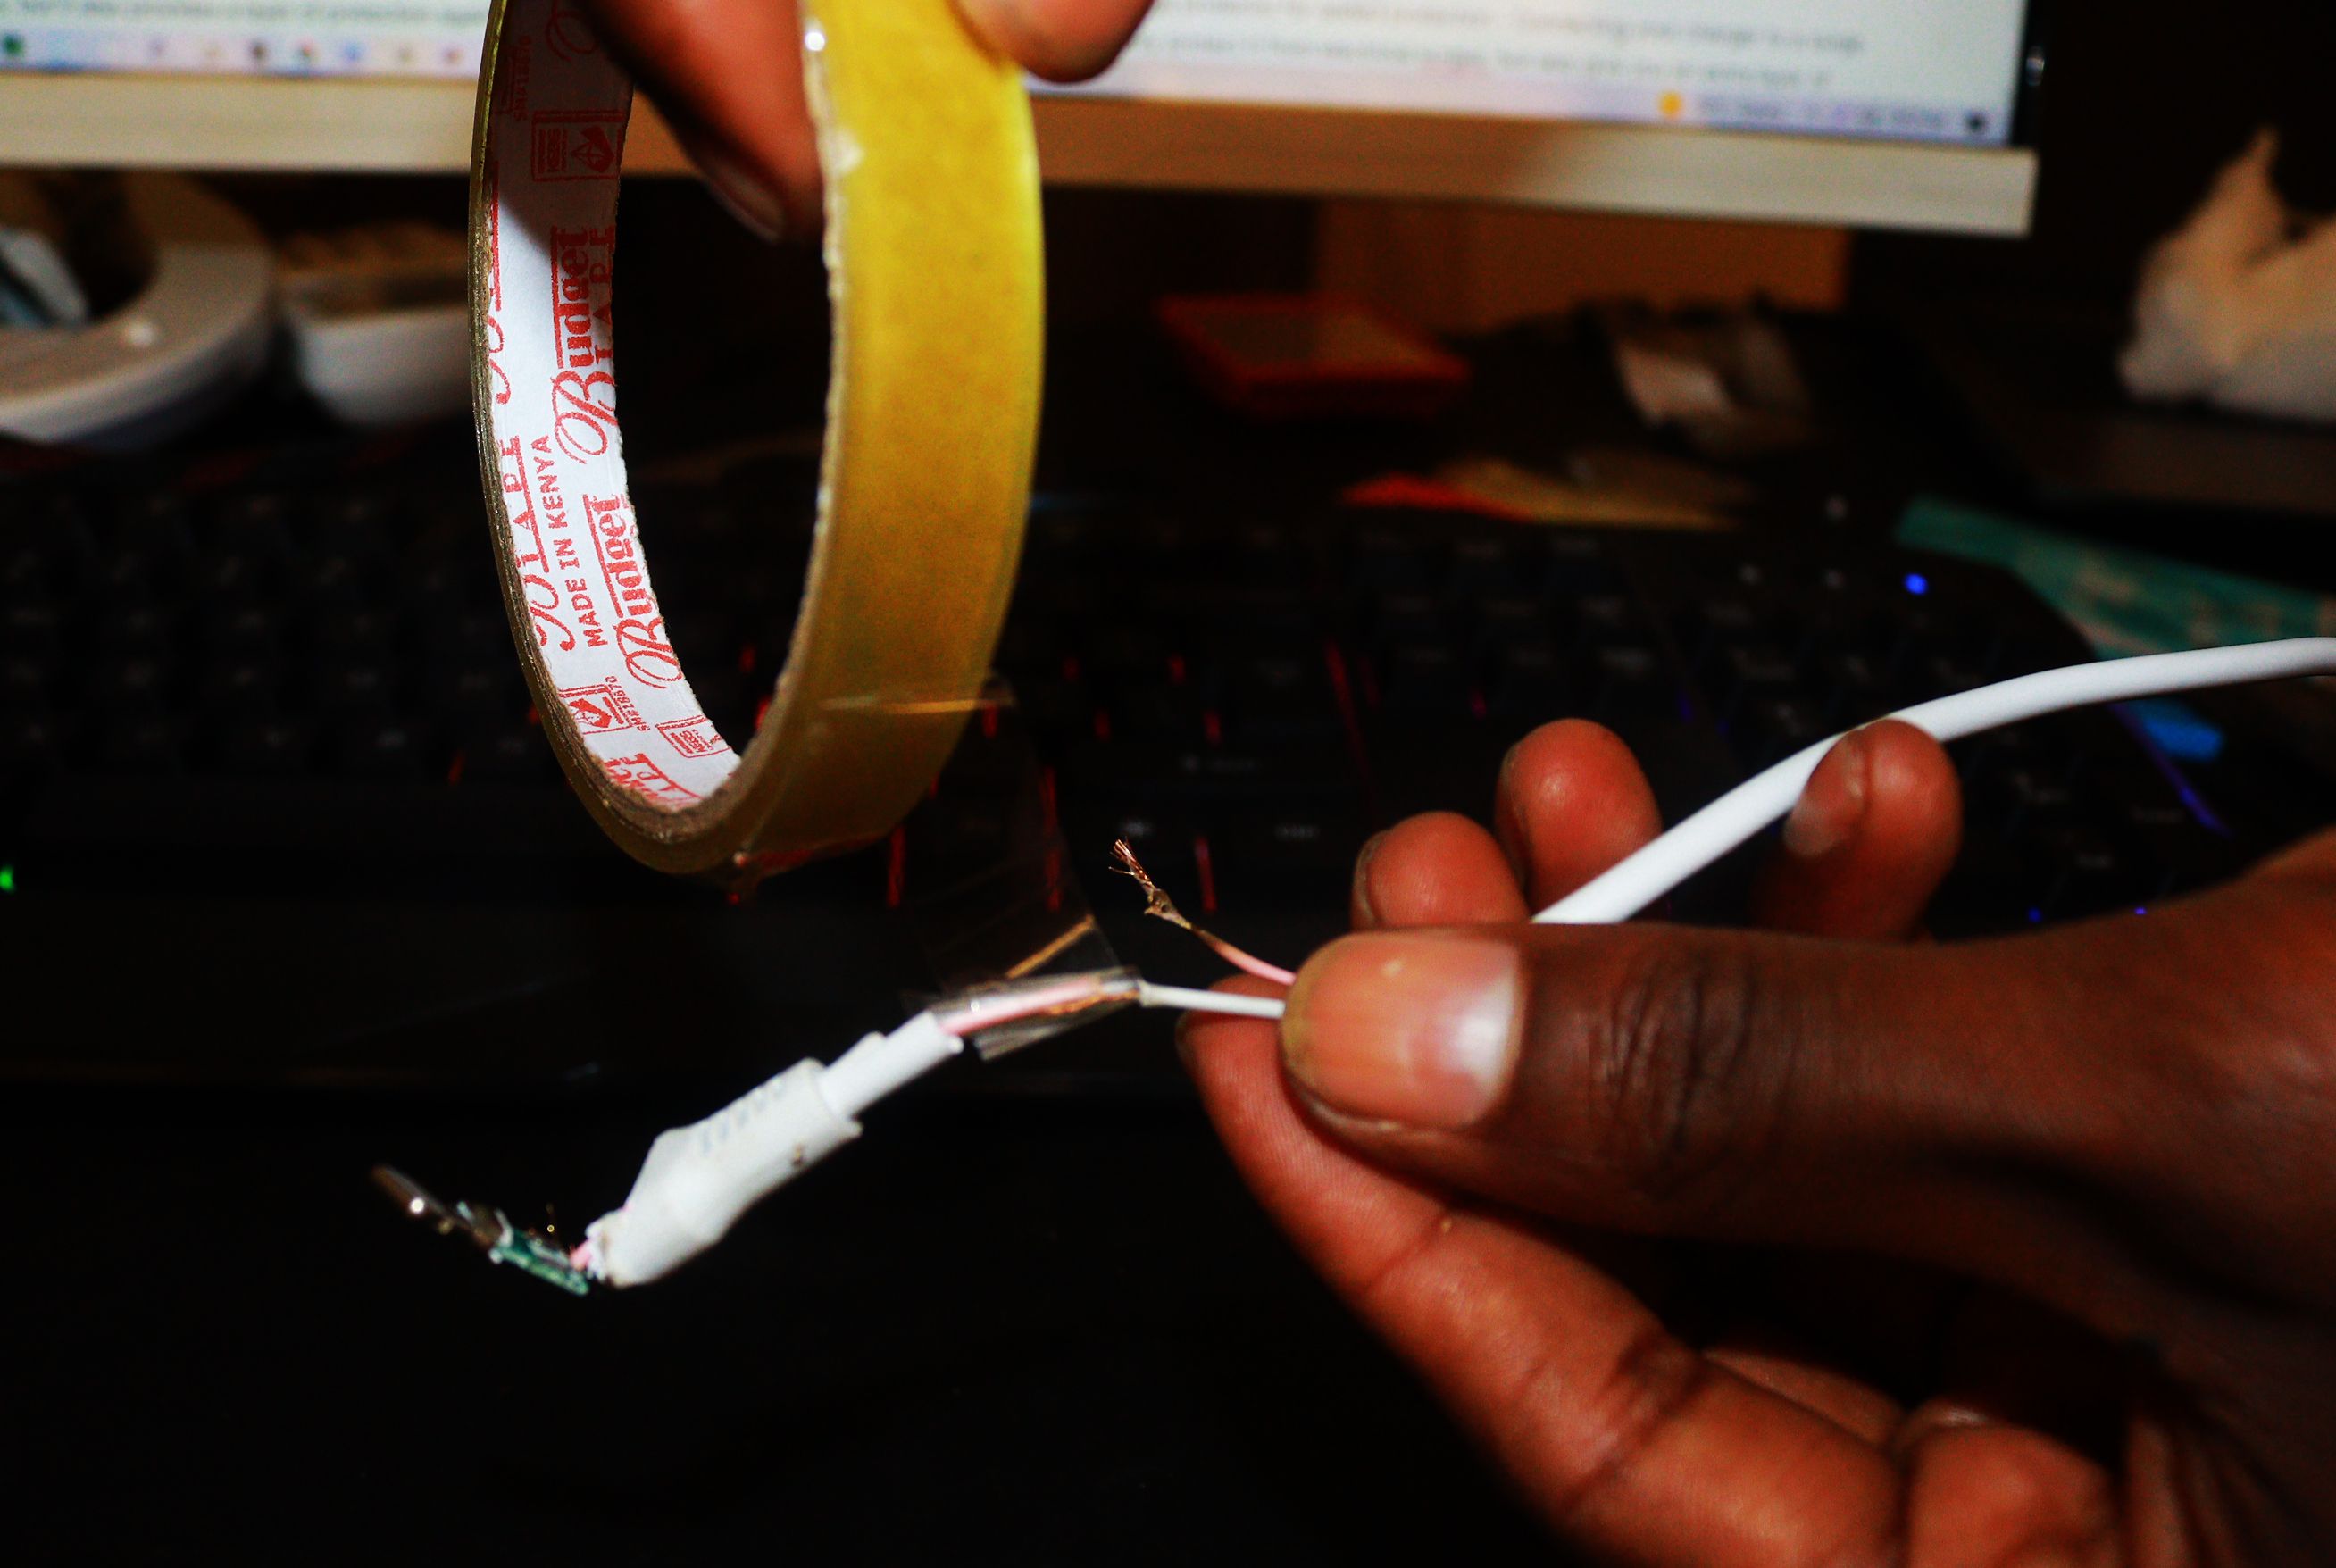
Take cutting nippers or a sharp knife and carefully cut away the outer rubber casing of the cable. Be careful not to cut too deeply and damage the wires inside. Once you've cut away the rubber, you should see the wires exposed.
Check the broken cables and try to twist each wire around itself until it forms a tight coil. Once all three wires are coiled, use electrical tape to secure them. If turning them around doesn't work, you can solder them together.
Step 3: Solder the Wires Together
To solder the wires together, you need a soldering iron, some solder, and some flux. Start by applying soldering flux to the ends of the wires and heat them with the soldering iron until the flux begins to bubble. Next, touch the solder to the heated wires and allow it to flow evenly between them. Finally, let the joint cool before testing it out.
Step 4: Tape up Any Exposed Wires for Insulation
We will use electrical tape to insulate the wires because it's essential to ensure they are not exposed. If they are, they are at risk of shorting out and causing a fire. For other types of wire, you can use regular duct tape.
The important thing is that you should apply the tape tightly, so there are no gaps. If there are gaps, water or other liquids can seep in and cause corrosion. You must also use shrink tubing to protect the wires.
Step 5: Using Shrink Tubing To Protect the Wires
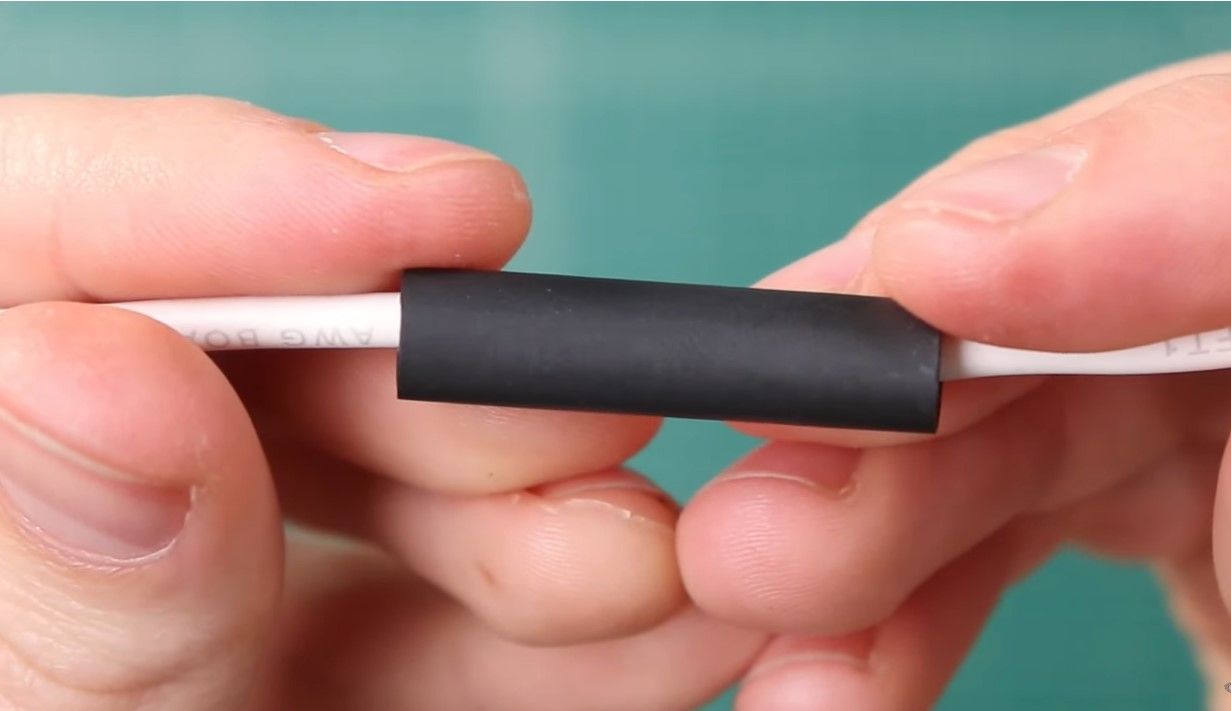
A great way to protect your wires and keep them from getting tangled is to use shrink tubing. Shrink tubing is a type of plastic tubing that can be placed over wires and then shrunk down using heat to create a snug fit that will hold the wires in place and prevent them from moving around.
Not only does this help to keep your wires organized, it also protects them from damage caused by friction. You can find shrink tubing in most hardware stores or in online stores like Amazon, such as this 650-piece heat shrink tubing kit. To use the tubing, simply slide it over your wires and then use a heat gun or hair dryer to shrink it
Enjoy a Working iPhone Charger
A broken or frayed iPhone charger cable can be a common occurrence. But it doesn't necessarily mean buying a whole new charger. You can fix it quickly with a few supplies and following the steps above. Ensure you insulate the wires appropriately after fixing them, to avoid the risk of being electrocuted.
If the wire is frayed, simply use tape to wrap it up and secure it to prevent any further damage to the wire. This will also insulate you from live current.

