The Default gateway is not available error affects your Internet connectivity and causes it to disconnect abruptly. This error can affect individual apps or happen to your entire computer.
The error indicates that the system cannot find the default gateway, often your home router, resulting in disconnection. To fix this, try to reset the TCP/IP stack, check your firewall, disable energy-saving features for your network adapter, or update the necessary drivers.
So, we'll go through all the possible solutions below to help you fix the default gateway is not available error on Windows and get you back online.
1. Run the Network Adapter Troubleshooter
The built-in Network Adapter troubleshooter can help you find and fix common network issues. It checks for the most common contributing factors, such as malfunctioning network drivers and incorrect network configuration. If it can resolve the issue without your intervention, it will do so. But if it needs your help, it will recommend resolutions accordingly.
To run the Network Adapter troubleshooter:
- Press Win + I to open Settings.
-
Next, in the System tab, scroll down and click on Troubleshoot.
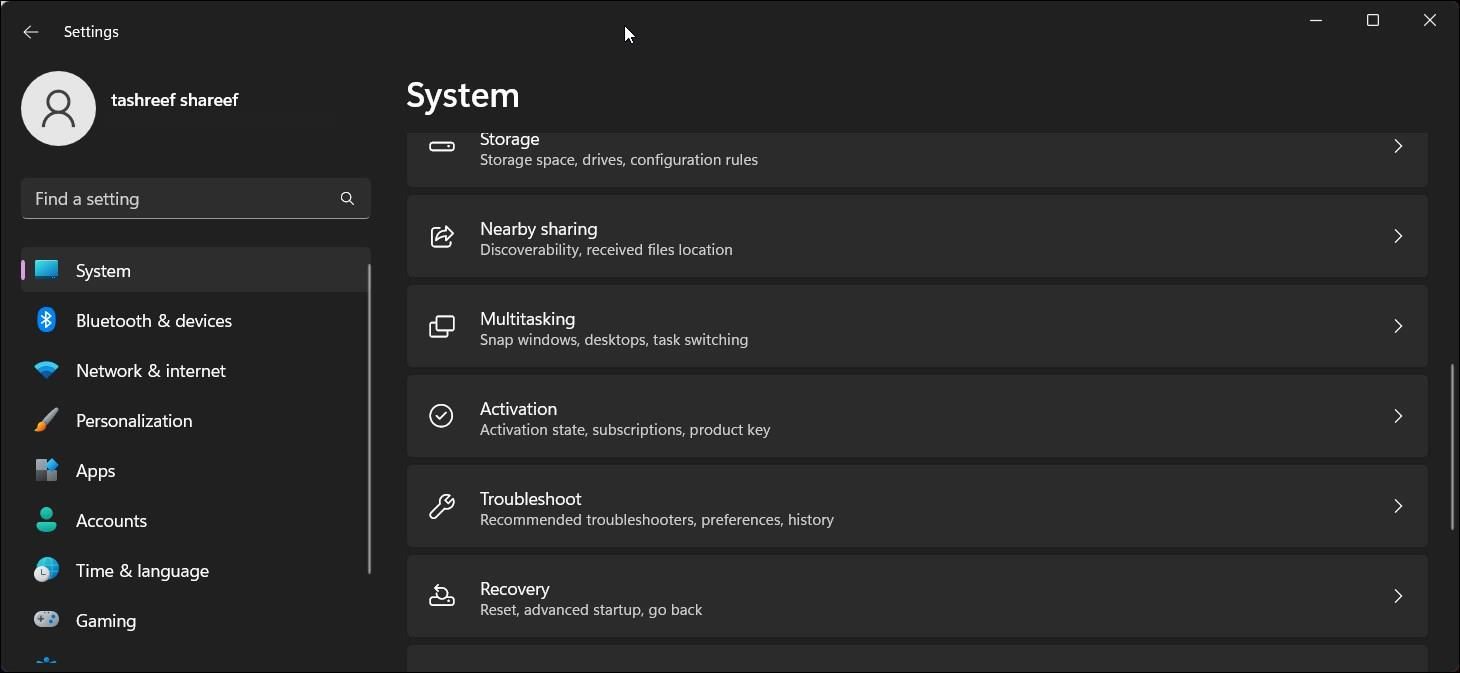
- Click on Other Troubleshooters.
-
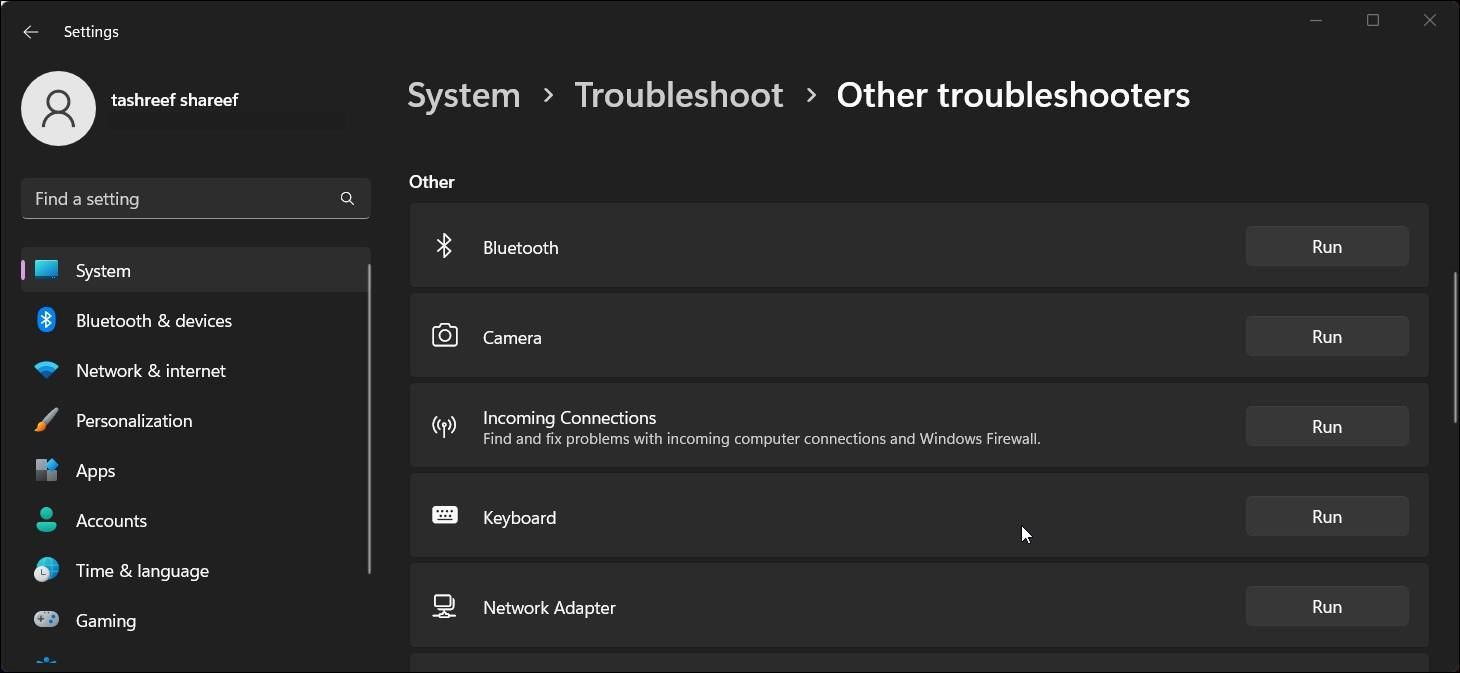
Scroll down and click on the Run button for Network Adapter.
-
The Network Adapter troubleshooter will scan the system for issues. Select the affected network adapter if prompted and click Yes.
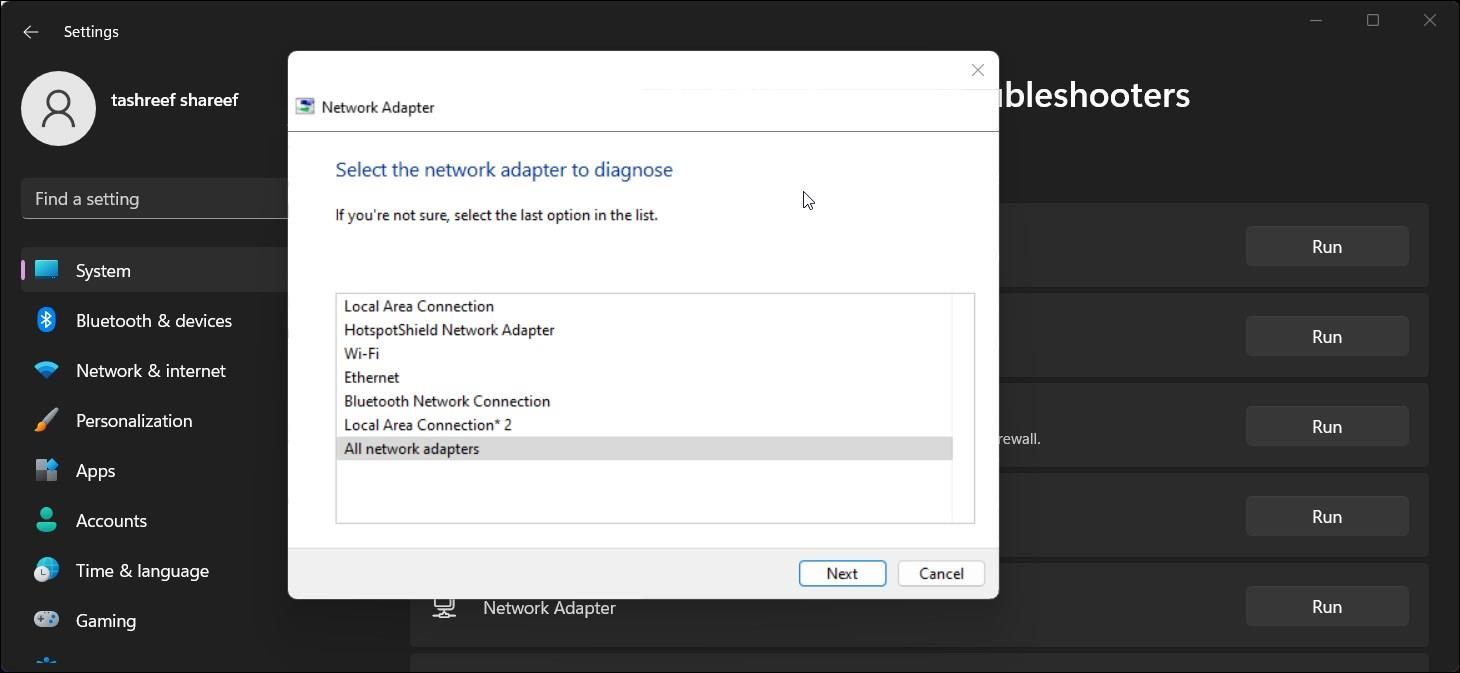
- Next, the troubleshooter will look for any issues. Follow-on screen instructions and check if the error is resolved.


2. Reset the TCP/IP Stack

You can fix the default gateway is not available error by performing a TCP/IP stack reset. This is useful if the wireless adapter sees the network but fails to accept the TCP/IP address. Here's how to do it.
- Press the Windows key and type cmd to open the command prompt.
- Right-click on Command Prompt and select Run as administrator. Click Yes if prompted by UAC.
-
Next, type the following command in the given order one by one and press Enter to execute:
        netsh winsock reset
netsh int ip reset
ipconfig /release
ipconfig /renew
ipconfig /flushdns - If all the commands are executed successfully, restart your PC and check for any improvements.
3. Disable and Enable the Network Adapters
Another way to fix this error is to disable and re-enable your network adapter. This may help you fix any temporary glitches with the network adapter and resolve the Internet disconnection issue.
To enable and disable your network adapter:
- Press Win + R to open the Run dialog.
- Type control and click OK to open Control Panel.
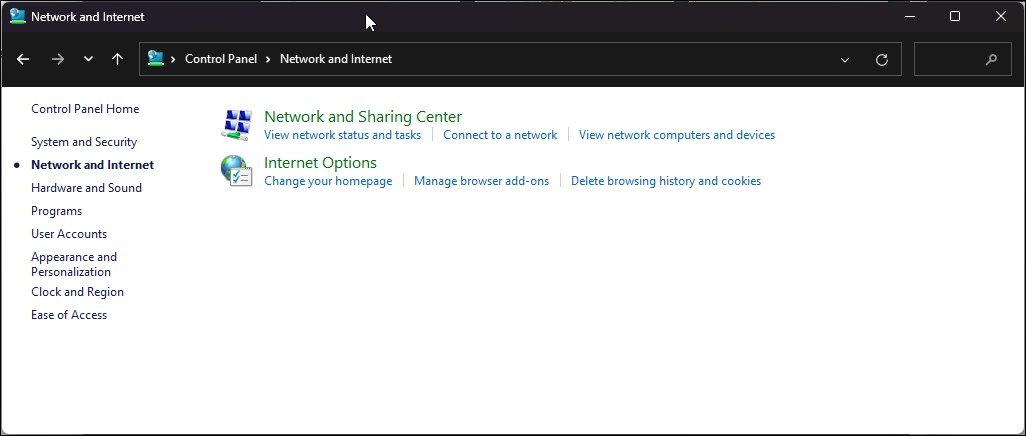
- Next, open the Network and Internet option.
-
Click on Network and Sharing Center.
-
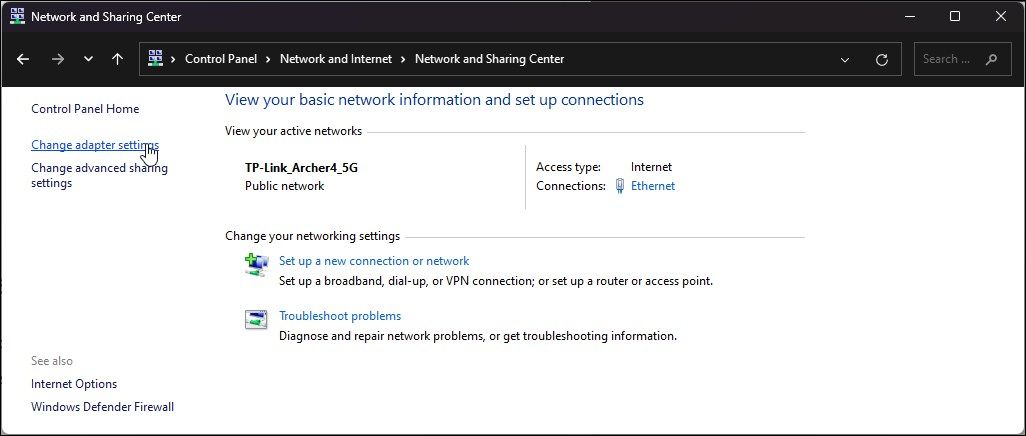
In the left pane, click on Change adapter settings.
-
Right-click on your network adapter and select Disable. Once disabled, the network adapter will be grayed out.

- Right-click on the grayed-out network adapter and choose Enabled.


4. Change Advanced Power Settings for the Wireless Network Adapter.
If you're using a battery saver power plan, your computer might be putting your wireless network adapter to sleep to save on power. To avoid the frequent disconnection issue, you need to change and set your network adapter to use the maximum performance power plan.
Change the advanced power settings for the network device using Power Options. Here's how:
- Press Win + R to open Run.
- Type control and click OK to open Control Panel.
-
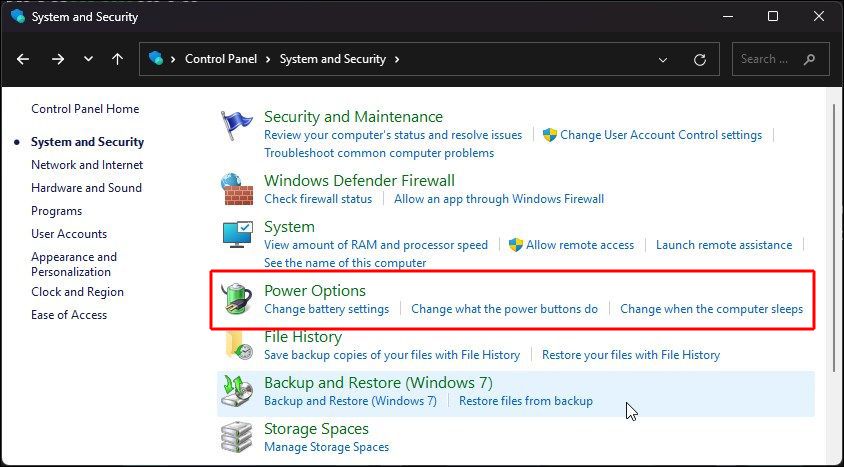
Next, open the System and Security option and click on Power Options.
-
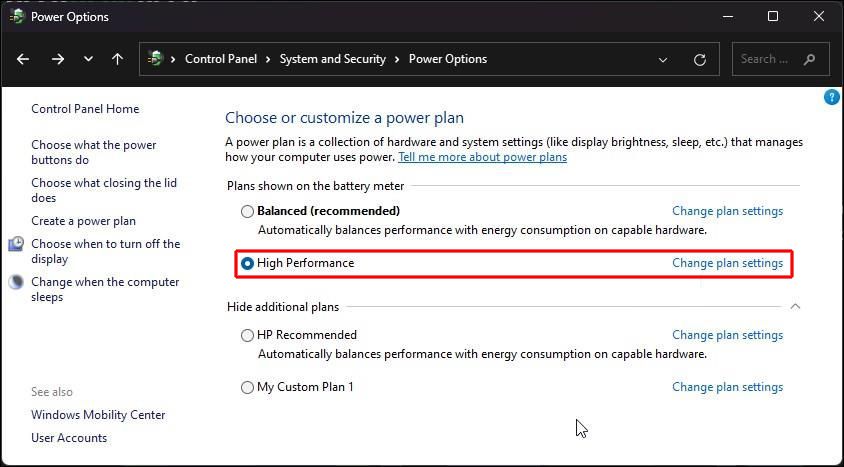
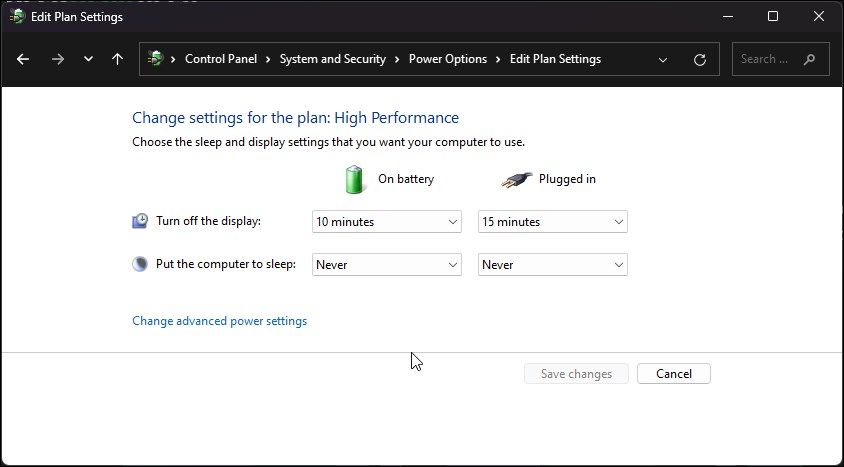
Here, click on Change plan settings for your currently active power plan.
-
Next, click on Change advanced power settings.
- In the Power Options dialog, expand the Wireless Adapter Settings section.
- Next, click to expand the Power Saving Mode section.
-
Click the On Battery option and select Maximum Performance.
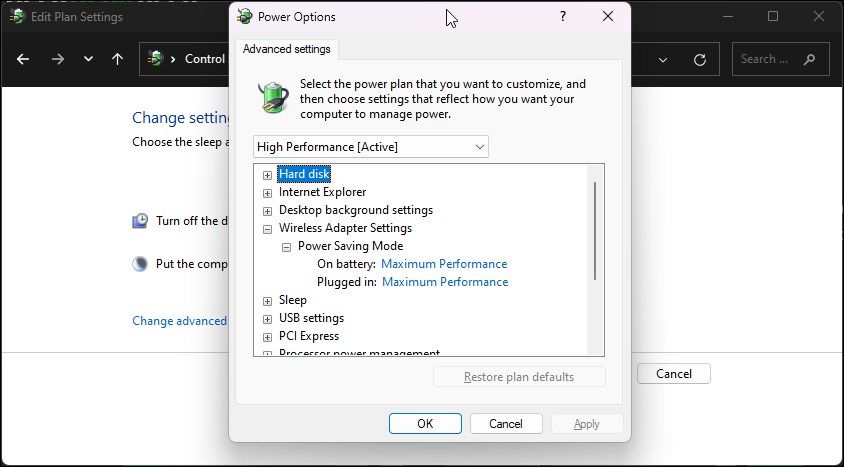
- Next, click the Plugged in option and select Maximum Performance from the drop-down.
- Click on Apply and OK to save the changes.
- Restart your PC and check for any improvements.


5. Update Your Network Adapter Drivers

If the issue occurs after a Windows update, your computer might be missing the latest updates for the network adapter driver. The new drivers may sometimes be unavailable via the Device Manager and require you to manually download and install them from your computer manufacturer's website.
Follow these steps to update your network adapter drivers. To update network driver using Device Manager:
- Press the Win + X key to open the WinX menu.
- Click on Device Manager to open the app.
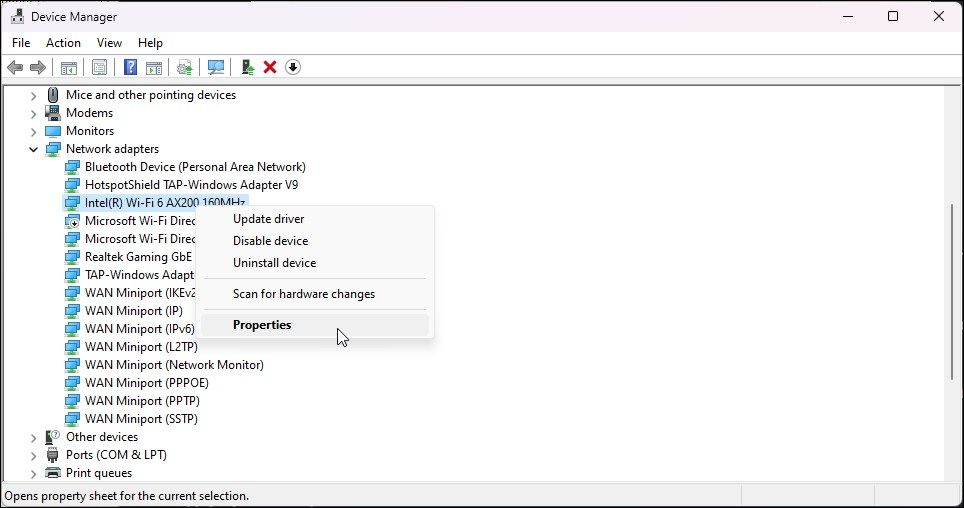
- In Device Manager, expand the Network Adapter section.
- Right-click on your network adapter and select Update driver.
- Select Search automatically for drivers. If a new driver is found, follow the on-screen instructions to download and install the driver.
That said, Device Manager sometimes doesn't have the latest drivers available. So, your best is to check your computer manufacturer's website and download all the latest drivers available for your computer.
Alternatively, almost all the major computer OEMs ship the computers with their proprietary system management utility. For example, Lenovo offers Vantage and HP offers its Support Assistant utility. You can use these tools to check for pending updates and install them without the need to visit the website.
6. Perform a Driver Roll Back
Windows features a driver rollback feature in Device Manager. You can use it to roll back a driver update and undo any changes that may have occurred.
To perform a network driver rollback:
- Open Device Manager.
- Expand the Network adapters section.
-
Right-click on the network adapter and select Properties.
-
Next, open the Driver tab in the Properties dialog.
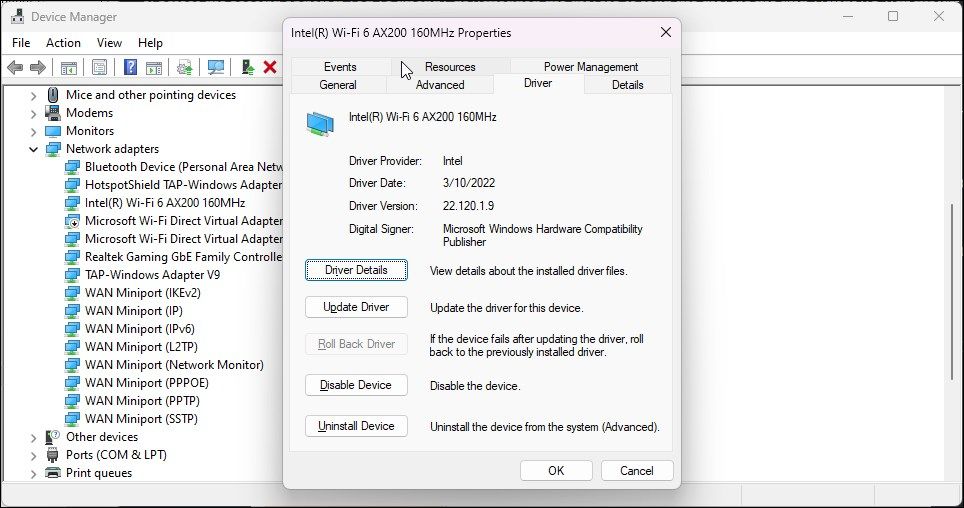
- Click on the Roll Back Driver button. Click Roll back to confirm the action.


Once done, restart your PC and check for any improvements. If the issue persists, open the network adapter properties and try to perform a rollback again. If the option is grayed out, you don't have any older drivers to install.
7. Change the Network Adapter's Power Management Option

Your Windows computer can turn off some devices to save power when idle. However, this can result in frequent service disconnection. To fix the problem, disable the Allow the computer to turn off this device to save power option in Device Manager.
To disable the network adapter power management option :
- Press Win + R to open Run.
- Type devmgmt.msc and click OK to open Device Manager.
- Next, expand the Network Adapters section.
- Right-click on your network device and select Properties.
- Open the Power Management tab in the Properties dialog.
- Uncheck the Allow the computer to turn off this device to save power option.
- Click OK to save the changes.
- Restart your PC and check for any improvements.
8. Temporarily Disable Your Antivirus and Firewall
Try to disable your antivirus to see if that helps fix the error. Antivirus with Internet security features can interfere with your network connection resulting in the default gateway is not available error.
Some antivirus apps allow you to disable the protection temporarily to troubleshoot issues. Disable the antivirus and check if the error is resolved. If yes, turn off Internet security features on your antivirus to determine what's causing the error.
9. Hard Reset Your Router to Its Factory Defaults
While resetting your router can help you fix some internet issues, sometimes, a hard reset is needed to return it to its factory default and resolve any problems with the router configuration. You can factory reset your router using the dedicated reset button or from your router's Web interface.
To reset your router to factory default:
- Make sure the router is powered on.
- Locate the WSP/Reset button on the front or back of your router. Press and hold the button for at least 10 seconds to perform a hard reset. You can use a paper clip or similar objects to access the Reset button.
- Release the button after 10 seconds as the LEDs start to flash slowly. Wait for the router to reboot and reset the settings to its factory default.
- Reconfigure your router and check if the default gateway is not available error is resolved.
Fix the Default Gateway Is Not Available Error
Most of the time, internet issues can be resolved by running the Network Adapter troubleshooter. If the problem persists, installing pending driver updates and resetting the network drivers and your router can help fix the error on your Windows computer.