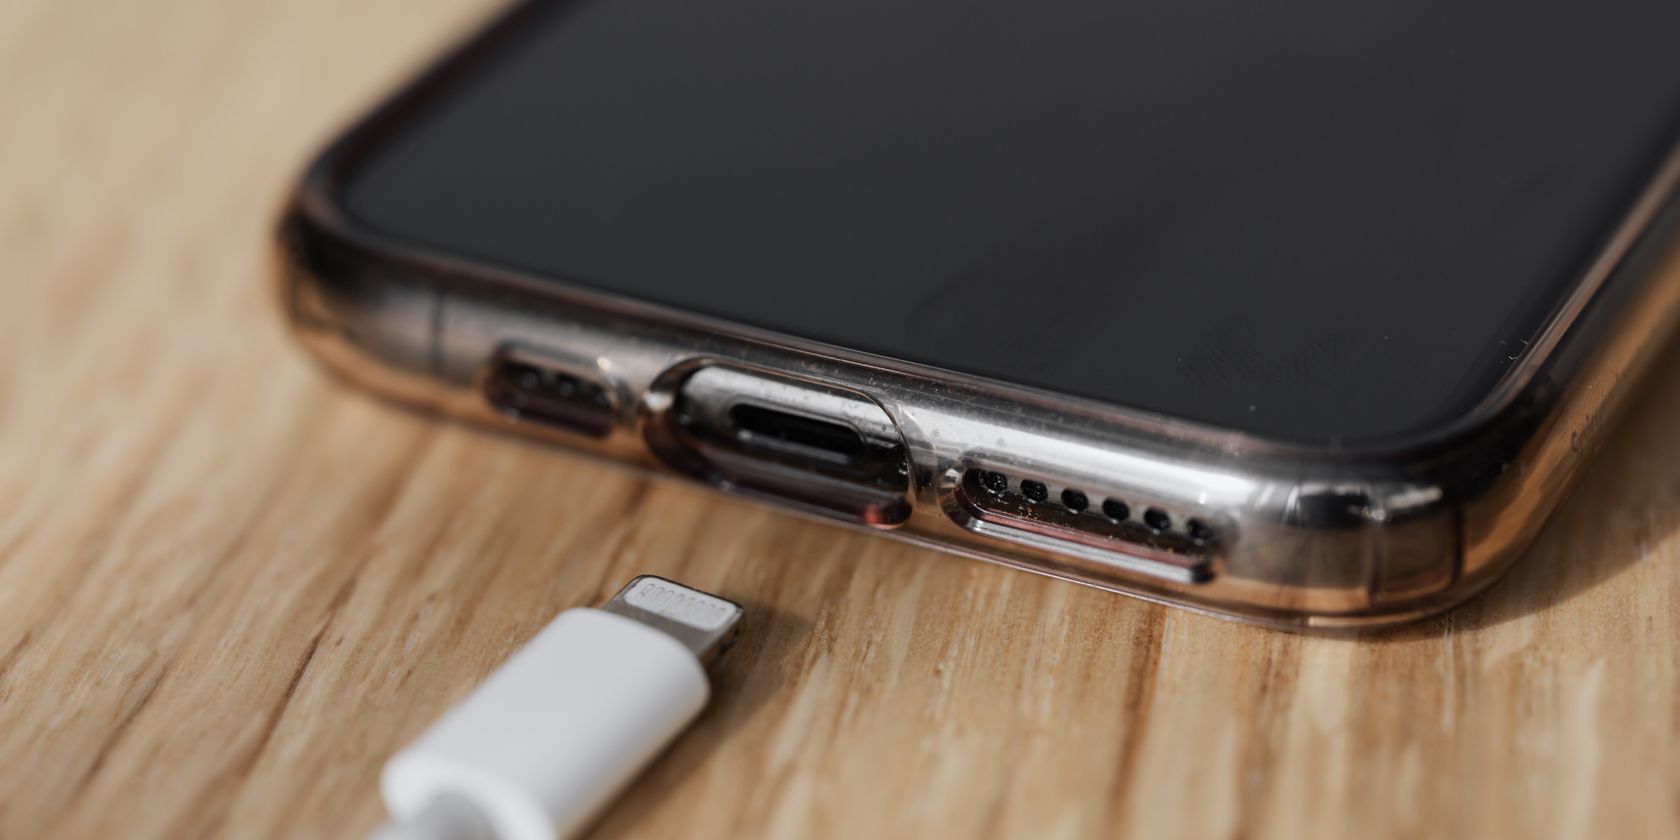
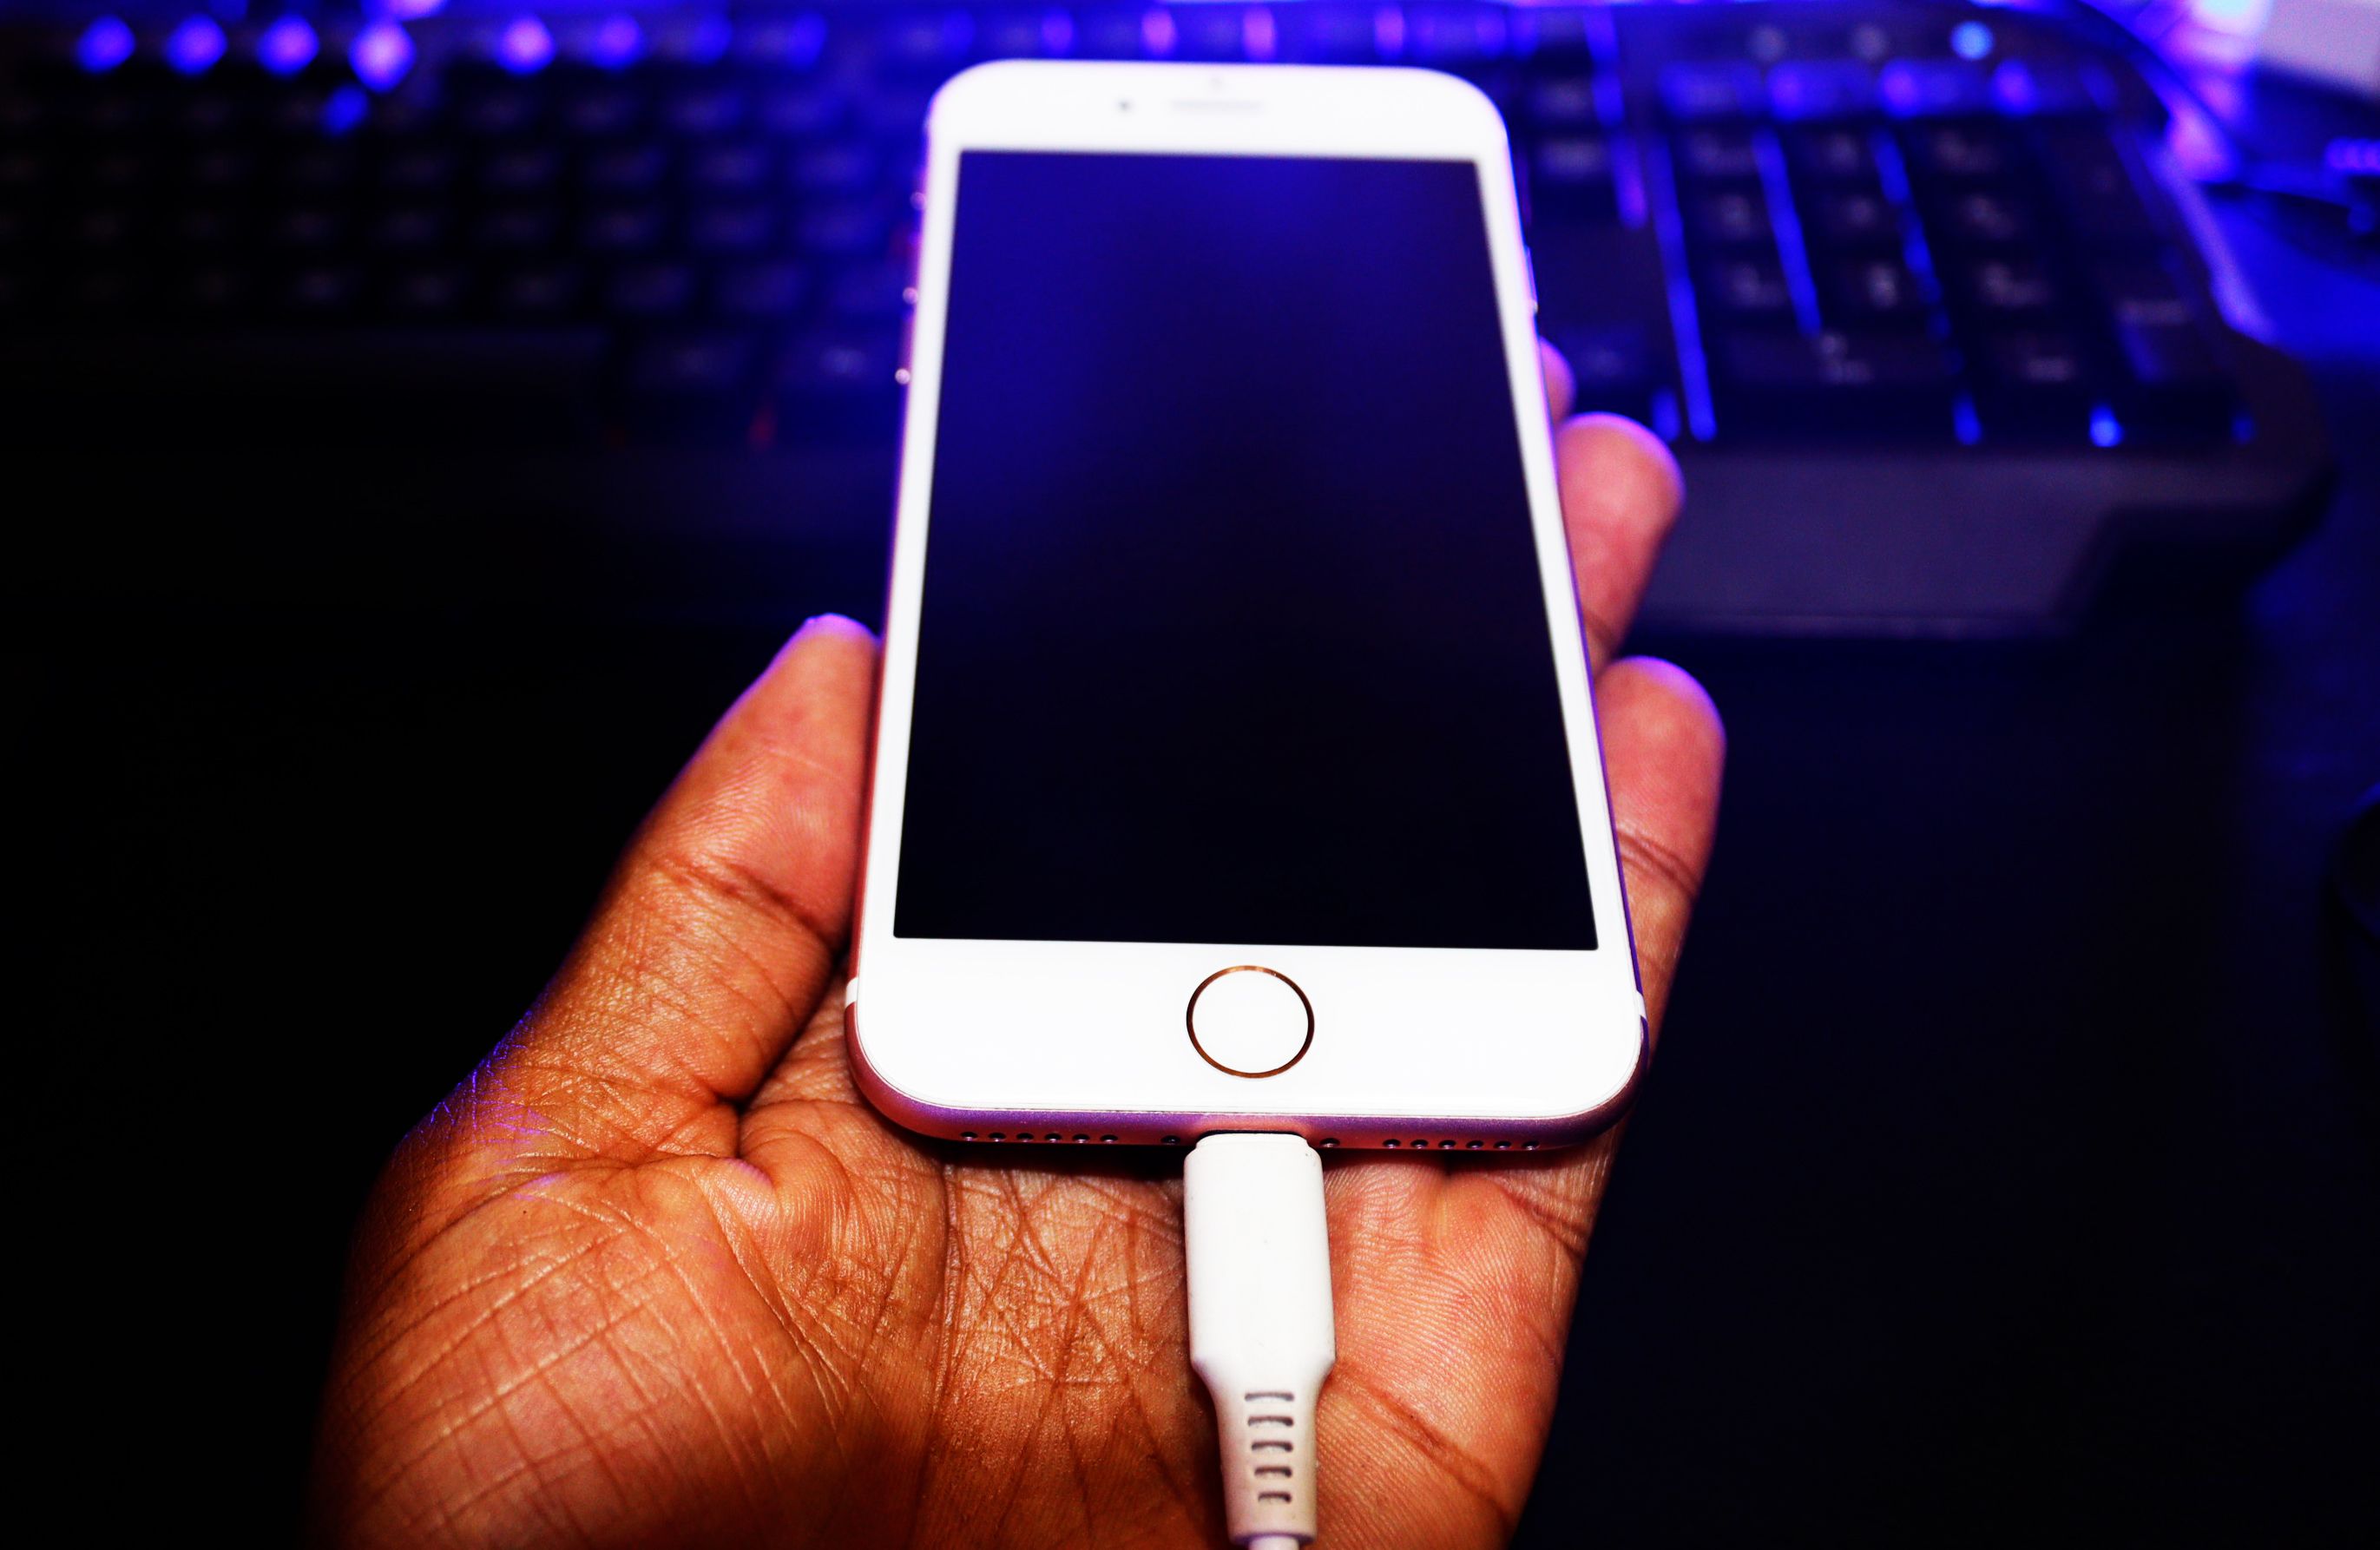
A broken charging port can be a real headache. Depending on the severity of the damage, performing a charging port repair may involve taking your device apart yourself and trying to fix it even before taking it to a professional. We will explain the steps you need to follow to fix a broken charger port. But before that, it’s essential to look at why the charging port of a phone, tablet, or laptop might stop working.
Why Is My Charger Port Not Working?
Determining the cause of damage will help determine your best course of action. A simple repair kit may be all you need if the damage is limited to an external coating or electrical contact. However, if the damage is on the physical structure of the charger port, you need more extensive repairs. Many things can cause a broken charger port, such as:
- Water damage: If your phone gets wet, the water can cause corrosion and damage to the charging port.
- Dust and debris: Over time, dust and debris can build up and eventually cause damage.
- Wear and tear: Using your phone's charging port regularly can eventually lead to wear and tear.
- Loose connection: If you don’t connect the charging port to the charger securely, it can eventually become damaged.
- Improper charging: Using an incompatible charger can also cause damage.
What You Need to Do a Charger Port Repair
You will need a few essential tools to fix your phone charger port not working. These include:
- Screwdriver: For removing any screws holding the charger port in place.
- Soldering gun: To remove the solders holding the charging port.
- A can of compressed air: For blowing away any dirt or debris.
- A toothbrush: For cleaning purposes.
- An extra charger: For charging your device, see if the charger has issues or the charging port.
- Additional screws: You can use them if the ones on your device get misplaced.
Once you have the above tools, you can follow the steps below to learn how to fix a charging port not working.
Step 1: Try a Different Charger Cable
It's essential to try changing your charger cable, as sometimes the issue is with the charger not charging your phone and, not the port. There may be something wrong with how the cable conducts electricity, or it can no longer transfer data reliably between your device and the power source. See our guide on how to fix a broken charger cable.
Whatever the case, trying out a different charger cable can help you get to the bottom of things and get back to using your phone, tablet, or laptop without the hassle. If changing the charger doesn't fix the issue, it's time to go to the next step.
Step 2: Clean the Charging Port
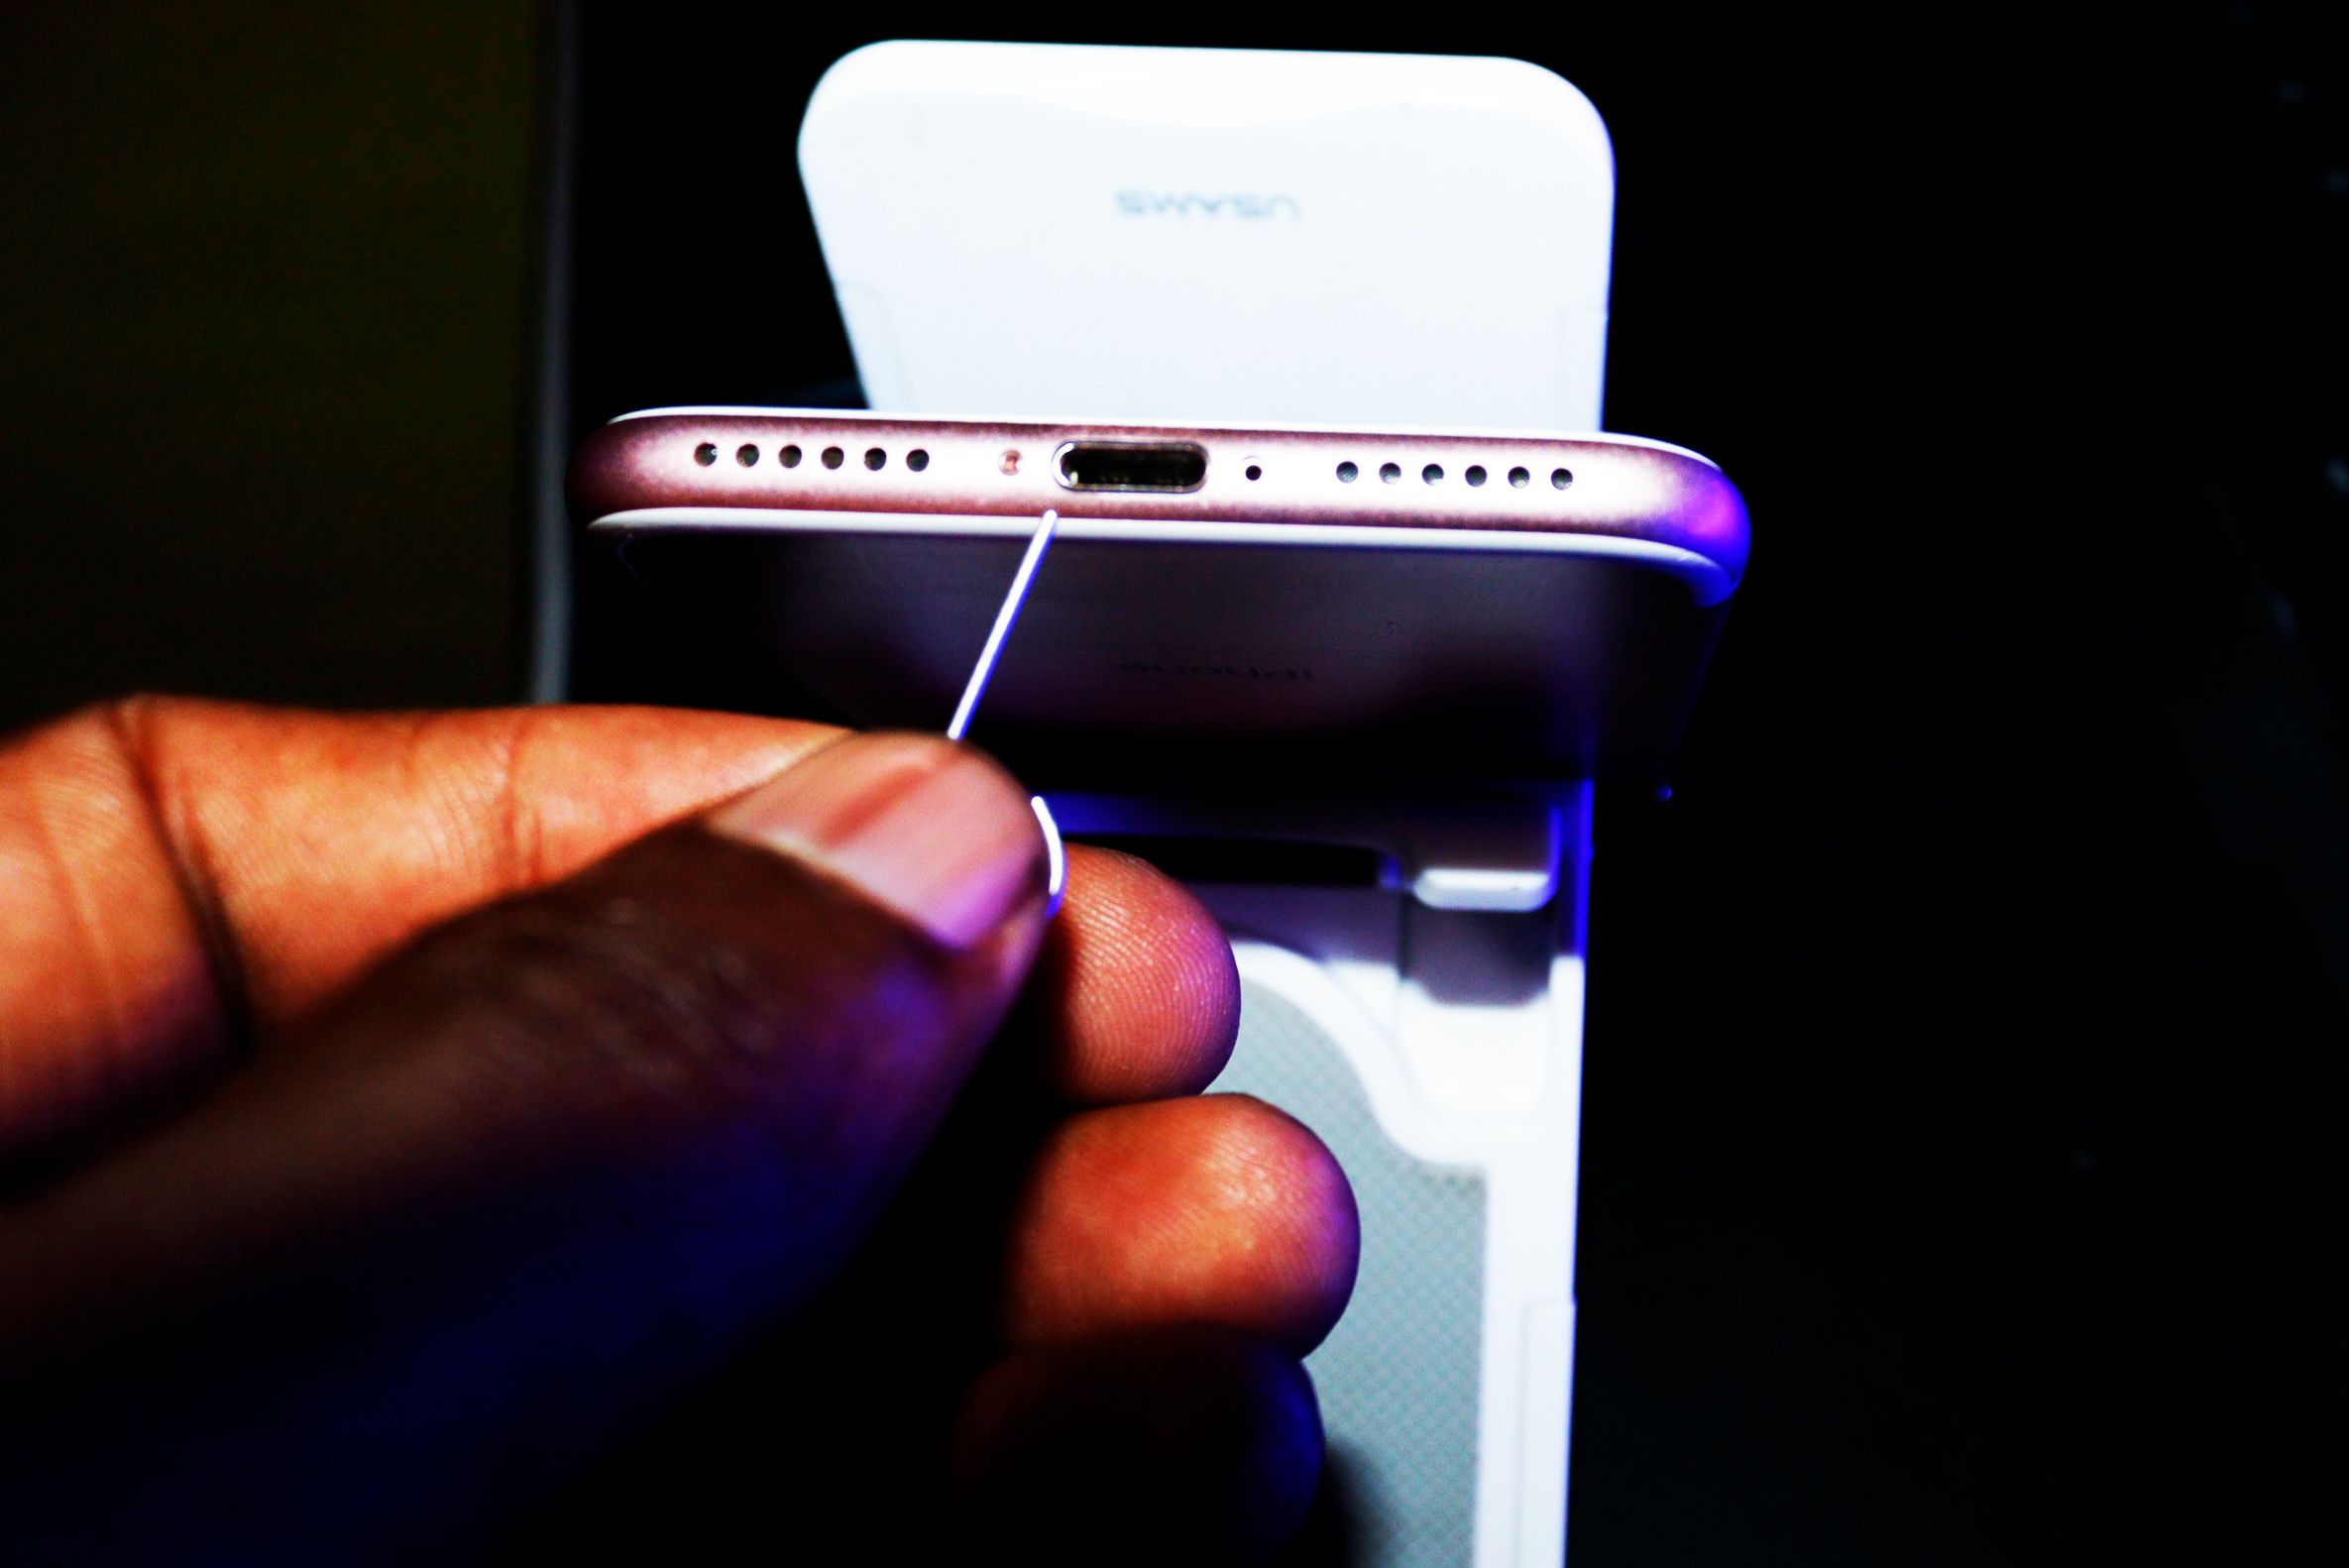
Start by checking for any debris or buildup that could block the connection between the charging port and plug, as this can interfere with charging. Then spray some compressed air to blow away any built-up dust and grime. You can also use a sharp object like tweezers or a needle to clear any stubborn debris stacked on it.
Be careful not to use a toothpick to remove the debris as it can break inside the port and cause more damage.
If it doesn't work even after using a different charger and doing the cleaning, the problem is the charger port itself, and you'll need to open the device and access it.
Step 3. Opening the Device
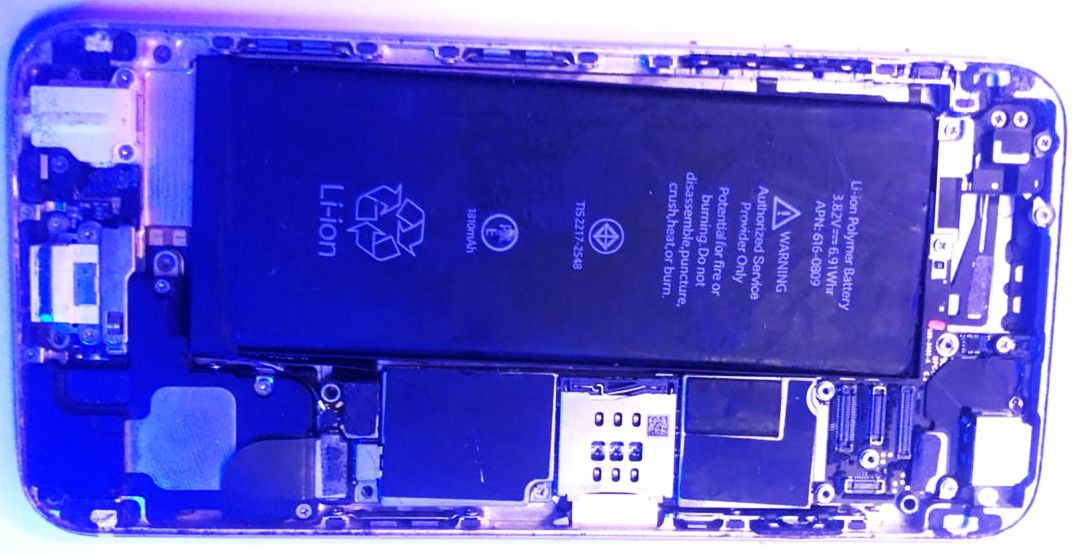
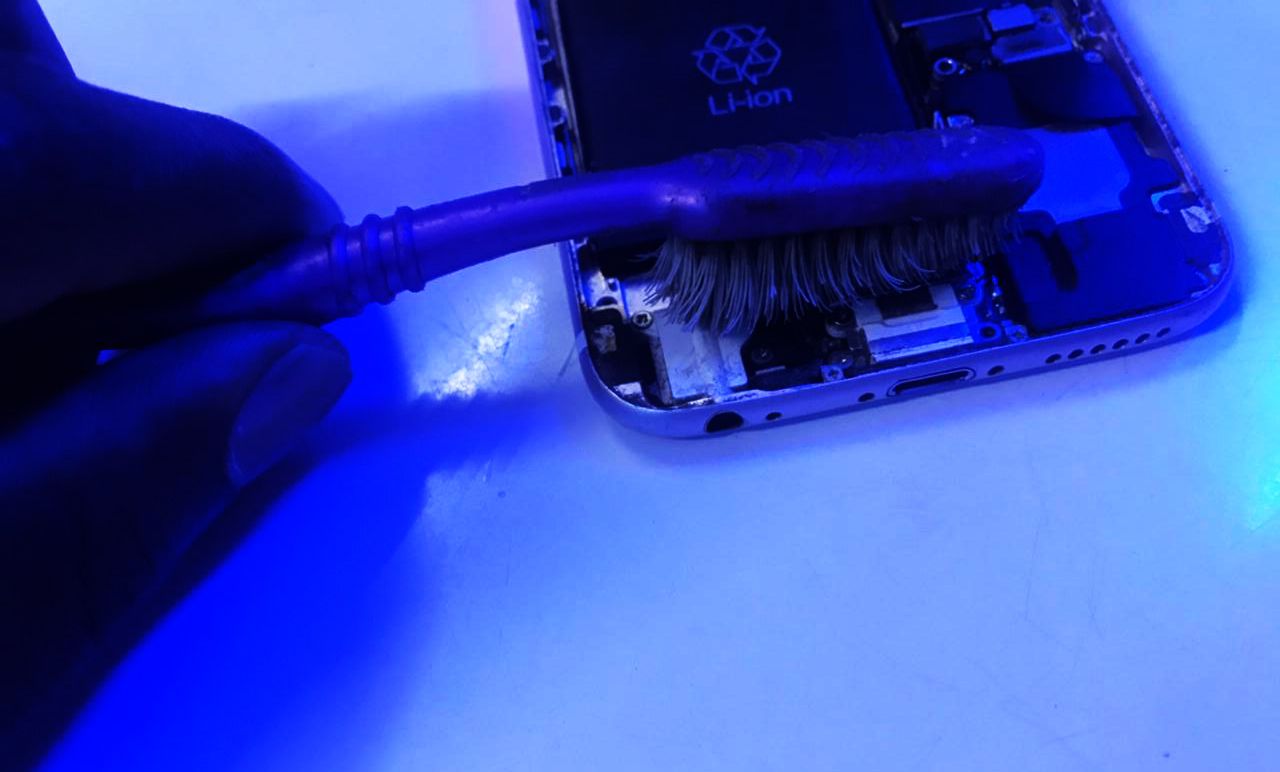
If it's the phone charger port that is not working, start by removing the back cover to expose the inner area of your phone, as shown above (with an Android device). Once you access it, you can use a toothbrush to clean any debris on the charging port.
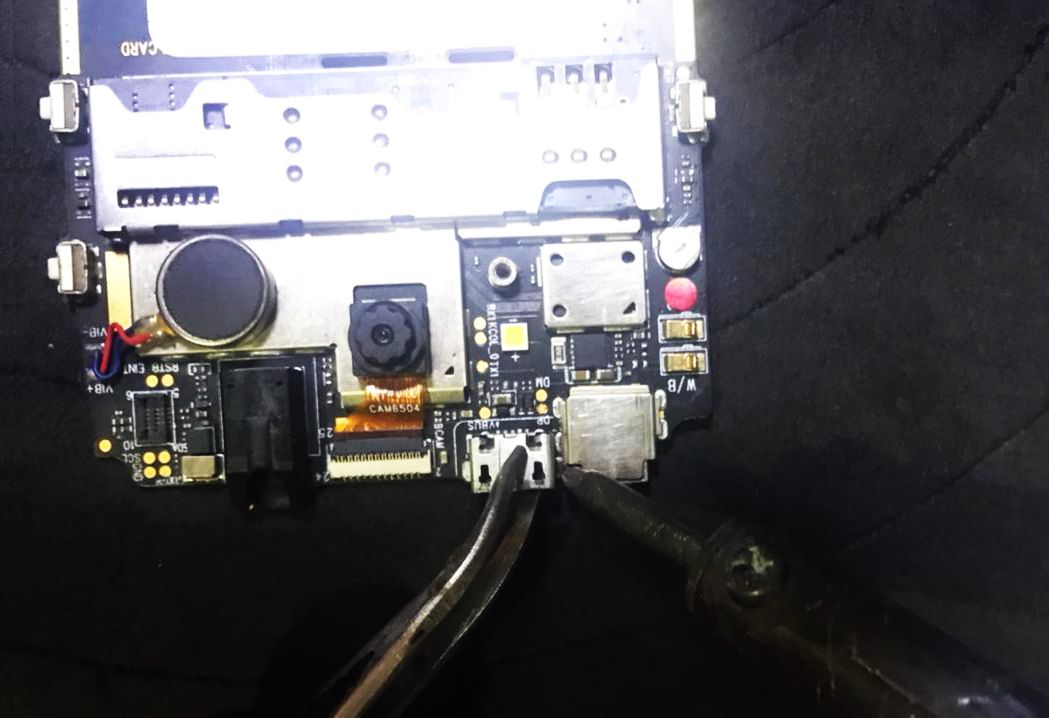
Next, see if all the wires are in their correct position. If everything is okay, the problem is with the charger port itself, and you must remove and replace it. To do this, carefully disconnect any wires or cables attached to the charger port. Use a soldering gun (or iron) to remove the old solder joints on the four corners of the charging port, as shown below.
You need to do it with great precision and care to avoid damaging other parts of your phone. To do it well, place the gun's tip over each of the original solder joints and hold it for several seconds until the solder starts to flow outward. Then, use the tips of pliers or a similar tool to pry up the solder. You can then gently remove your charging port, ready to replace it.
The above step should work for a tablet too. But if it's the charging port of a laptop, you can check out the next step.
Step 4: Accessing and Changing the Charger Port of a Laptop
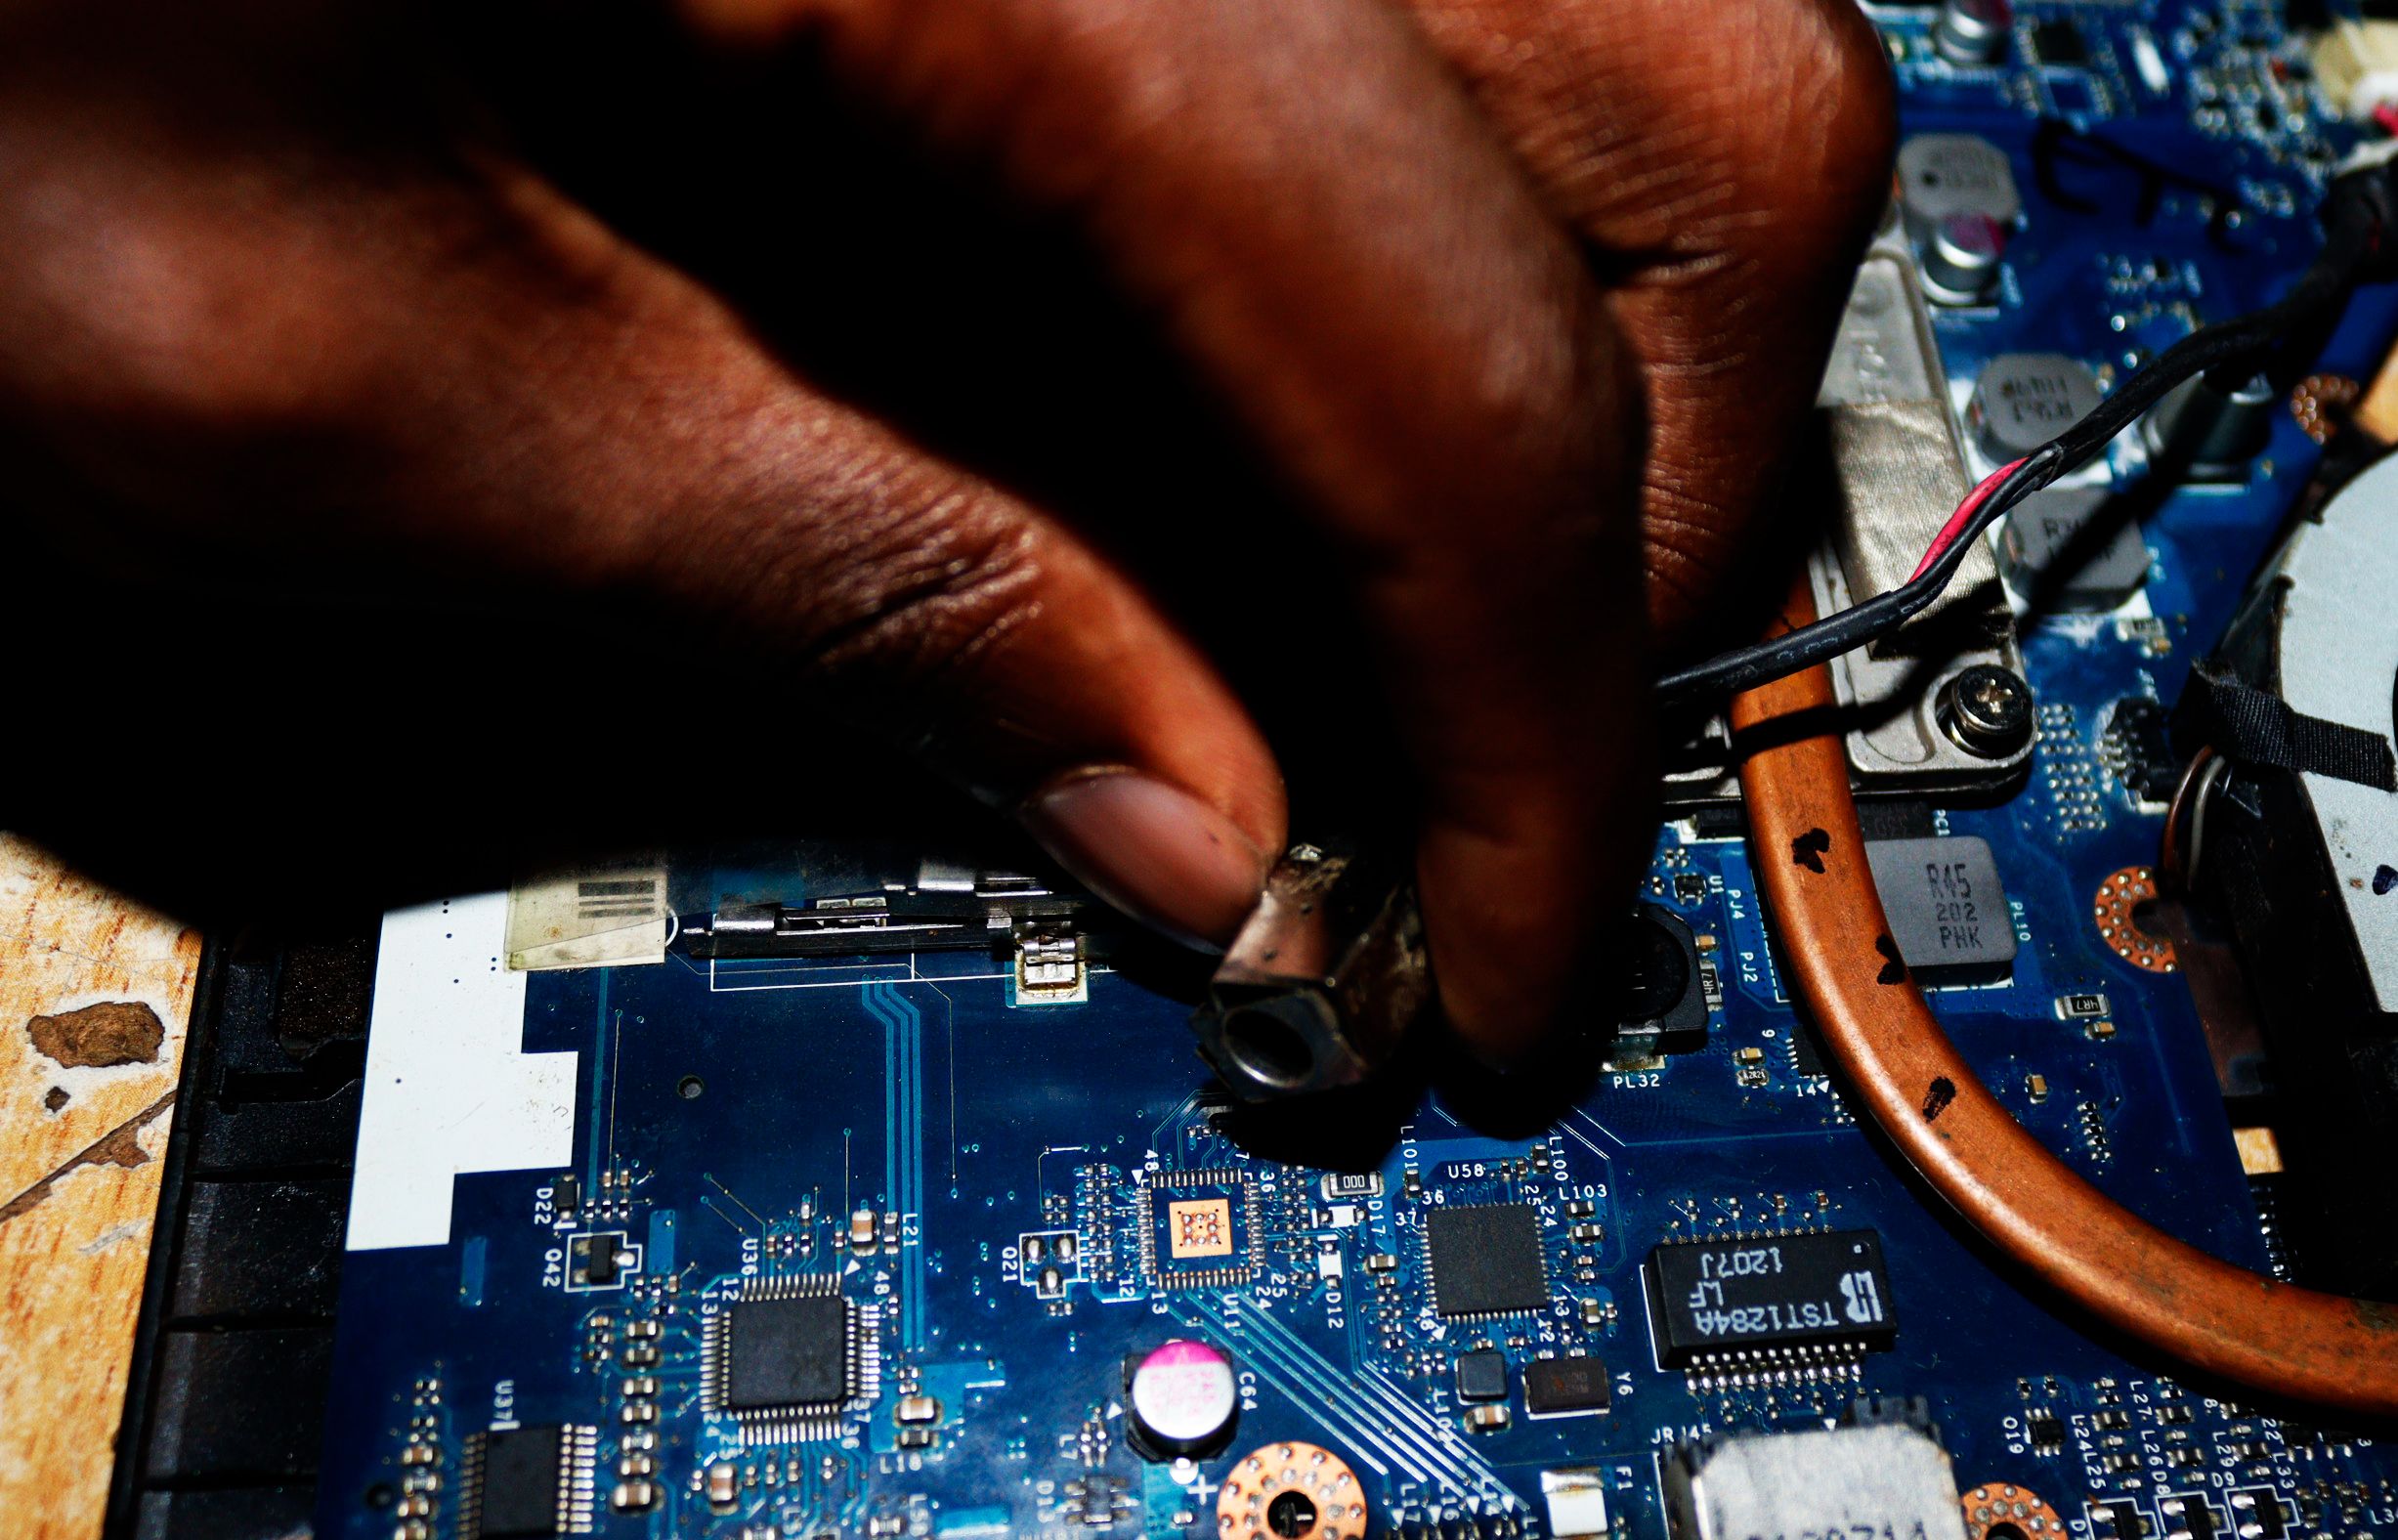
Accessing the charger port on a laptop can be somewhat of a challenge; however, changing it is easier than on a phone. First, you must ensure you turn off your computer before making any changes. Locate the screws that hold the outer casing together and remove them. Be sure to note exactly where each screw came from so you can quickly put it back later when you finish your repair work.
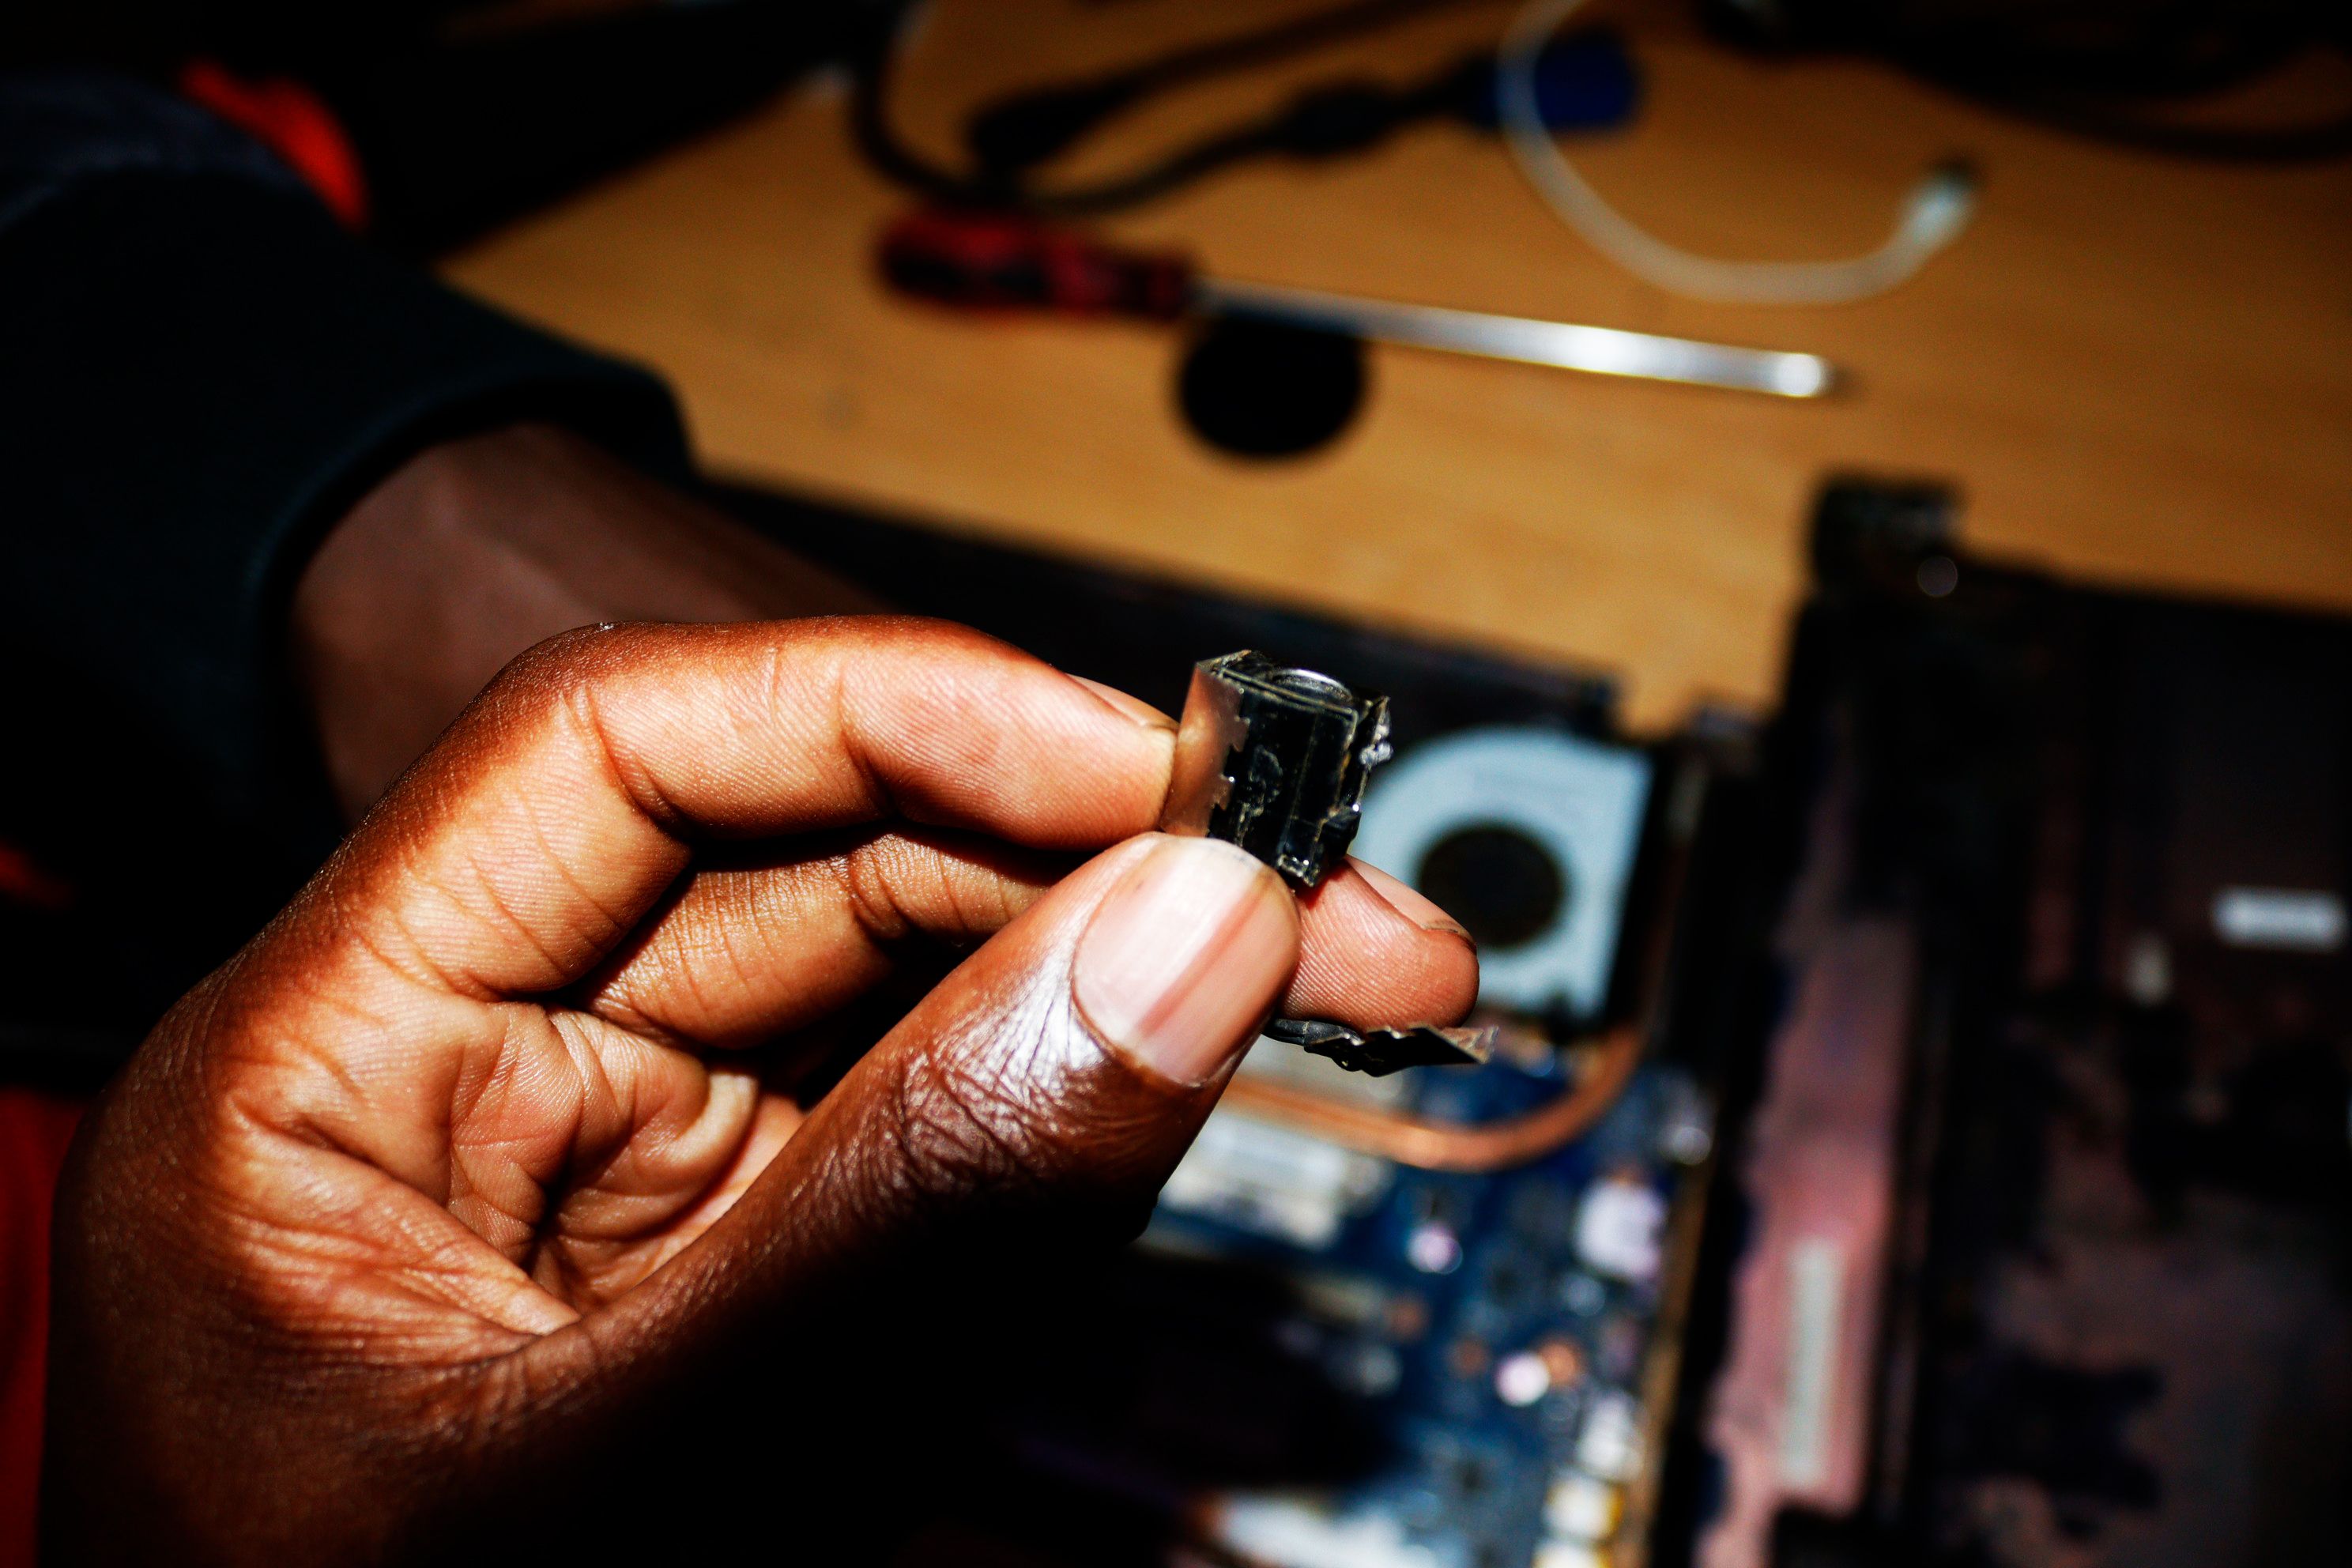
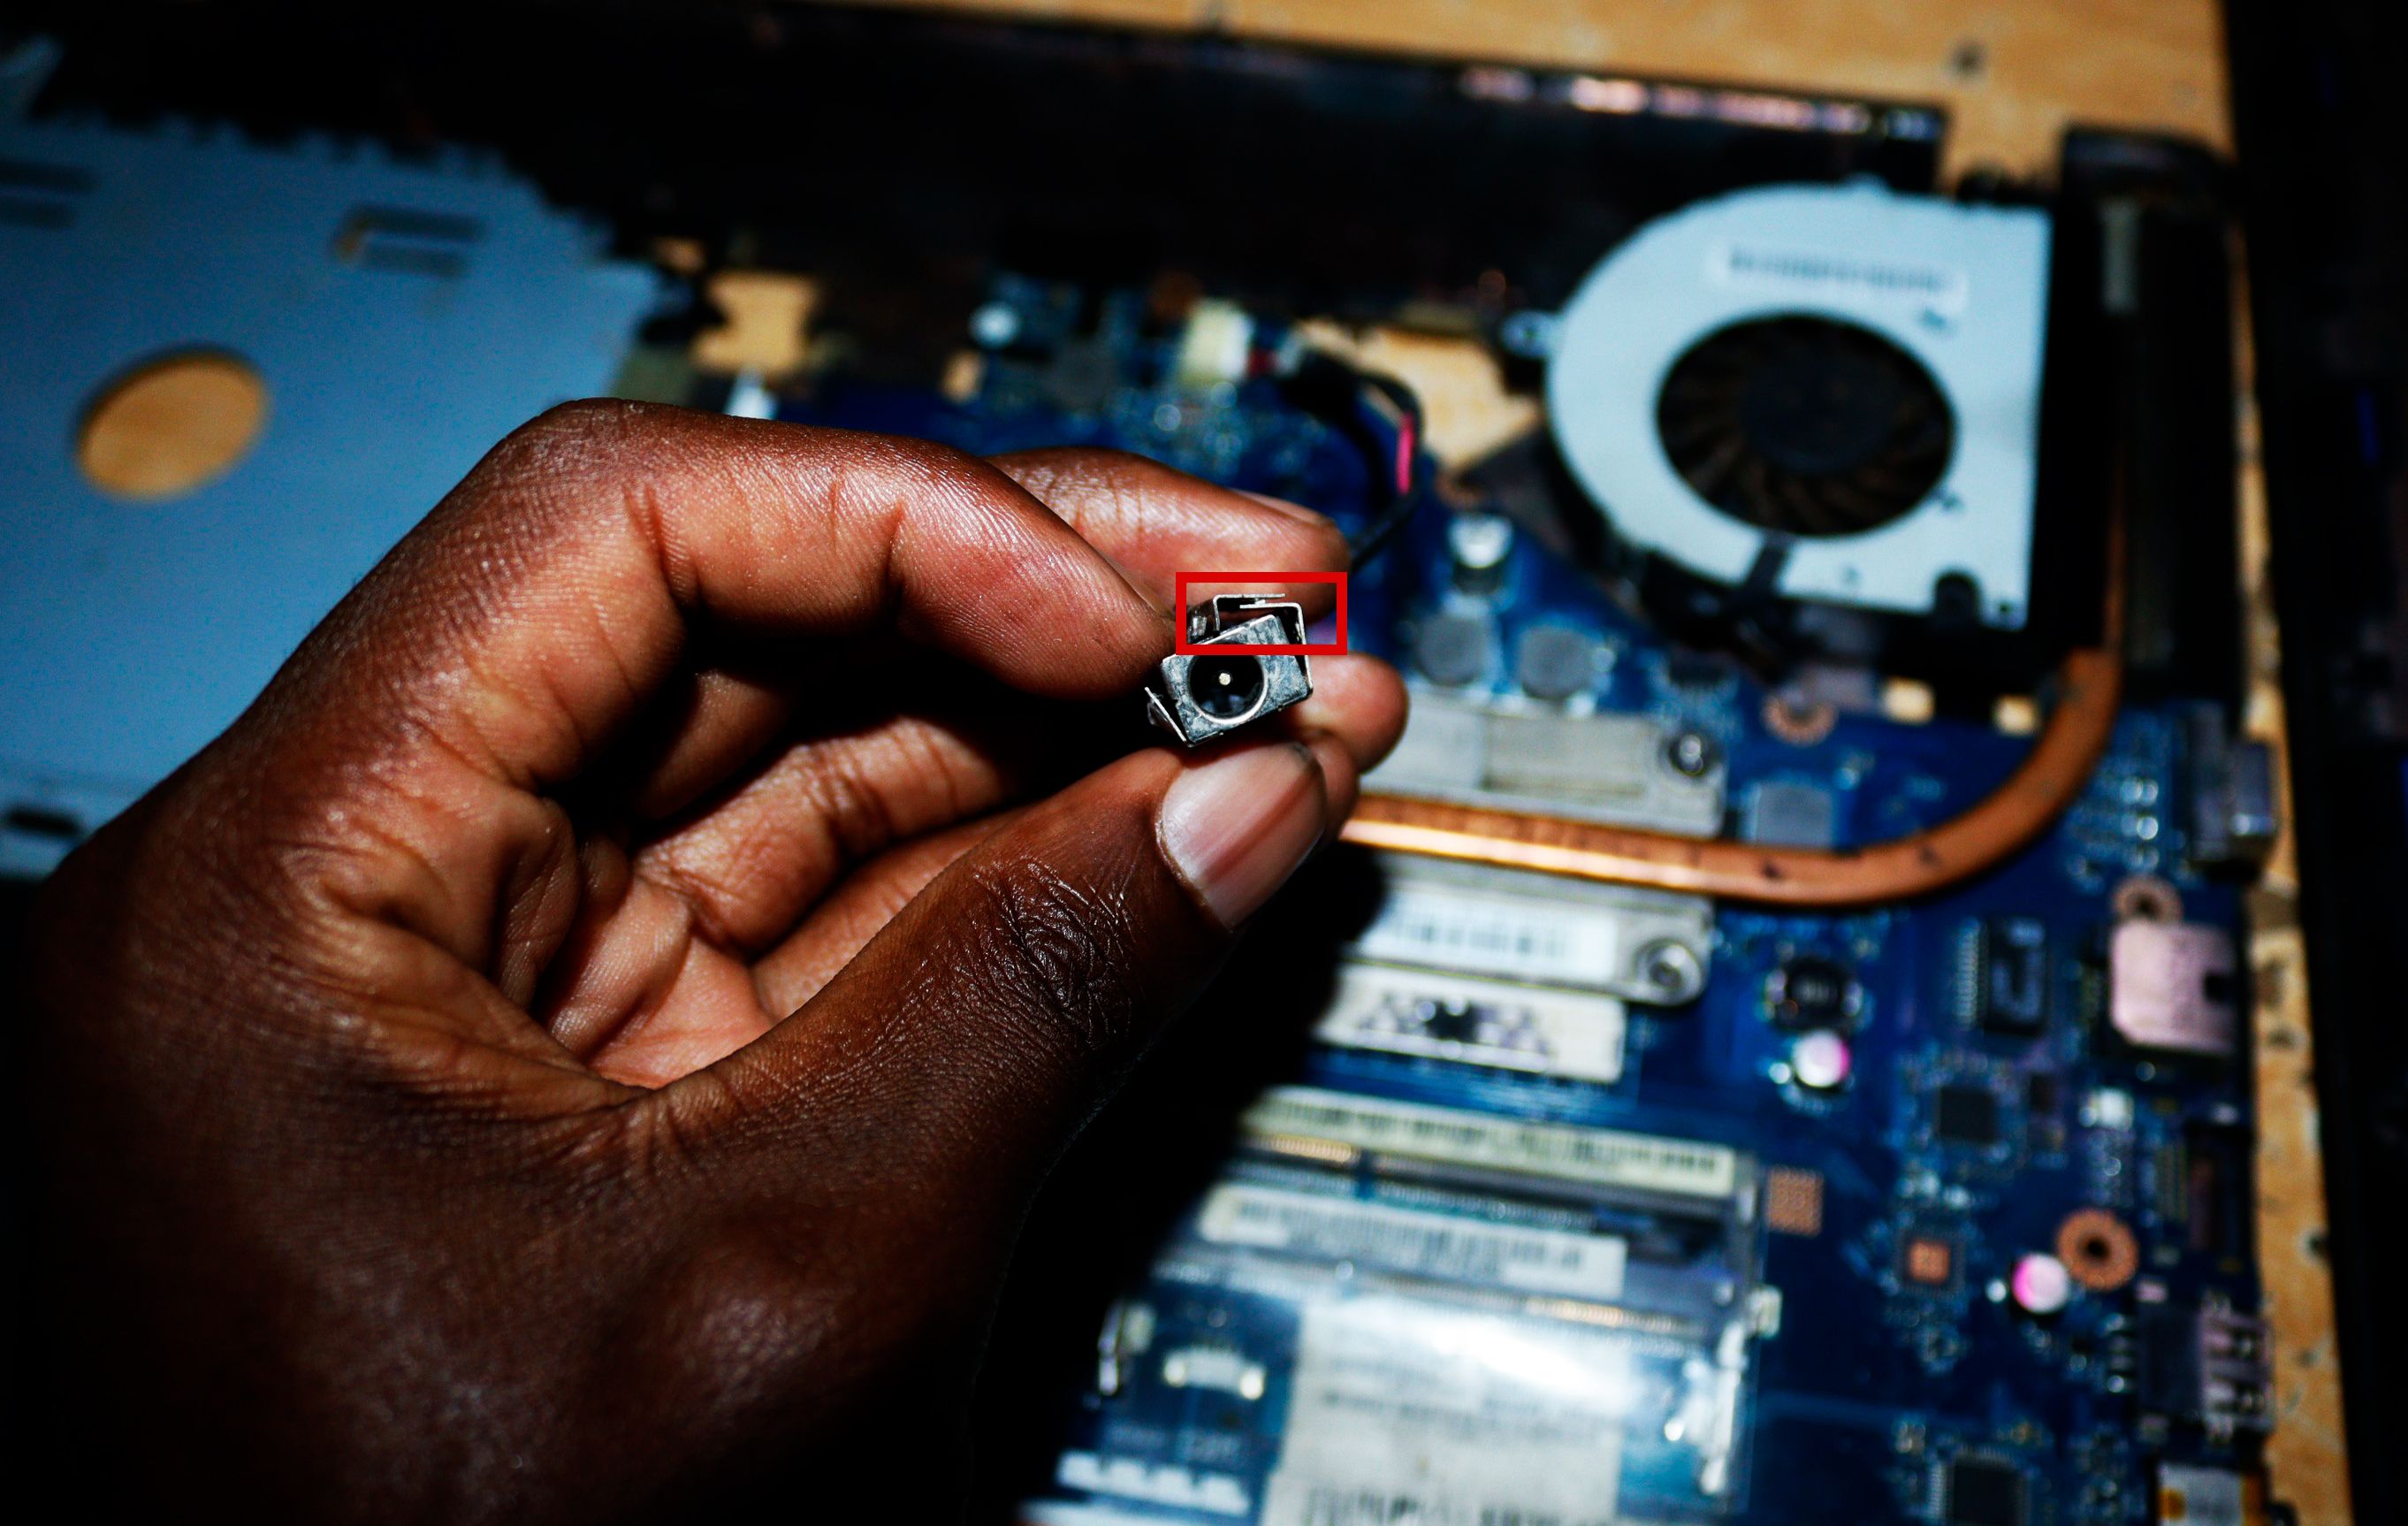
Next, look for the electronic components near the area where the charger port connects to your laptop and disconnect them carefully. After removing these components, proceed to detach the charging port from your computer, being careful not to break any wires or other fragile parts in the process. Below is a picture of a removed laptop charging port.
Step 5: Try to Fix the Charging Port Before Replacing
After accessing it, you can try checking to see if there is any section that seems broken and try fixing it. For example, as shown below, you can try to tighten the metal plates around the charging port.
Also, if you see some abnormalities, like the middle part being bent or damaged, you can try correcting it. Once you have tried the above, you can plug the power back in and see if there are signs to show that it’s charging. If there are not, you can then proceed with the replacement.
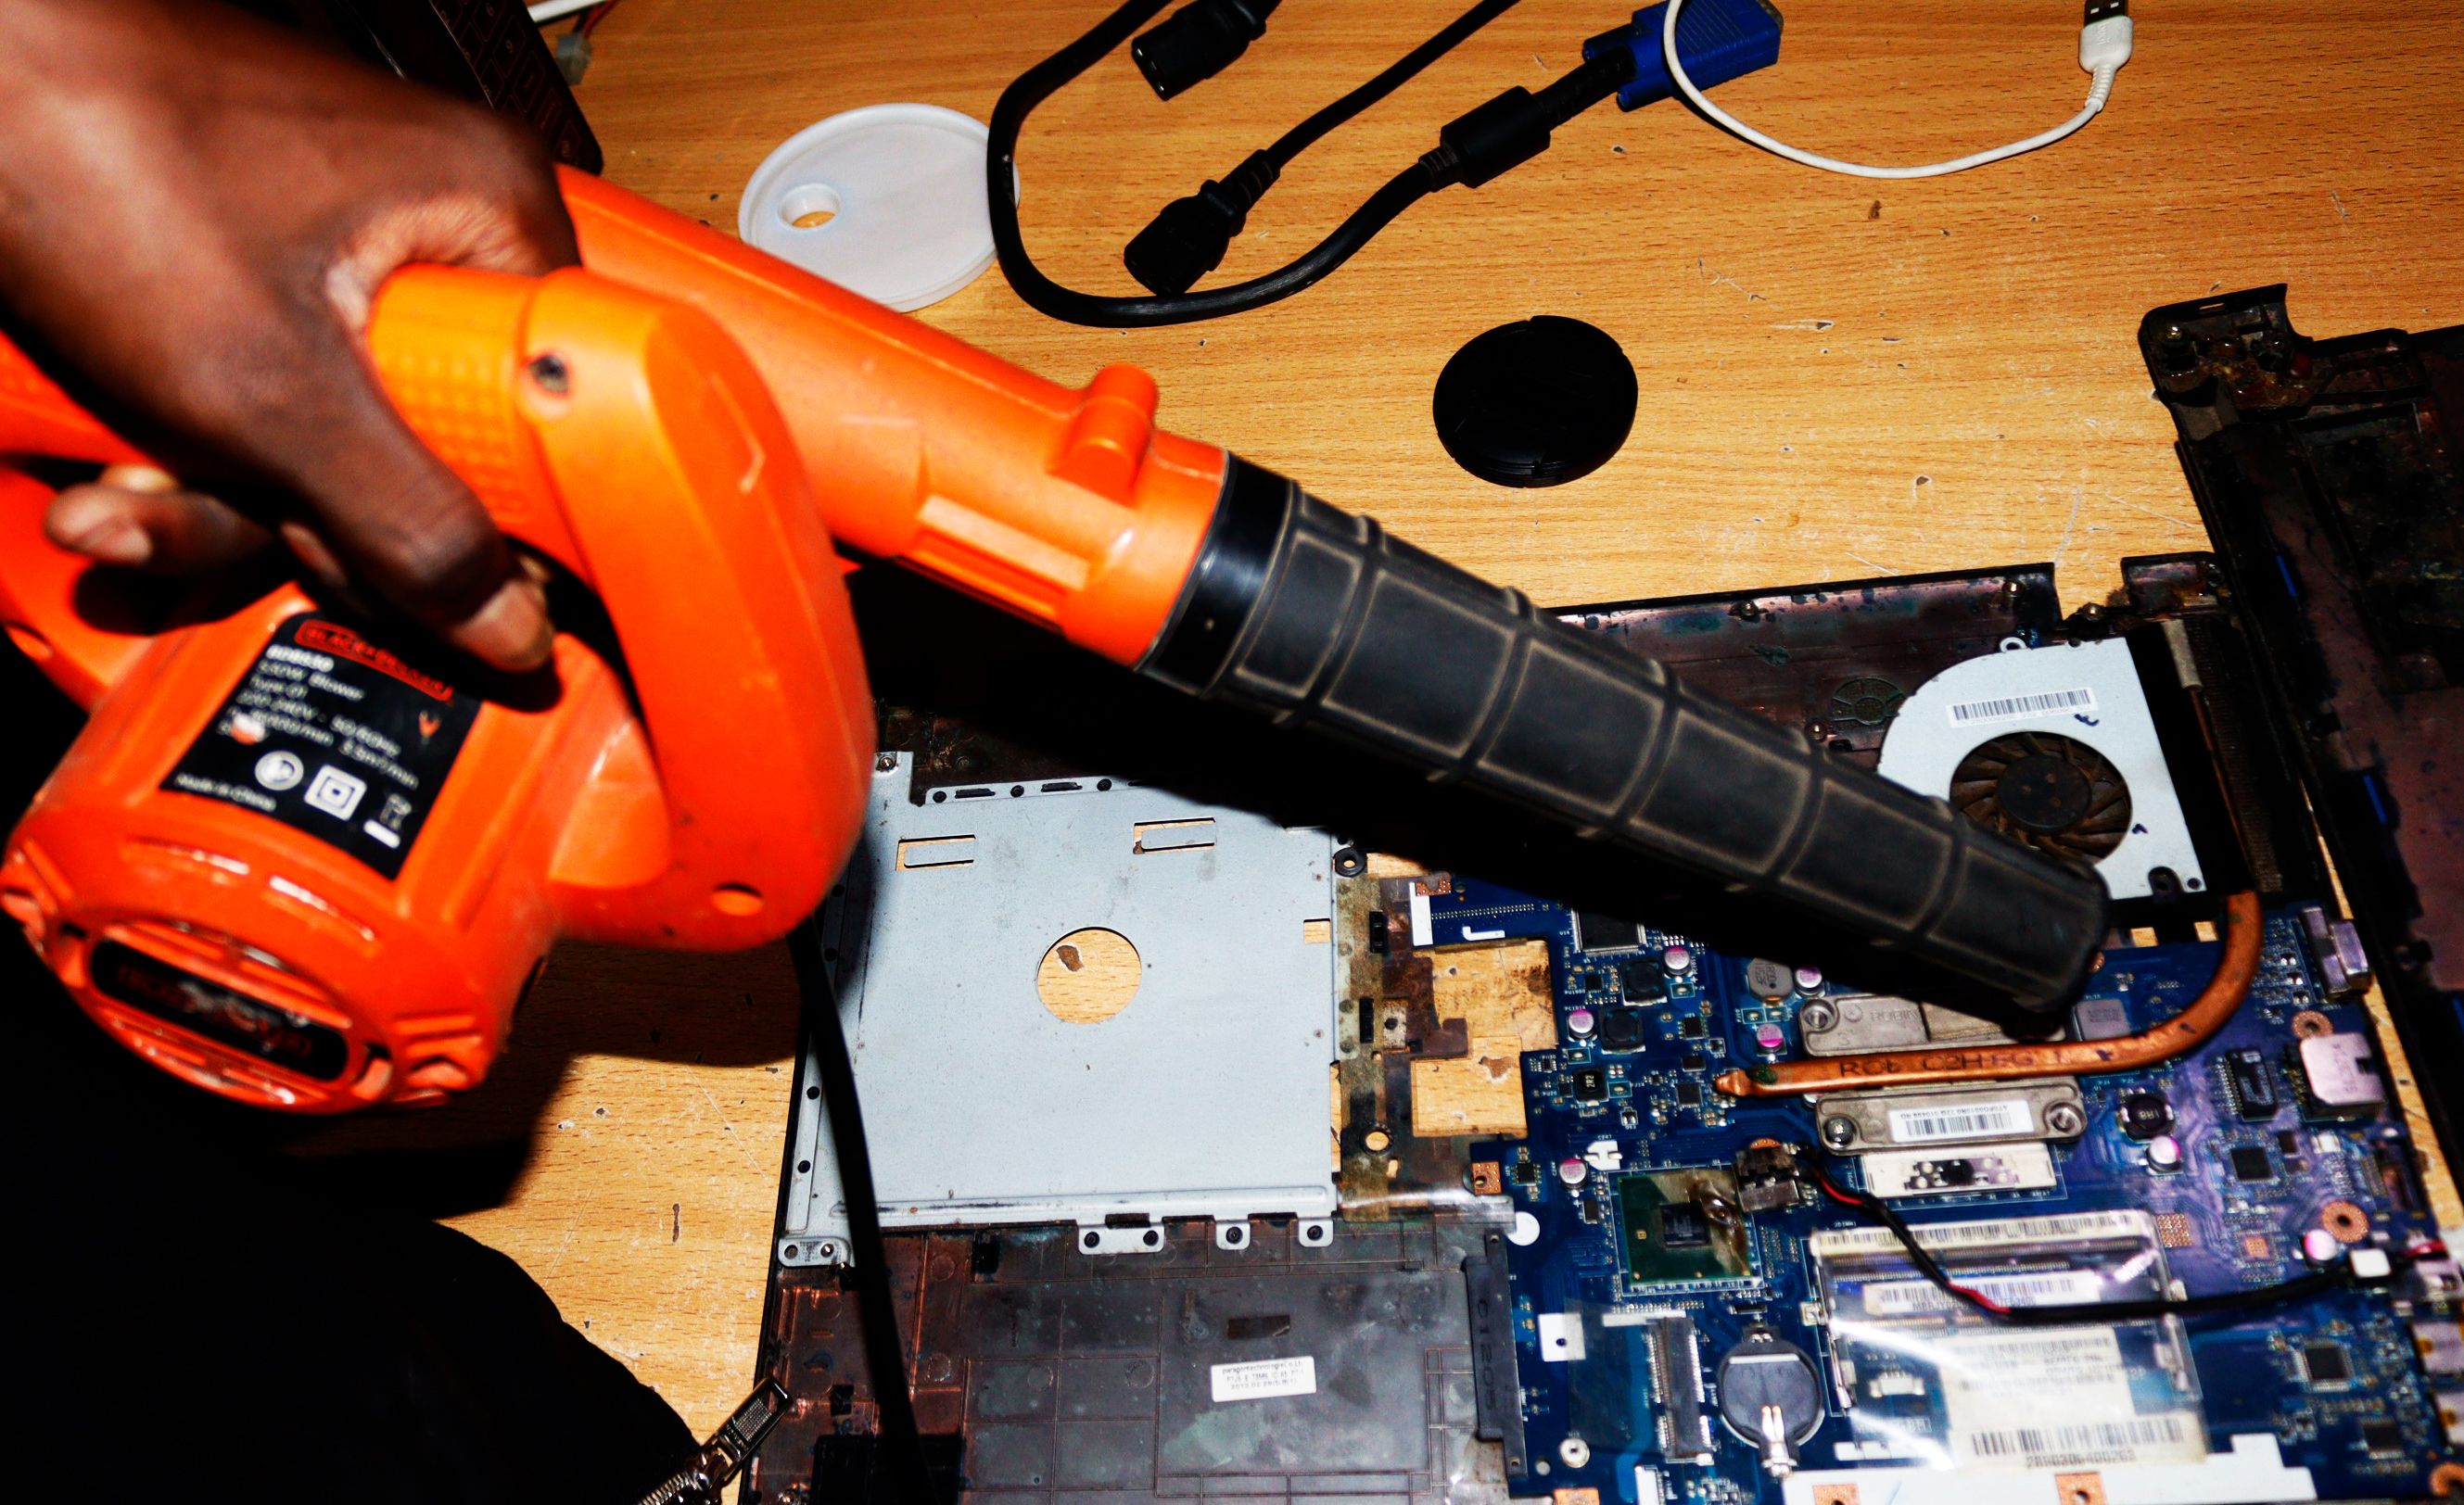
After the replacement, it's important to clean your computer using a can of compressed air, as shown below, to ensure that no debris remains inside your laptop.
Then, carefully reconnect any wires or cables attached to the old charger port, use the screwdriver to tighten the screws, and close your laptop.
If the above steps don't work, you should take your device to a repair shop so that a professional can help you. But if the damage is severe, it may be time for an upgrade.
Tips for Avoiding a Broken Charger Port
Here are some tips on how to avoid breaking your charger port in the first place.
- It's best to avoid using your phone while charging, as it can stress the charger port and cause it to break.
- Avoid using a damaged or frayed charger cord, as it can damage the port.
- Be careful when inserting or removing the charger from the port. Also, don’t force it in or out, as this can break the connectors inside the port.
- Keep the port clean and free of debris. Dust and dirt can build up over time and cause problems with charging.
- Don't bend or twist the cord too much, as this can damage it.
- Avoid using third-party chargers if possible. These may not be compatible with your phone and could damage the port. If you must use a third-party charger, ensure it's from a reputable source.
Use a Wireless Charger
If the damage is beyond repair and you don’t have the money to buy a new device, you should consider using a wireless charger. A wireless charger utilizes electromagnetic induction technology, allowing you to place your phone directly on top of an induction pad without having to plug in any cables. Not only does this eliminate the hassle and mess of wires, but it also offers faster charging speeds so that you don't have to spend as much time waiting for your phone to power up.
Charger Port Fix: Success
You now know how to fix a charging port on Android and iOS devices, and the steps you can take to diagnose what's wrong even before you think of taking it to a professional. The above methods should work on most phones, tablets, and laptops. Once your charger port is fixed, you can enjoy using your device again.

