Unless you are already an experienced video editor, the final steps before pressing Export could be the most stressful part of your project.
Knowing how to export a video from Premiere Pro is as important as knowing how to edit the video. How long the export process usually takes depends on what settings you are using, the video's length, and your PC or laptop's performance.
If you've just started using Adobe Premiere Pro, our guide will get you through the export process without any headaches.
1. Check Your Project
If this is a big project and it underwent a lot of editing, you probably can't wait to click Export and upload it or send it to your client. However, there's one more thing you have to do before exporting the video.
Play it at least twice and look for any mistakes that might have escaped your attention when editing. If you want to see the video fullscreen, use the Ctrl + ` keyboard shortcut on Windows or Command + ` on Mac.
Now that you are confident there are no mistakes in your project, let's take a closer look at Premiere Pro's export settings.
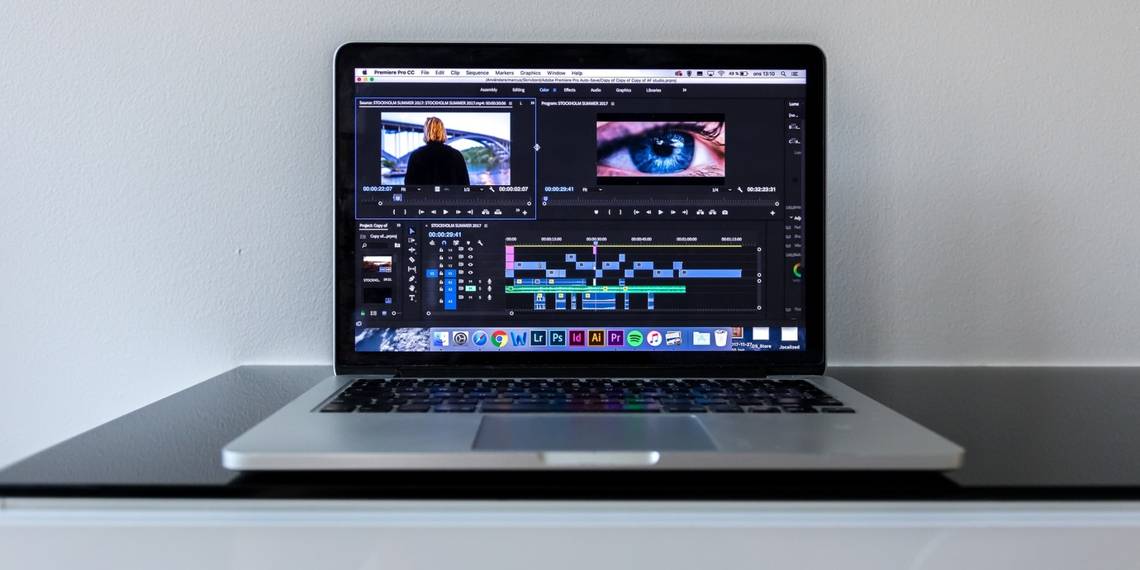
To access the Export menu, use the Ctrl + M keyboard shortcut on Windows or Command + M on Mac. Also, you can select File, then head to Export > Media.

Note: Before heading to Export settings, make sure you have selected the sequence you want to export.
2. Select Sequence Settings
When choosing Sequence settings for your video, you need to keep in mind which platforms you want to upload it to. You'll need different settings if you want to upload it to social media sites, if you have to send a smaller size video to your client or co-worker for approval, or if you need a high-resolution video for a presentation.
If you select Match Sequence Settings, Premiere Pro will match the export settings to your sequence settings. We don't recommend using this option, as the destination codec might be different from the editing or intermediate codec.
If you plan on uploading the video to Youtube, Twitter, or Vimeo, select one of the Preset options and Premiere Pro will export your video using the best settings for your choice.

Note: If you want to save the export settings, click the Save Preset icon next to Presets. You can also name the preset to easily identify it if you work on multiple projects that require different settings.
3. Using Custom Settings
If you want more control over the settings that Premiere Pro uses for your export, you can customize a few settings for your project.
Extend the Basic Video Settings menu. If your PC or laptop has enough resources, check Render at Maximum Depth. It will take longer to export the video, but you will get better quality. Remember, you can always downgrade the quality of your video but can't upgrade it.
If you select two pass for Bitrate Encoding, Premiere Pro will go through the video twice to check for corrupted frames.
For Target Bitrate, keep in mind that choosing a bitrate value is a bit difficult because you need to find a balance between quality and functionality. As you increase the bitrate value, the quality and size of the video will increase as well.
If you need to send the video or upload it on social media, you can opt for a lower bitrate. As a guideline, for a 720p video, the Target Bitrate should be five and for a 4K UHD Video, it should be 45.

4. Export the Video
When exporting the video, there are two options. You can export it in Premiere Pro or in Media Encoder. If you select Export, Premiere Pro will export your video and you will not be able to use it until it finishes.
If you select Queue, it sends your sequence to Media Encoder and adds it to a queue. This allows you to export multiple sequences at the same time. When you want to export them, click the green Play button.
This option allows you to keep using Premiere Pro while Media Encoder exports your videos. If you haven't installed Media Encoder, Premiere Pro will display a warning message prompting you to do so.

At the bottom of the Export window, Premiere Pro will display the Estimated File Size depending on the settings you are currently using. Keep this in mind if you need to export under a specific size, especially if you are exporting for a client. If you are rendering a video using the highest quality settings, check if their devices can actually handle it.
Learn How to Export Your Premiere Pro Videos Stress-Free
In this article, we walked you through the steps you should follow before exporting a video from Premiere Pro. Since there are a lot of settings that you can choose from, you need to take into account what platform you are exporting for, file size, and compatibility.