Adobe Lightroom is one of the most well-known photo editing platforms on the market. This solution is popular not only because it has so many useful features, but also because of its user-friendliness.
When photographers are looking to take their craft a little more seriously, the first thing many will do is use editing software. But even if you're just a casual picture-taker, Lightroom offers plenty of ways to wow your friends.
In this guide, you will discover several easy ways to improve your Lightroom editing skills and enhance your photos. These tips work for both Lightroom Classic and Lightroom Creative Cloud.
1. Use Masking
If you sharpen your photo by default, you will add detail to the entire picture—even the areas you don't want. This can leave you with a lot of grain in undesirable places, like in the sky and water.
You also run the risk of making your photo look more like a drawing than something you took with your camera. Fortunately, there is an easy solution.
In the Lightroom app, scroll down to Detail. When you're there, go to Sharpening > Masking.

Scroll the slider until the parts of the image you want to sharpen are selected. To see what you're masking, press the Alt key on your keyboard at the same time.
Once you've masked the area you want, scroll the sharpening slider as much or as little as you need.
2. Use Camera Profiles Instead of the Default Adobe Ones
If you upload an image in RAW, Adobe will add one of its program profiles by default. And while these might make your picture look better in some cases, you're often better off choosing a camera-specific one.
When you use a camera profile, the image will become easier to edit based on what you took with your device.
To change the profile of your photo, go to Profiles > Camera Matching. You can then choose from Standard, Neutral, Landscape, and other looks.

Remember, you cannot change the image profile in as much depth if you only take JPEGs. So, before going out to grab some shots, set your camera to either RAW or JPEG + RAW.
3. Brush Over Parts of Your Picture
Have you ever upped the clarity, saturation, or detail of your whole picture, expecting a masterpiece, but instead get an image that looks like it was taken in a microwave? If so, you might benefit from tweaking only parts of your picture instead.
In Lightroom, you can access a feature called Brush. You can use this to "brush" over parts of your picture while leaving the rest of it alone.
To use this tool, go to the Brush icon on the right-hand side of your screen. You can make your brush bigger or smaller, depending on how much of the picture you want to edit.

Before you start brushing, change the image characteristics you want to tweak. For example, you can bump the clarity slider up if you're looking to make one part of the picture clearer.
After changing these features, brush over the areas you want to edit. Press O on your keyboard to see where you've brushed over.
If you have gone over too much in a particular area, hold the Minus (-) key and brush over those parts to erase your edits. Knowing the keyboard shortcuts for Adobe Lightroom comes in handy for these situations, so don't forget to brush up on them!
4. Defringe Your Photos
Sometimes, your camera will take photos where the edges have unnatural colors. You will especially notice these when taking pictures in harsh sunlight. They mainly come in shades of green and purple.
To defringe your photos, scroll down to Defringe. You can choose to get rid of either purple or green fringes.

Use Amount to decide how much defringe you'd like to add. Slide the color bar until you're happy with the results.
5. Use Geometry to Straighten Your Photos
No matter how hard you try, holding a camera straight is difficult unless you have a tripod. But thanks to the magic of editing software, straightening your pictures is easy.
In Lightroom, you can automatically straighten your photos by going to the Crop section. However, there's a more accurate way to achieve the same result.
On the right-hand tab, pick the top option. Then, scroll down to Geometry. When you're here, go to Upright > Level.

You can also draw along straight lines to make the photo as straight as possible.
6. Adjust the Size of Your Sharpening Area
You now know about masking, but did you know you can also sharpen specific areas of your photo?
To pick the area within the masked photo you want to sharpen, go to Sharpening, hold the Alt key, and head to Radius. Adjusting this slider allows you to make your sharpening area bigger or smaller.

After this, go up to the Sharpening bar. Similarly, hold the Alt key and move the slider to the right. This will make it easy for you to sharpen a specific area of your photo, rather than the entire image.
7. Use the Color Point Curves
If your image's color doesn't look right even after adjusting the white balance, you might want to check out the color point curves in Lightroom. You can use these to adjust certain colors in your image.
You will find three different color curve panels in the app: red, blue, and green.

To get to these color curves, scroll down to Point Curve. Then, click on the color you want to change. You can then play around with the colors the same way you would on the standard Point Curve tab.
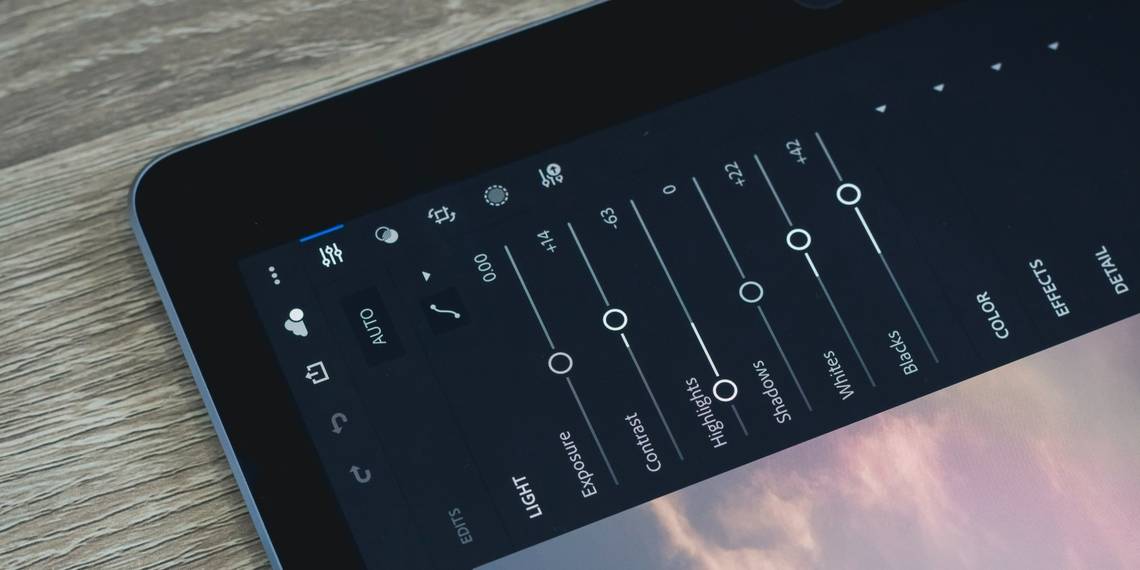
8. Type a Number for Each Slider and Tweak Accordingly
Often, new photographers will get excited by the number of editing options available to them. When they open Lightroom, they will slide each bar way too far in either direction. But instead of enhancing their image, they end up with an overedited mess.
When editing your photos, the key is to make small changes. Chances are, you're already a good photographer, and the picture you've taken just needs a little post-production finetuning.
Instead of freely moving each slider, try changing the number on areas you want to change by +10 or -10. If you think more work is needed, repeat the process.

When you feel like you're close, slowly move each slider left or right until you're happy.
9. Crop Your Photos
Cropping might seem obvious, but many photographers still underuse the feature. It's also important to crop your images depending on where you're going to use them. Otherwise, they will get distorted.
To crop your photos, go to the Crop icon. This is the second-highest from the top. Go to Aspect Ratio to change the size, and drag the corners to get rid of any unwanted objects.

After you've finished cropping, hit the Enter key on your computer, and the changes will come into effect.
10. Use the Histogram
The Lightroom histogram is easy to ignore but essential to know. This small graph will show you where colors and lighting are unequal in your image, allowing you to create a cleaner edit.
As a rule of thumb, a well-edited photo will have a few spikes on the histogram. Sometimes, this is unavoidable. But in general, you should look to make the graph as even as possible.
Depending on the version of Lightroom you use, you can manipulate the histogram more or less directly. In Lightroom Classic, you can click on the histogram and even things out by sliding on certain sections.

In Lightroom Creative Cloud, the histogram is similarly visible in the top right-hand corner—but you must change the sliders yourself for the histogram to move. Here’s the rest of what Adobe Creative Cloud includes.

On both versions of the platform, the histogram is available at the top of your screen above the editing functions.
11. Use the Calibration Sliders

If you use Lightroom Classic, you will find a handy tool at the bottom of the right-hand toolbar. The Calibration sliders let you adjust the tint in your image, while you can also change the hue, saturation, and luminance for three different primary colors: red, blue, and green.
When you use the calibration sliders, you will notice the tone of your photos changing. You can make them look more orange, for example, if you move the blue slider to the left.
The amount you decide to add with the calibration sliders is up to you. But if you're a beginner, keeping things simple is a good idea.
12. Try Color Grading

In late 2020, Adobe introduced the Color Grading wheels to Lightroom. Previously, you could use split toning—but the color wheels give you much more control over how you edit your pictures. You will find different wheels for the mid-tones, highlights, and shadows. On top of that, you can also use a global wheel that impacts the entire photo.
When you use the Color Grading wheels, you can alter the hue, saturation, and luminance for different parts of your image. Depending on where you move the color dot, your photo will begin including more of that particular color. If you're trying to capture more of a moody look, for example, you might want to focus on blues and purples.
If you expand the color wheel, you can type the numbers for hue, saturation, and luminance—which will lead to more controlled edits.
Great Editing Isn't Only for the Pros
Lightroom is an excellent editing software tool for anyone looking to take their photography to the next level. When editing your photos in Lightroom, remember that less is often more.
Along with considering these tips, it's a good idea to step back after editing—and return later to see if they're as well-edited as you thought they were.