You may notice that there are times when a subject's eyes require special attention apart from other edits in your Photoshop workflow. One of the main reasons for this is because the eyes tend to draw us into a portrait, and the more the eyes stand out, the more effective the overall image tends to be.
In this tutorial, we will cover three methods for enhancing eyes in Photoshop. One or more of these techniques can be applied to most images that require eye enhancements. These methods will help you overcome poor lighting, or will simply enhance the beauty that is already there.
Using a Basic Eye Enhancement Technique
Our first method of eye enhancement consists of four adjustment layers on top of the main image. Because this is a non-destructive workflow, it enables us to return to the Photoshop file at any time to make additional adjustments if needed.
We’ll be working just with the right eye for the purpose of this tutorial. But you may apply the same method separately for the left eye for practice.
Normally, Curves layers would be used in place of Exposure adjustments. We’re using Exposure layers today because the exact values can be dialed in, without you having to replicate the exact shape of a Curves layer. The order of operations and concept are exactly the same regardless.
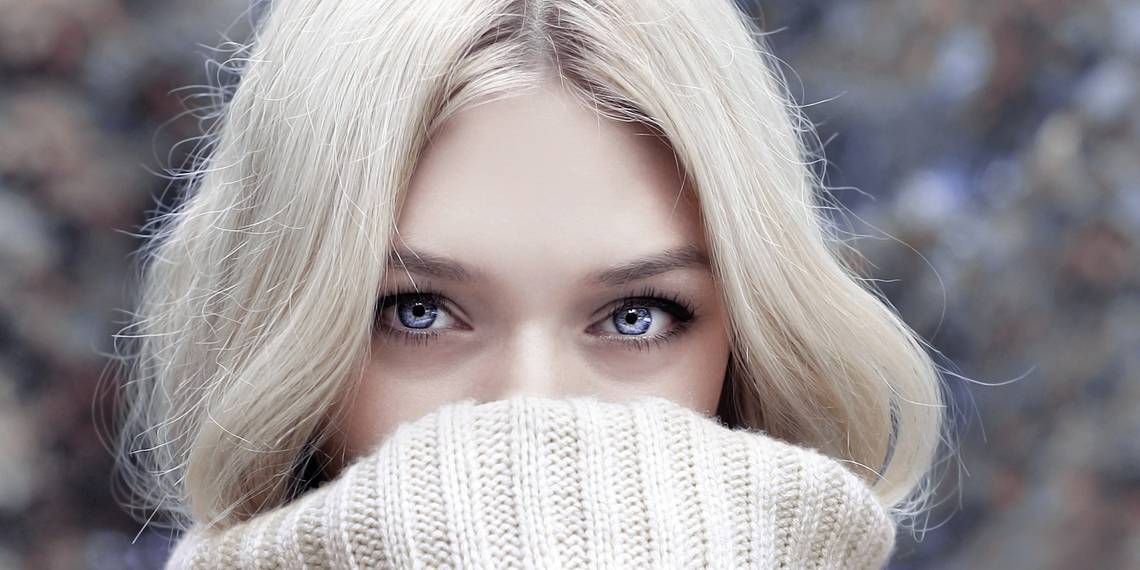
You can download this image from Pexels to follow along.
-
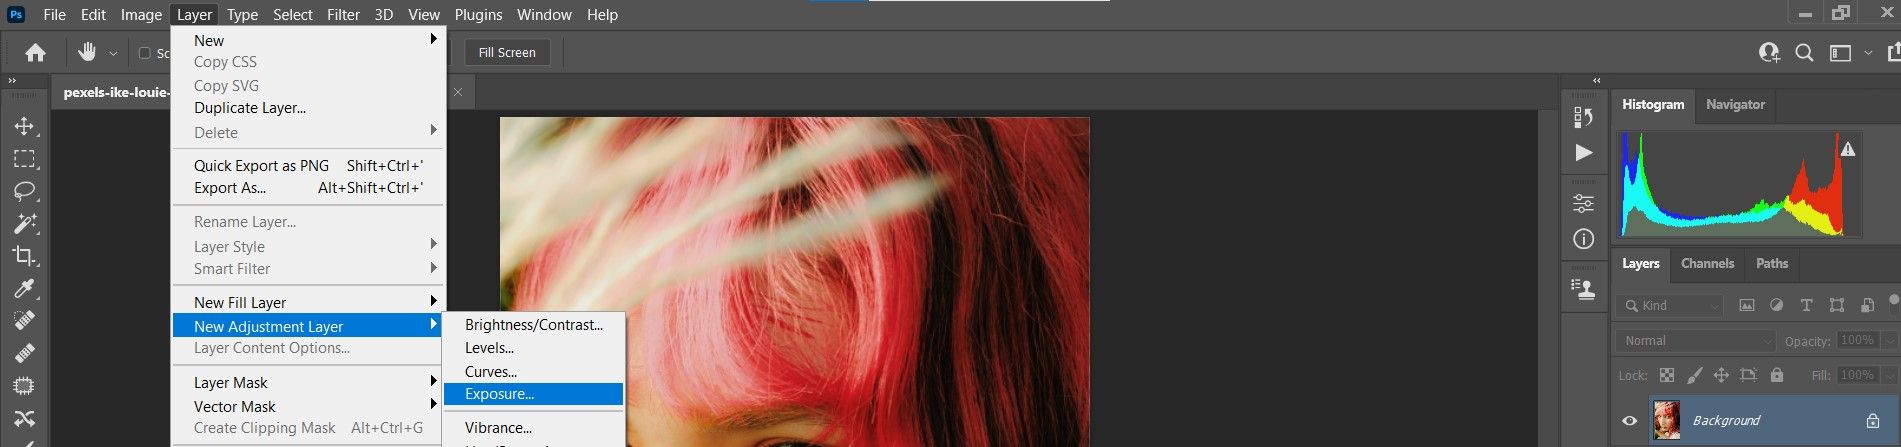
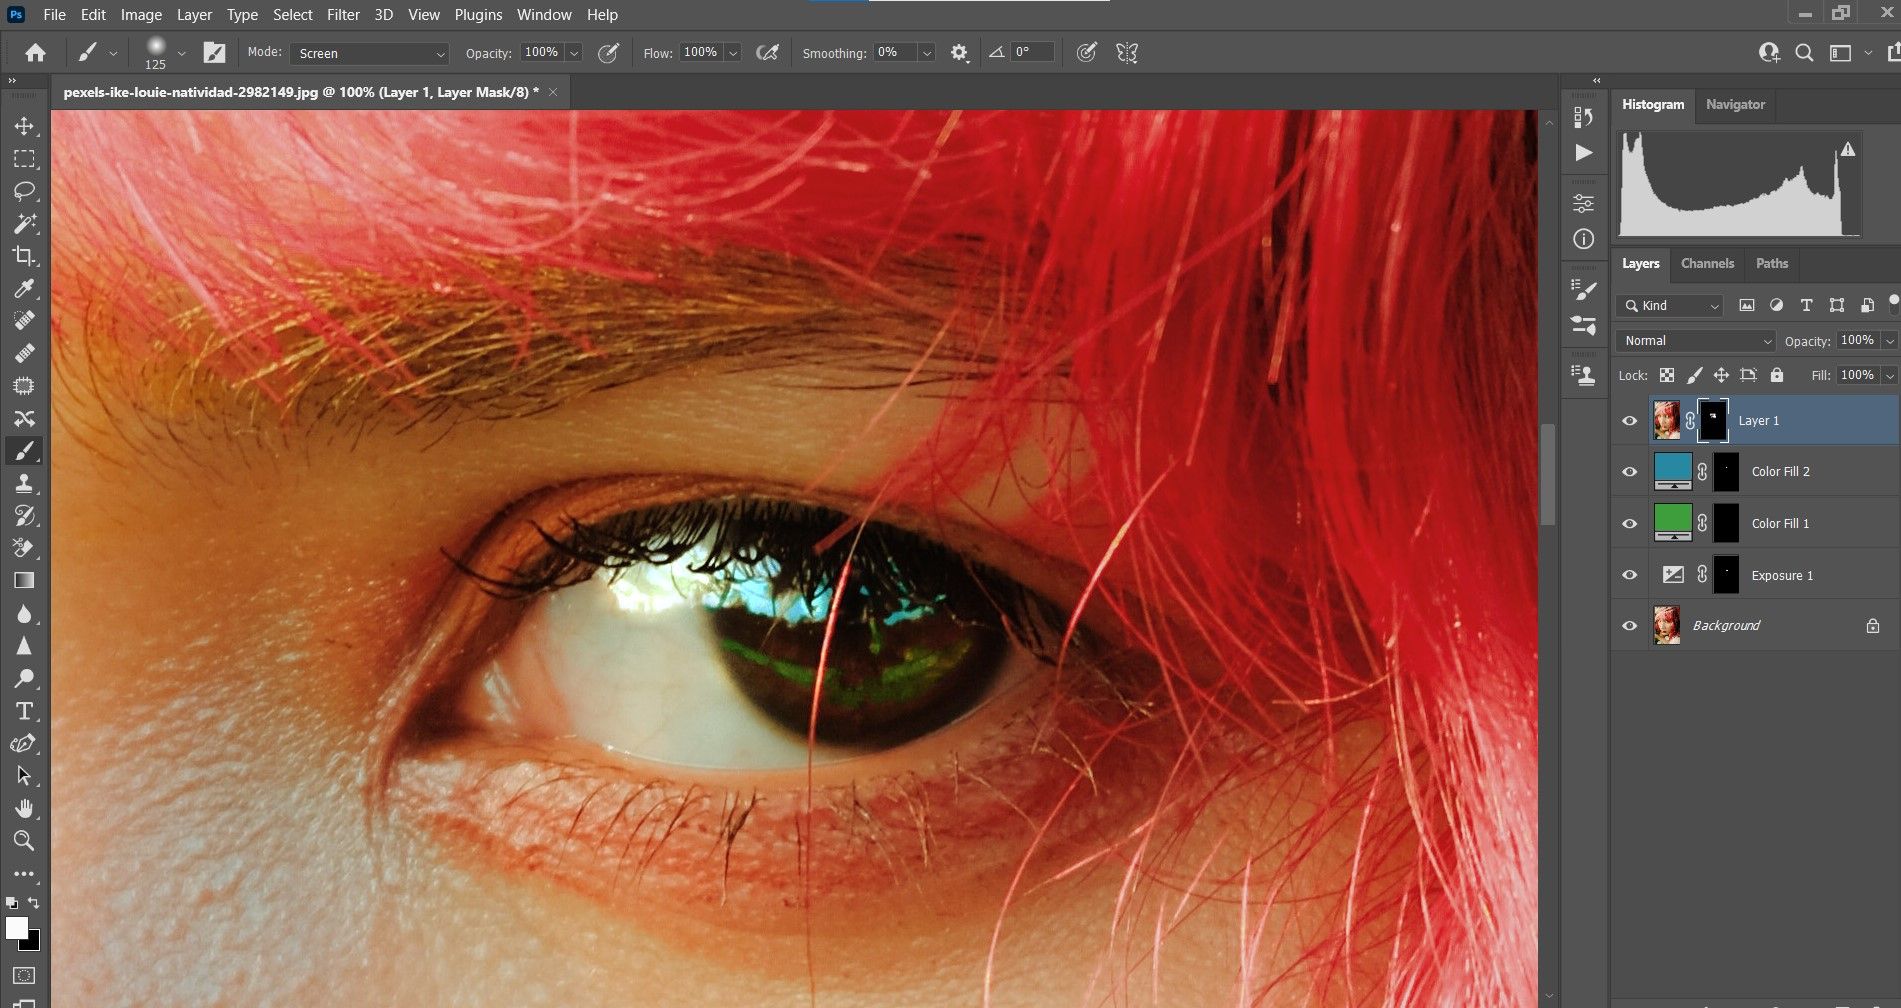
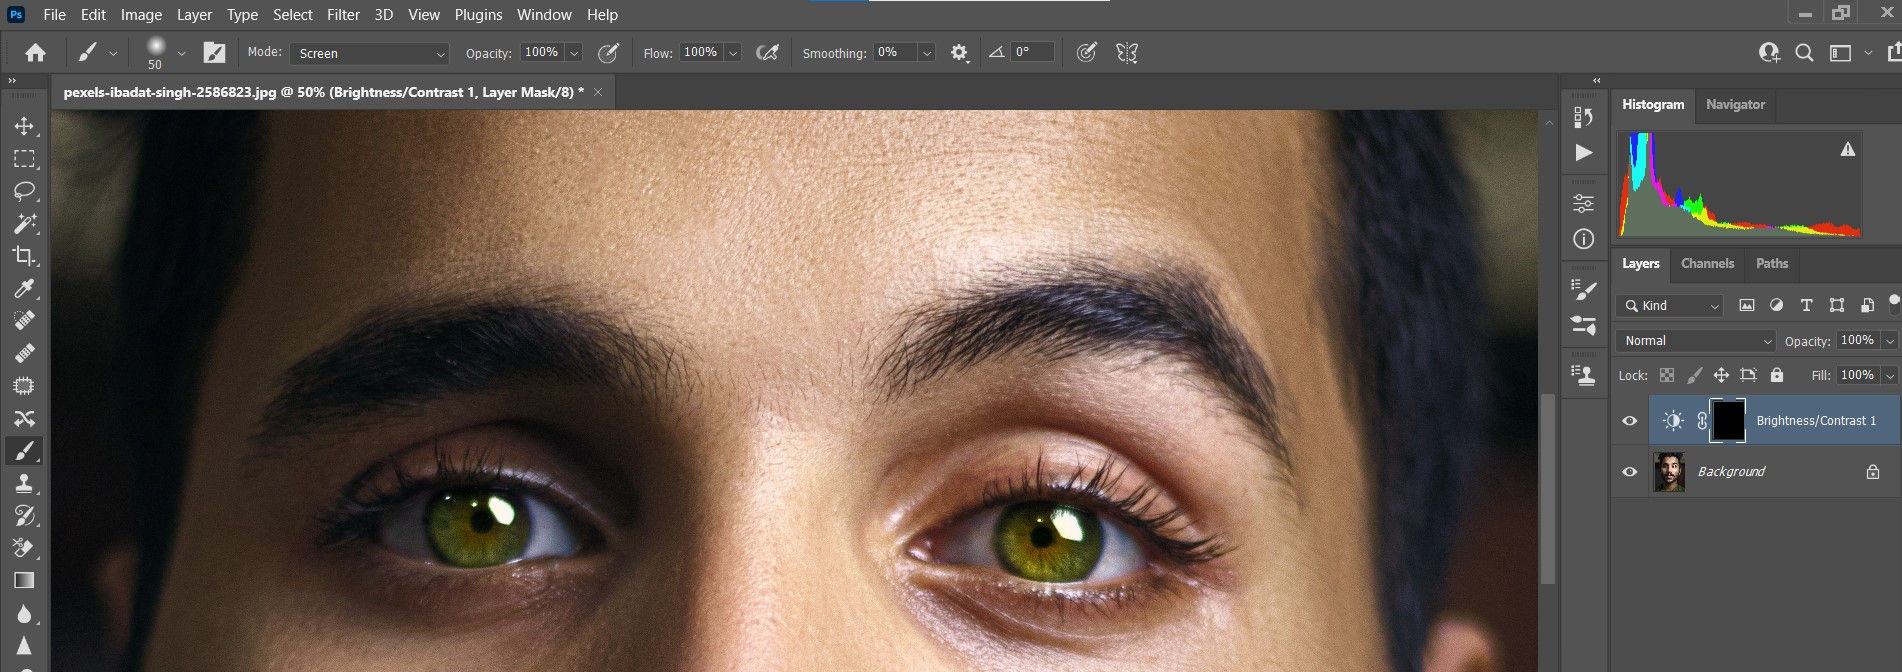
Go to Layer > New Adjustment Layer > Exposure.
-
Click OK to close the popup. Then, from the Preset dropdown menu, choose Plus 1.0.
-
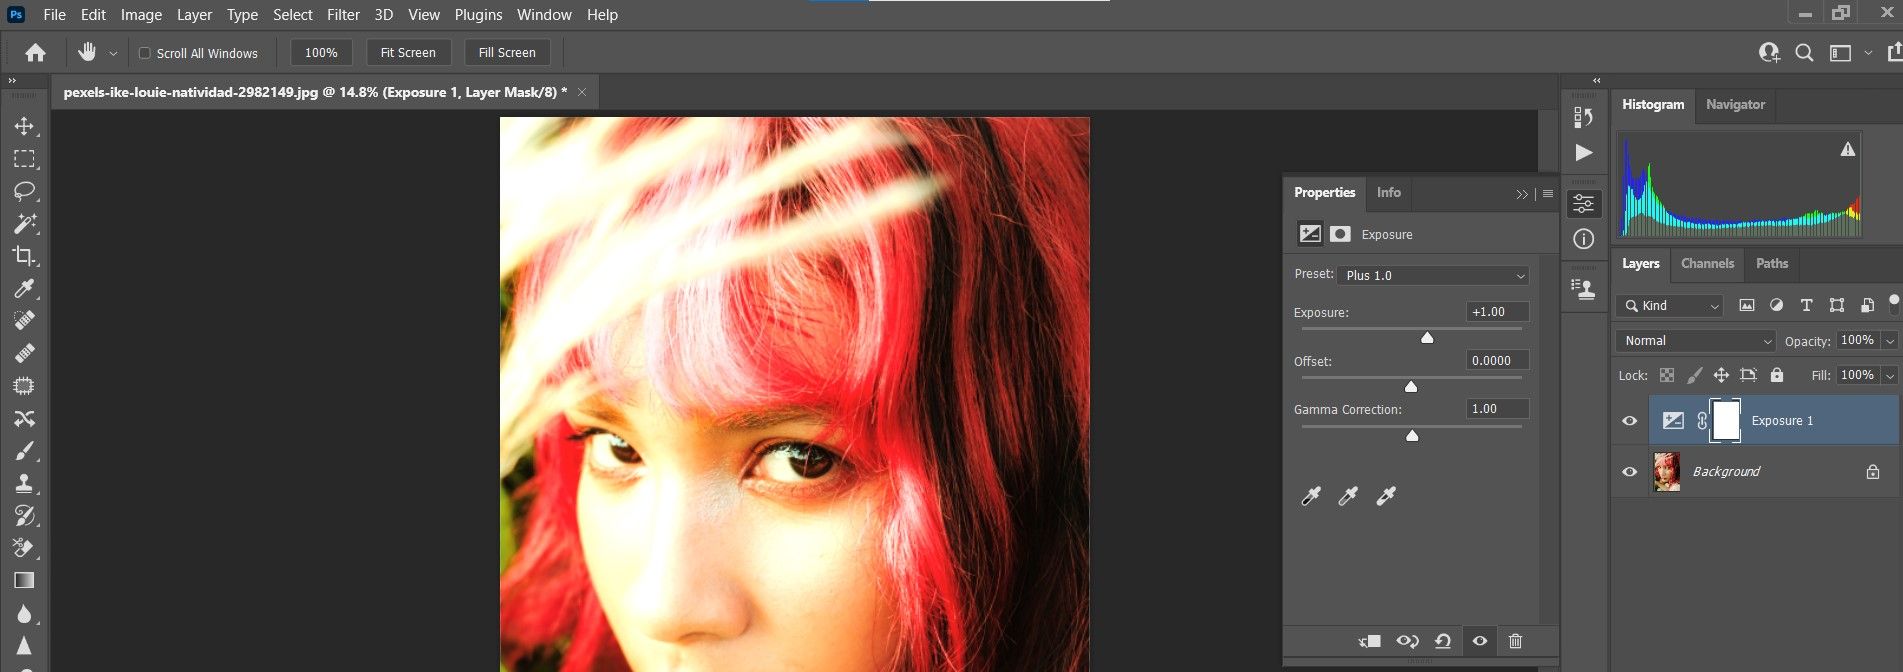
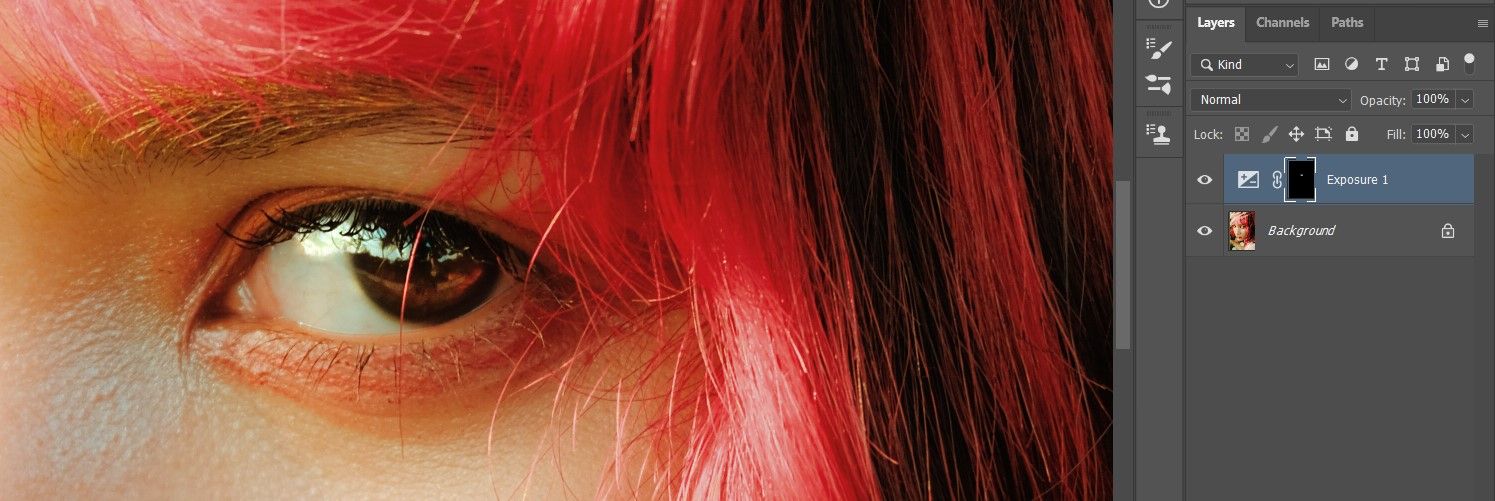
Click on the white Exposure layer mask. Press Ctrl + I to invert it. This will turn the mask color to black.
-
Press B for the Brush tool. Choose a Soft Round Brush from the Brush menu.
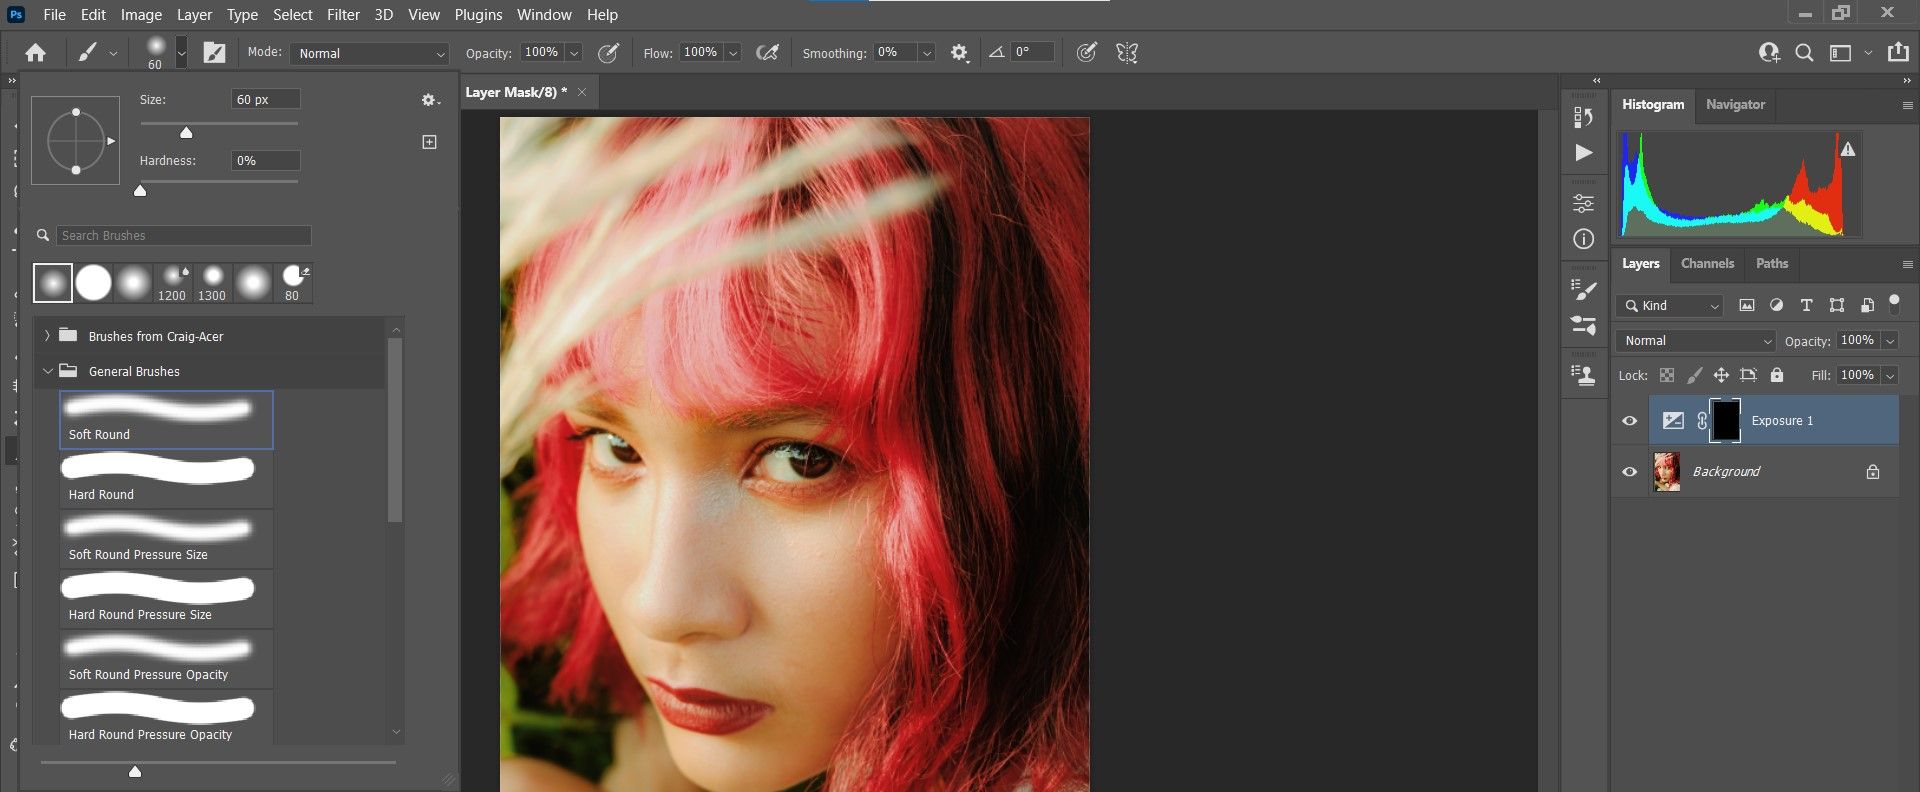
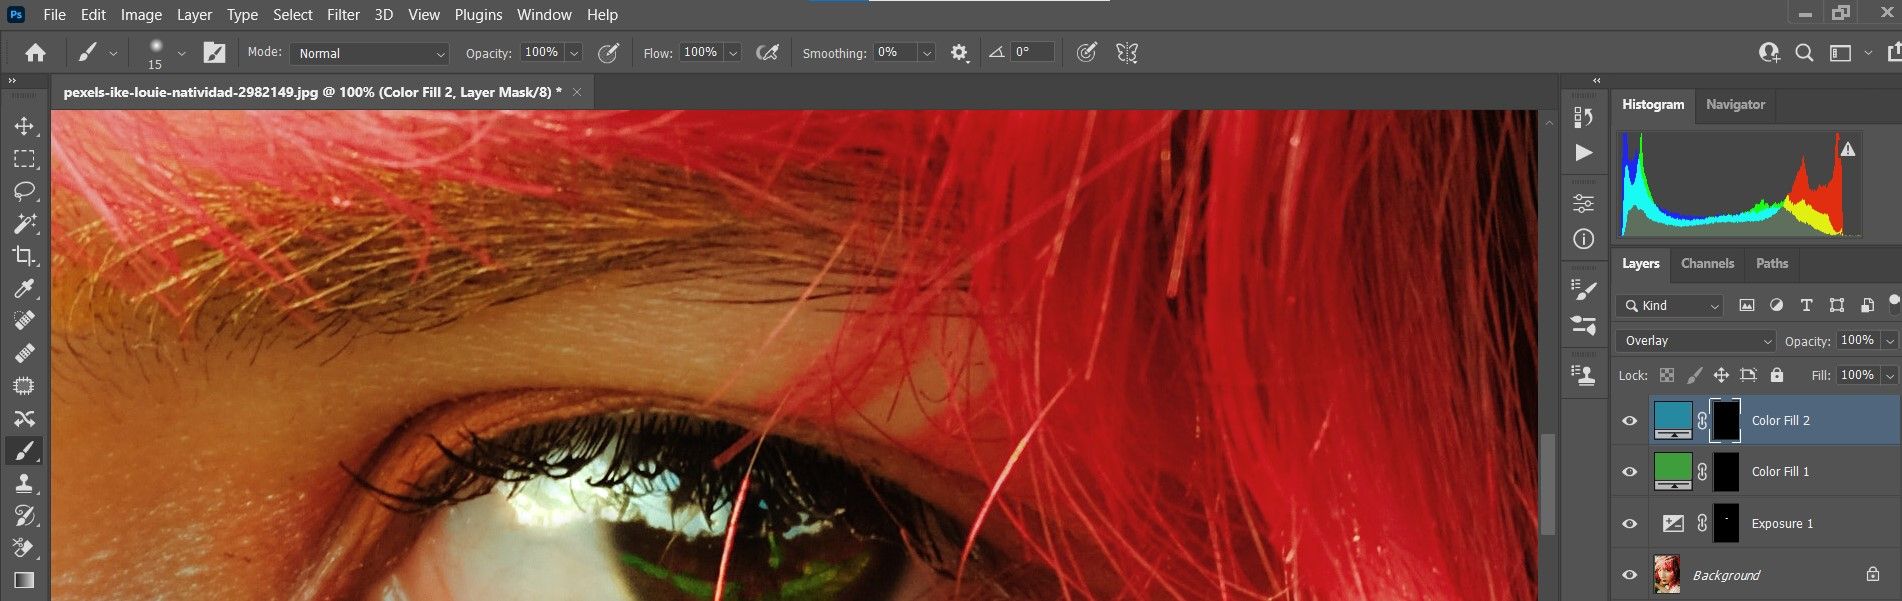
- With the foreground color set to white (press the D key), paint onto the eyes wherever there’s natural light falling, including in the iris and the whites, if needed.
-
Don't forget to use Ctrl + and Ctrl - to zoom in and out. Use the bracket keys [ and ] to increase and decrease the brush size.
-
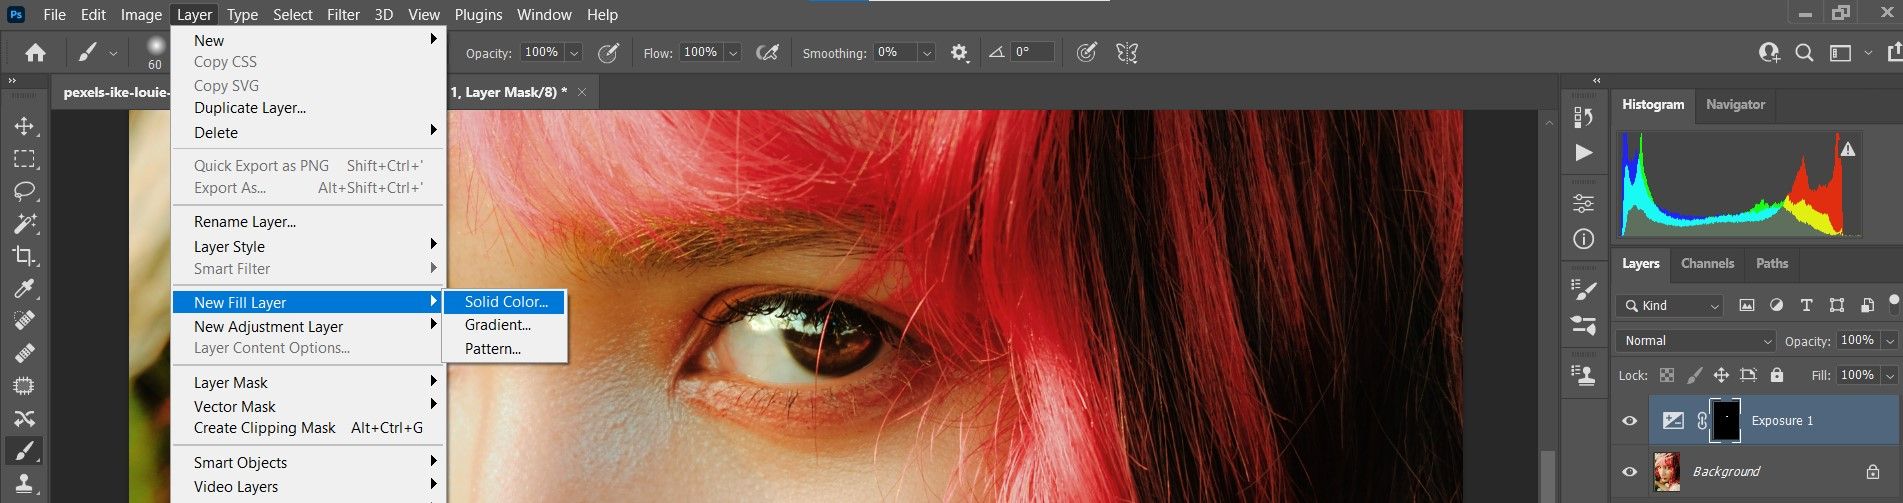
To add color, go to Layer > New Fill Layer > Solid Color. Click OK.
-
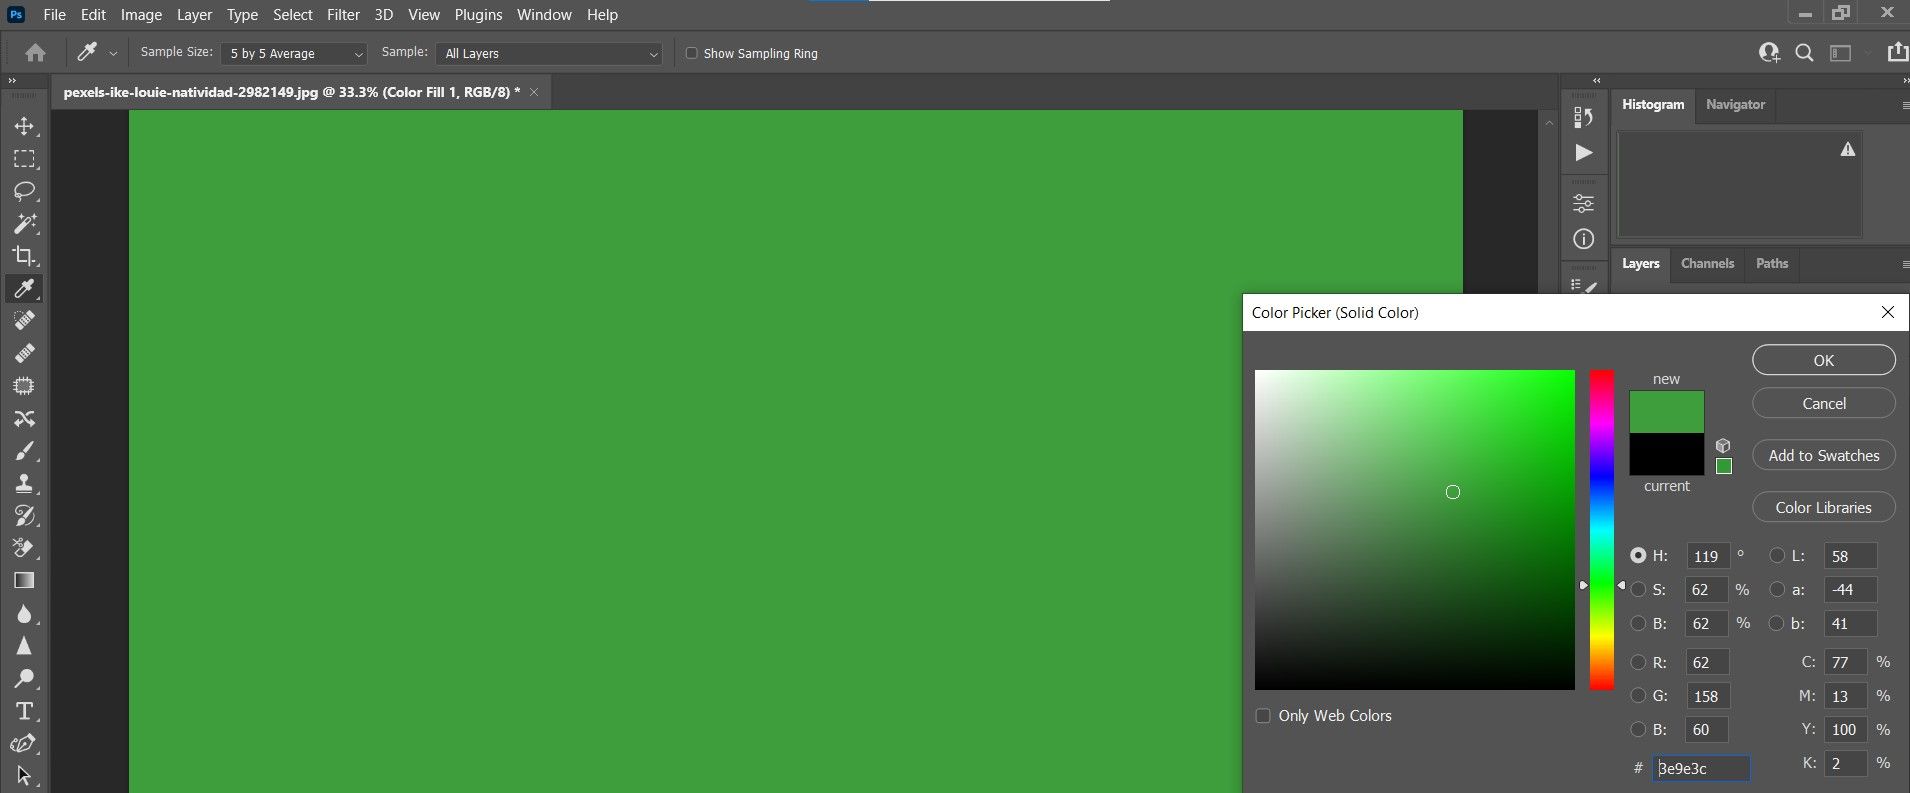
In the Color Picker popup menu, choose a green color. You can copy the values that we selected if you like. Click OK.
-
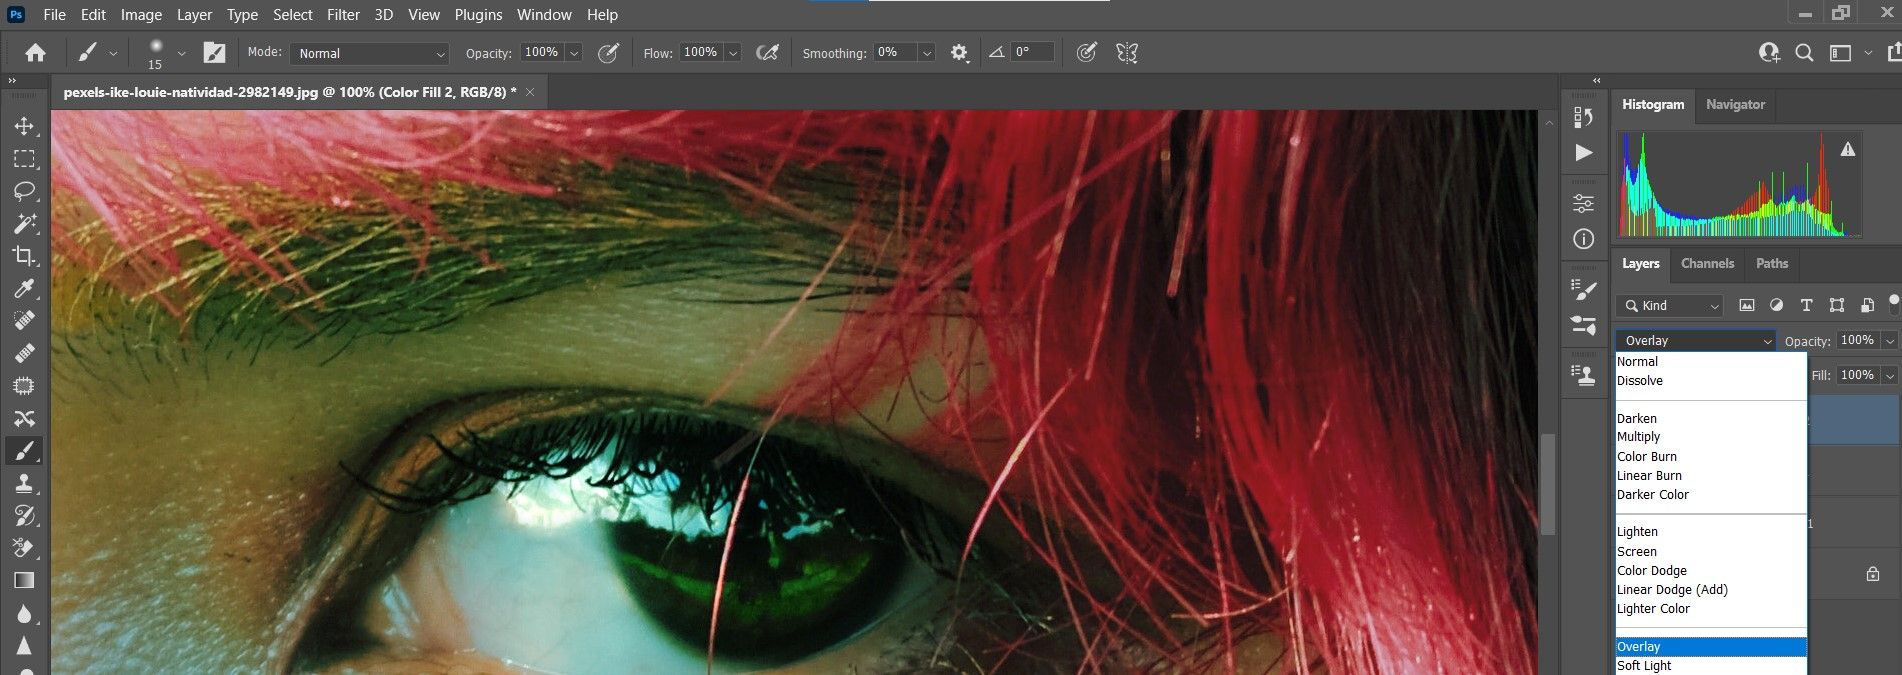
In the Color Fill layer, change the Blend Mode from Normal to Overlay.
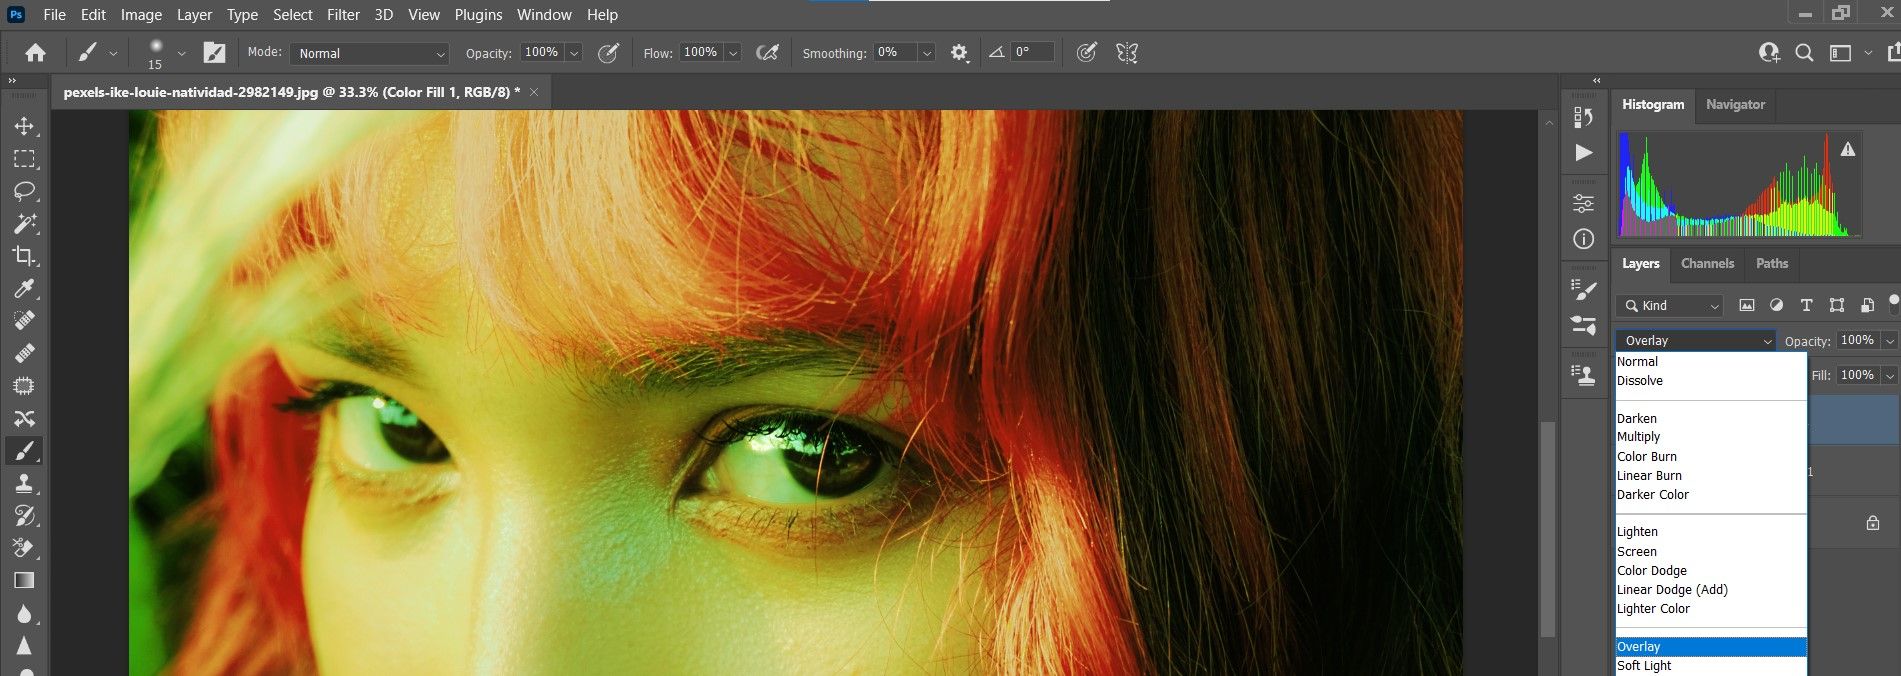
-
Click on the Color Fill layer mask (which should be white). Press Ctrl + I to invert it, which will turn it black.
-
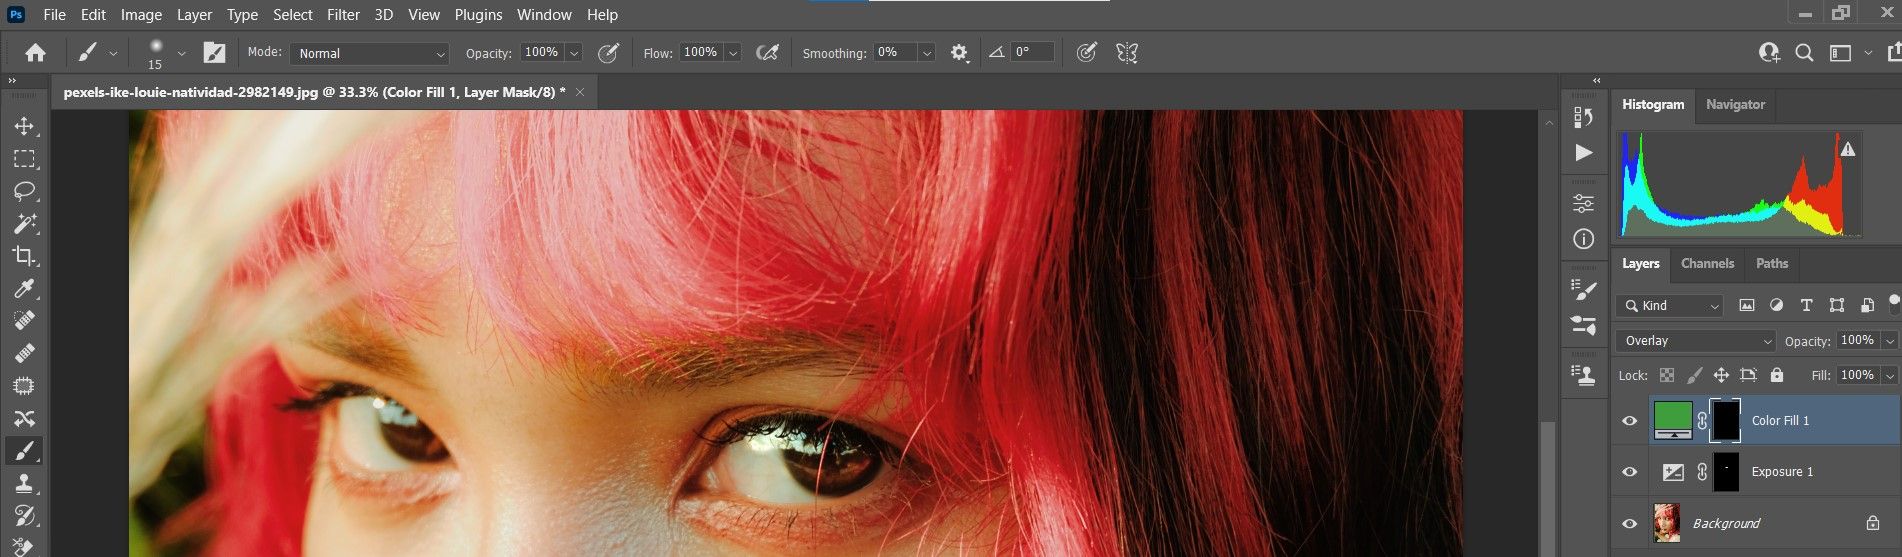
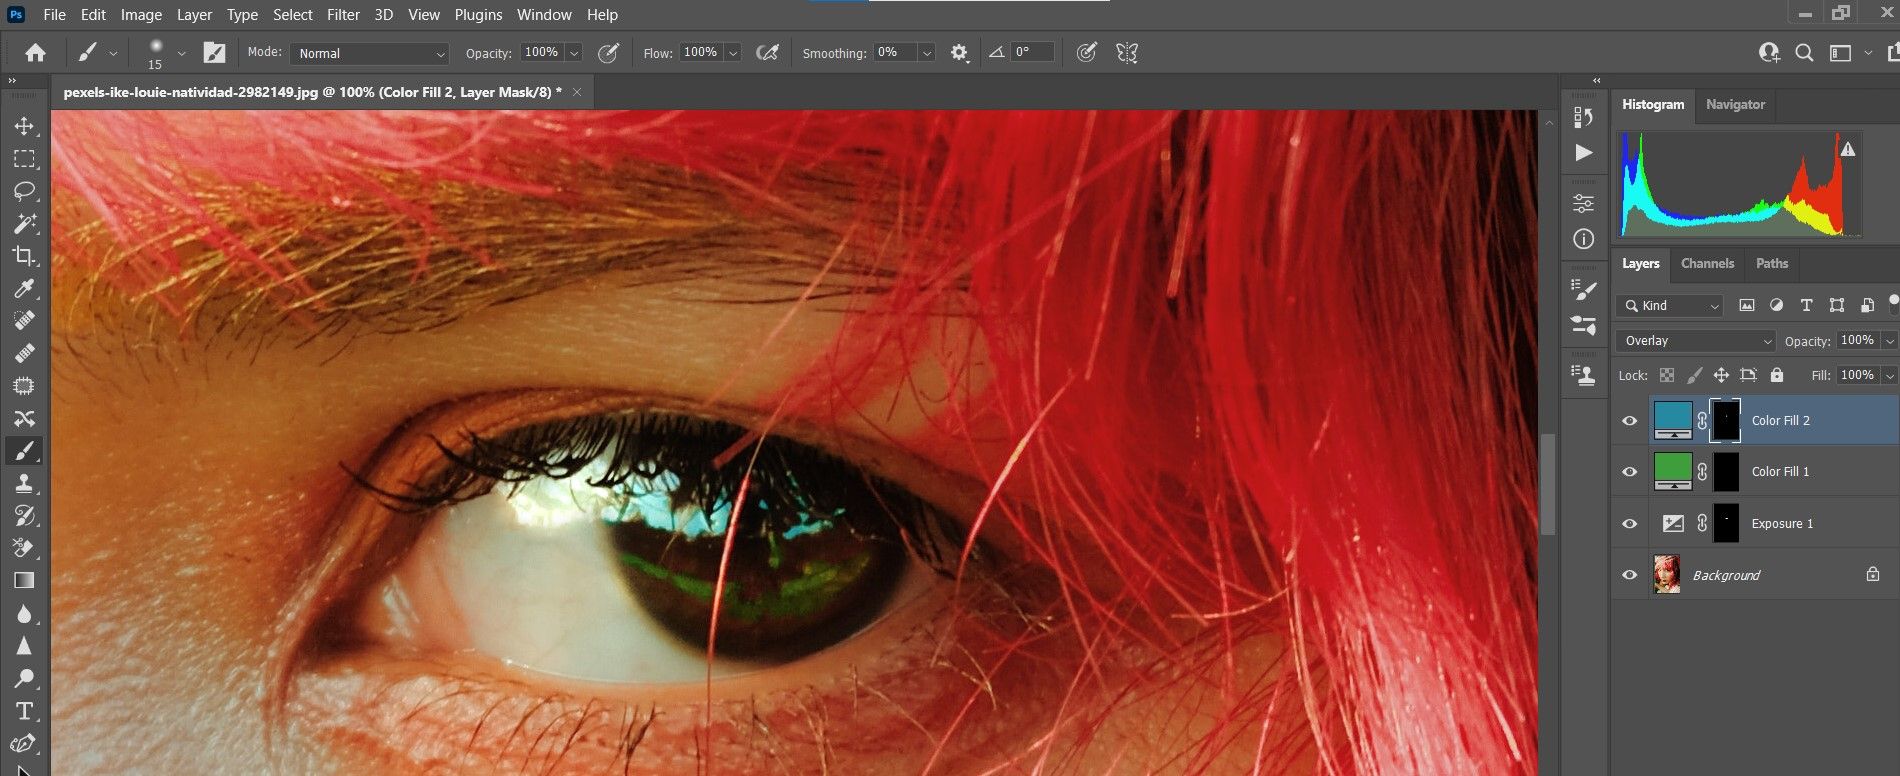
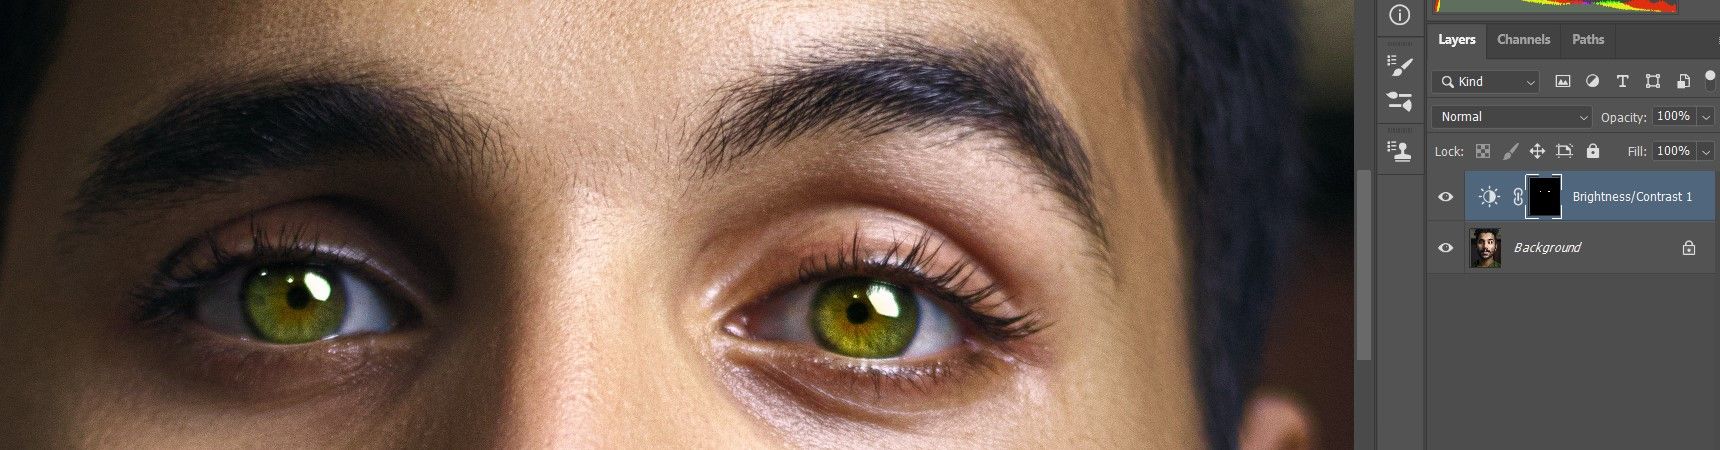
Press Ctrl + until the eye fills most of the screen. Use Spacebar + Left-Click to position the eye. Next, paint onto the light portion at the bottom of the iris, as shown.
-
We’ll repeat the process for a new fill layer in order to add some color to the top portion of the eye that’s already there. Go to Layer > New Fill Layer > Solid Color. Click OK.

-
In the Color Picker popup menu, choose a blue color. You can copy the values that we selected if you like. Click OK.

-
In the Color Fill layer, change the Blend Mode from Normal to Overlay.
-
Click on the top Color Fill layer mask (which should be white). Press Ctrl + I to invert it, which will turn it black.
-
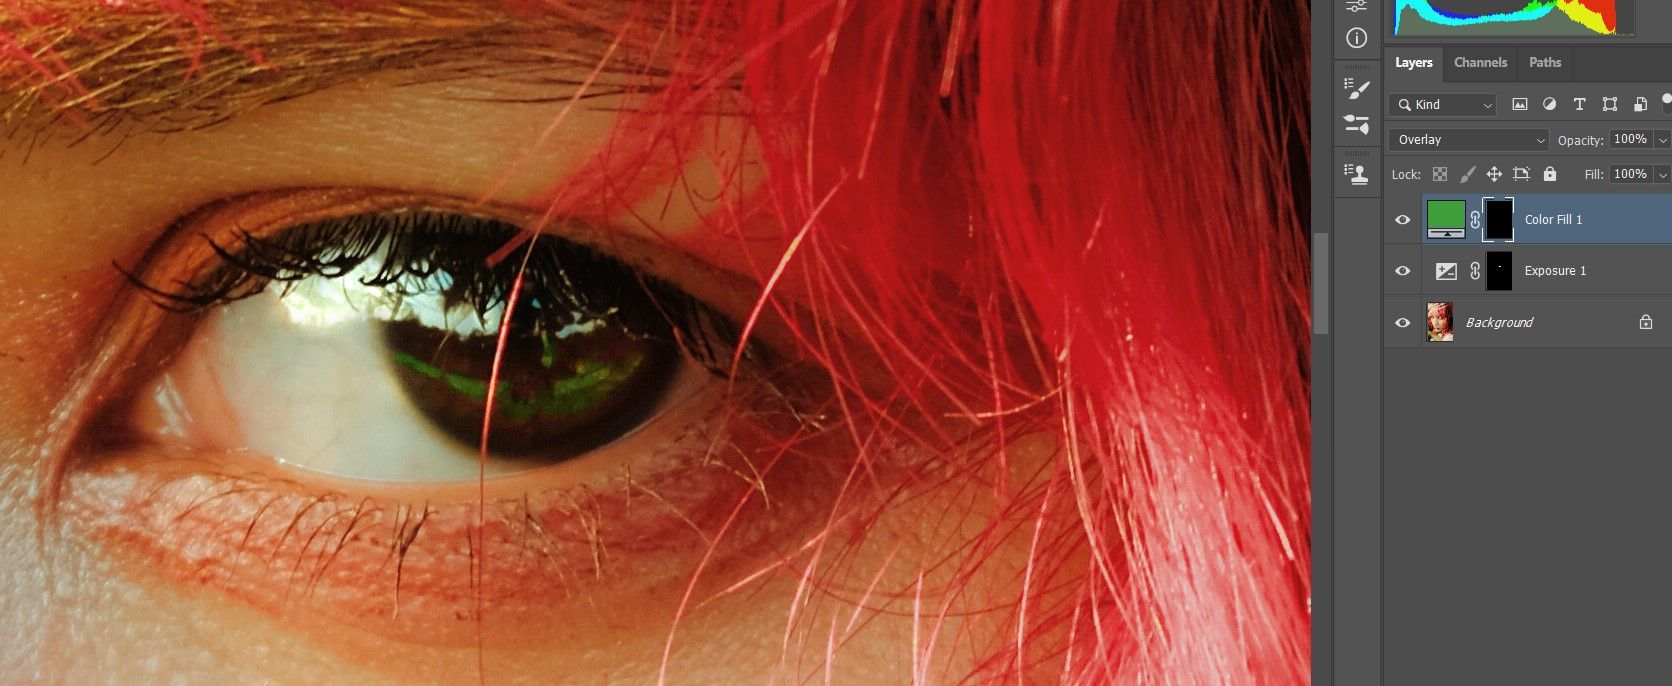
In the iris area at the top, we’ll now paint over the white, where there are already some existing blue hues.
-
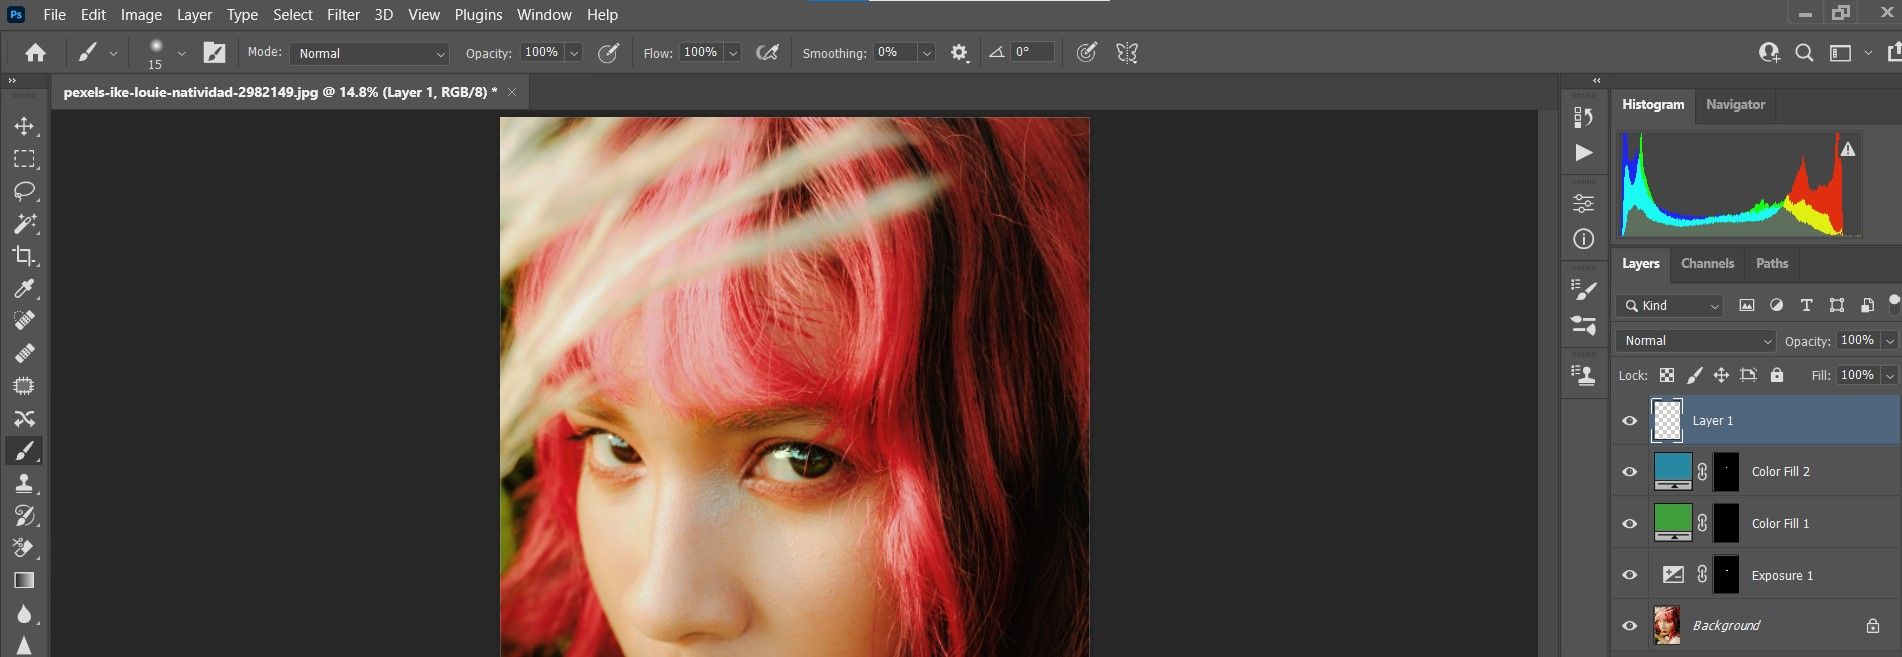
With the top layer selected, press Shift + Ctrl + N to create a new layer (or click on the new layer icon at the bottom right of the screen). Press OK.
-
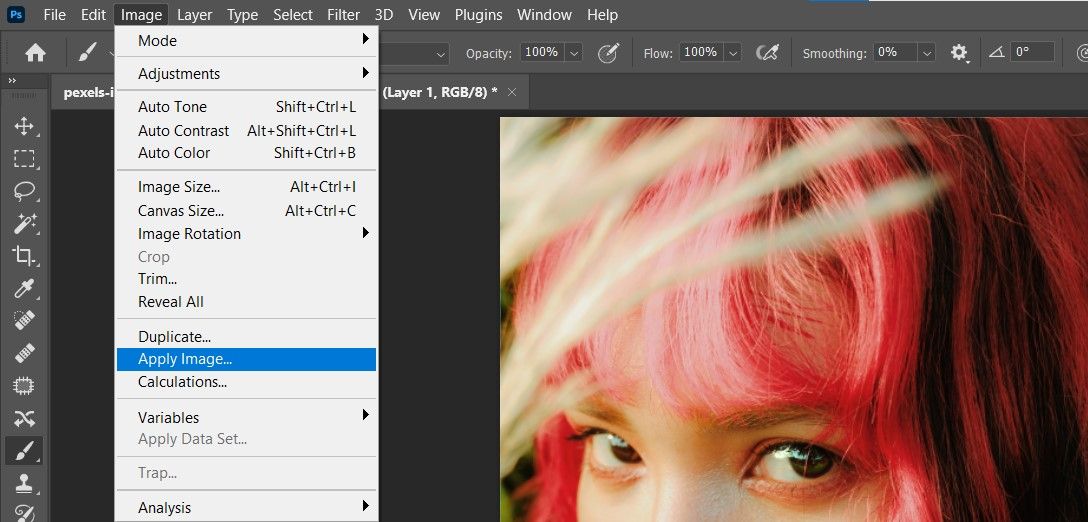
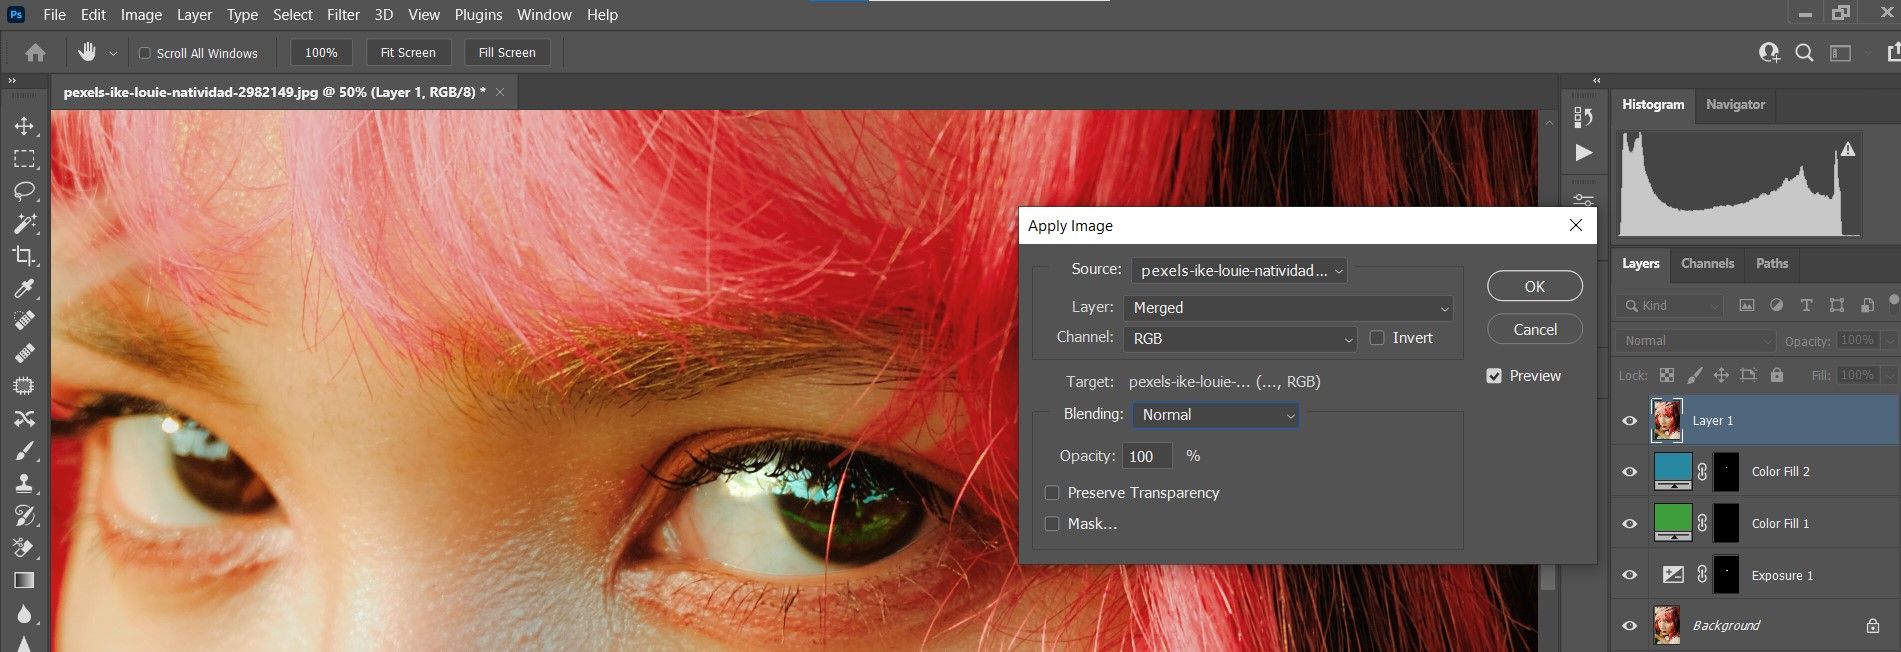
Go to Image > Apply Image.
-
In the Apply Image popup menu, make sure the Layer is Merged and Blending is Normal. Click OK.
-
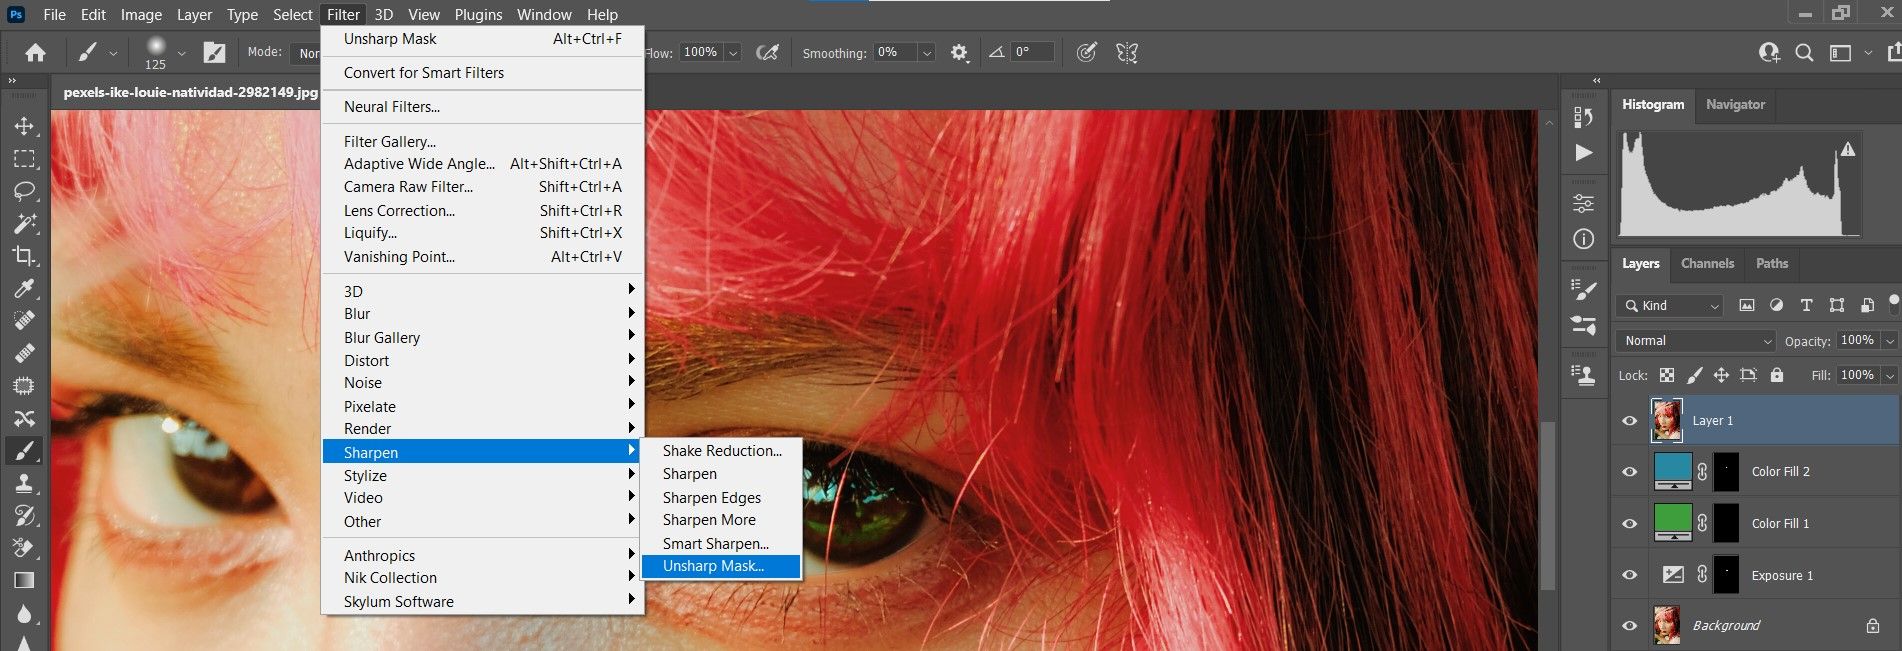
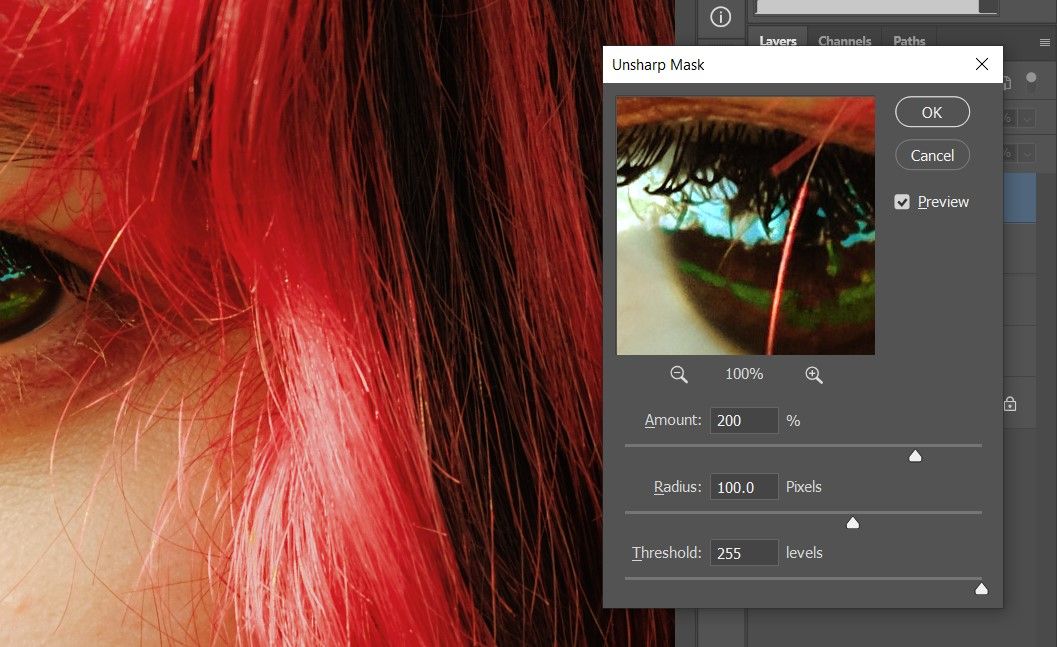
Go to Filter > Sharpen > Unsharp Mask.
-
In the Unsharp menu, enter the following values. Amount: 200; Radius: 100; Threshold: 255. Click OK.
-
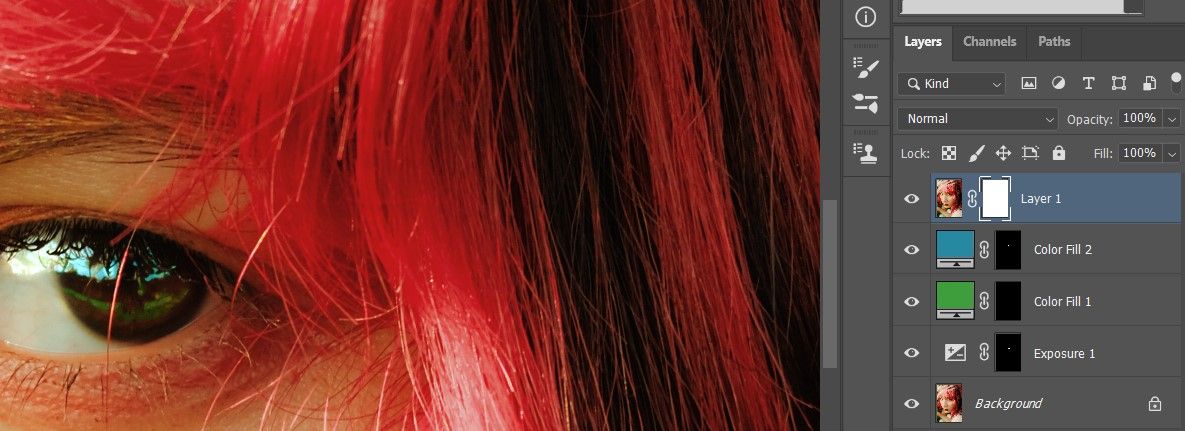
Click on the Layer Mask icon at the bottom right corner of the screen.
-
Press Ctrl + I to invert the mask, just as before.
-
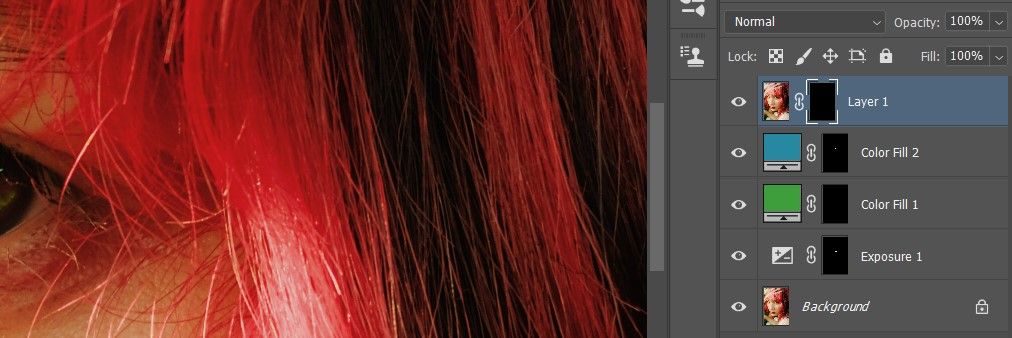
With the black layer mask selected, paint over the entire eye, including the eyebrow.


Here's how our image turned out after some basic eye enhancements.
Before:

After:

To control the overall effect, all the adjustment layers can be combined into a Group folder. Then, the Opacity can be adjusted to lower the effect to create a more pleasing look.

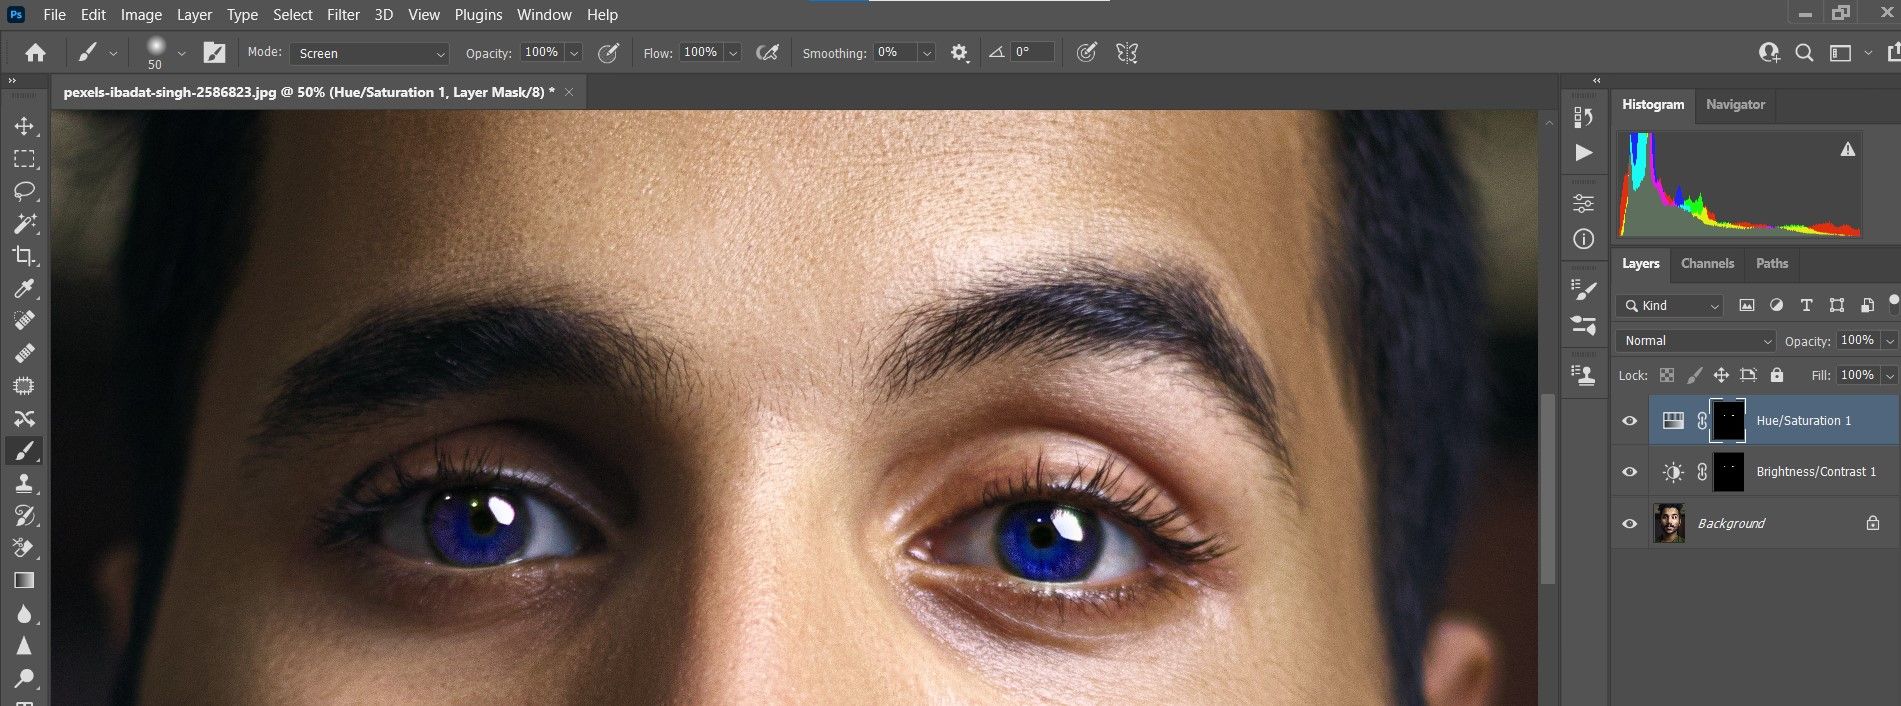
How to Color the Eyes
It’s fairly easy to color the eyes in Photoshop. While there are many ways of performing this task, we will show you how to do so non-destructively using only two adjustment layers.
Like in the previous example, we will invert our layer masks and paint in the effects.
You can download this image from Pexels to follow along.
-
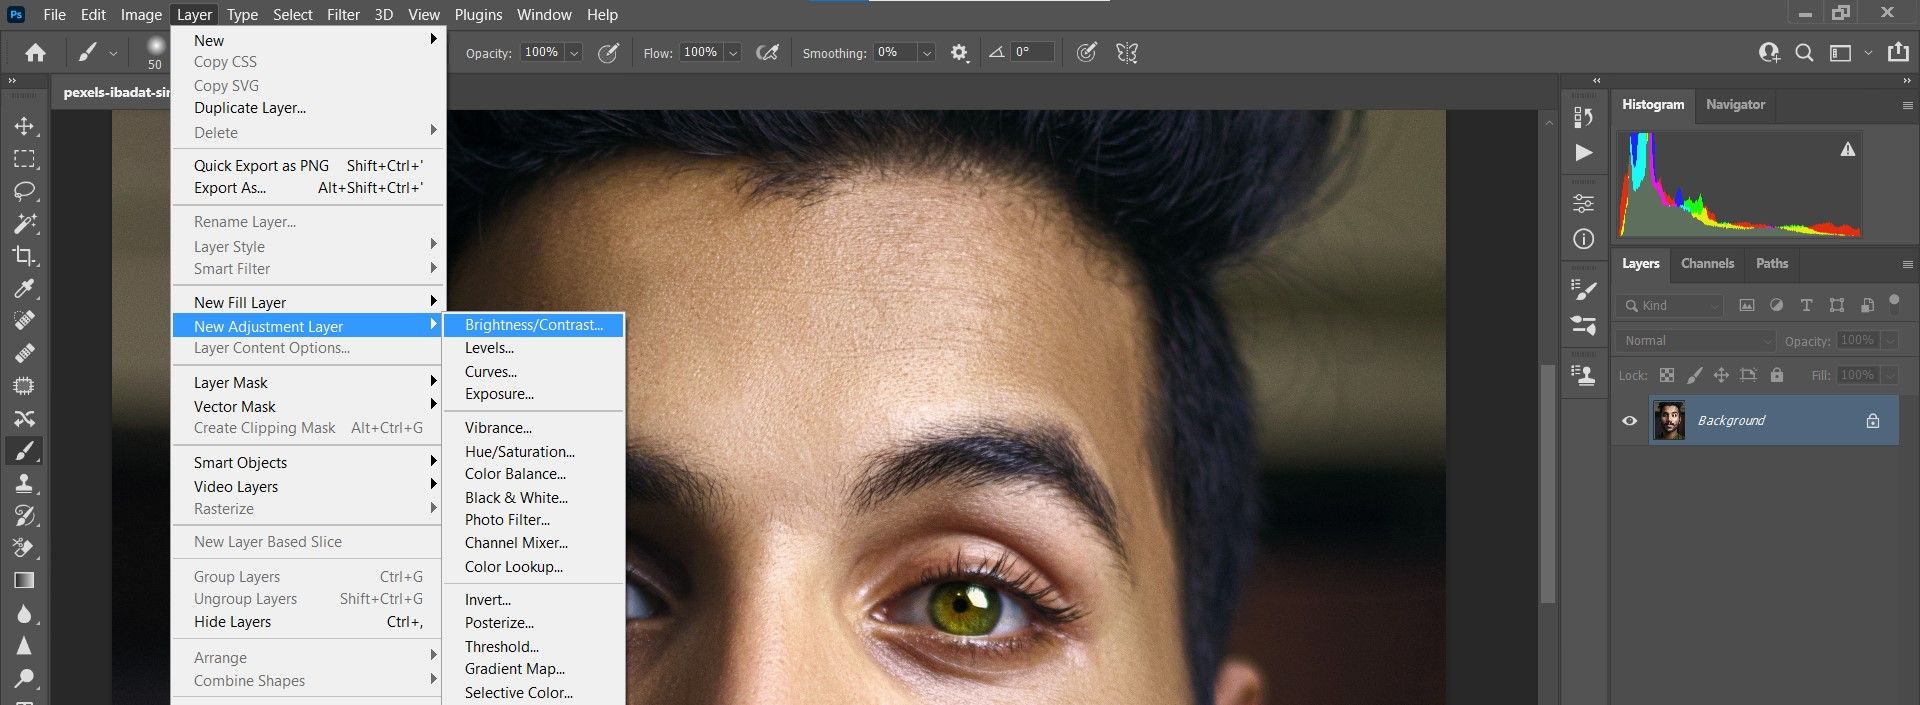
Go to Layer > New Adjustment Layer > Brightness/Contrast. Click OK.
-
In the Properties menu, change the Brightness slider to 25.
-
With the Brightness/Contrast mask selected, press Ctrl +I to invert the mask.
-
Press B for the Brush tool. With a Soft Round Brush, paint over the iris color in both eyes.
-
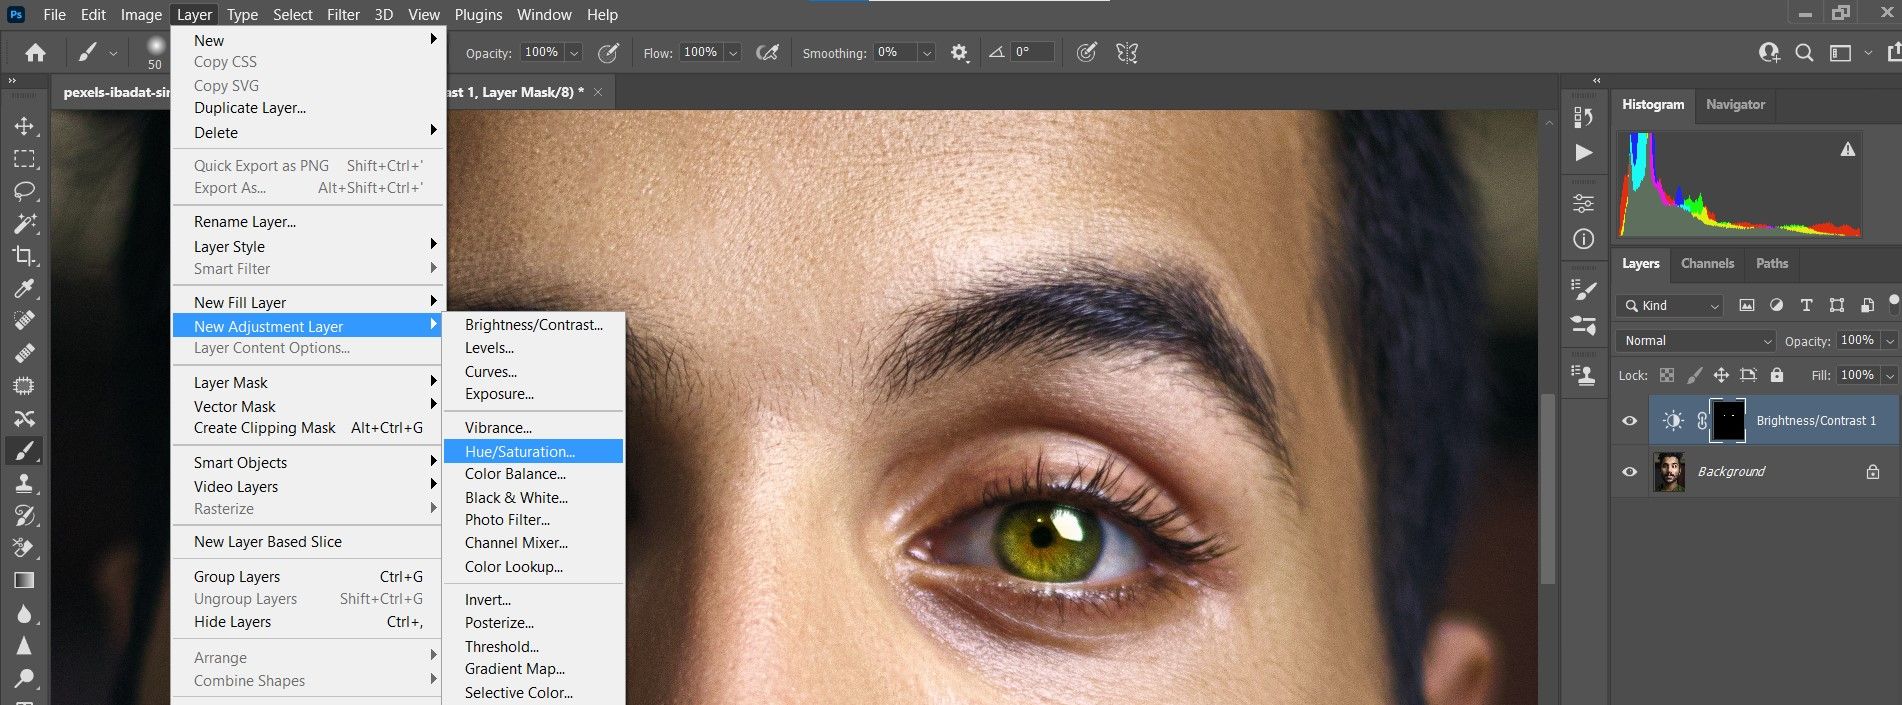
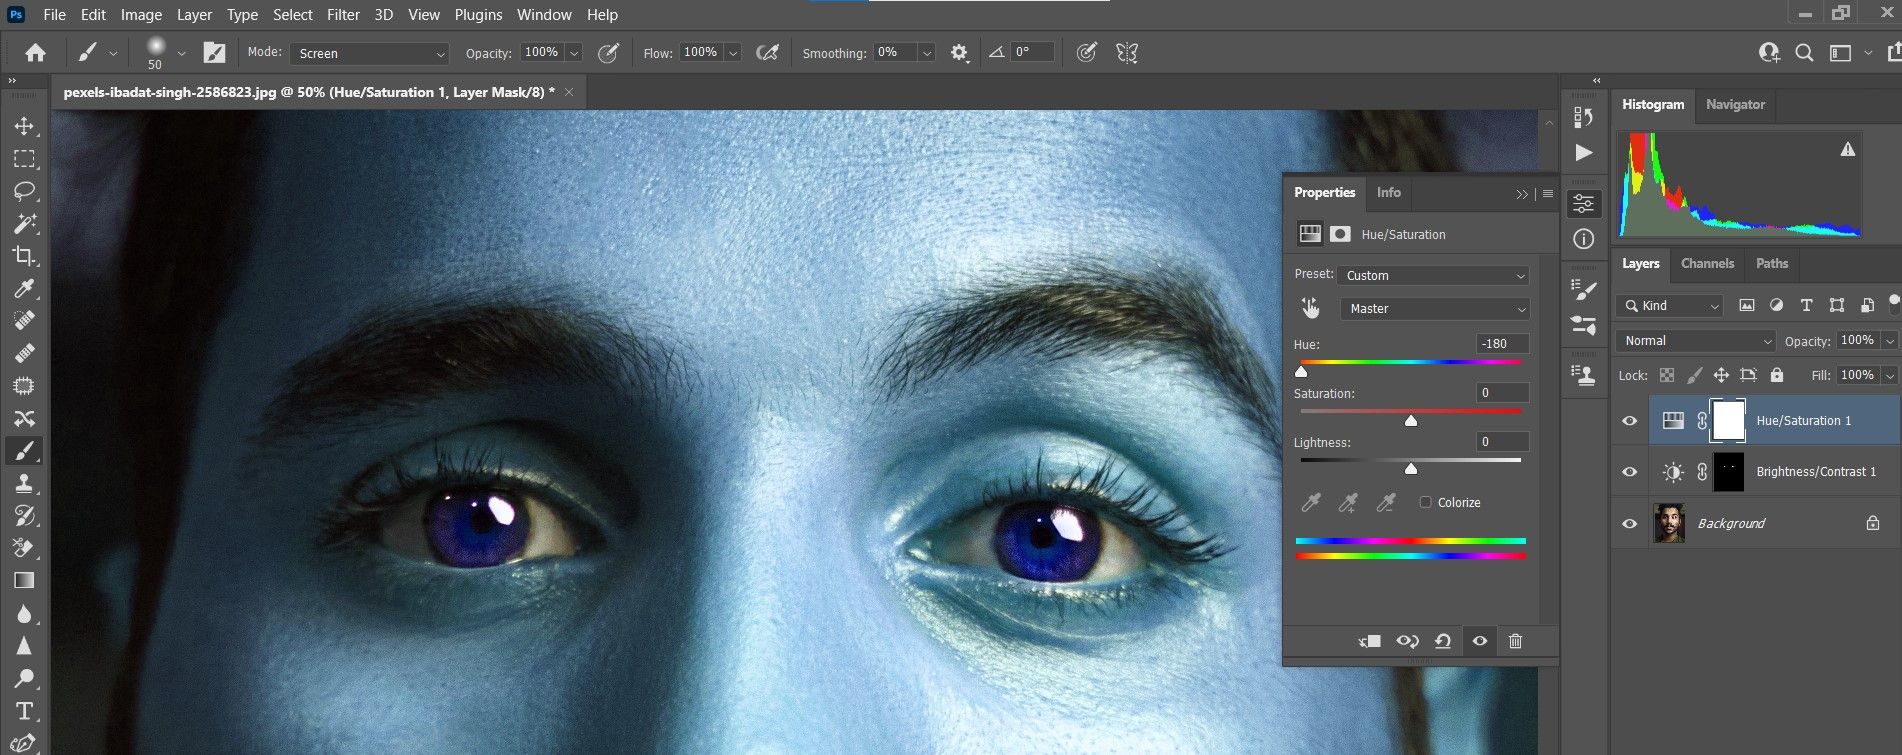
Go to Layer > New Adjustment Layer > Hue/Saturation. Click OK.
-
Move the Hue slider all the way to the left to -180.
-
With the Hue/Saturation mask selected, press Ctrl + I to invert the mask.

-
Using the Brush tool with a Soft Round Brush, paint over the irises once more.


Now, you may think that the eyes look very unrealistic, and you would be 100 percent correct! But this is the advantage of using adjustment layers. We can go back and open up each adjustment layer and make changes until the eyes look more natural.
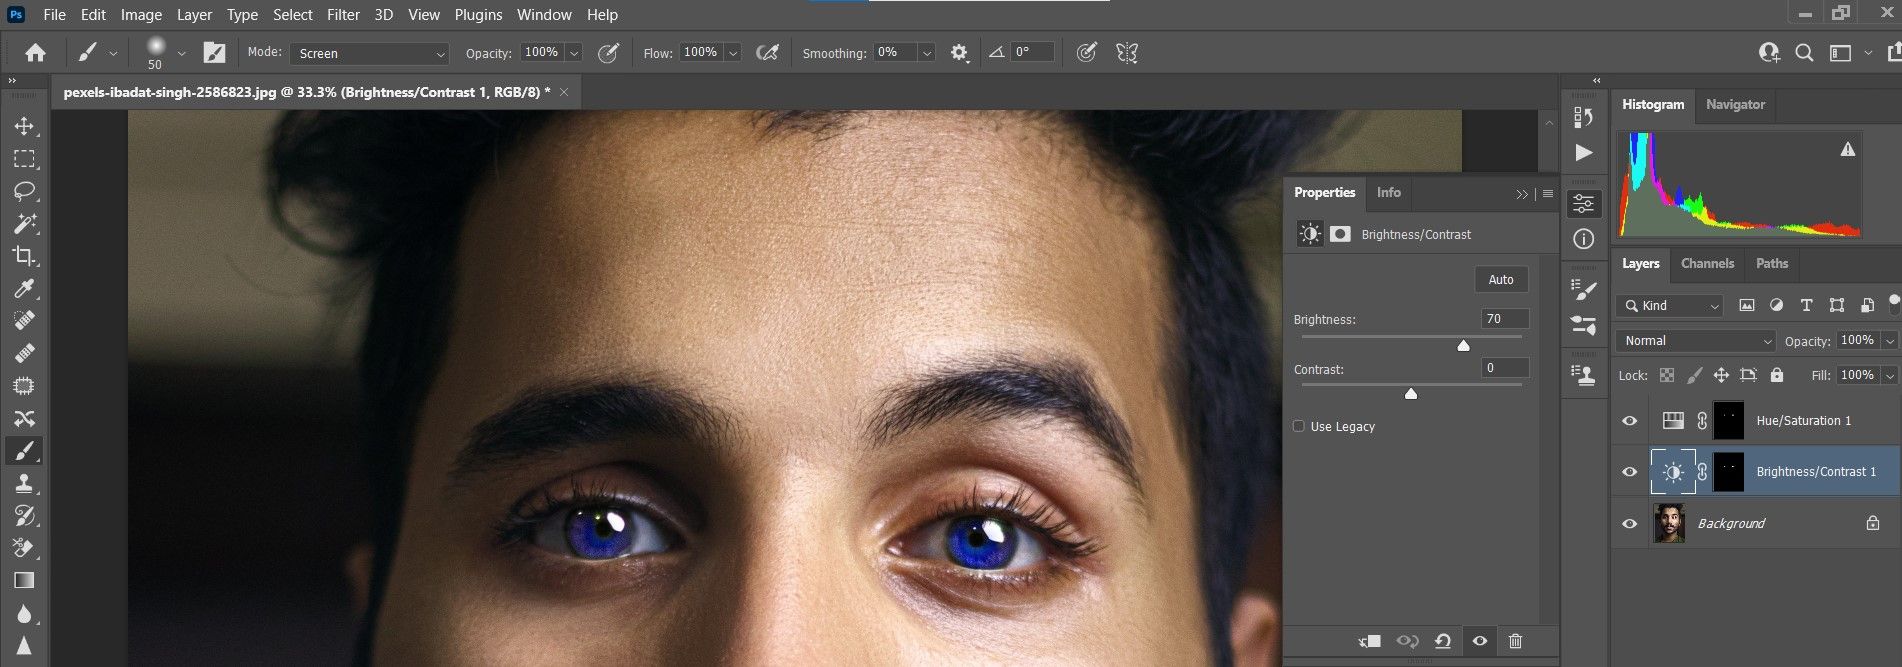
Making the New Eye Color Look More Natural
If we wanted to keep the blue color but make it more realistic, here’s how we can make some changes.
-
Double-click on the Brightness/Contrast layer, and change the Brightness to 70.
-
Double-click on the Hue/Saturation layer, and change the Saturation to -70.


Voila! Natural-looking blue eyes.
Changing the color of the eyes now is very easy. We only have to return to the Hue/Saturation layer and move the Hue slider to the right. Once you find the desired color, then return to the Brightness/Contrast layer and make adjustments there as needed.
We made the following adjustments to make the eyes green: Brightness: 43; Hue: -7; Saturation: -34.

And in the below example, we made these adjustments to make the eyes a beautiful light-blue/gray color: Brightness: 80; Hue: -35; Saturation: -91.

We could make another creative change to the eyes by converting our image into an expressive black and white rendition.
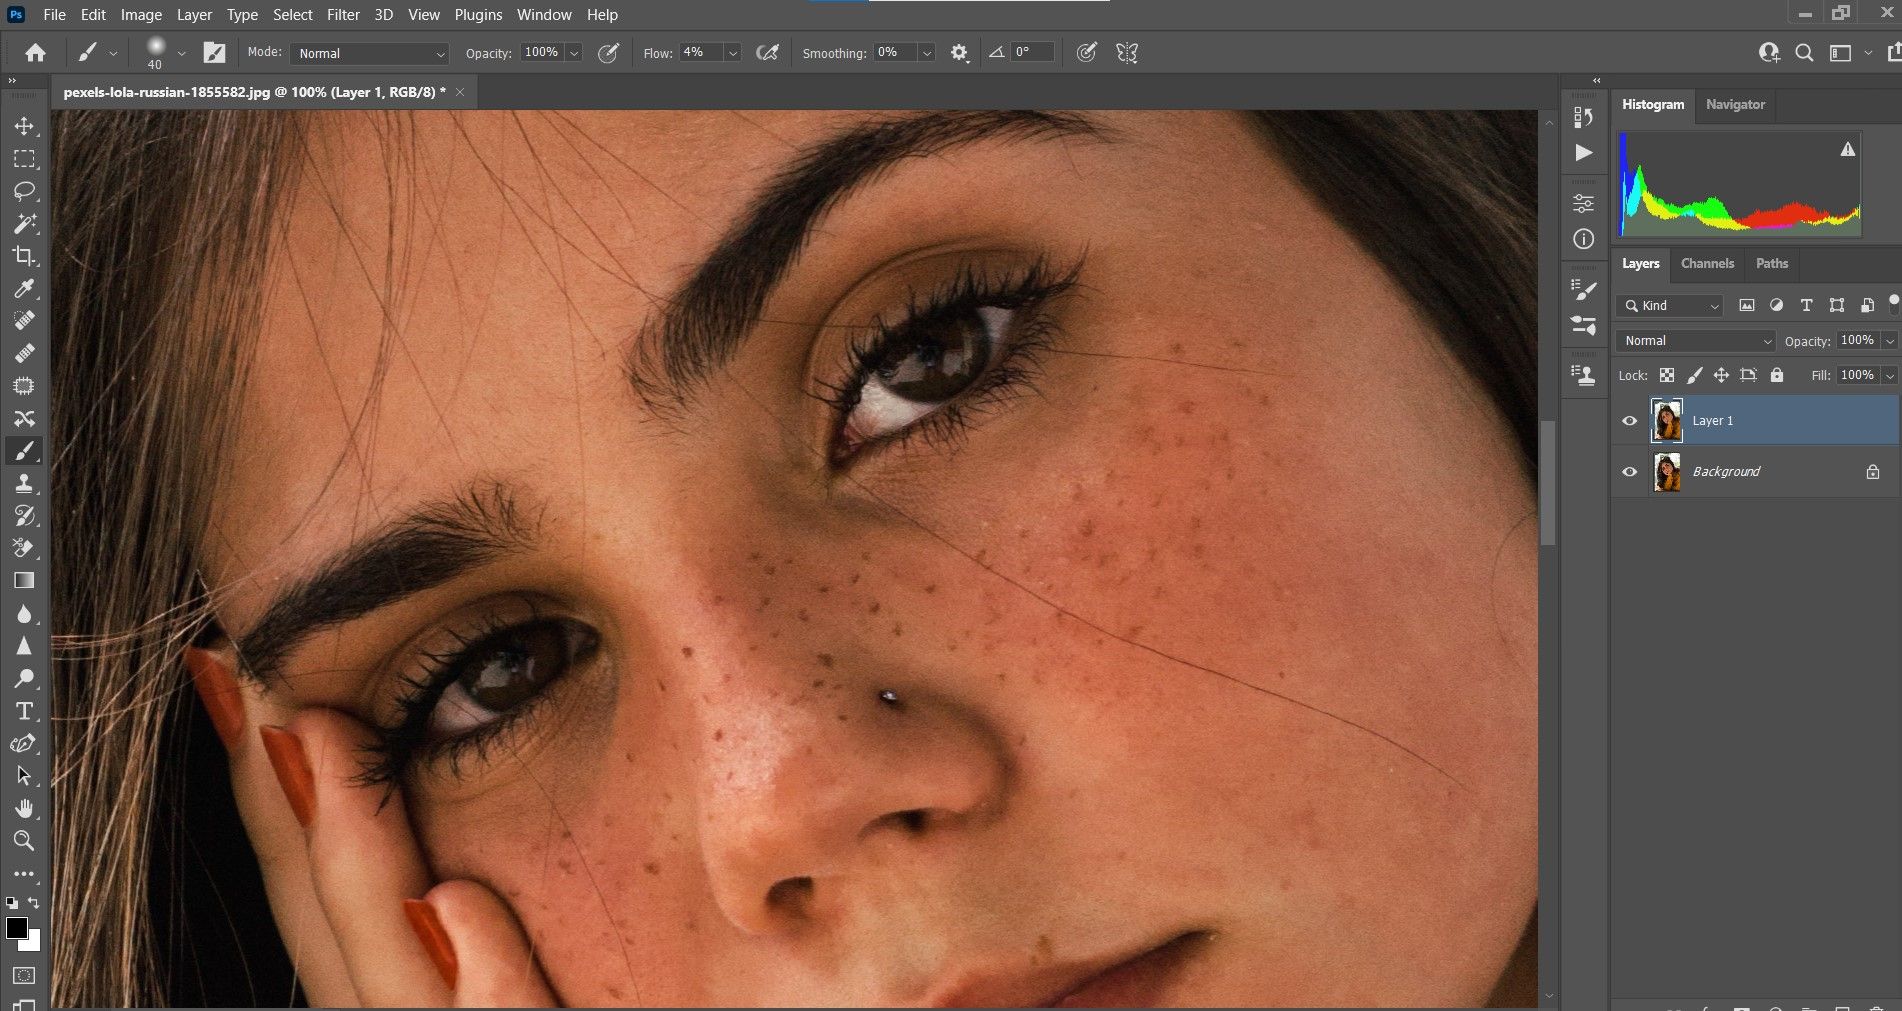
How to Remove Dark Patches from Under the Eyes
Sometimes, due to poor lighting and other factors, our subjects may have unwanted dark patches that we would want to remove in Photoshop. The trick is, how can we do so naturally without drawing attention to our edit?
In this tutorial, we’ll show you how to non-destructively remove the dark patches from our subject’s eyes in Photoshop.
You can download this image from Pexels to follow along.
-
Press Ctrl + J to duplicate the layer.
-
Select the Background layer and press Shift + Ctrl + N to create a new layer. Click OK.

-
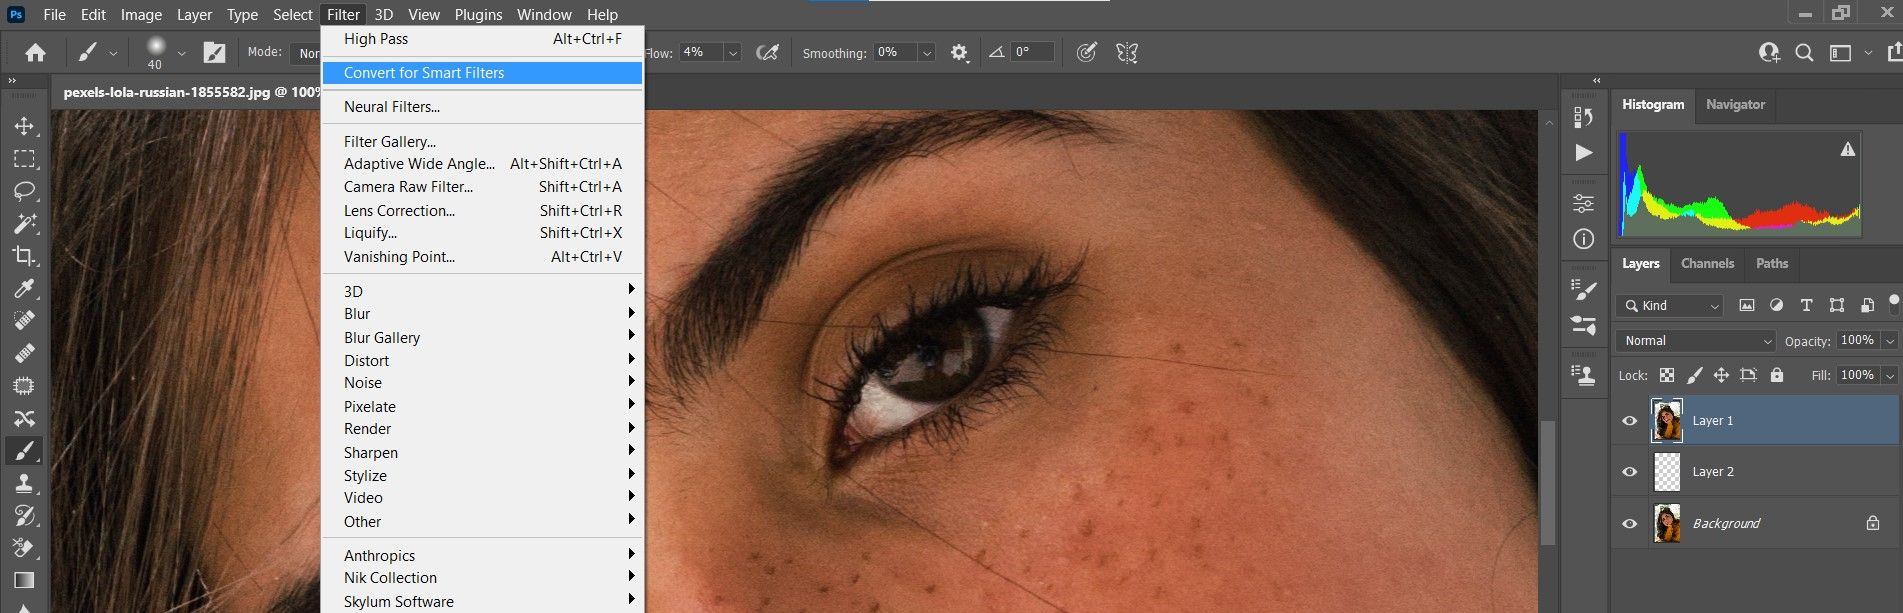
Select the top layer (Layer 1), and then go to Filter > Convert for Smart Filters. Click OK.
-
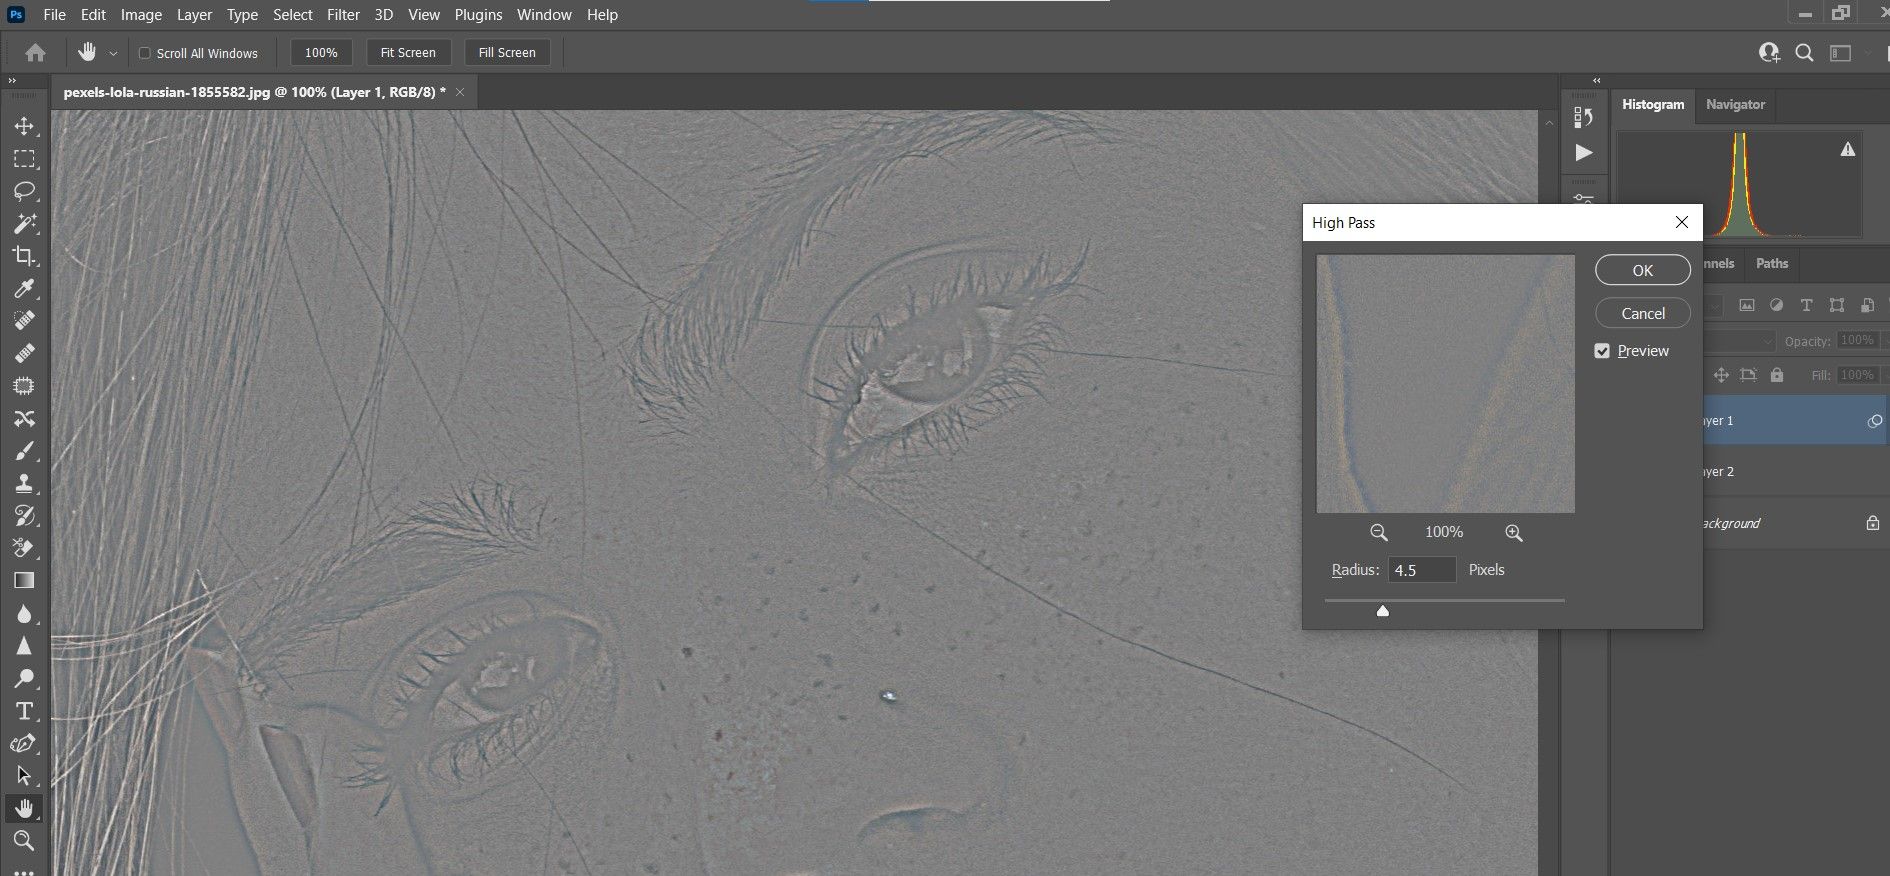
Go to Filter > Other > High Pass.
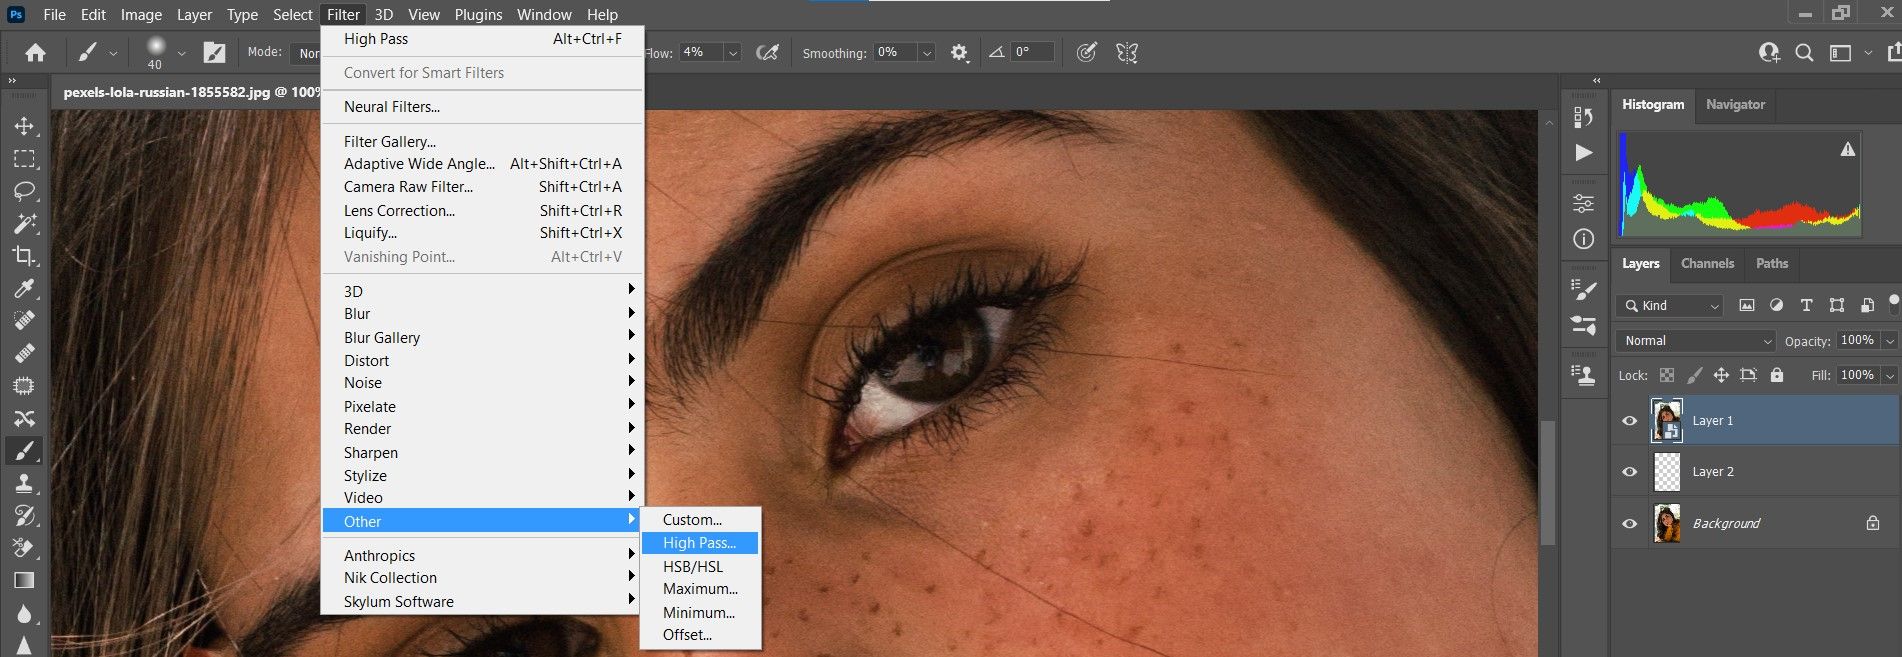
-
In the High Pass popup menu, move the Radius all the way to the left to .1. Then, gradually move the Radius to the right until the dark patches become visible. We used a Radius of 4.5 for this image. Click OK.
-
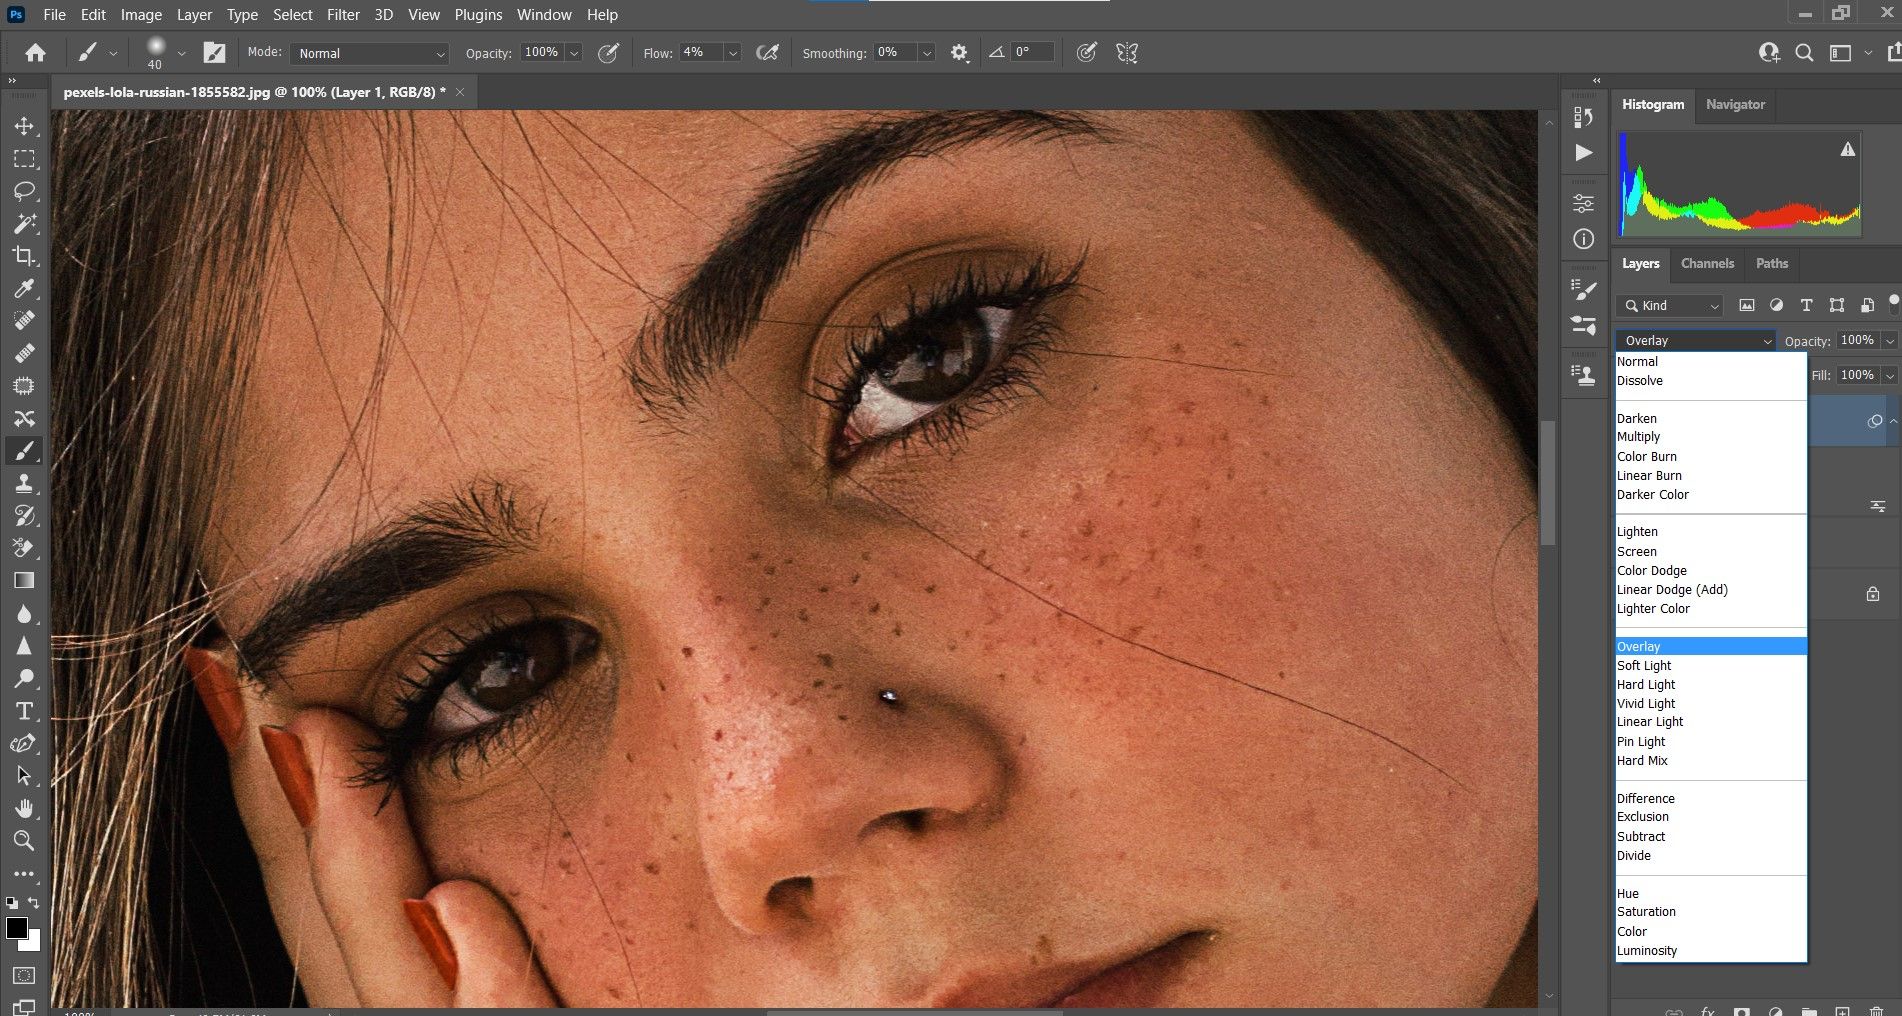
Change the Blend Mode from Normal to Overlay.
- Link Layer 1 to Layer 2 by moving your mouse or pen between the two layers while holding the Alt key until you see the box with the down arrow appear.
-
Then, left-click to accept. This creates a clipping mask that will be indicated by the down arrow. It should now be showing on Layer 1 at the top.

-
Select Layer 2. Select the Eyedropper tool by clicking the tool or by pressing the I key. Make sure the Sample Size is 5x5 Average and the Sample is Current & Below.
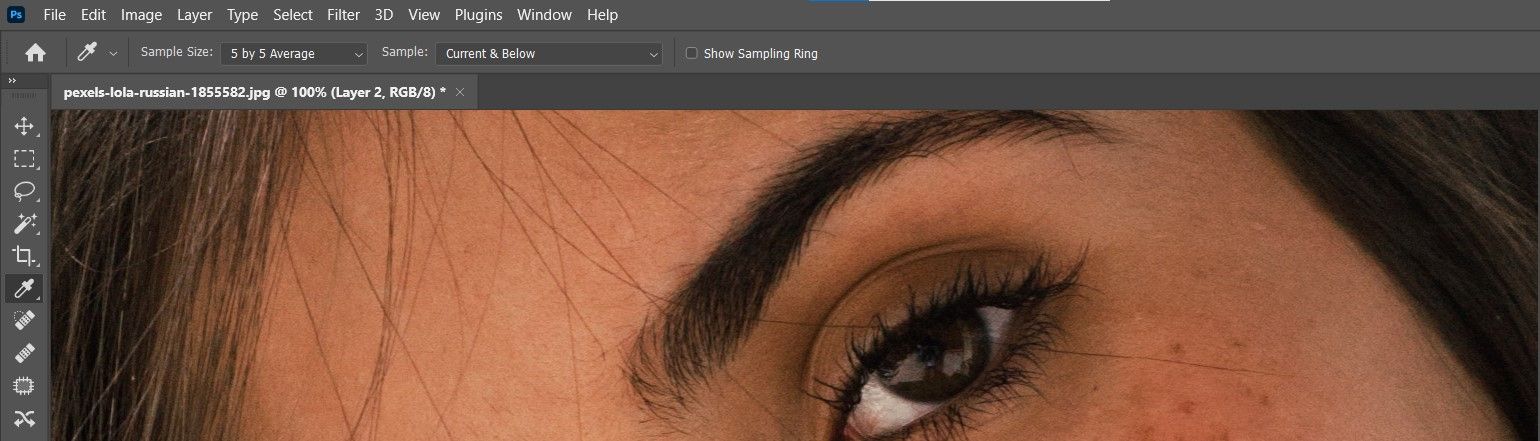
- Press B for the Brush tool. Press Alt to sample the lighter areas just below the dark patches, and then paint over the dark patches. The brush Flow should be set to around 5 percent.


Let's see how our image turned out!
Before:

After:

Each New Skill Learned in Photoshop Adds to the Possibilities

In this tutorial, we learned three different methods for enhancing the eyes in Photoshop. Each of these techniques is extremely useful for its intended use.
The good news is, all three of these methods can be applied to the same image to get fantastic results. Try all three out on any one of these images to see what you can come up with.
We hope the takeaway from our tutorial is that editing using non-destructive means is the best way to ensure that particular edits won't have to be replicated time and time again on the same image.