Microsoft Word includes various tools for editing images, starting from cropping an image to making it transparent. This eliminates the need to use third-party applications for basic image touch-ups before adding to a Microsoft Word document.
In this article, you will learn how to edit an image in Microsoft Word using the tools at your disposal. Let's explore how to make images transparent, blur some part of it, adjust brightness/contrast, add alt text, change picture borders, define layout, and much more.
1. Changing Image Transparency in Microsoft Word
For an image to be used as a text background, it needs to be transparent. In recent versions of Microsoft Word, methods to make images transparent have changed, so following these steps will help you achieve that:
-
Navigate to Shapes in the Insert tab.
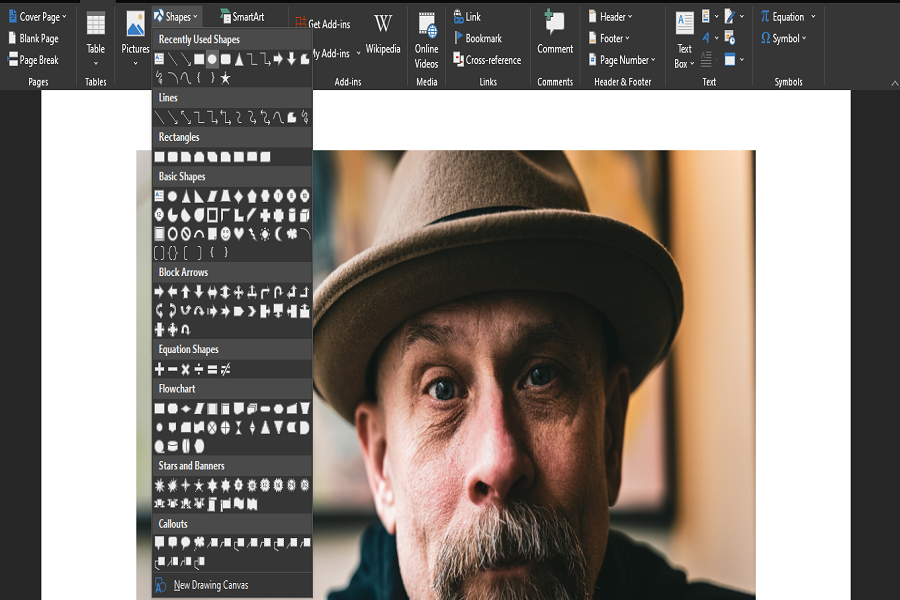
- Pick a shape and draw it to fit the image size you intend to make transparent.
-
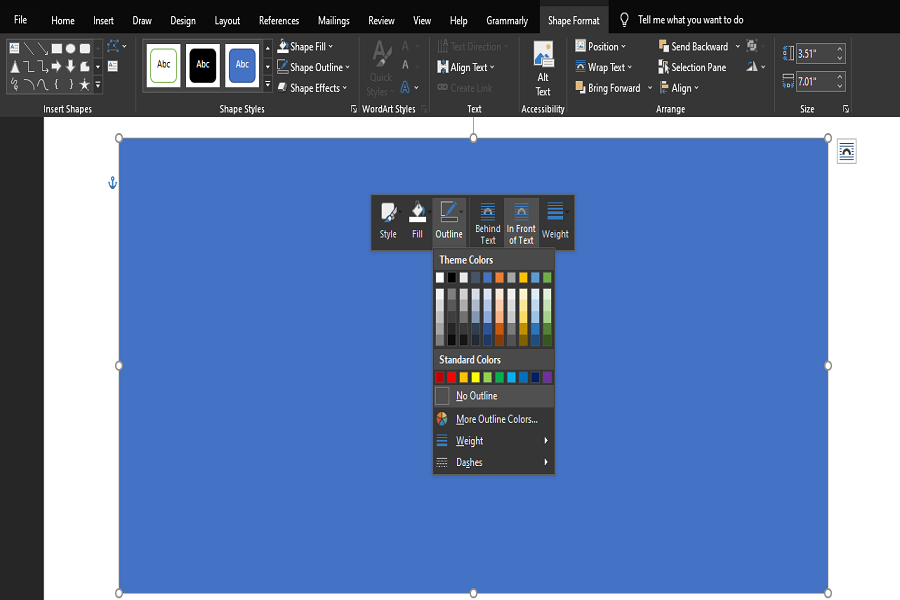
Then, right-click the shape and select No Outline in the Outline menu.
-
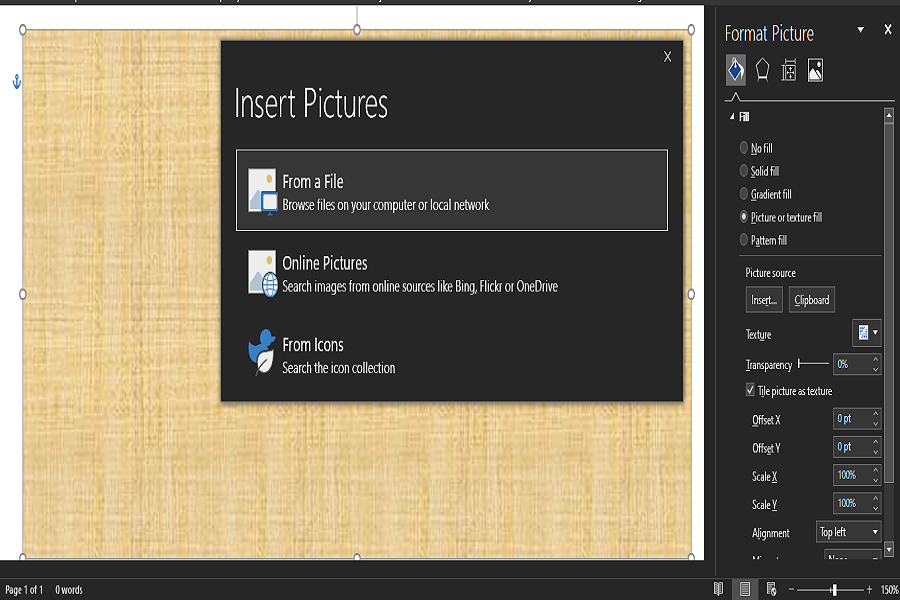
Then, right-click again and click the Format Shape in the menu.

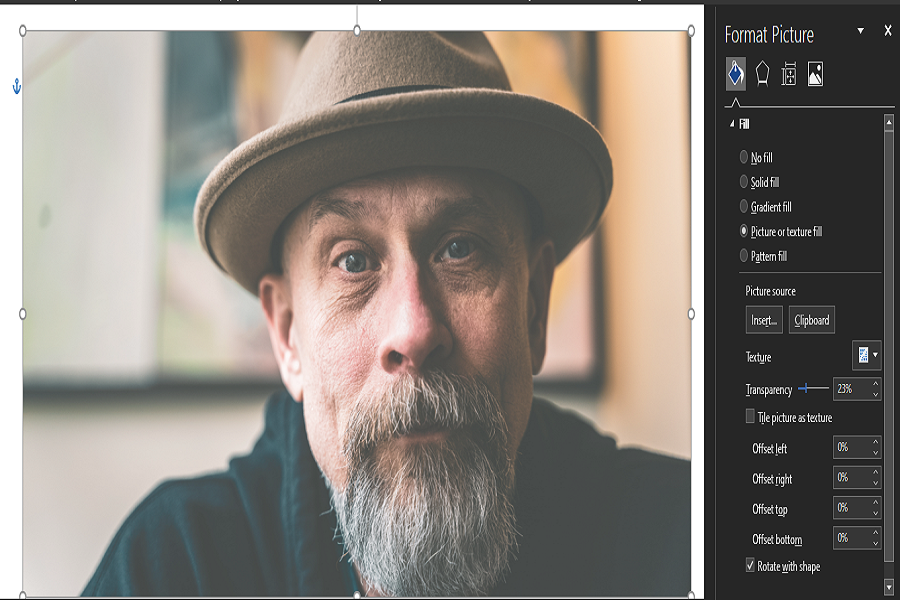
- In the Fill option on the right-sidebar, click Picture or texture fill.
-
Then click on the Insert button under Picture source to add an image you want to make transparent.
-
Use the Transparency slider to adjust the image transparency between -100% and 100% as required.


2. Adding Blur Effect to Images in Microsoft Word
Microsoft Word doesn't have a dedicated feature for blurring images. You can be creative with the image softening and texture effects to hide or blur specific parts of an image. Here's what you can do:
- Add an image that you want to blur.
- Navigate to Shapes.
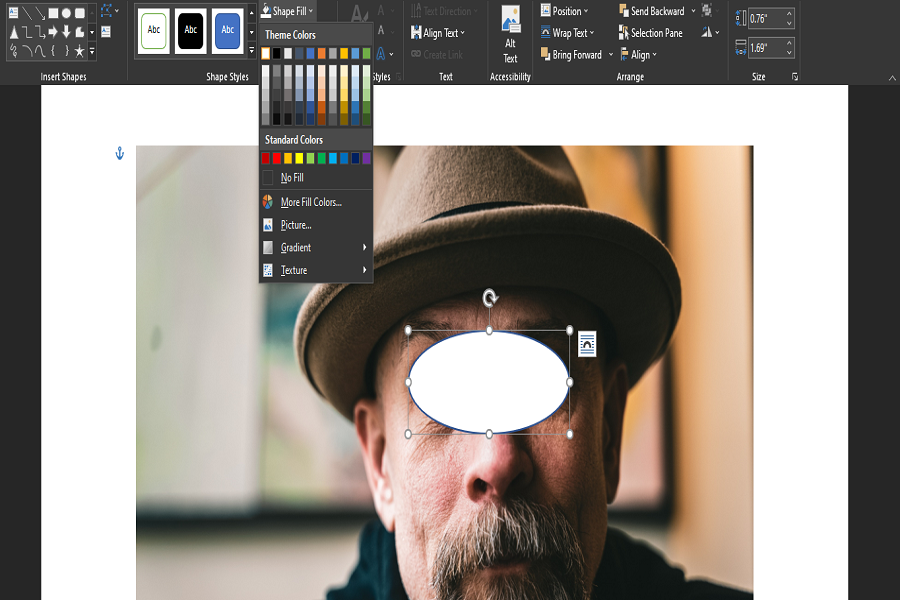
- Select a shape and draw it over the part of the image you want to blur.
-
Now, change the shape's color to White.
- Navigate to Shape Effects dropdown menu.
-
Go to the Soft Edges effect to apply it to the shape to get the blur effect.
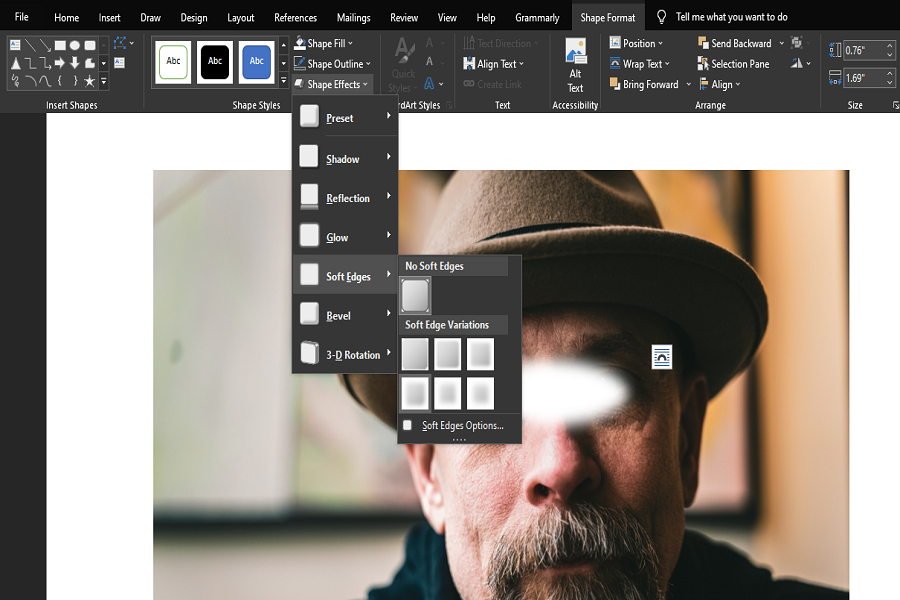
- With Soft Edge Variations, you can select the desired blur intensity.


3. Removing Picture Background in Microsoft Word
Microsoft Word allows you to remove the image background as well. All you have to do is add your image to the document, select the added image and click the Remove Background option in the upper left corner.
As a result, background areas will automatically be marked to be removed, but it would be pretty random. To remove the desired area, you must select it manually. By clicking on the Mark Areas to Keep tool, you can select the image section that you want to keep and remove the rest.

When you are satisfied with your selection, click on Keep Changes. Only the selected part will be retained, and the rest will be removed. Remember that this method explains how to remove a background from an image, not how to change the background color.

4. Changing Image Brightness, Contrast, and Sharpness in Microsoft Word
There are presets available in the Microsoft Word image editor that allows you to change a picture's brightness, contrast, and sharpness. To utilize these presets, follow these steps:
- Click the Corrections dropdown menu to open the Brightness/Contrast and Sharpen/Soften preset menus.
- To preview the changes, move the mouse cursor over each preset.
-
Apply the presets to your image by clicking on them.
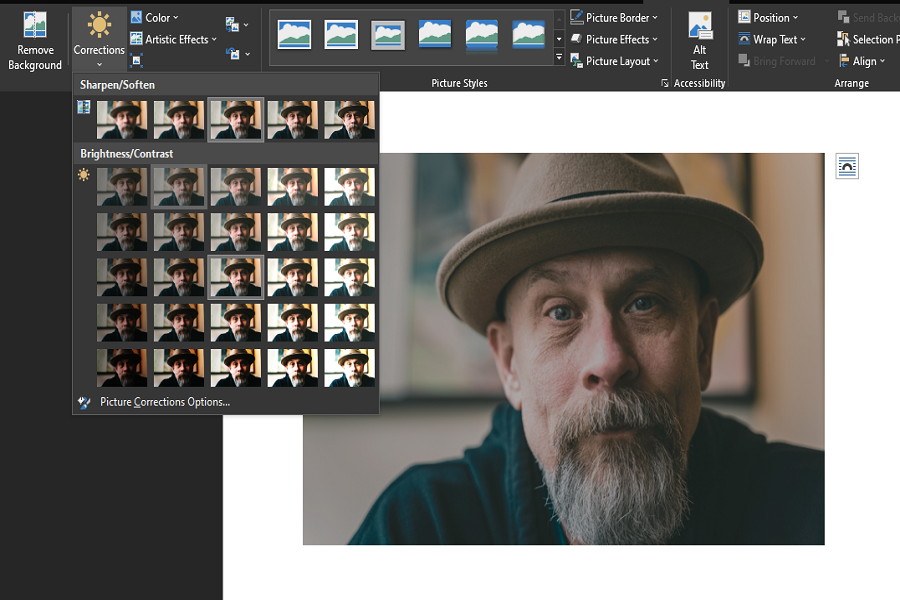

The editor also provides options to do these changes manually in a separate menu. To do that, click on the Corrections button and navigate to Picture Correction Options…
Doing so will open a Format Picture menu with the Picture Corrections option to use presets, change sharpness, brightness, and contrast manually. In addition, you can add color to images or crop them to make them appear more streamlined.
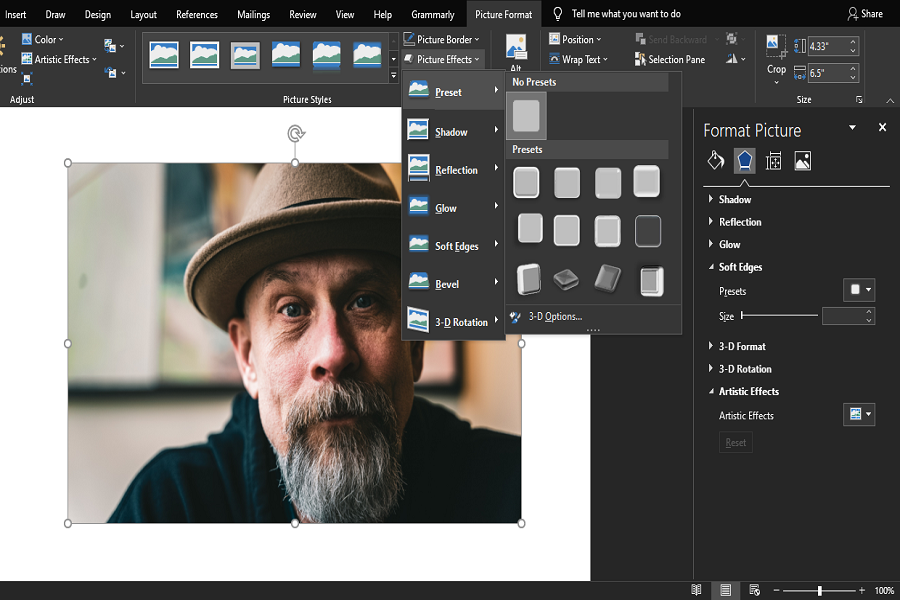
5. Adding Special Effects and Picture Styles to Images in Microsoft Word
When necessary, you can also apply special artistic effects and picture effects to images in Microsoft Word to give them a new, elegant appearance.
To add Artistic Effects, click on the Artistic Effects dropdown menu and hover your mouse cursor over each effect to preview. Click on the desired effect to apply on the image.

Other than these, you can access more of these effects with presets by clicking the Picture Effects menu. Picture styles are built-in frames that you can use to make your work more creative—useful when designing Presentations.
Follow the below steps to add Picture Effects:
- Select image in Microsoft Word.
- Click on the Picture Effects dropdown menu located in the middle of the Format toolbar.
- To view the preview of your favorite style or preset, hover over it.
-
To apply any style, simply click on it.

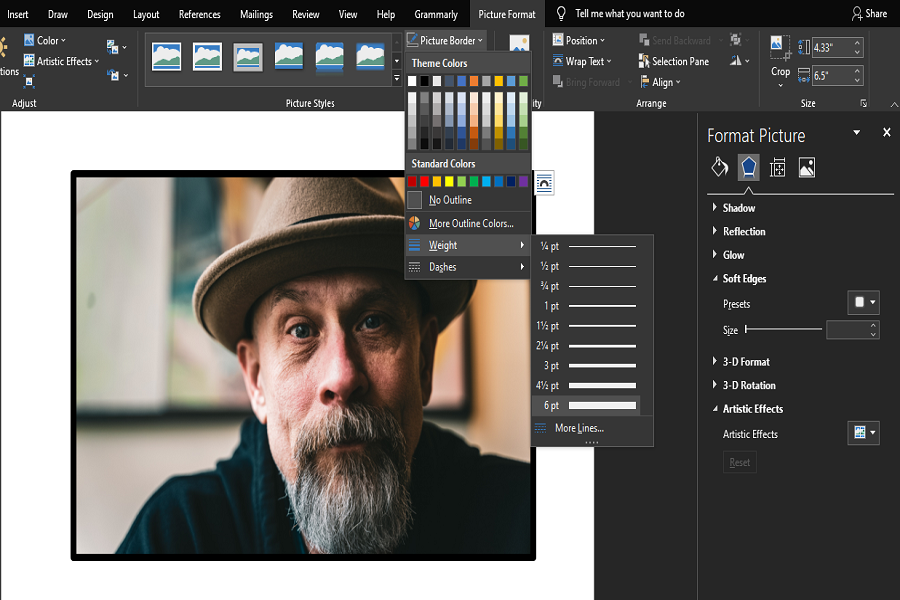
6. Adding Picture Border and Picture Layout to Images in Microsoft Word
Adding borders to an image is another useful image editing feature available in Microsoft Word. In case you haven't used it before, here's how you can use it:
- Click on the Picture Border dropdown menu located just above Picture Effects after selecting your image.
- Choose the border color of your choice.
-
To select the border thickness, use the Weight option.
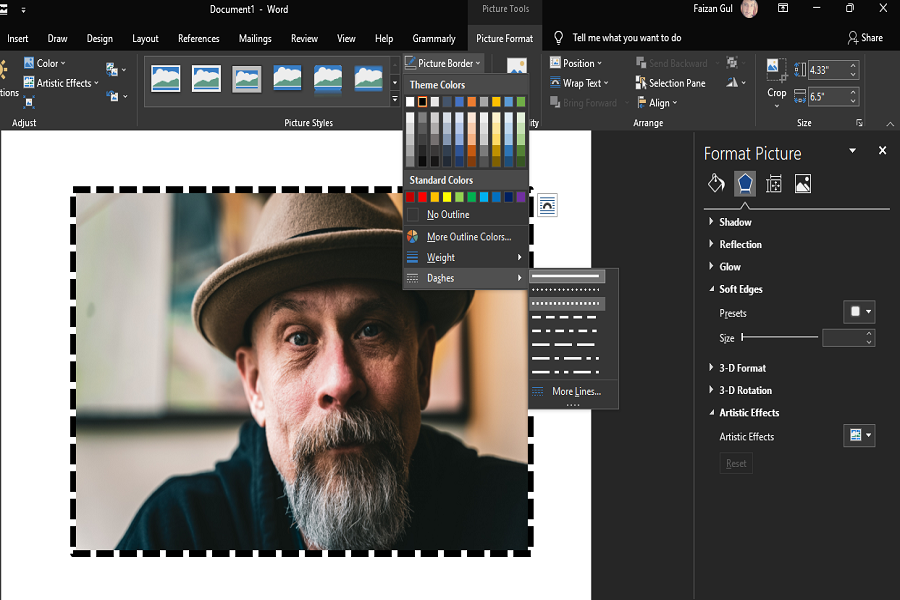
- Change border style in the Dashes option.
-
To customize border style, navigate to Dashes > More Lines.


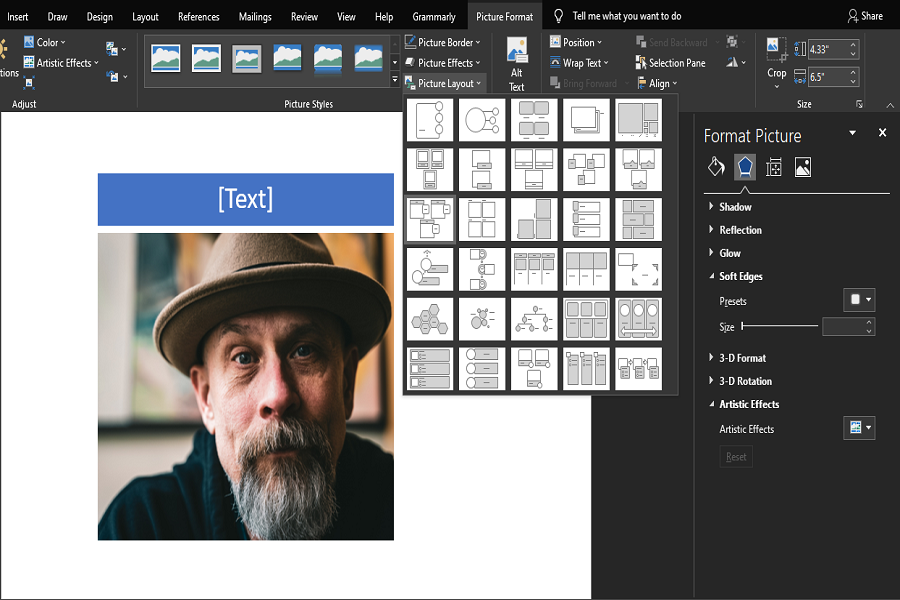
The Picture Layout tool in Microsoft Word helps create captions and descriptions for images. In Microsoft Word, you can add textual information to your images by choosing preset designs.
To do that, follow these steps:
- Select your image and click on the Picture Layout dropdown menu below Picture Effects.
- Select the desired layout from the menu.
-
Once selected, you can edit text and set the layout's frame colors, among other things.

7. Adding Alt Text to Images in Microsoft Word
The alt text describes the image if the file to which it has been rendered does not load on time. It explains what the image is all about.
In just a few easy steps, you can add Alt Text to any image in Microsoft Word:
- Double-click the image to open Word's picture editing tools
- Click the Alt Text option.
-
Write a description in the text box.


Microsoft Word can also generate an automatic description for you. For that, click Generate a description for me.
8. How to Resize an Image in Microsoft Word
Microsoft Word offers a dedicated resizing feature that allows you to resize any image to meet a particular format or size requirement. Follow the below steps to resize an image in Microsoft Word:
- Right-click on the image and click the Size and Position option.
-
In the Size tab, you can manually enter the Height and Width values to resize the image.
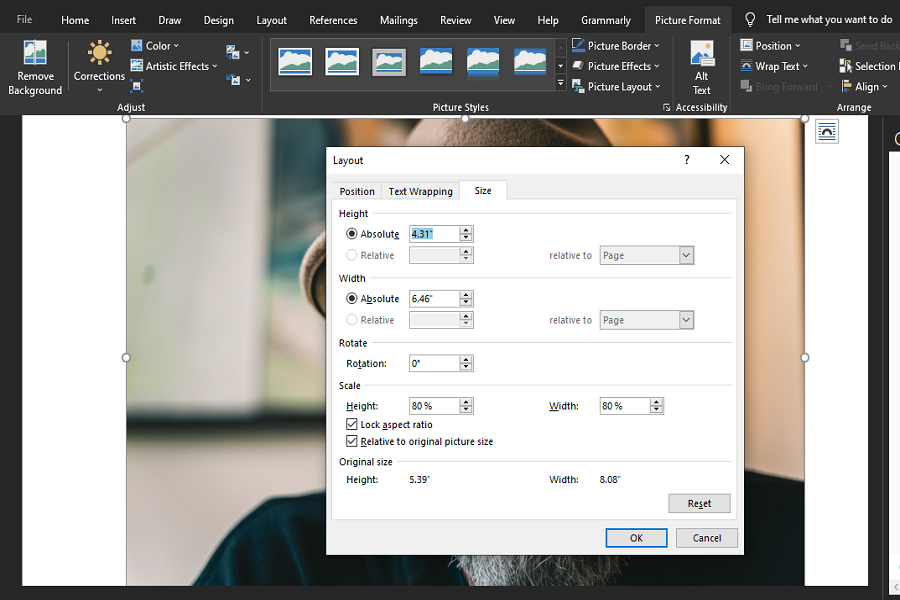

Keep the Lock aspect ratio button checked if you want the width to change relative to height. If you have already thought of specific height and width values, don't forget to uncheck this box.
When resizing images with the aspect ratio not locked, you risk stretching the image or dragging it unusually, so be cautious when doing that.
Enhance Your Images in Microsoft Word
You can now make basic image edits in Microsoft Word. However, if you want to create professional edits, you'll probably have to use design software since Microsoft Word's editing functionality is pretty limited.
When you add or delete text in a Microsoft Word document, do your images lose their position? You can prevent your images from moving by restricting editing options, adding images as watermarks, and fixing image positions on the page.