When editing footage, your first pass sets the stage for the rest of your project timeline. Staying organized and focused from square one charts a clear course for success, allowing you to tell your story effectively and effortlessly.
But first, you'll need to decide which takes deserve the spotlight in your project. Here, we'll explain how you can make the most out of your first pass when editing with Adobe Premiere Pro.
Getting Started With Subclips in Premiere Pro
There are many ways to start culling your footage and pulling choice bits out of the muck. Subclipping them involves scrubbing through each piece of footage in the source monitor and isolating only the good stuff. But how do you do this?
First, double-click on the footage that you want to pare down in the bin. In the Source Monitor, use the I and O keys to bracket the first piece that you would like to save for your editorial rounds.

Hitting Ctrl + U saves your selection as a subclip in the same bin, allowing you to work quickly and efficiently through the pile.
How to Start a First Assembly Cut
Once you've got your assets organized and ready for action, you can finally begin your work. Your first assembly will form the backbone of your project—it will give you something to build upon and embellish as you continue through to the final delivery.
This phase of the operation is your chance to take a looser approach without the pressure of knowing exactly how the project is going to look at the end. Explore, audition, and feel your way through intuitively.
First, you will want to lay your governing material down into the timeline. In a narrative context, you will have your script to guide you during this stage. For a music video, the audio bed will give you direction. Documentary work may be a bit more freeform; it all depends on what you happen to be working with.

Now, you can start adding each building block—each piece of dialogue, for example, until scene one is complete. Forget about B-roll and other overlays that will eventually be used to smooth the transitions between each piece of footage. All of that will come in time.
The assembly cut is a matter of utility; it does not have to be perfect, only complete. Once the entire project exists in a rudimentary sense in front of you, going back through and refining the hiccups and jump-cuts will be much easier.
Finessing the Assembly Into Your First Pass
The assembly is your time to ruminate with your source material. Now, you get to turn it into something polished and professional.

Jump cuts are inevitable consequences of a creative editor mixing and matching the best parts of every performance, even if not shot sequentially.
Cutaways, inserts, and reaction shots will all be means of addressing any edit point that deviates from the continuity of the take. The Rolling Edit tool, the Ripple Edit tool, and the Slip and Slide tools will quickly become your favorites.
This will also be your time to begin adorning your project with all of the fun, cosmetic material that you and your team acquired over the course of production.
This can include drone footage sweeping across the scene, beauty shots of the landscape, as well as important props. You can also use any other moments that were gathered and may not yet have a pre-determined, planned application in your original conception of the story. Once everything in the timeline is in place and ready to go, making these creative decisions is easy and exciting.
Putting on the Ritz: Sound and Color
By this point, your first draft of the project should be starting to look and feel like a real movie. What next?
The non-negotiable basics for any project, fiction or non-fiction, will be improving the sound and the grade of each shot. Sound and color work together to make your final presentation much more professional and engaging. If you're lucky enough to be working with a colorist or an audio engineer, all the better. Knowing how to get by on your own will be an invaluable failsafe for one working on a budget, however.
This does not take compound special effects, such as composite scenes involving green screens, motion capture devices, CGI, or other more involved ways of immersing the audience in your vision, of course.
How to Edit Audio in Premiere Pro
The quality of the audio in your project will, in an ideal sense, be a priority during production itself. Tying everything together in post-production will then be a matter of evening out the levels of each shot.
Once this has been done, creative choices may be made that take advantage of your ability to disrupt with a jarring uptick in volume, or bring the viewer in closer as one character whispers urgently to another.

Basic audio editing in Premiere Pro is easy once you've expanded the waveforms of each audio clip. You can do so by clicking and dragging the bottom edge of the track that contains the audio that you want to edit.

You can lift the levels up and down globally, or you can use the Pen tool to pinpoint keyframes between peaks and valleys that you would like to make more uniform.

If your audio is muffled or if you have an air conditioner humming in the background, adjusting your EQs will help you tune out frequencies that distract from the drama. You can find the Parametric Equalizer under Audio Effects in the Effects panel. Select the clip and question and experiment until you find some relief.
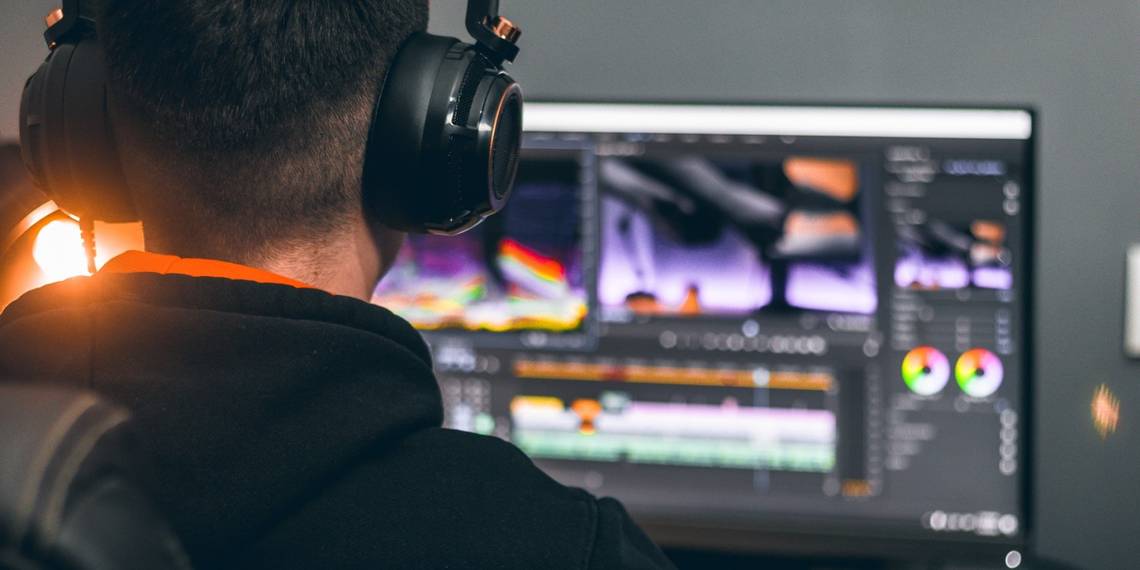
How to Use Lumetri Color in Premiere Pro
Also in the Effects panel will be Lumetri Color, an easy-to-use, in-line feature that gives you plenty of control over the color science of your footage without leaving Premiere.

The White Balance, Exposure, Saturation, and Lumatic Parameters will likely be your first areas of interest here. Meanwhile, the Color Wheels give you a way to tone the scene, grading for emotion and impact once the technical aberrations in front of you have been taken care of.
The Project Is in the Bag—or Is It?
The tell-tale heart of a true filmmaker is never satisfied with their work. When is the film ready for the world to see?
If you're anything like us, the answer is an emphatic "Never." With your first cut ready to go, taking your masterpiece from solid to excellent will be so easy and gratifying, you'll never want to be done with it.