
With the explosion of ChatGPT, many people were impressed by the power and utility of OpenAI's GPT technology. This sparked the idea of making an automatic ChatGPT that answers and generates its prompts to achieve a specific goal, an idea that evolved into Auto-GPT.
Since Auto-GPT is still under development, you'll only be able to access Auto-GPT just how a developer would—which may require a bit of technical know-how.
To make things easier for you, here is a step-by-step guide on how to download and install Auto-GPT.
Step 1: Download Python and AutoGPT
Despite what you may have read elsewhere, installing Auto-GPT is pretty straightforward.
Let's begin by manually downloading the latest version of Python 3 and the Auto-GPT executable from GitHub. You'll first want to download and install Python 3 since your PC will need it to read and execute files within Auto-GPT.
Download: Python 3 (Free)
Once downloaded, double-click on the file to install Python. Make sure to tick the box for Add python.exe to PATH. This will enable your PC to use Python anywhere in your PC. After that, go ahead and click Install Now.

After Installing Python, you can download Auto-GPT from GitHub.
Download: Auto-GPT (Free)
Source code.zip is for Windows, while Source code.tar.gz is for Linux and MacOS. First, download the file for your operating system, then copy the folder and paste it into your desired location.
Step 2: Configure Auto-GPT
Since AutoGPT uses OpenAI's GPT model, you must generate an API key from OpenAI to act as your credential to use their product.
Keep in mind that your account on ChatGPT is different from an OpenAI account. You must register for an OpenAI account to access an OpenAI API. Now:
- After registration and login, click on Personal in the top right corner of the website and select View API keys. This will send you to the OpenAI API keys management, where you can manage your API keys.
-
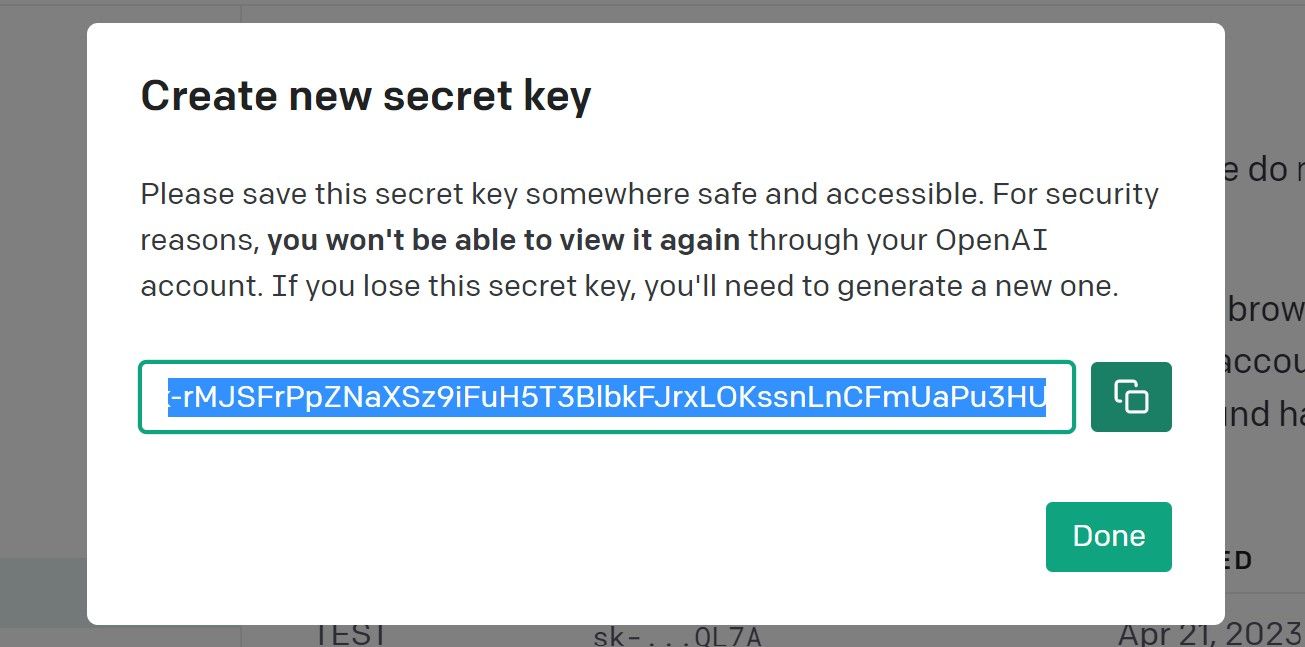
To create a key, click Create new secret key, input a name, then click Create secret key. You can then copy the API key by using CTRL + C or clicking the copy icon on the right.
-
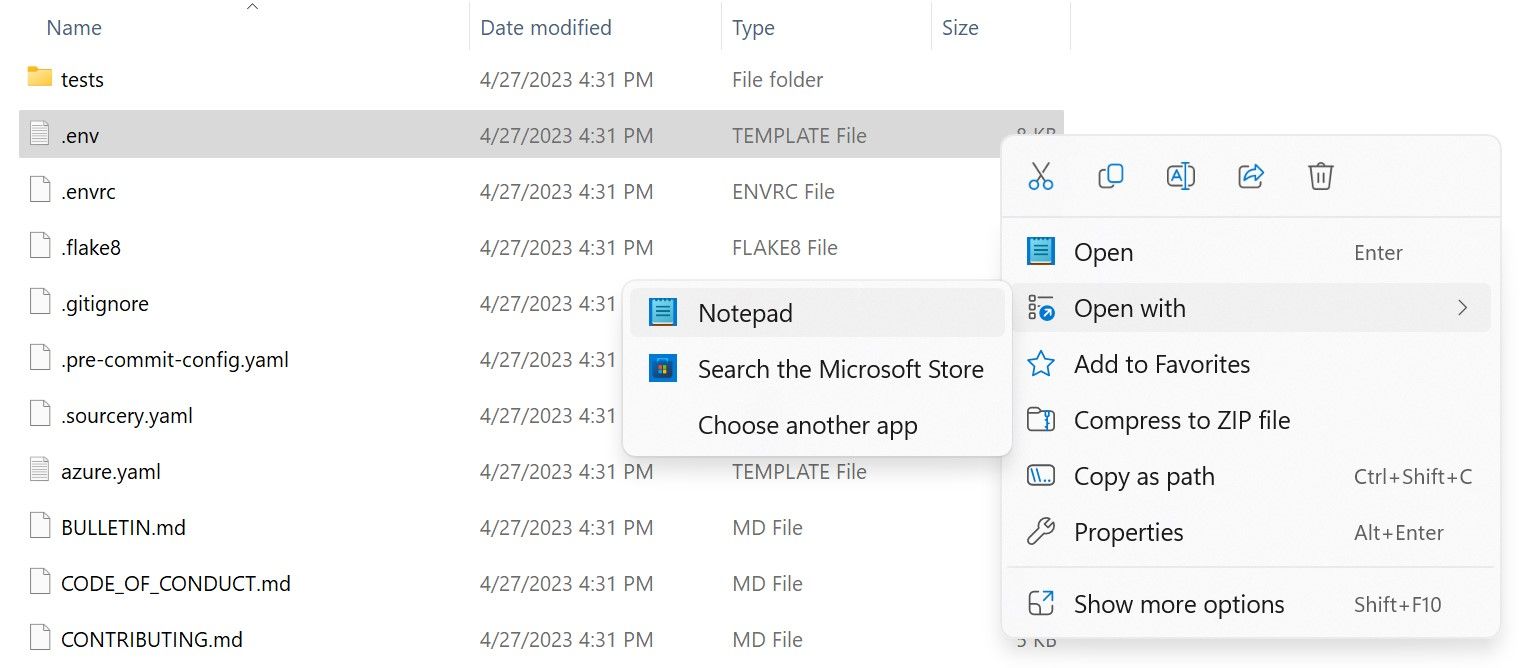
Now you have your API key, go to your Auto-GPT folder and open the .env file using Notepad.
-
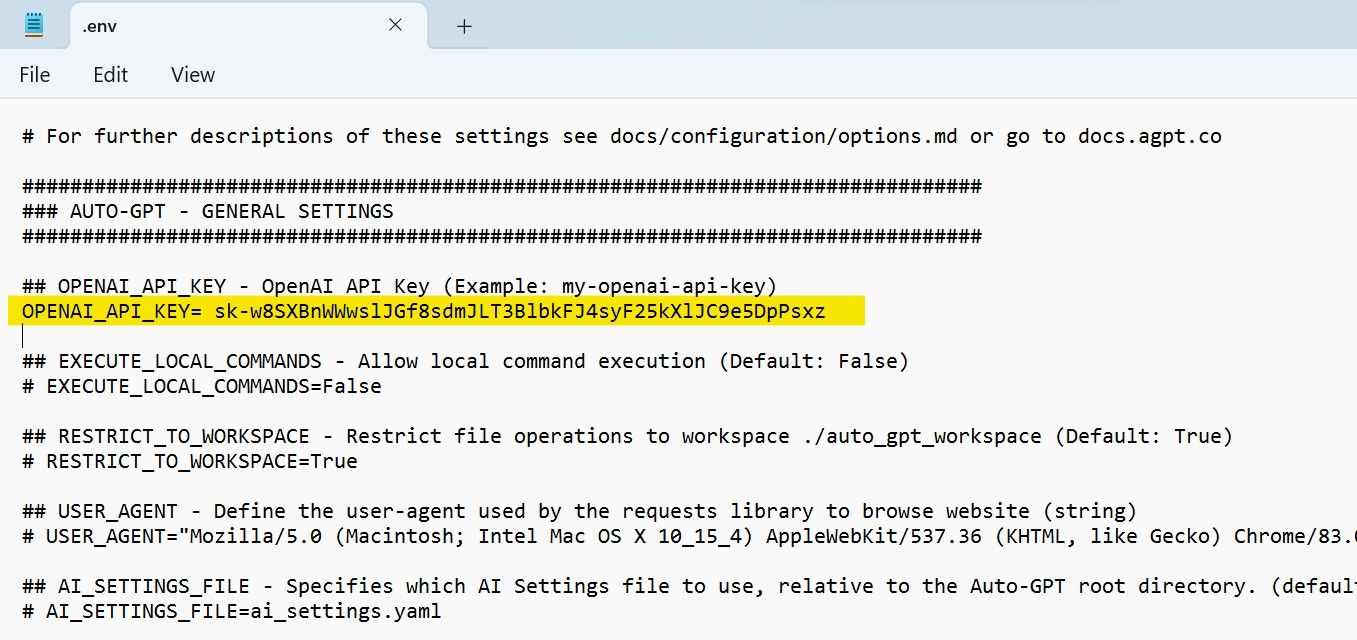
Once opened, scroll down to the LLM PROVIDER section. There you will see OPENAI_API_KEY. Replace the placeholder with the API key you've just copied, then save the file.


This file is where all your service credentials are placed, so if you want to use a backend vector database to boost AI, you can set your product API keys here. But if you only want to use AutoGPT, the OpenAI API key should be enough.
Step 3: Install Auto-GPT Dependencies
Now that you have configured Auto-GPT, it's time to install its dependencies through a terminal.
- To open a terminal in the Auto-GPT environment, right-click on the Auto-GPT folder, then select Open in Terminal.
-
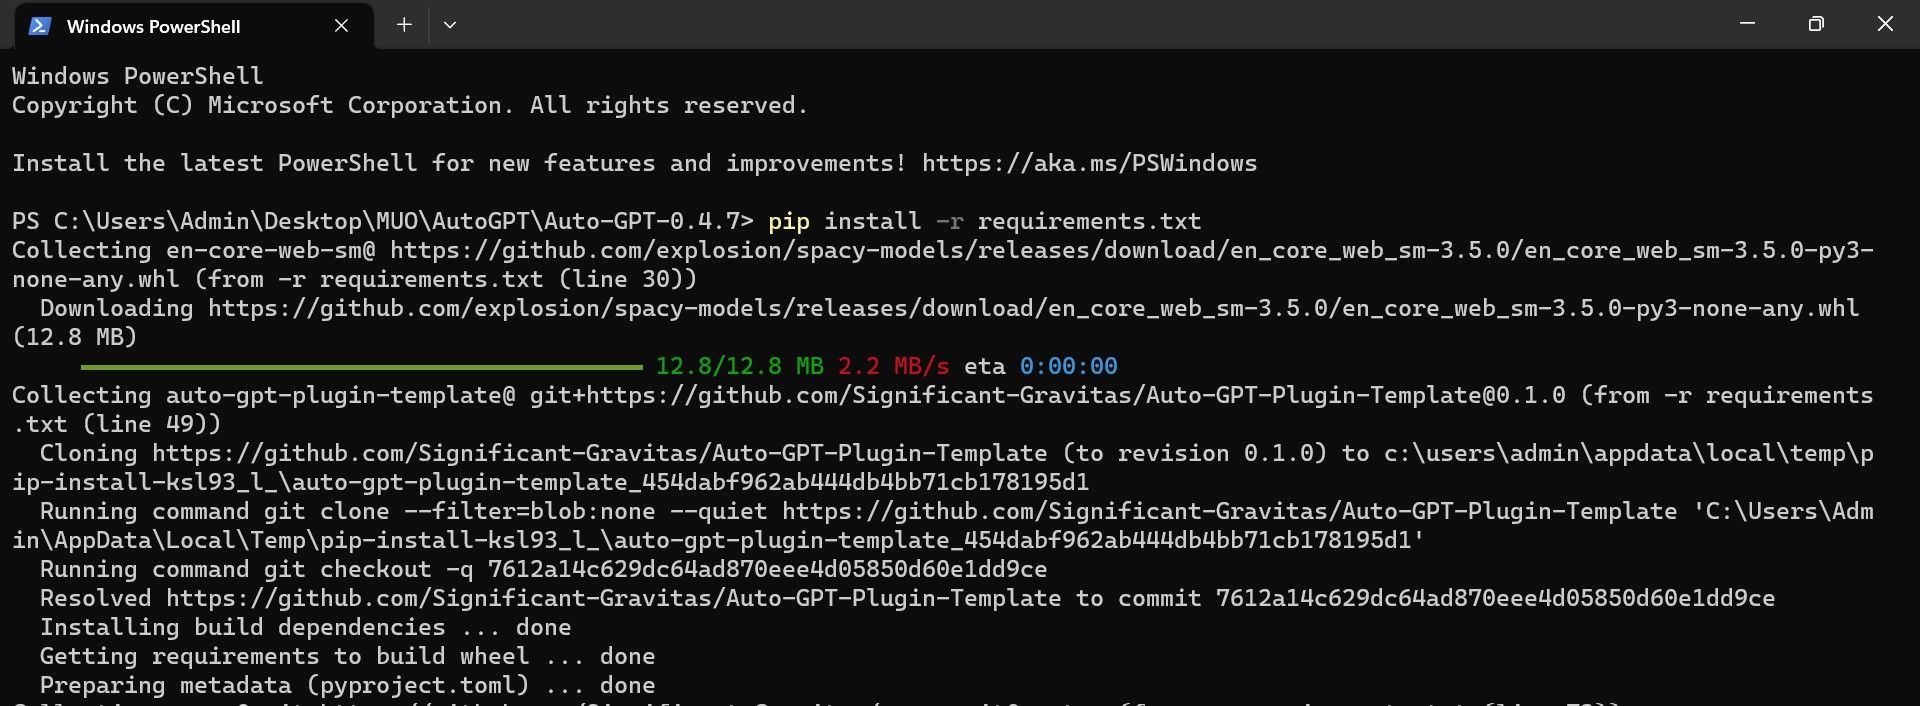
To install all the requirements needed for Auto-GPT to work, use the command:
pip install -r requirements.txt
-
Once you press enter, your terminal will download and install all the required dependencies.
-
After installation, try opening Auto-GPT using:
python -m autogpt
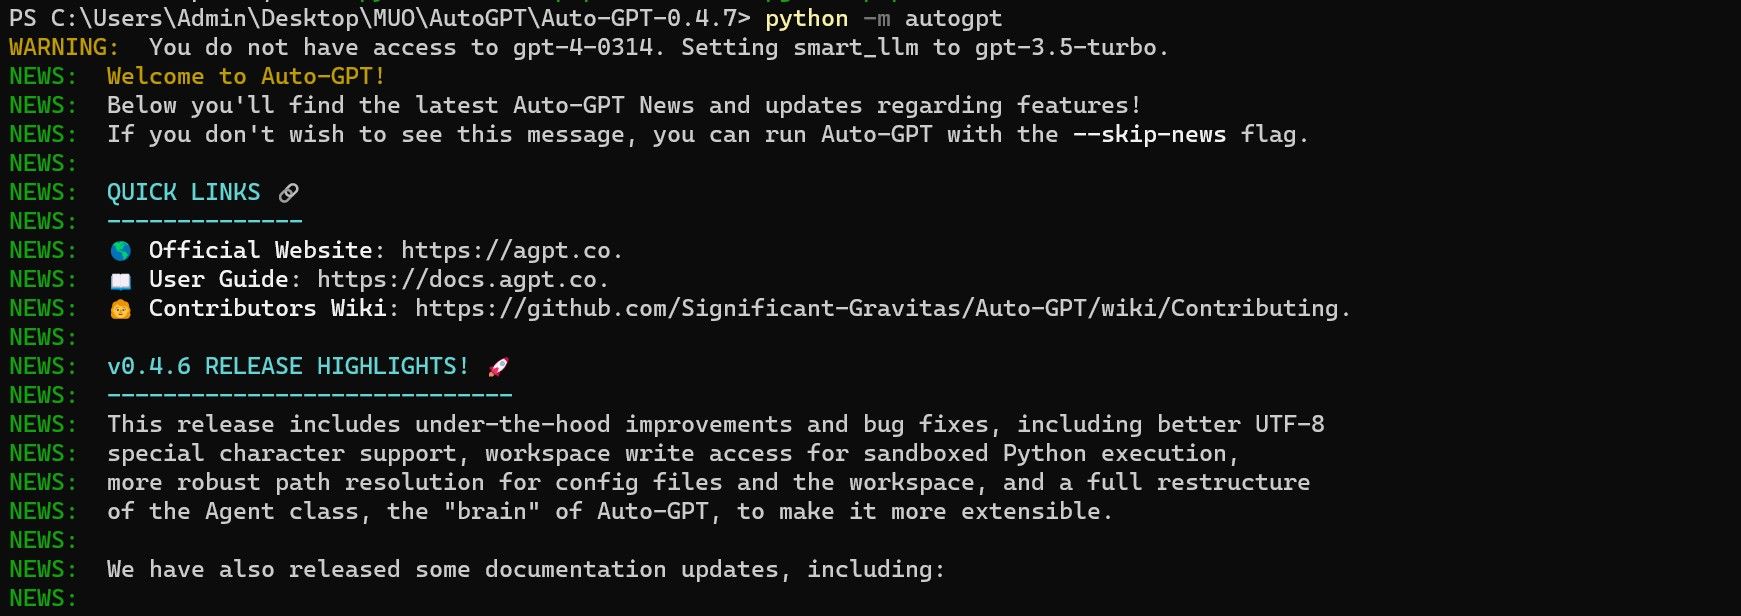


Congratulations! You have successfully Installed Auto-GPT.
How to Use Auto-GPT
Now that you have successfully installed Auto-GPT on your computer let's discuss how to use Auto-GPT.
When you first open Auto-GPT, you'll be given two options: Manual or Automatic mode. Automatic mode is the default mode where you'll only need to input what you want to be achieved. In this mode, AutoGPT will automatically assign the name of your AI assistant, its role, and its goals. Use this mode if you're not particularly knowledgeable about the process of achieving your goal.
But if you are knowledgeable, we suggest you use the Manual mode. This ensures that your goals are properly detailed, which makes the output more likely to mirror your expectations. To activate this mode, use the command:
--manual
After setting AutoGPT on Manual mode, it will ask you to name your AI assistant, then assign its role and five goals the AI should follow.
You can input any name you want. It doesn't affect Auto-GPT performance (as far as we know). After giving a name, try providing a clear and concise role, as this will set the AI's role.
Although you don't need to fill all five goals, it is still recommended that you do, as this will likely affect the efficiency of your AI.

In this example, we have named our AI assistant "Recipe-Generator." Its role is to make a recipe based on the top five ingredients readily available in the US. We've set the first three goals as parameters on what we expect the recipe will be and set the last two to tell Auto-GPT to save the file as TXT, then shutdown.

Once you give your last goal, you can hit enter for Auto-GPT to run.
While running, you can see the AI's thoughts, reasoning, plan, and criticism. For every action of the AI assistant, you will be asked to authorize its plan to execute. You can do so by typing "y" as yes.
If you want the AI to continue a number of times without asking you for authorization, you can type "y -(number actions authorized)." For example, if you want your AI assistant to continue executing the following five steps, you can type "y -5" and hit enter.
One advantage of Auto-GPT over ChatGPT is that it is free to probe through the internet. As you can see here, our Recipe-Generator assistant downloads a file.

This makes this AI potentially dangerous; that's why Auto-GPT always asks you for authorization before executing plans. Always read and understand your AI assistant's thoughts, reasoning, and plan before authorizing its actions.
After every action of the AI, you can also provide your feedback to help the AI with its task.

In this screenshot, our AI assistant has looped through the same step three times. So, we tell the AI to skip browsing for recipes and start creating the output.
After making the recipe, our AI has now completed its task.

To view the output, go to your Auto-GPT folder and open auto-gpt-workspace.

Success! Our AI assistant has given us a recipe for a chicken pot pie casserole.
Auto-GPT Limitations
Although Auto-GPT's automation works, it's still quite limited. Through a series of testing, we discovered that Auto-GPT couldn't handle anything complex. Most of the time, it continued looping around the same thought and reasoning. Although you can keep providing helpful prompts, it feels more like ChatGPT stuck in a loop instead of the autonomous assistant it is meant to be.
Many of these loopings are caused by an endless cycle of generating prompts for a problem, querying the internet about the problem, identifying what is true from false, then trying to solve the problem with the information gathered.
The problem with Generative Pre-trained Models is that they are expected to hallucinate occasionally (AI hallucination refers to an AI tool outputting false information but presenting it as fact). If the GPT model hallucinates, Auto-GPT will likely continue looping as it looks to solve problems generated from false info. The more complex the problem is, the more likely that Auto-GPT and similar programs will get stuck in this loop.
Other problems that contribute to Auto-GPT getting stuck are the model struggling to handle or navigate website advertising and cookies, login pages, and all kinds of pop-ups (the stuff humans hate, too!).
Using GPT-4 will noticeably reduce hallucinations and improve overall performance. However, its context size is still limited to 8,000 tokens. After reaching the 8k-token mark, GPT-4 will start losing context starting from the beginning of the task, affecting results. Furthermore, using GPT-4 is several times pricier than GPT-3.5 (each GPT token has a cost). You'll want to set limits through your API account.
The Future of Auto-GPT
Ever since the start of August 2023, the Auto-GPT GitHub project has continuously gained support gaining over 140,000 GitHub Starts. Developments and updates don't seem to be slowing down. Future developments are expected to provide more functionalities, bug fixes, and improved stability in conjunction with the release of GPT-4 and its 32K model.
With that said, Auto-GPT is still in its early development stage, and GPT-4 is still on its 8k model. As for now, Auto-GPT should not be used as a tool for any professional or business applications. Anyone using it should only be for the purpose of learning and experimentation.