In this tutorial, we are going to explore the classic dodge and burn tools in Photoshop. But instead of using some of the more common methods for this workflow, we will use the Linear Light blend mode to sculpt the light and dark areas of the image.
We’ll walk you through all of the steps to dodge and burn a portrait, and we'll also challenge you to try out the technique on a landscape image.
What Is Dodging and Burning?

Dodging and burning refers to the technique used in the film and darkroom days to brighten (dodge) or to darken (burn) an image. It was accomplished by placing the print underneath a light projector until the image appeared fully exposed on the print.
To dodge certain areas of the photo, more light would be allowed to fall onto the print. On the other hand, burning meant that light was blocked from falling on specific areas for longer durations, either by using one’s hand, paper, or some other tool.
What Is the Linear Light Blend Mode?

The Linear Light blend mode is part of the Contrast group of blend modes in Photoshop. This particular mode prevents the whites from becoming pure whites, and the blacks from becoming pure blacks. This is helpful in preventing dodging and burning from going over the top, and keeps you from losing the finer details that may exist in the highlights and shadows.
Linear Light is part of the special modes in which the Fill adjustment slider actually affects the amount of color (or effect) differently than the Opacity slider. More precisely, a different set of algorithms is used.
This method creates another level of control that simply isn’t there with other dodging and burning techniques that use Photoshop’s default Dodge and Burn tools.
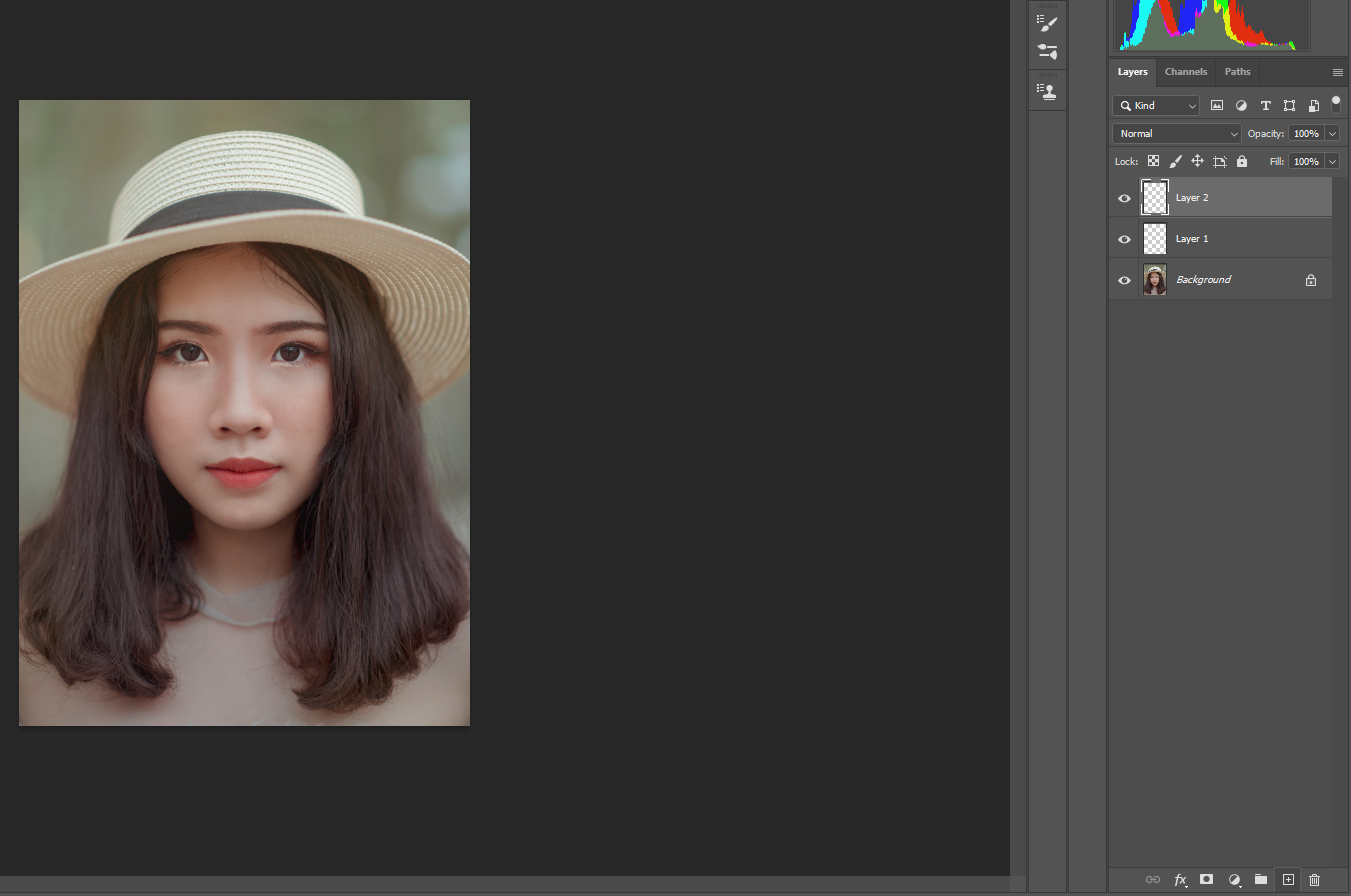
Dodging and Burning a Portrait
Let’s walk through the steps of dodging and burning using the Linear Light blend mode. We’ll be using an evenly exposed portrait, where there isn’t any strong light coming from either direction. But what we’ll do for this portrait is reimagine it as a scene with light coming in from the right.
To accomplish this, we will dodge (lighten) the right side of the image to represent more light falling from that direction. We’ll also burn (darken) the left side of the image, where the light will taper off into shadows.
Let’s get started!
You can download this image from Pexels and follow along.
-
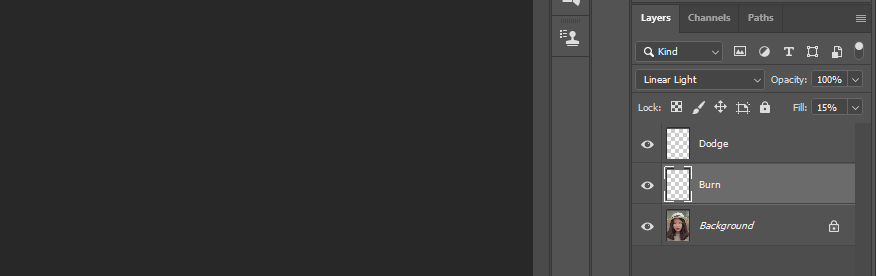
Create two blank layers by clicking on the Create a New Layer icon at the bottom right of the screen. Alternatively, press and hold Shift + Ctrl + N.
-
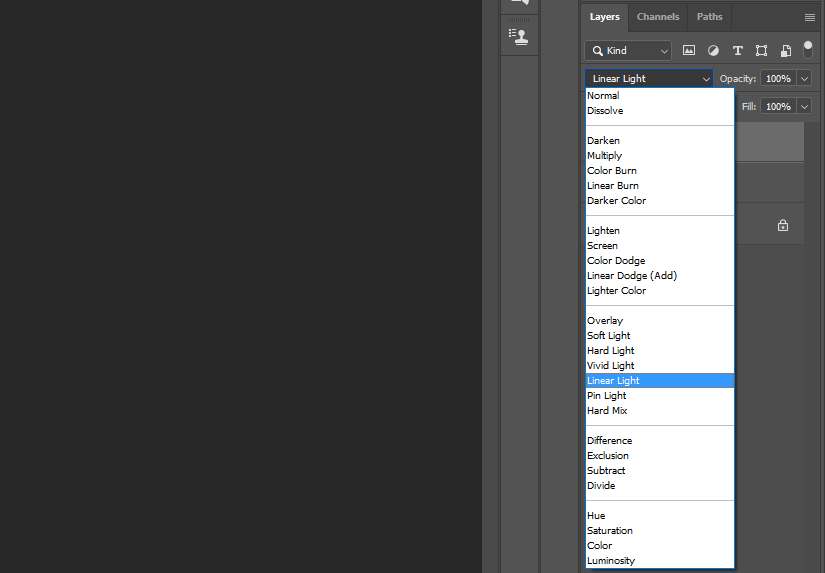
Change the blend mode of each layer to Linear Light.
-
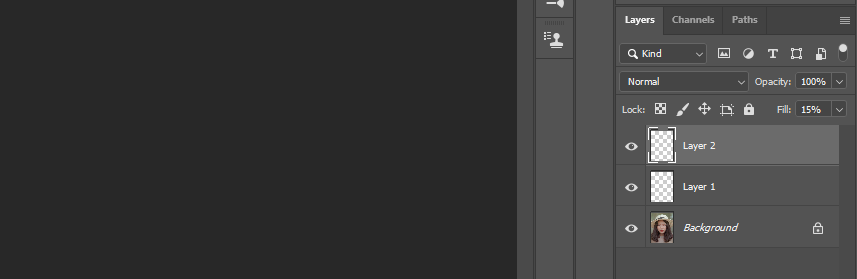
Change the Fill of each layer to 15 percent.
-
Rename the top layer to "Dodge" by double-clicking on layer two. Rename layer one to "Burn."
-
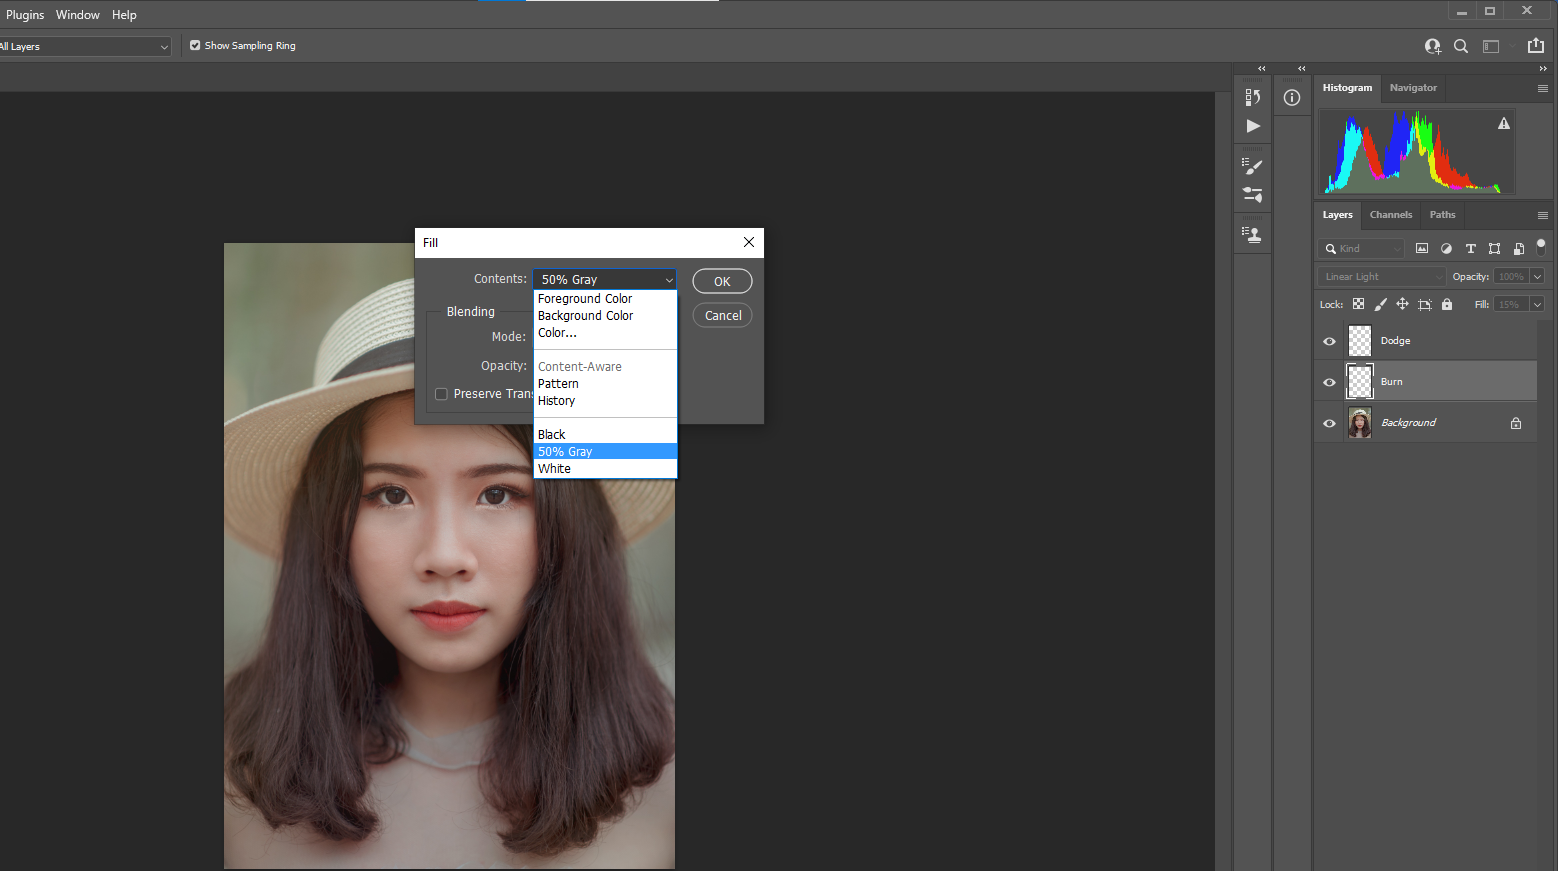
With the Burn layer selected, press and hold Shift + F5 and select 50 Percent Gray from the dropdown menu, leaving all options as they are. Repeat the same with the Dodge layer.
-
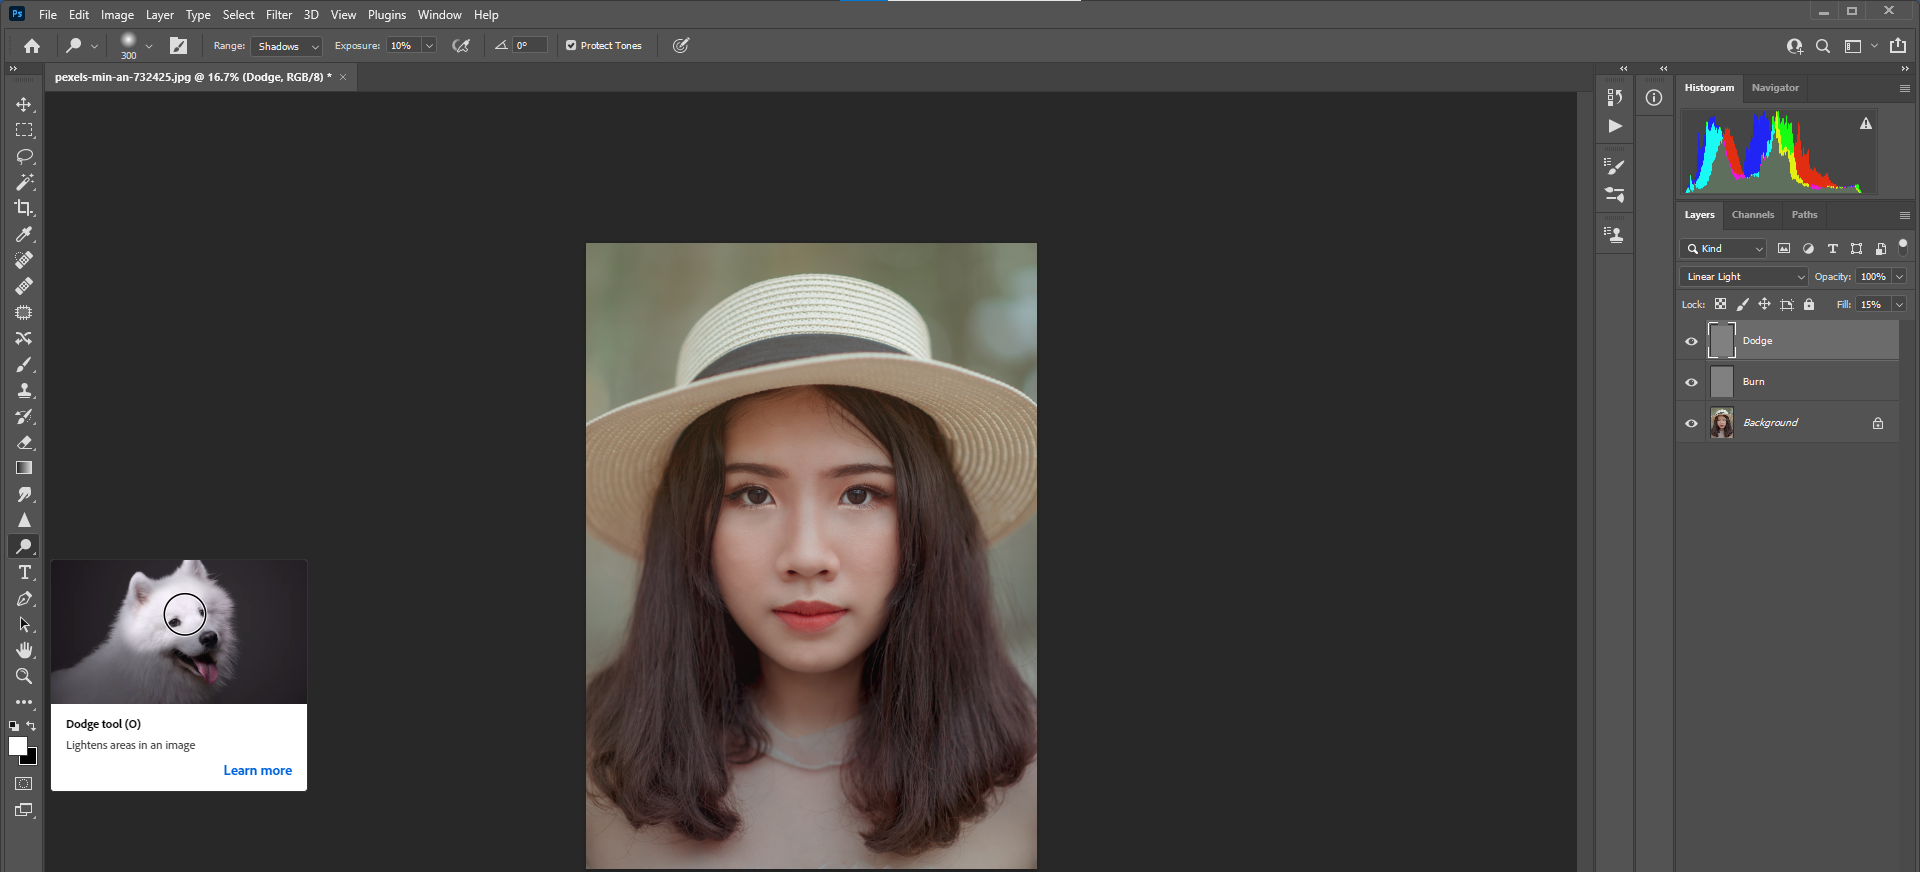
Press the O key to activate the Dodge and Burn tools. The menu will open on the left side of the panel.
-
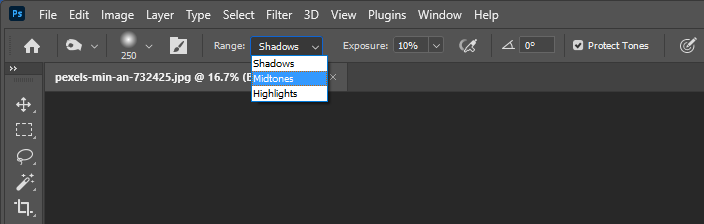
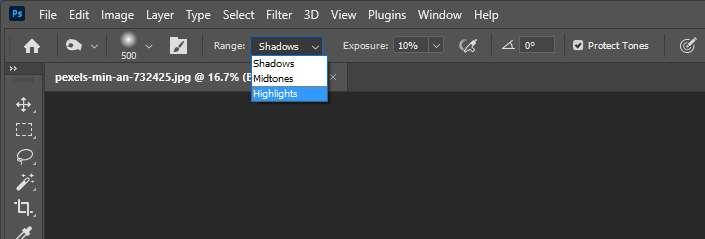
Click on the Burn layer, and select the Burn tool. Then, change Range to Midtones and set Exposure to 10 percent.
- With your mouse, start Burning where the shadows should be on the subject’s forehead and the left side of her hair and face. Use the bracket tools [ and ] to increase and decrease the brush size. Note that you will not see much of a change to the image—this is okay for now.
-
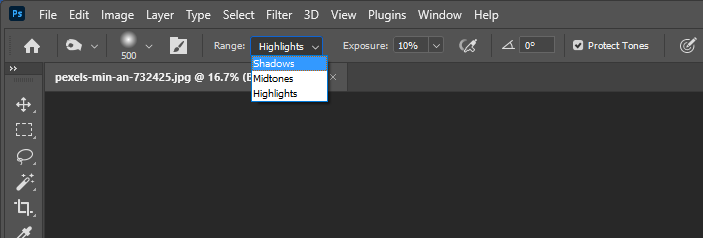
Change the Range to Highlights and paint over the same area.
-
Change the Range to Shadows and paint once more over the same area.
-
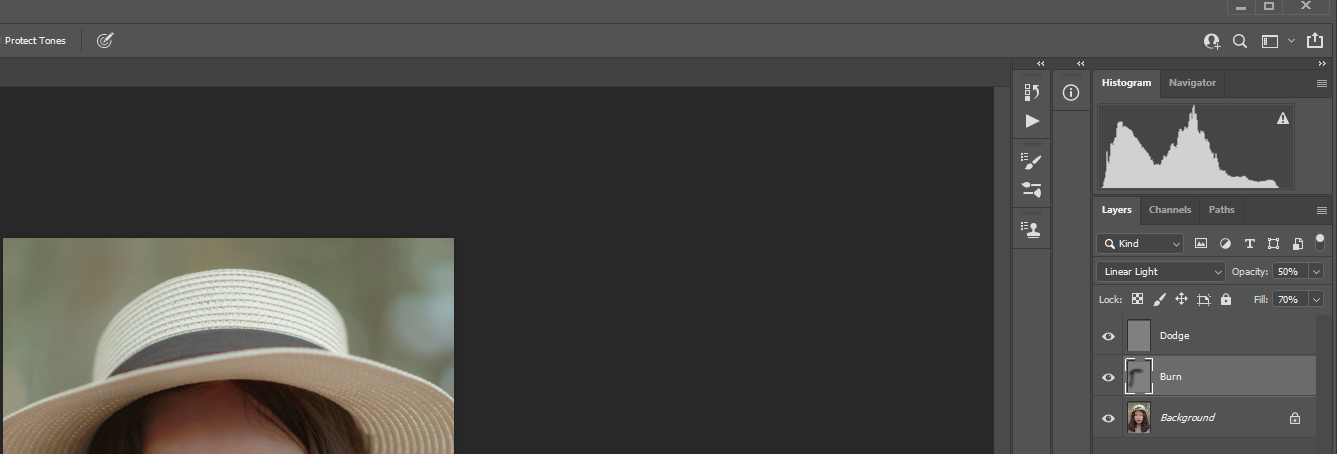
Go to the Burn layer and gradually move the Fill slider from the 15 percent point to the right. We stopped at 70 percent. Then, change the Opacity slider from 100 percent to 50 percent. You may need to adjust these values to fit your image.
- Select the Dodge layer, and change to the Dodge tool. Repeat steps seven through 10. But this time, paint over the right side of the subject’s face and hair.
-
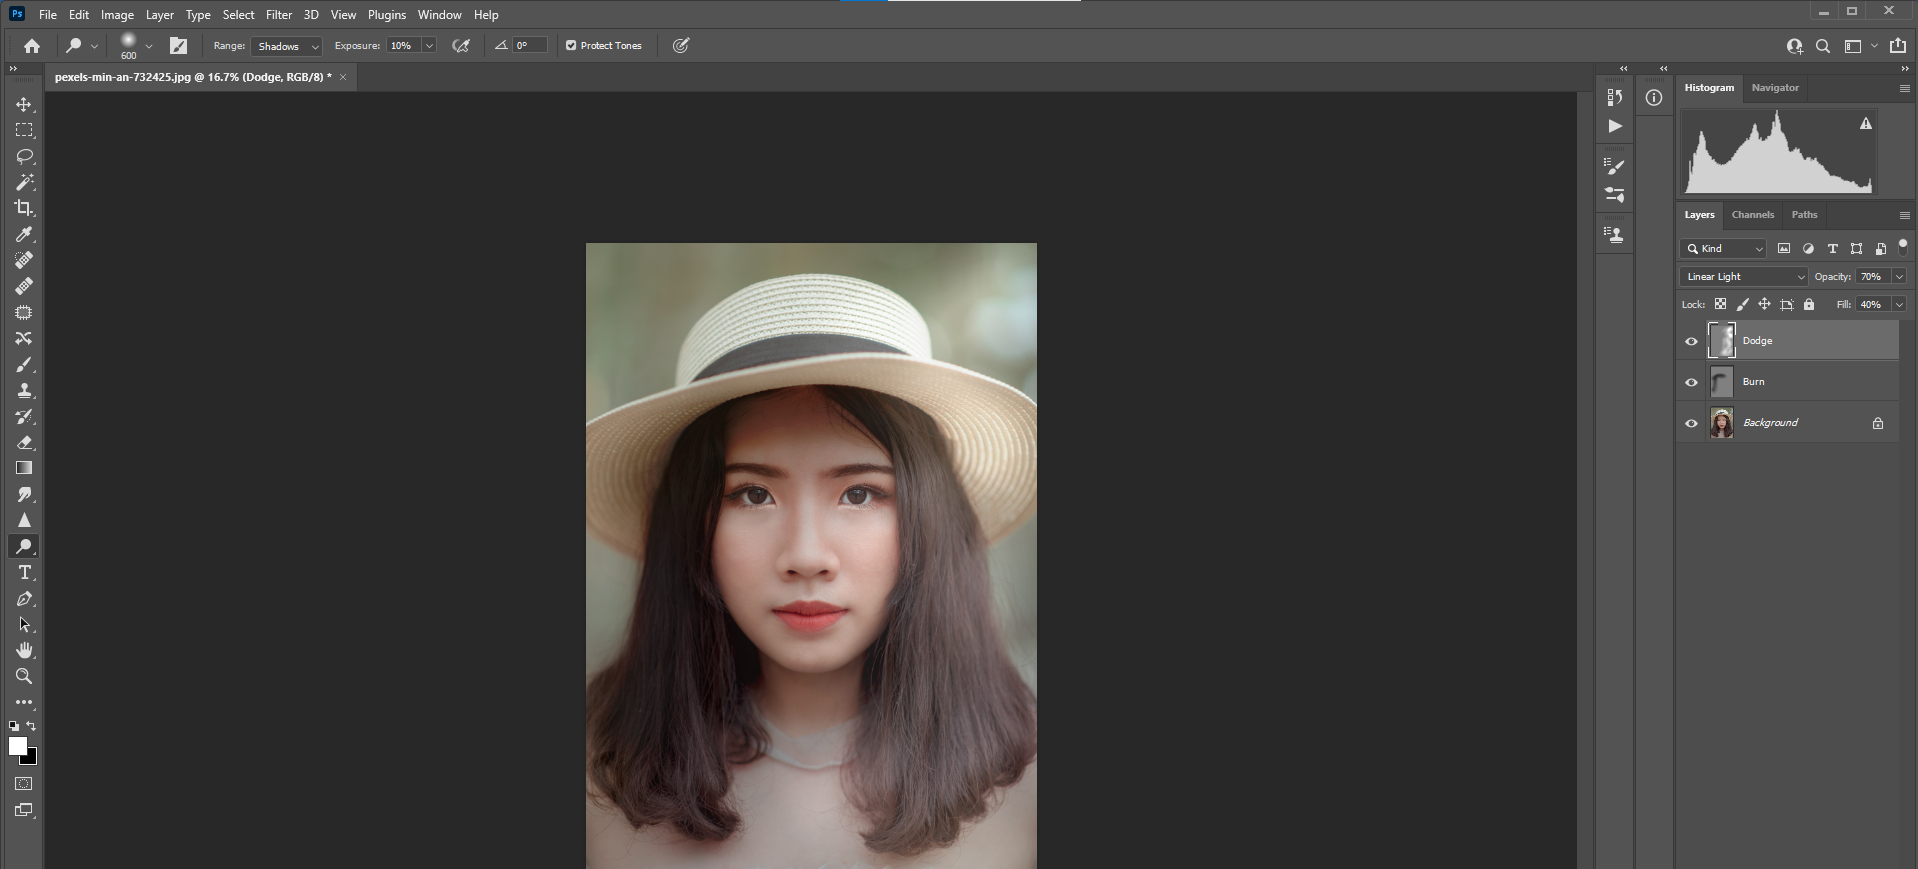
Go to the Dodge layer and gradually move the Fill slider from 15 percent to the right. We stopped at 40 percent. Then, change the Opacity slider from 100 percent to 70 percent. Again, your values and overall appearance at this point may be different.
- This is where it gets exciting. Now, you may switch back and forth between the Dodge and Burn layers (and the corresponding Dodge and Burn tools), and sculpt the image until it is finished. The idea is to create a dynamic look where light is coming from the left side of the image.
-
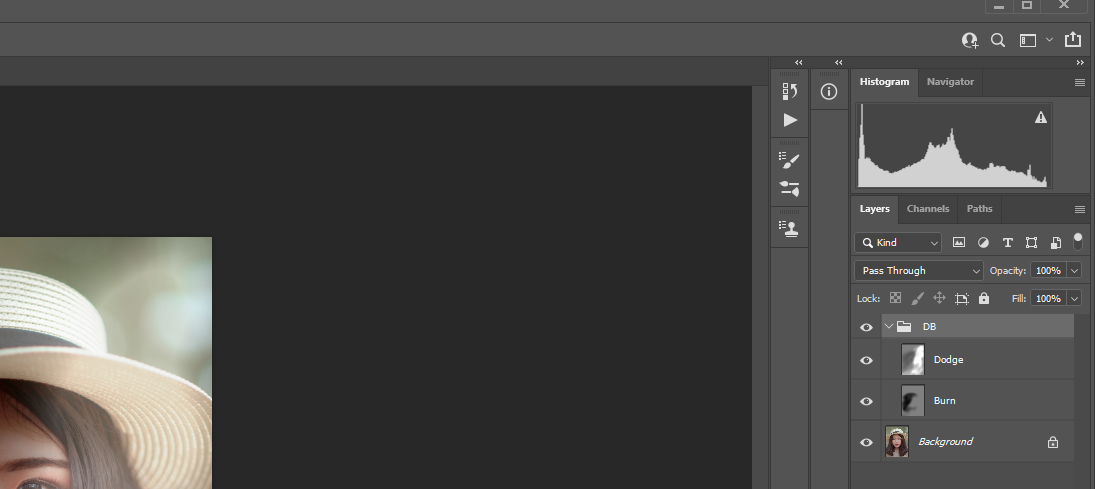
Select the Dodge layer and then press and hold Shift and the Burn layer. Then, click on the Folder icon at the bottom-right of the screen to group the layers together. You may rename the group Dodge and Burn, or simply DB.


At this point, we now have the ability to continue to make adjustments until the image looks right. You can go back and adjust the Fill and Opacity of each of the layers, continue to dodge and burn, and even adjust the Fill and Opacity of the group layer itself. You can also add a mask to it and brush on and off the effects.
There are no right and wrong ways of doing this. The only thing that matters is that you’re happy with the final result.
Before:

After:

One useful tip is that after your initial pass over dodging the midtones, gradually increase the Fill slider until the effect is more visible. Then, continue dodging and burning, making adjustments to Fill and Opacity on the layer at the end. You can always go back and make more adjustments.
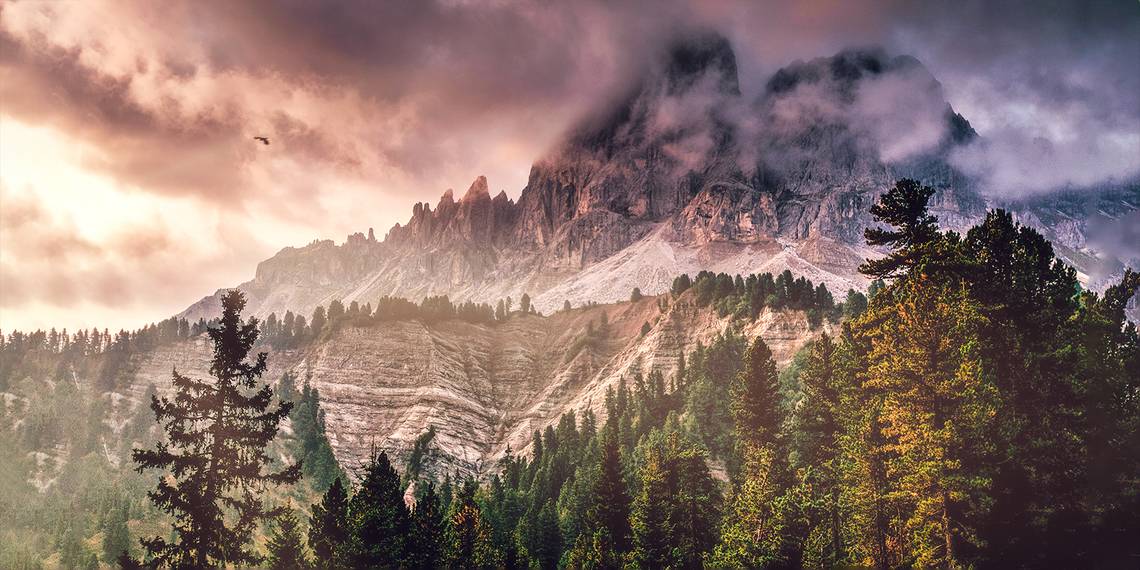
Dodging and Burning a Landscape

We will apply the same exact steps for this landscape image. The great thing about working on landscapes for dodging and burning is that they're more forgiving than portraits.
At the same time, the process will be much more effective if we take the time to visualize what we want the mood to be. The best way to begin is to examine the image closely before doing any dodging and burning work.
A good starting point is to determine what direction the sun is coming from. Wherever the light is hitting is where you’ll want to consider dodging, or making brighter. Conversely, wherever the shadows are falling or there are portions not in direct sunlight, these are prime candidates for burning, depending on how much detail you wish to leave intact.
In the image below, the sun appears to be coming from the right side of the mountain. How do we know this? Because the shadows of the mountain are falling on the left side, and they wouldn’t be there if the sunlight had been directly affecting that slope.
You can download this image from Pexels to practice dodging and burning. Our before and after versions are below.
Before:

After:

Alternative Methods for Dodging and Burning
In reality, you only need one layer to dodge and burn. But you can create as many as you like, even going as far as creating one or more layers for the midtones, highlights, and shadows. It depends on how complicated the image is, and how you wish to organize your workflow.
For more advanced Photoshop users, the Blend If option is there to further enhance and sculpt the image. You could even add lighting effects using the Overlay blend mode.
There are also Photoshop plugins like PortraitPro that do a great job of transforming portraits using advanced lighting and retouching techniques.
The Concept of Dodging and Burning Is More Important Than the Method
We’ve learned the basics of dodging and burning in this tutorial, using the classic toolset: Photoshop’s very own digital version of the darkroom technique. But it’s important to realize that there are literally dozens of other methods to dodge and burn in Photoshop without actually using the Dodge and Burn tools.
It’s the concept of dodging and burning that’s more important to embrace. Back in the film days, there were few options to make portions of the photograph either brighter or darker.
With Photoshop, there is almost always more than one way to accomplish the same thing. So if you’re feeling nostalgic for the days of film and the darkroom, dodging and burning in the Linear Light blend mode would be a great addition to your editing workflow.