Presence detection is a super cool thing that you can set up at your home to trigger or automate smart devices. A presence detection system or a sensor detects if you are nearby and performs actions based on the parameters you choose.
For instance, as you enter your room, the lights turn on and stay on until you leave the room. Similarly, you can set notification alerts to know if your wife, husband, son, or daughter is back home. You can also monitor the room occupancy or find out who is where in your home or which room.
In this DIY guide, you will learn to build a presence detection sensor using the ESP32 microcontroller and take the automation to the next level by integrating it with the Home Assistant.
How Does Presence Detection work?
There are various ways to detect presence in Home Assistant and trigger automation. One of the most popular ways is via Wi-Fi network connection. However, it requires a supported Wi-Fi router or network devices.
You can also use an app on your smartphone to send your geolocation data to the Home Assistant to trigger automation. However, these devices cannot be used for localized presence detection as GPS does not work well inside the house. That’s where Bluetooth technology comes in.
You can use a cheap ESP32 (Bluetooth + Wi-Fi) MCU to detect Bluetooth Low Energy or BLE-enabled devices, such as smartphones, smartwatches, or Bluetooth tiles and tags, much more precisely and with high accuracy.
Things You’ll Need
To build the ESP32-based presence detection devices, you need the following:
- One or more ESP32 modules (based on the number of nodes you want to set up in your home).
- A 5v Micro USB power supply (any old smartphone charger with micro USB will work).
- A Windows, Mac, or Linux laptop or PC with an internet connection.
- Home Assistant setup with MQTT broker.
Steps to Build a Presence Detection Sensor for Home Automation
Follow the steps below to build a DIY localized presence detection sensor using the ESP32 MCU and the ESPresense firmware.
Step 1: Connect ESP32
Download the USB serial chip drivers for ESP32 MCU and install them on your Windows or Mac computer.
- CP2102 driver (chip on the MCU board is square)
- CH341 driver
After drivers are installed, restart the system.
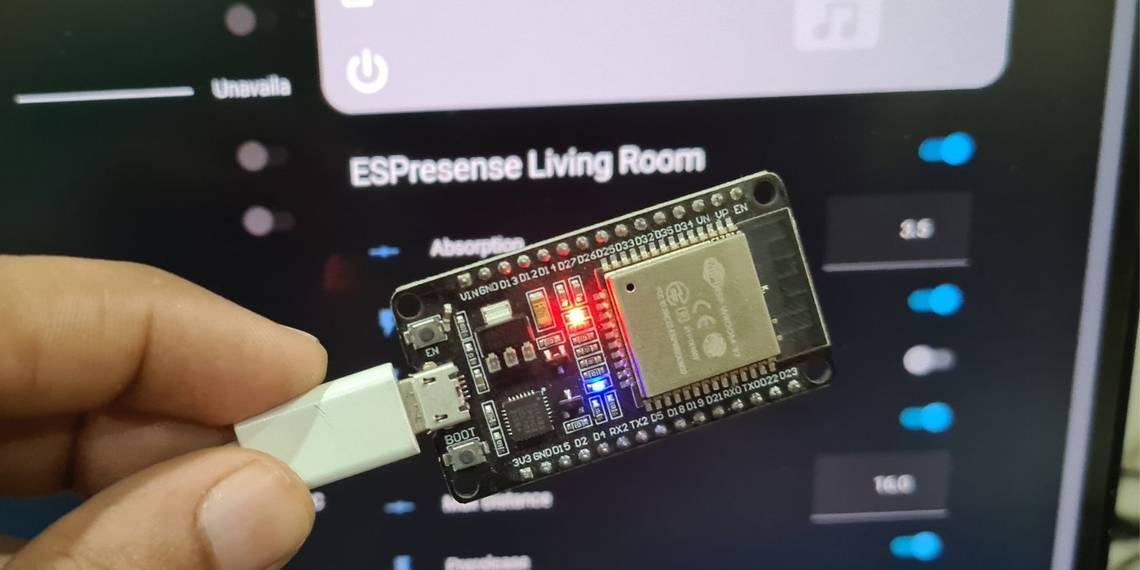
Then connect the ESP32 board to your PC or MAC computer using a micro USB cable.
Step 2: Download and Flash ESPresense Firmware
If you want flash the ESPresense firmware on the ESP32 board via the web interface, visit the Espresense.com/firmware page. Then, select ESP32 from the drop-down and click Connect.
Choose the serial port where ESP32 is connected. It usually displays the chip name (CP2102 or CH340) or Ser! (COMxx).

Once connected, click INSTALL ESPRESENSE. Then, click the Erase device checkbox and select Next.
After doing the above, select Install and wait for the installation to finish.

After the firmware is flashed, click Next and then click LOGS & CONSOLE. This opens the Logs window, where you can see the status of the module.
Step 3: Using ESPFlasher Tool
Download the latest ESPresense firmware and the ESPHome-Flasher tool. Launch the ESPHome-Flasher tool, choose COM port, select the esp32.bin file and click Flash ESP.

After the firmware is flashed, the ESPHome-Flasher tool will start displaying logs.
Step 4: Connect ESP32 to Your Wi-Fi Network
On your smartphone, go to Wi-Fi settings and connect to the espresensce-xxxxxx network. Open the web browser on your phone and visit the 192.168.4.1 IP address, before doing the following.
- Enter your Wi-Fi network name (SSID) and Wi-Fi password.
- Select Language.
- Enter Room name.
- Provide MQTT Broker details.
- Select Query devices for characteristics.
- Type 4 under Calibration to track devices under four meters.
Leave rest of settings as default. Click Save and reconnect the device USB cable to restart the ESP32.

The ESP32 will connect to the Wi-Fi network and start scanning nearby Bluetooth devices. The information is displayed in the Logs.
Step 5: Add ESPresence Sensor to Home Assistant
To add the ESPresense sensor in Home Assistant, follow these steps, open Home Assistant and go to Configuration Devices and Services. Then, click the xx Devices under Mosquitto broker.

If you see the ESPResence connected, you can now add individual BLE devices for tracking and presence detection. To add the individual devices from presence detection, you need to know the device's BLE beacon ID, which is displayed in the Logs.
To verify the device, you can install an nRF Connector for the Mobile app. The app displays the Mac address of nearby Bluetooth devices. Match the mac address in-app with the one displayed in the Logs.

To add the device, you need to copy and add the device ID in the configuration.yaml. You will need a File Editor add-on to edit the configuration.yaml file.
.
Open File Editor and click configurations.yaml, before entering the following. Make sure to replace the device ID and name to match your specific one.
        sensor:
# One entry for each beacon you want to track
  - platform: mqtt_room
    device_id: "xxxxxx"
    name: 'Samsung Smartphone'
    state_topic: 'espresense/rooms'
    timeout: 60
    away_timeout: 120 # number of seconds after which the enitity will get status not_home
Afterwards, click on the Save icon.

Go to Configuration > Settings and click Check Configuration. If the Configuration is valid, click Restart.

After the restart, go to Developers Tools and enter the name of the device. It should display the distance.

You may also the device entity on your dashboard.
Step 4: Add Automation to Trigger Smart Devices
To add automation and trigger devices based on your added BLE device location in your home, go to Configuration > Automations and Scenes—and click +Create Automation. Afterwards, select Start with empty automation.
Name the automation and under Triggers select Numeric State.Choose the Distance in Attribute, and in the Below or Above section, enter the distance at which the automation will be triggered.

In Action, choose the device or devices you want to turn on or off.
Use Localized Presence Detection to Save Energy
Localized presence detection can help you save significant energy by turning devices on and off automatically, based on your presence in the room or home. Furthermore, you can use the BLE presence detection to prevent false triggers by motion sensors and other sensors that you may have installed in your room.