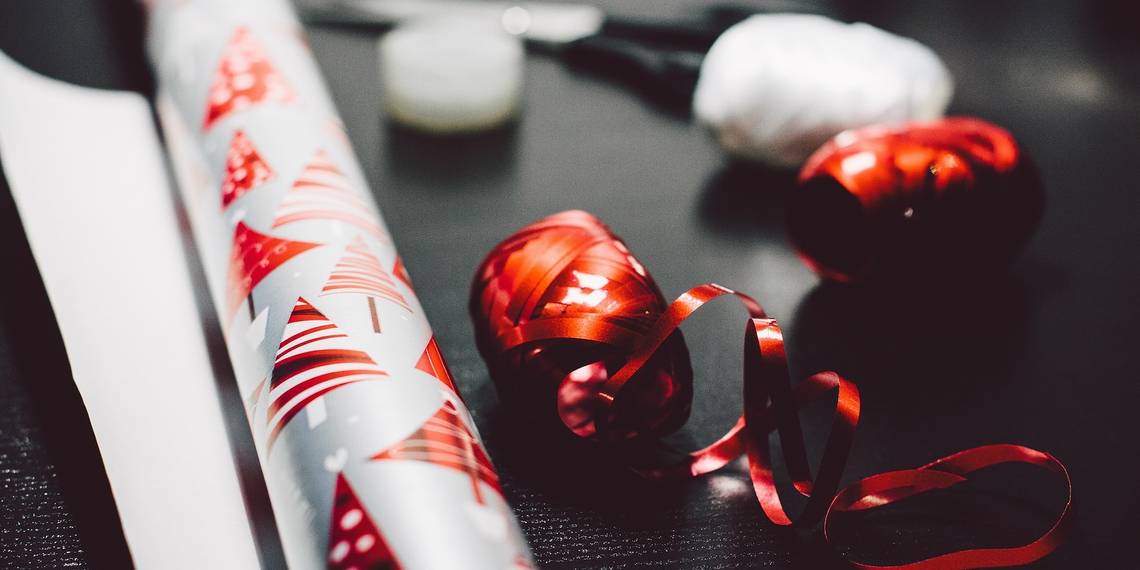
Gifting is an important tradition during the holiday season for most of us, and we try to go the extra mile to get the perfect gifts for our friends and family.
Want to make the season even more special for your loved ones? Enter custom gift wrapping paper. It is guaranteed to put a smile on your loved ones' faces.
The Basics of Repeating a Pattern

There are many different software options you can use to design custom wrapping paper. We are choosing Photoshop because it is quick and straightforward; you can create wrapping paper in no time. If you love Photoshop as much as we do, here are some other cool ideas you can try with Photoshop.
The quickest way to create wrapping paper is by using a repeating pattern. The idea is to arrange a few design elements and repeat the pattern in your editing program. We had to do this manually before, but, since 2021, Photoshop has introduced a button, Pattern Preview, which makes it breezy to create a pattern.
You have the option to choose many types of elements to add to your wrapping paper. If you're short on time, you can find some free illustrations and art online. If you're an artist, you can scan your hand-drawn art to make gift wrapping. You can also use photos—the options are endless. This is the time to showcase your inner artist and creativity.
Remember, your images should be in PNG format with a transparent background to create the design. Here's how to make the background of a PNG transparent.
In our example, we used Adobe Fresco to create some Christmas-related artwork and saved them as PNG files. You can try the same. If this is your first time using the app, see our beginner's guide on how to use Adobe Fresco. It is an excellent app for newbies and seasoned artists alike.
How to Design Gift Wrapping Paper Using Photoshop
Here are the steps to create a pattern and design your wrapping paper in Adobe Photoshop.
Step 1: Create a Background
Go to File > New. Choose a Custom size of 500px x 500px. Keep the Resolution as 300 and the Color Mode as CMYK Color. Click Create.

Step 2: Add Your Artwork
Go to the folder where you have your PNG images saved. Drag them one by one onto your background.

Arrange them the way you want on your background. Feel free to tilt or resize some of the elements. Click on the move button on the left side to move your images. Click Ctrl + T to resize your images.
Step 3: Create Your Pattern
Once you're happy with your arrangement, you're ready to create the pattern. Go to View > Pattern Preview.

Press OK on the pop-up box. You will now see the elements repeating as a pattern.

Step 4: Define Your Pattern
Check for extra space and rearrange the elements if you want to. Once you're happy, it's time to define the pattern and save the design. Go to Edit > Define Pattern.

Enter your preferred name in the Pattern Name dialog box. Click OK.

Step 5: Choose Your Wrapping Paper's Size
Open a new file in Photoshop. You have to choose the size based on your printing service's requirements. We are using 30 X 20 inches based on Printify's size.
Go to File > New. Fill in the details in the dialog box. Keep the Resolution at 300 and the Color Mode as CMYK.

Click on the color icon next to Background Contents to choose your background color. For example, we have selected a shade of red in line with the holiday theme. Click Create.
Step 6: Add a Pattern Layer
Once the background is set, it is time to add your pattern as a layer. Go to Layer > New Fill Layer > Pattern. Click OK on the New Layer dialog box.

Click on the pattern icon and choose your pattern. You can adjust the Angle and Scale if you wish. Click OK.

Your design is ready.

Step 7: Save Your Pattern
Go to File > Export > Export As.

Set the Format to JPG and set the Quality to High. Click Export.

Type your preferred name in the dialog box and click Save. Now, your pattern is ready for the final step—printing.
Printing Your Custom Wrapping Paper
You have a handful of options when it comes to printing. To start with, you can try your neighborhood Staples store. You can also check out Walmart Photo.
If you're looking for something you can do from the comfort of your home, there's an array of online stores; Printify, Zazzle, Vistaprint, and Spoonflower are some of the popular options. You simply upload or send your file during the ordering process.
Wherever you choose to place your order, remember to carefully check the size before you do so. This is because you have to resize your pattern according to the size you choose. Follow the instructions from Step 5 in the above section to do this. It is also a good idea to check the preview option on the online store to ensure everything is in order.
If you have a printer at home, make a sample print with a standard A4 size paper and see how you like the design. This way, you can make sure you're happy with your pattern before spending money on printing.
Make Your Loved Ones Feel Special With Custom Gift Wrapping Paper
There is nothing like giving handmade gifts to your friends and family. But not all of us are handy enough to make something nice. This is where custom gift wrapping paper comes to your rescue.
You can add a touch of your personal style with the wrapping paper by using your own art or photos. If you don't have a subscription to Photoshop or Adobe Creative Cloud, you can try Photoshop for free for seven days.
Try making a gift wrapping today—your loved ones will surely be impressed by it!