Camera imports, image downloads, and synced iPhone captures (courtesy of iCloud Photos) can create lots of photo clutter on your Mac. Therefore, it's always a good idea to keep things nice and tidy—and also conserve disk space—by deleting unwanted photos.
Below, we'll show you what you must do to remove photos located in and out of the Photos app on your Mac. You'll also learn about ways to filter and delete images using smart albums and folders.
Before You Start Deleting Photos
If you have iCloud Photos activated on your Mac, deleting images from the Photos app also removes them from iCloud and other devices tied to the same Apple ID (like your iPhone).
In case you don't want to sync your changes, open the Photos Preferences pane (select Photos > Preferences from the menu bar), switch to the iCloud tab, and uncheck the box next to iCloud Photos.
How to Delete Images in Your Mac Photo Library
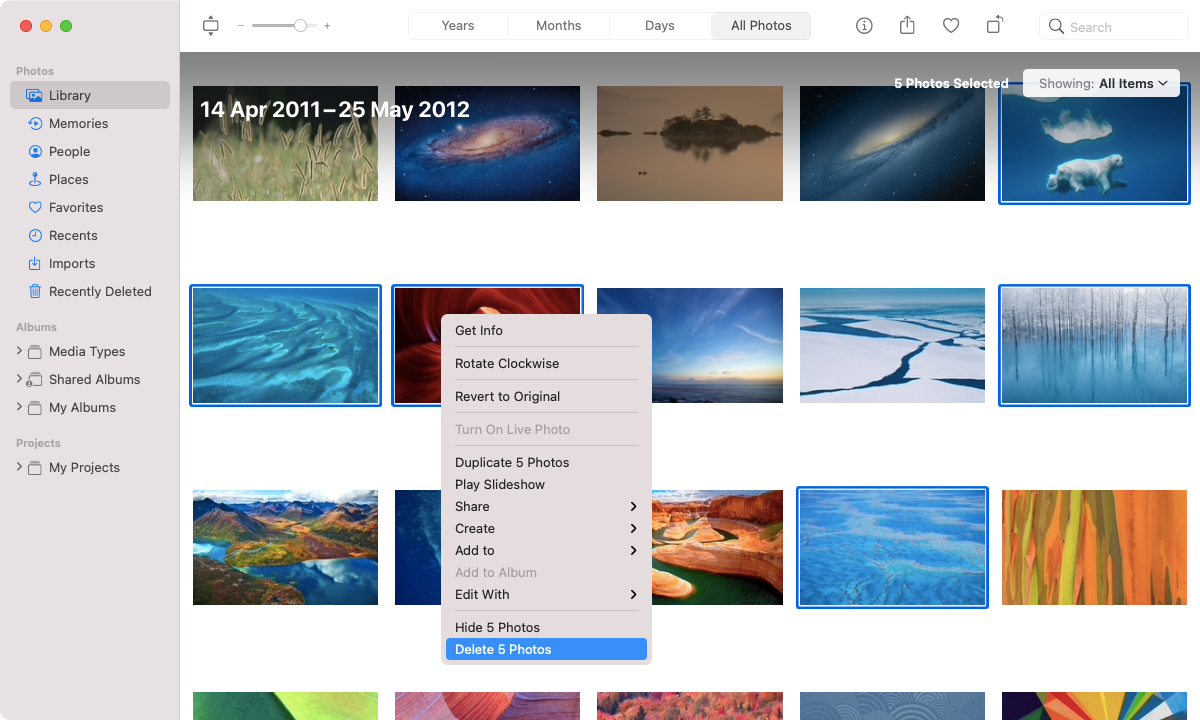
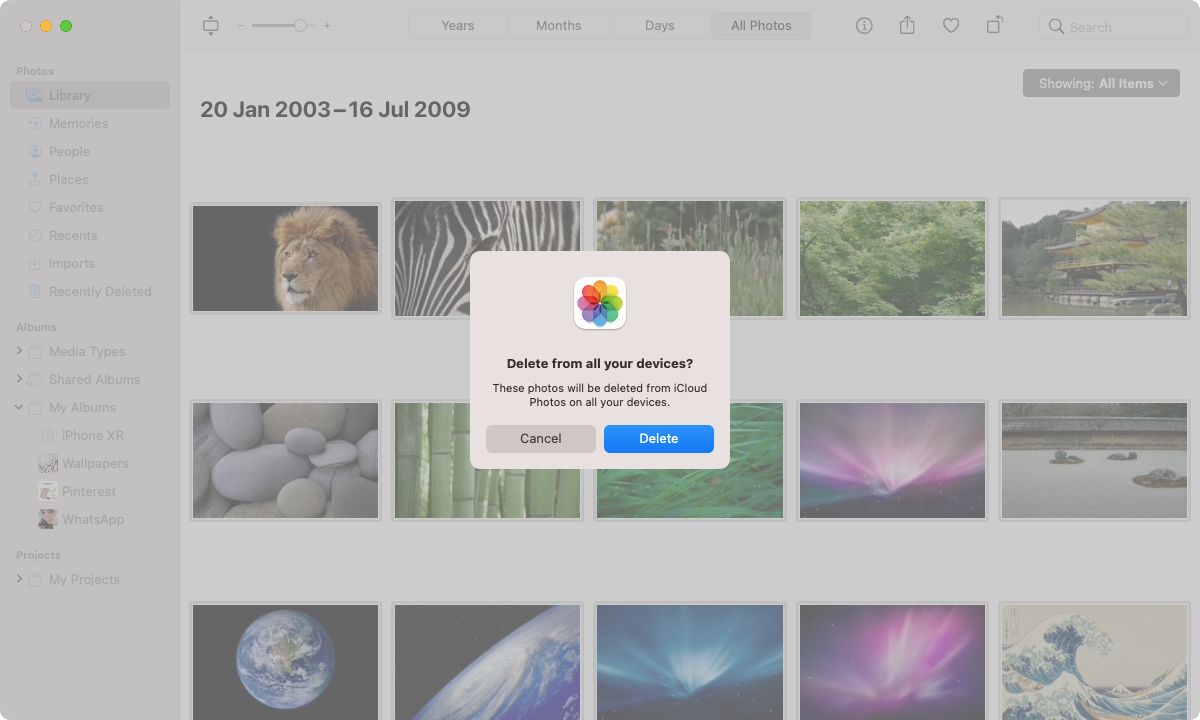
The Mac's Photos app allows you to delete images as you scroll through your photo library. To do so, under Library > All Photos, control-click a photo thumbnail and select Delete Photo. If you use iCloud Photos, select Delete to confirm that you want to delete the photos from the rest of your Apple devices.
You can also hold down the Cmd key to select multiple photos. Then, control-click a highlighted thumbnail and select Delete Photos to remove all of them simultaneously.
How to Delete Photos From Albums
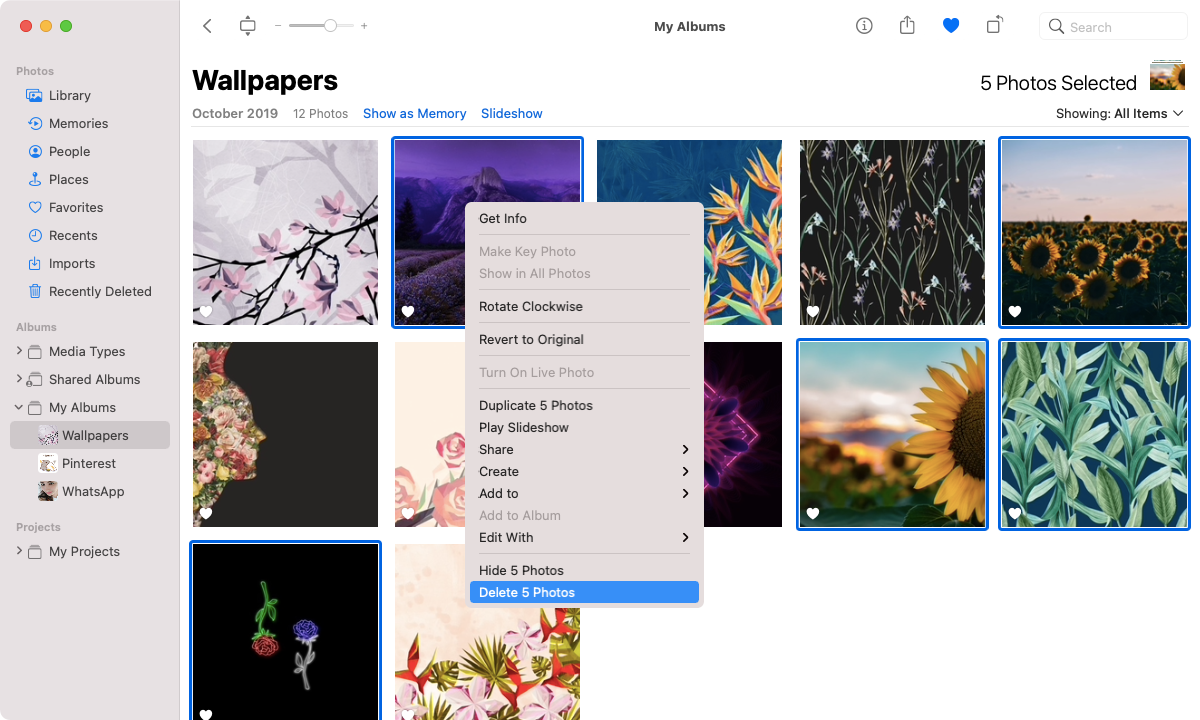
It's possible to delete images while viewing albums that you've created in the Photos app.
To remove pictures from an album only, just control-click the thumbnails and select Remove from Album. If you want to get rid of them from your photo library as well, hold down the Option key after control-clicking and select Delete Photos.
How to Locate and Delete Media Types
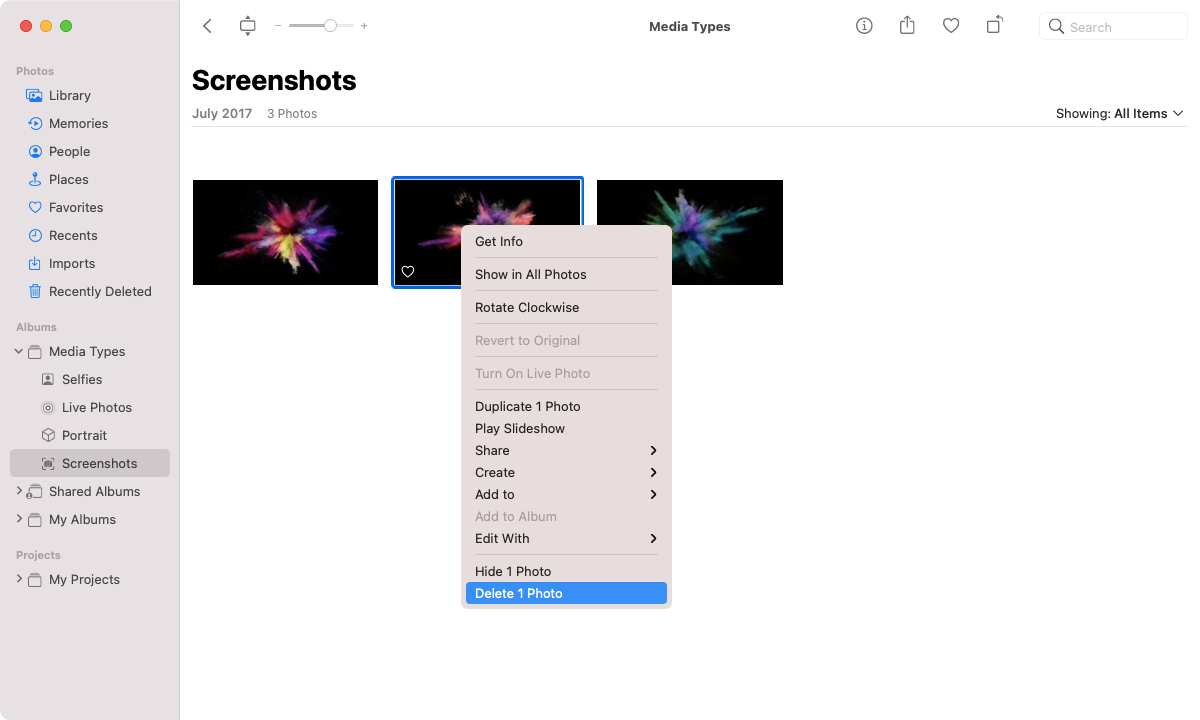
The Photos app filters photos by media type—selfies, Live Photos, screenshots, and so on. That makes it easier to locate and delete specific types of images.
Start by expanding Media Types in the Photos sidebar. Then pick a category (such as Screenshots), select the image or images you want to delete, and select Delete Photo or Delete Photos.
How to Delete Photos Using Smart Albums
Manually creating and sorting items into albums can be a chore. To make things easier, the Photos app comes with functionality called Smart Albums to help you categorize items from your entire photo library using specific criteria. You can also use Smart Albums to filter and delete particular types of photos quickly.
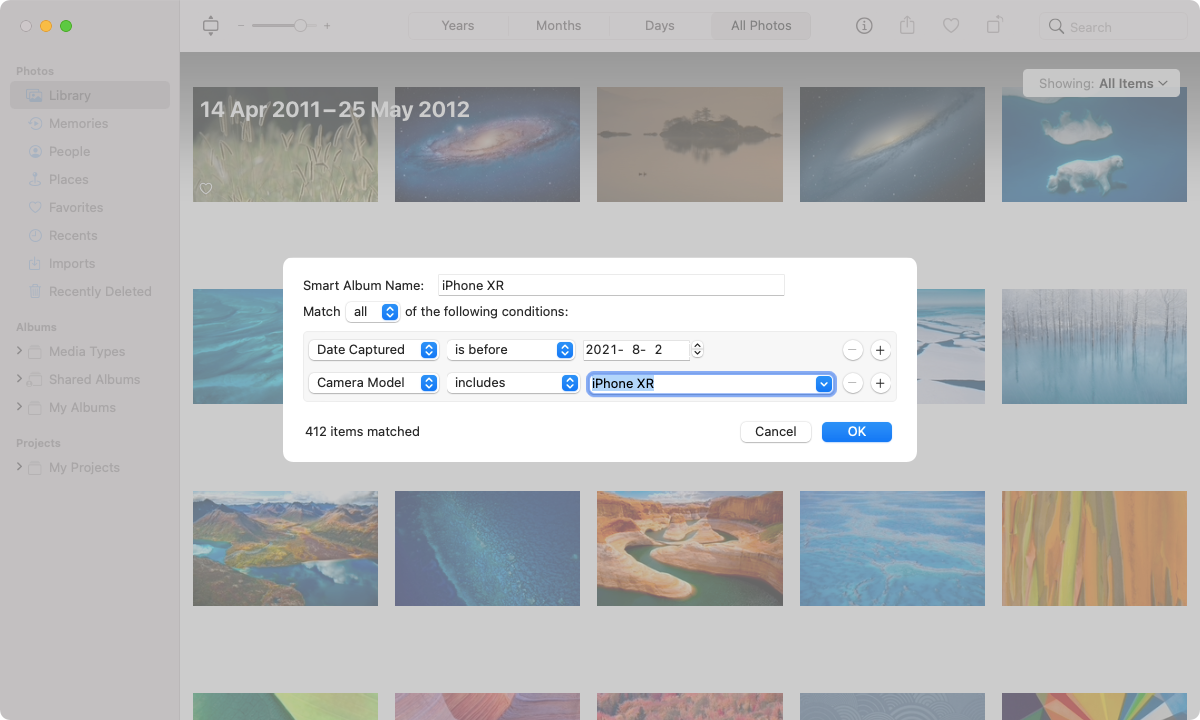
To create a Smart Album, open the Photos File menu and select New Smart Album. Then enter a title and set your filtering rules. Don't forget to enter multiple rules to help narrow down the results.
For example, you can set up a Smart Album to display photos shot before a specific date and then filter them further by camera model. Or, you can filter images by filename or caption. This feature has a lot of depth, so do take the time to experiment. You can then select OK to save the rules.
The Photos app stores your Smart Albums alongside the rest of your albums under the My Albums tab in the sidebar. Control-click any item or items within the Smart Album and select Delete Photo or Delete Photos to remove them.
How to Delete All Images in the Photos App
The Mac's Photos app makes it easy to delete everything that falls under an album, media category, or Smart Album. Simply press Cmd + A to highlight all images. Then, control-click and select Delete Photos. Don't forget to press Option to delete the contents inside a normal album permanently.
Similarly, you can delete the entire library in the Photos app. If you have iCloud Photos enabled, just remember that this will cause you to lose your images on every Apple device! If you still want to go ahead, select Library > All Photos and press Cmd + A. Then, control-click any thumbnail and choose the Delete Photos option.
How to Delete Photos Outside the Photos App
You can also delete photos outside the Photos library. Most likely, you'll find them inside the Pictures or the Downloads folder on your Mac. You can then delete them, similar to other files, by control-clicking and selecting Move to Trash.
Note: You'll also see the System Photo Library inside the Picture folder. You can only delete the contents inside it using the Photos app.
Additionally, you can search for images using file names. Open a Finder window and type in a name into the Search field. You can then select either This Mac to scan your entire Mac or the current folder name to scan the current directory.
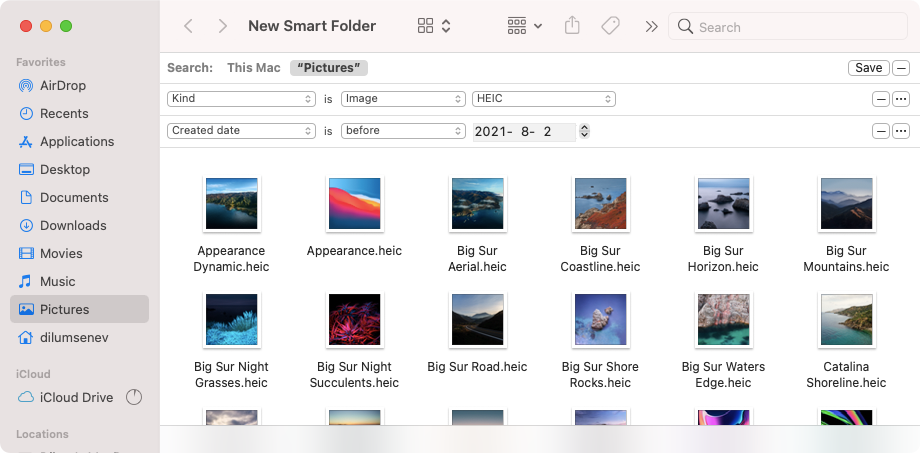
However, if you have lots of photos, you may want to use Smart Folders. They work similarly to smart albums and help you filter images with specific rules.
To create a Smart Folder, start by opening a new Finder window. Then, select File > New Smart Folder in the menu bar. Follow that by selecting the plus icon to add the filtering criteria for the folder.
You can add multiple rules to filter images by date, file type, and so on, and the Smart Folder should filter your photos accordingly. Then, control-click the item or items you want to delete and select Move to Trash.
Tone Down the Clutter in Your Photo Library
The pointers above should've helped you bring about order to your Mac's photo library. However, if you deleted any photos by accident, you can always retrieve them via the Recently Deleted folder on the Photos app's sidebar for up to 30 days. If you deleted the images using Finder, you must restore them via the Mac's Trash instead.


