Since its earliest versions, the GNU Image Manipulation Program, or GIMP, has been dogged by a perception of poor user interface design and unfriendliness. While certainly a fair criticism, GIMP's true strength lies in its lesser-talked-about customization options and its ability to tailor its layout to a user's particular taste.
How to Lessen GIMP’s UI Frustration
GIMP has had a reputation for being less than intuitive and difficult to get a handle on. This has been especially true for those coming over from Adobe Photoshop; its most direct comparison. A great deal has been written weighing the pros and cons of GIMP and Photoshop.
The surface customization options available in the preferences menu are well documented, including tutorials on changing the program's overall appearance through downloadable GIMP themes, icons, and plugins.
But very little has been written about the deceptively deep customization options available in the program to help alleviate the UI frustrations. Let's discuss the dialog and dock customization options that can fundamentally change the GIMP experience depending on the user's needs.
What Are Docks and Dialogs in GIMP?
In GIMP, a tool is always accessible through either a right-click menu or the main menu at the top. Tools that are used the most and are pinned to the UI, such as color or tool options, are referred to as dialogs. These different dialogs can be grouped together into various docks according to a user's preference.

How those dialogs and docks are placed and organized on the screen is the often-unwritten strength of GIMP's customization ability.
How to Show, Hide, and Move Dialogs in a GIMP Dock
To begin, let's take a look at how the dialogs and docks function and interact with one another, beginning with GIMP's default layout when first opening the program.

In the default layout, we can see three separate docks. There is a single dock to the left and beneath the toolbox. It contains four dialogs: Tool Options, Devices, Undo, and Images.
On the right, there are two docks. The dock on top contains three dialogs: Brushes, Patterns, and Document History. Underneath that is a dock containing dialogs for Layers, Channels, and Paths.
To show or hide different dialogues, click on Windows > Dockable Dialogs. Alternatively, selecting the arrow symbol to the right of any dock will allow you to add a new dialog by selecting Add Tab.
To remove a dialogue, select the same arrow symbol and choose Close Tab.
To move a dialog to a different dock, simply click and drag the dialog tab and release it in the heading area of any dock you choose.
To create a new dock, click and drag the dialog tab to any edge of an existing dock, and release it when that dock's edge is highlighted. Alternatively, by releasing the dialog in any open area of the UI, it will create a new free-floating dock.
How to Customize the Dialog Options
Let's take a look at the dock's options, beginning with that arrow we selected to add and remove dialogs. Alongside the Add Tab and Close Tab options are a number of other options that can be used to tailor each dialog's look and behavior.

- Detach Tab: Create a free-floating dock with the selected dialog.
- Lock Tab to Dock: Prevents any further editing of the selected dialog.
- Preview Size: Changes the size of the images in the dialog.
- Tab Style: Choose whether your dialog headings will be text-only, icon-only, or both.
- View as List/View as Grid: Choose whether to show dialog previews in a vertical column or as a grid.
- Show Button Bar: Show shortcuts to the most frequently used functions at the bottom of each dialog.
The top of that options list is reserved for dialog-specific options. For example, the Brushes menu or the Paths menu, as shown in the screenshot above.
Customizing your docks in GIMP according to your use case allows you to show only the tabs that are necessary while hiding any unnecessary ones. While all the tools are still available, only the ones that you use most often are close at hand.
Examining GIMP's Different Customization Uses
Below are three possible examples of how GIMP can be customized to work with different artists' preferences. These are, of course, subjective and designed to illustrate the end result of the process.
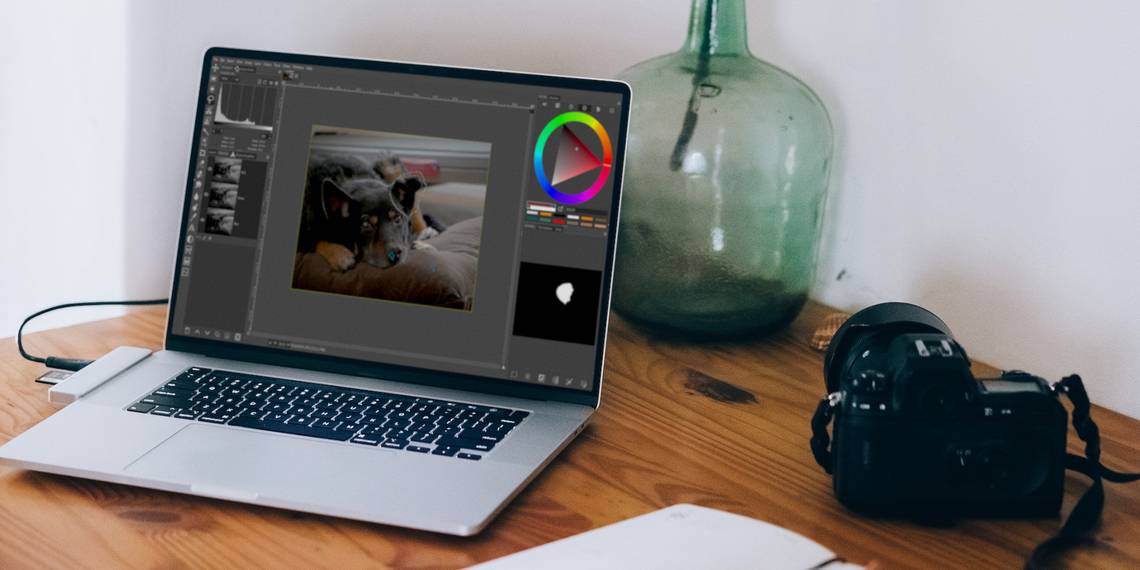
The Photographer
The photographer, who is interested in using GIMP to touch up photos, needs easy access to things such as a Histogram, Channels, and tools like Color Balance, Exposure, and Levels in the toolbox. While limiting most of the paint and transform tools to only what is necessary.

There is little need for additional tools such as Paths, Fonts, Patterns, or Gradients, so those have been removed. While a Sample Points dialog has been added to compare color and exposure settings.
The Graphic Designer
The graphic designer would be using the most tools of the group, needing quick access to not only the color options, but also many of the transform options that we hid in the photographer's layout above.

We've brought back the full suite of selection and transform tools as well as the Text and Font dialogs, which can be further enhanced by installing third-party GIMP fonts. The most heavily used tools have also been placed into a floating dock that can be conveniently moved around the screen for easier access.
The Painter
While there are certainly other apps that are more suited to the painter's workflow, GIMP is well worth it as an option for a hobbyist who does not have the need for a dedicated drawing app. Or simply for someone who doesn't wish to have more than one drawing app on their device.

In the painter's layout example here, we have created two floating docks that can be moved around to stay out of the artist's way. In the case of a multi-monitor setup, those dialogs can be moved off to a second screen, leaving the canvas to take up the full screen.
Each dock contains only the most basic and necessary dialogs: Brushes, Layers, Tool Options, Color Picker, and Undo.
GIMP's UI Is Whatever the User Wants It to Be
While design itself is subjective by nature, it's not a stretch to say that out of the box, GIMP's UI leaves much to be desired. But in the end, GIMP's user interface is as complex or as simple as the user wants it to be.
The customization options, especially those that are less well known, offer a streamlined experience for a user who takes the time to consider what they will be using the program for and adjusts the UI accordingly.
While GIMP is not the only alternative to Photoshop, the reward for taking the time to customize the user interface in GIMP can mean a more streamlined experience for artists.