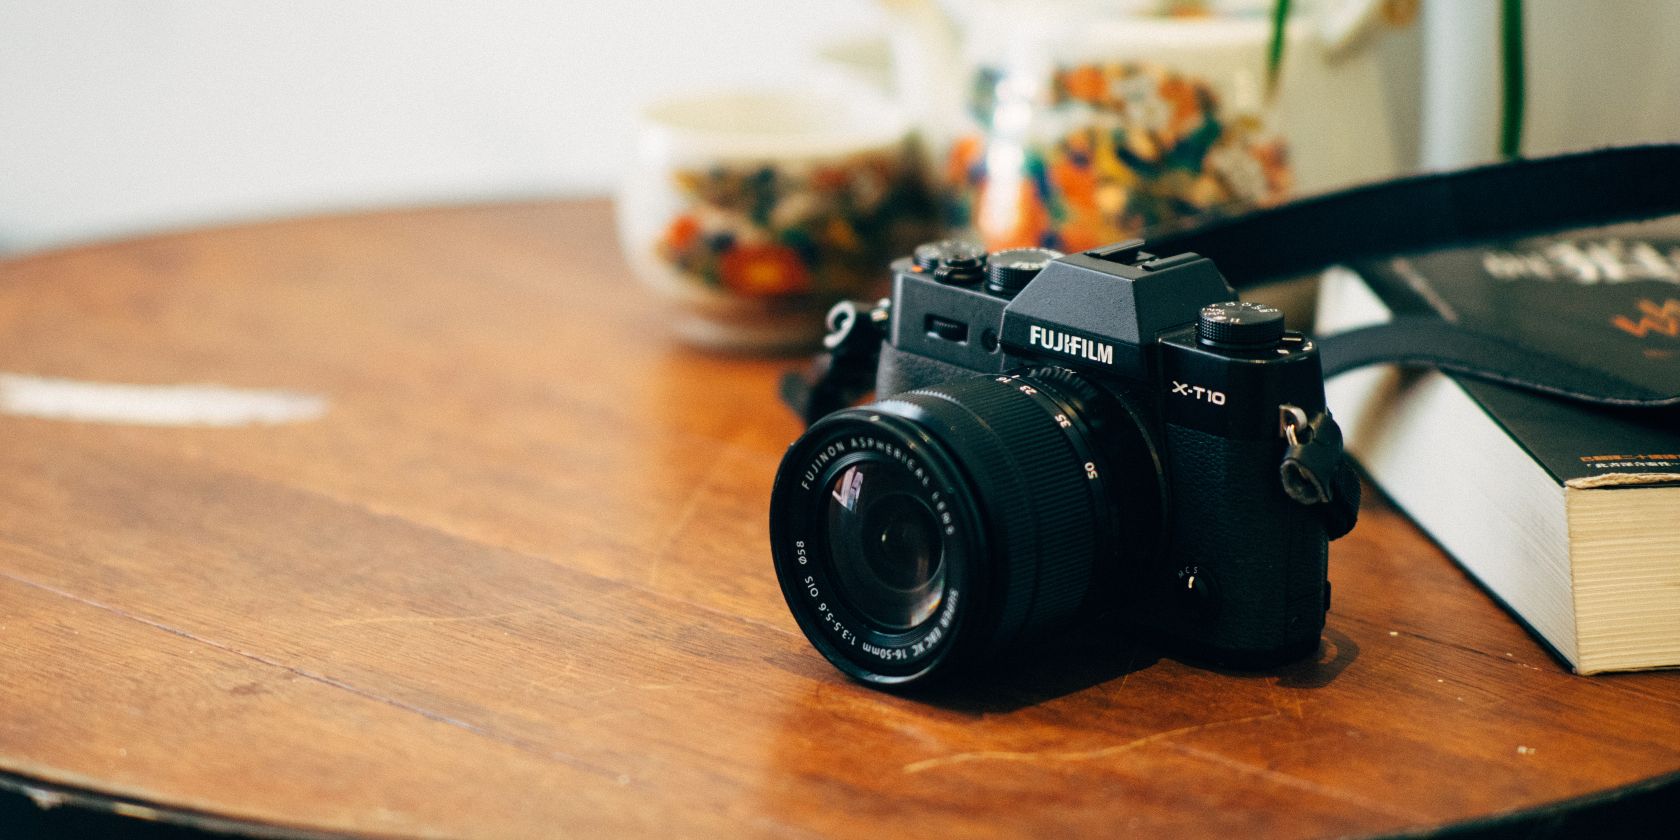
Fujifilm cameras are well-known for their excellent colors and image quality, and owning one of its models is a wise option—regardless of your skill level. One of the best things about Fujifilm cameras is that you can easily customize how your images look.
If you’ve never tried to customize profiles on your Fujifilm camera, you might find it a little daunting at first. But fear not; we’re here to help. This article will show you how to access, customize, and save the profiles on your Fujifilm camera; the advice applies to most models.
How to Access Your Custom Fujifilm Camera Profiles
You’ll need to switch your camera on and hit the MENU OK button to access your Fujifilm camera profiles. Once the menu appears, select the Image Quality tab; you’ll see it marked as I.Q. on your camera.
On the I.Q. page, you’ll notice that you have three pages to scroll through. Go to the bottom and hit Select Custom Setting. You will see a list of your customized profiles; choose the one you want to edit.
What Can You Customize on Your Fujifilm Camera Profiles?
When you’ve chosen the Fujifilm camera profile you want to customize, you’ll notice several options.
You can edit highlights and shadows, in addition to color and sharpness. If you feel like you’ve got too much grain in your picture, you can reduce the noise; if you want more, you can add extra. Fujifilm also enables you to change the dynamic range and much more.
Once you’ve altered the camera profile as you like, you should remember that you’ll only see your effects on JPEG images. For RAW files, you might want to consider creating separate presets in your photo editing software of choice.
How to Save Your Fujifilm Camera Profiles
To find the ideal color profile settings for your photography style, you’ll need to experiment and see what works best. When you’ve reached that stage, you’re ready to save your Fujifilm camera profiles for future use.
Saving your profile settings is pretty straightforward. You’ll again need to navigate to the Image Quality tab and scroll down to the third page.
Instead of hitting the Select Custom Setting option, you’ll see another instruction beneath it titled Edit/Save Custom Setting. If you’re happy with everything, hit Save Current Settings at the top of the next window.
You should also note that your white balance settings will not save; you must make those changes manually each time you use your camera.
If you’re unhappy with the current name, you can go to the second page and tap on the Edit Custom Name option. Call the profile whatever you want before selecting the Set button at the top of your screen.
How to Use Your Fujifilm Camera Profiles When Taking Photos
Once you’ve saved your camera profiles, you’re ready to use them whenever you take photos with your Fujifilm camera. Doing so isn’t too difficult; hit the MENU OK button on your device before going to I.Q.
Scroll to the third page and click on Select Custom Setting. Pick the profile you want to use; once you’re finished, tap on the button you use to take pictures to take you to the main photo-taking setting.
Use your camera as you usually do once you’ve chosen your profile; you can use the Fujifilm app to explore the JPEG files on your smartphone or tablet via Bluetooth.
Custom Camera Profiles Is a Great Way to Achieve a Specific Photography Style
If you’re set on achieving a specific photography style, Fujifilm is an excellent camera choice. You’ll find several customization options for each profile, and changing what you need is relatively simple. You can edit up to seven profiles and save them for easy access.
Now that you’ve got all the information you need, it’s time to pick your camera up and head outside!

