You can even print your Wi-Fi QR code and stick it up somewhere for guests to scan. Many cafés and restaurants already use this method to grant access to their networks.
The real question is, how do you generate a Wi-Fi QR code on your iPhone? There is a built-in method on the iPhone using the Shortcuts app, or you could use a third-party app to do it as well. Let's have a look at both options.
How to Generate a Wi-Fi QR Code Using the Shortcuts App
Before you begin, make sure you have the Shortcuts app downloaded and updated from the App Store. Once this is done, you can follow these easy steps to generate a QR Code that will let just about anyone connect to your Wi-Fi.
Open the Shortcuts app and tap on Gallery in the bottom-right corner of the screen. You will see rectangular boxes with small icons in them. Swipe right until you see Shortcuts for Accessibility and tap on it.
A list of icons and options will appear. Scroll down and select QR Your Wi-Fi. A description next to it tells you that this option will convert your Wi-Fi password into a QR code. After you select it, you will be led through a walkthrough of options to get the job done.


Tap on Add Shortcuts to install this.
Select My Shortcuts from the options at the bottom of the screen. You will see QR Your Wi-Fi added to your list of shortcuts. Set your Wi-Fi name and press Done.
You will then be prompted to type in the password for your Wi-Fi. Choose a strong password and press Done.


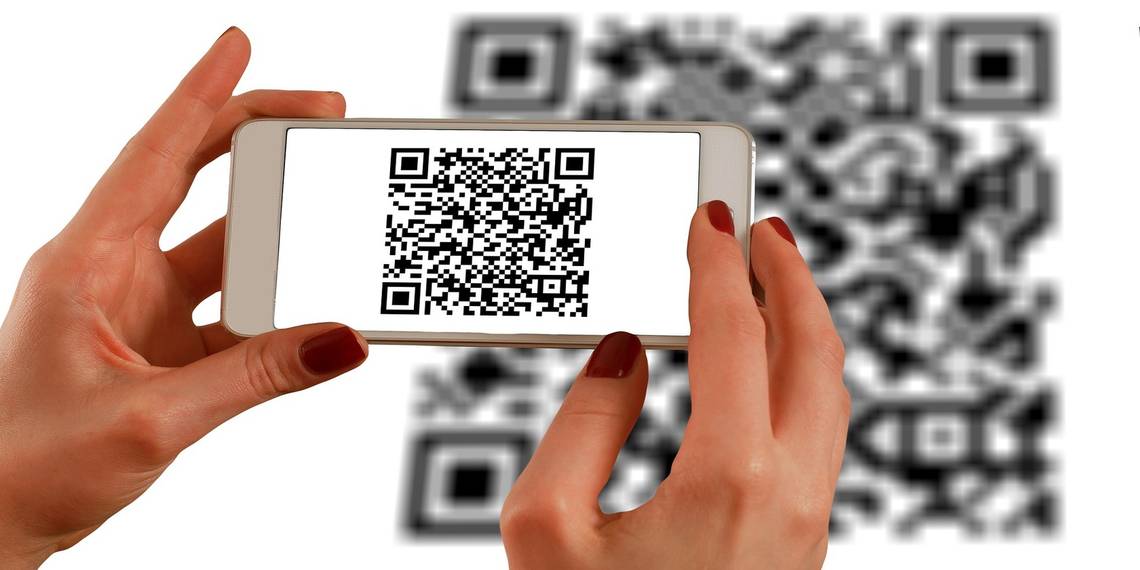
A QR code will automatically appear on your screen. Tap on it for more options. By pressing the Share icon in the bottom-left corner of the screen, you can save your QR code as an image to your gallery, or you can send it to anyone using AirDrop, social media apps, email, and so forth.
To ensure that your Wi-Fi can be previewed easily by anyone you share it with, tap on the icon with three horizontal dots on the QR Your Wi-Fi shortcut. Scroll down and press the plus (+) sign next to the Quick Look option to add it to the list of actions in the Shortcut. This step is not necessary, but it is an added precaution to make sure your QR code is fully functional.


How to Generate a QR Code Using the Share My Wi-Fi App
If you want to create more than one QR code for several different Wi-Fi networks, you will have to install a third-party app to do it. Share My Wi-Fi is a popular choice for many iOS users. It is also a lot easier to generate a QR code with the app and requires fewer steps for anyone who finds the Shortcuts method too difficult to follow.
If you want to let anyone access your Wi-Fi, all they have to do is point their camera at the QR code and join it easily. Here's how you can generate a QR code using the app:
- Download the Share My Wi-Fi with QR Code app and open it.
- Tap on the big plus (+) sign in the middle of your screen to add a new Wi-Fi password.
- Enter the name of your Wi-Fi network and its password.
- Tap Done when you have set a username and password. You will see your QR automatically added to the home screen.
- Press the plus (+) sign in the top-left corner of the screen and repeat the same steps as above to add as many Wi-Fi networks as you would like. Swipe left on a network to delete it from the list.


And that's pretty much it. Share My Wi-Fi makes it quick, simple, and very easy to use and generate QR codes.
Download: Share My Wi-Fi with QR Code (Free)
Creating a QR Code for Your Wi-Fi Is Easy
The built-in Shortcuts app lets you generate a QR code quickly and easily. If you don't trust third-party apps, follow the steps above and get yourself a QR code to share anytime, anywhere.
However, if you want QR codes for multiple networks stored in an organized manner on a straightforward interface, Share My Wi-Fi is the perfect app for you. Multiple other apps perform a similar function to Share My Wi-Fi, so you can have your pick of the lot.