There are much better ways to create a black and white photo than by removing color saturation, or by using black and white conversion sliders. It may not sound intuitive at first, but you need to enhance the available colors to achieve a beautiful black and white photo.
In this tutorial, we will show you how to use color to your advantage to create a fantastic black and white image. We will also show you how to create a Photoshop action to automate the steps so you can use the same method in the future.
How to Achieve the Best Black and White Image
Converting a color image to black and white without first adjusting the existing colors may amount to a wasted opportunity.
To take advantage of existing colors, we will create a black-to-white gradient map on top of three color adjustment layers to transform this image into a more artistic rendition in Photoshop.
You can download this image from Unsplash to follow along.
-
Press the D key to set the default Foreground/Background colors to Black and White.

-
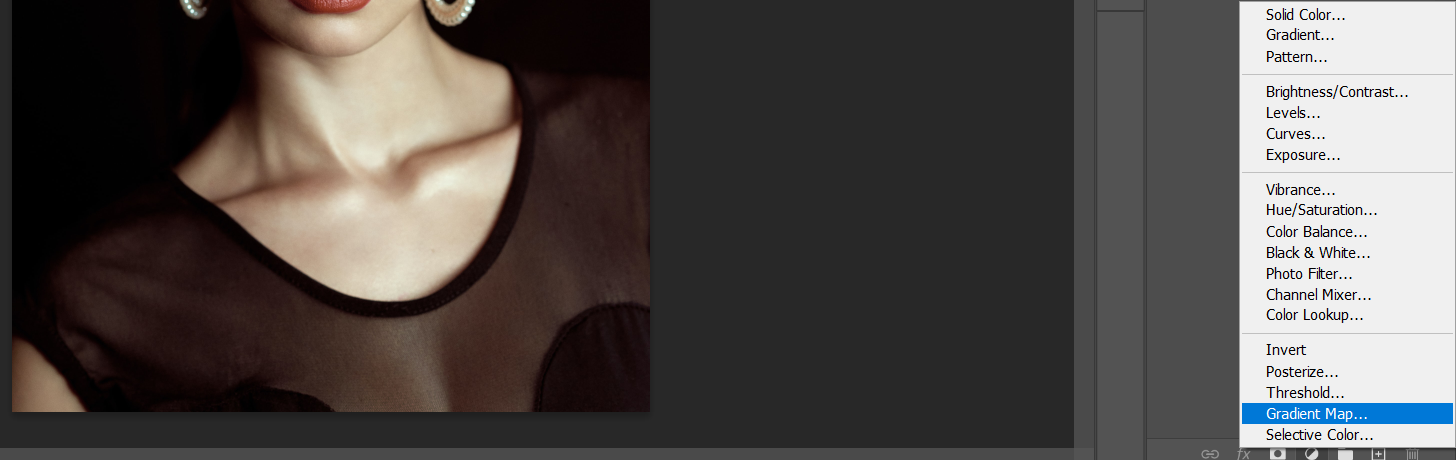
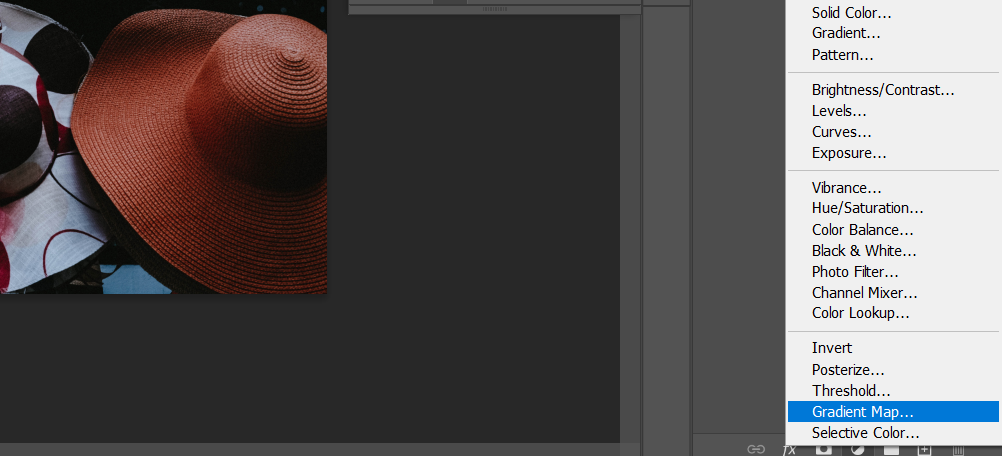
With your completed color image loaded into Photoshop, click on the Create New Fill or Adjustment Layer icon at the bottom right of the screen, and select Gradient Map.
-
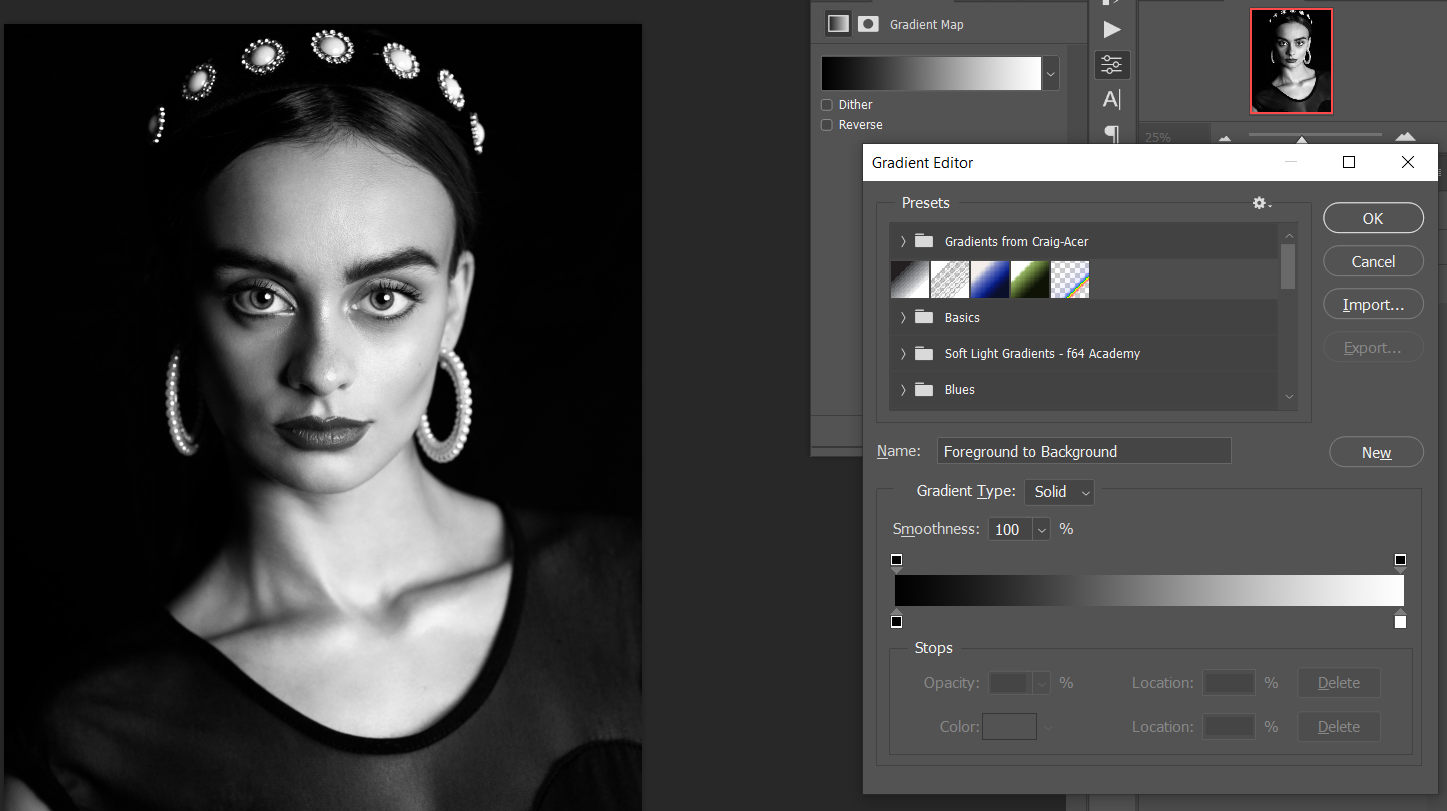
In the Properties panel, click on the Gradient Map. The Gradient Editor will open.
-
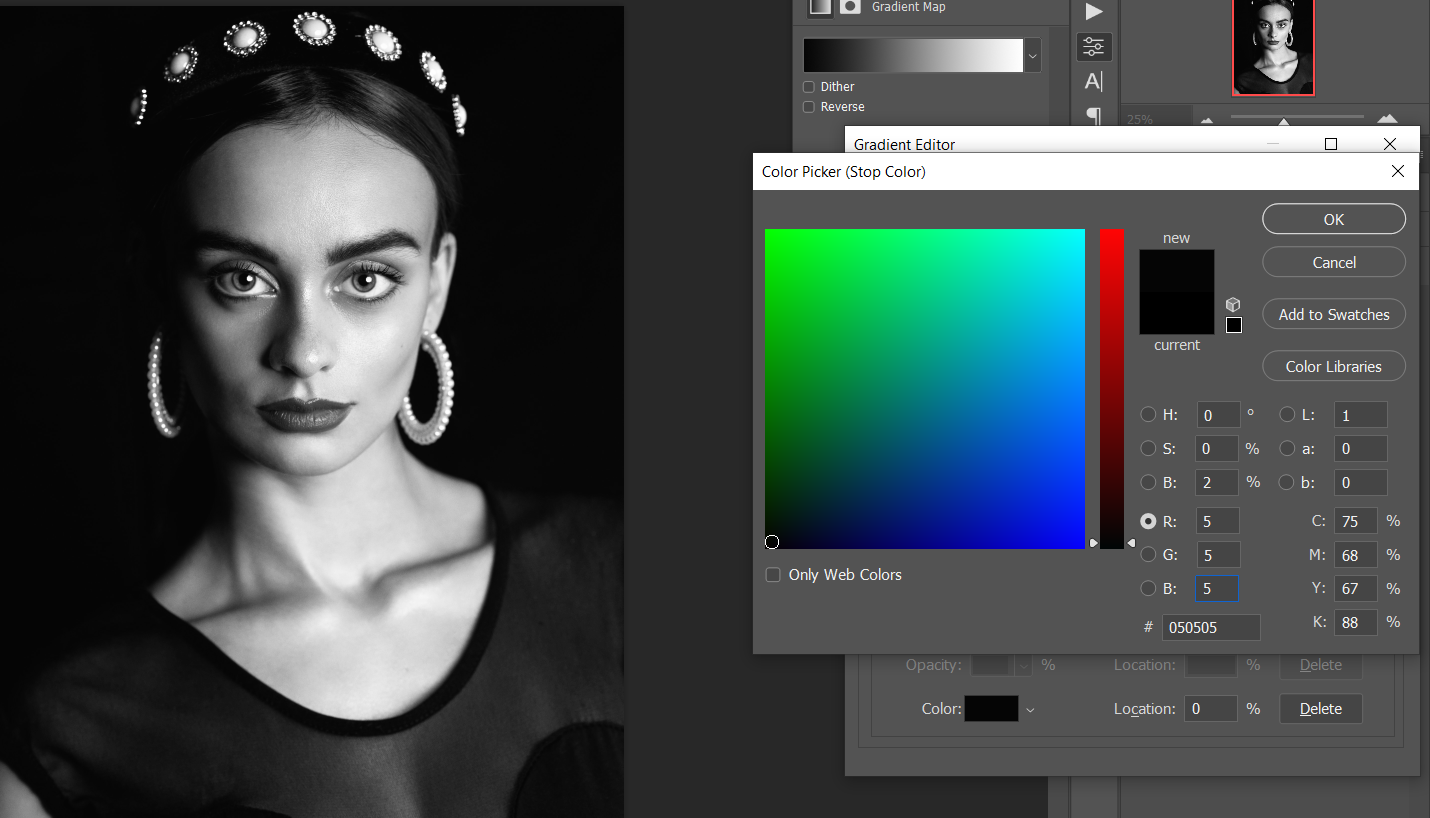
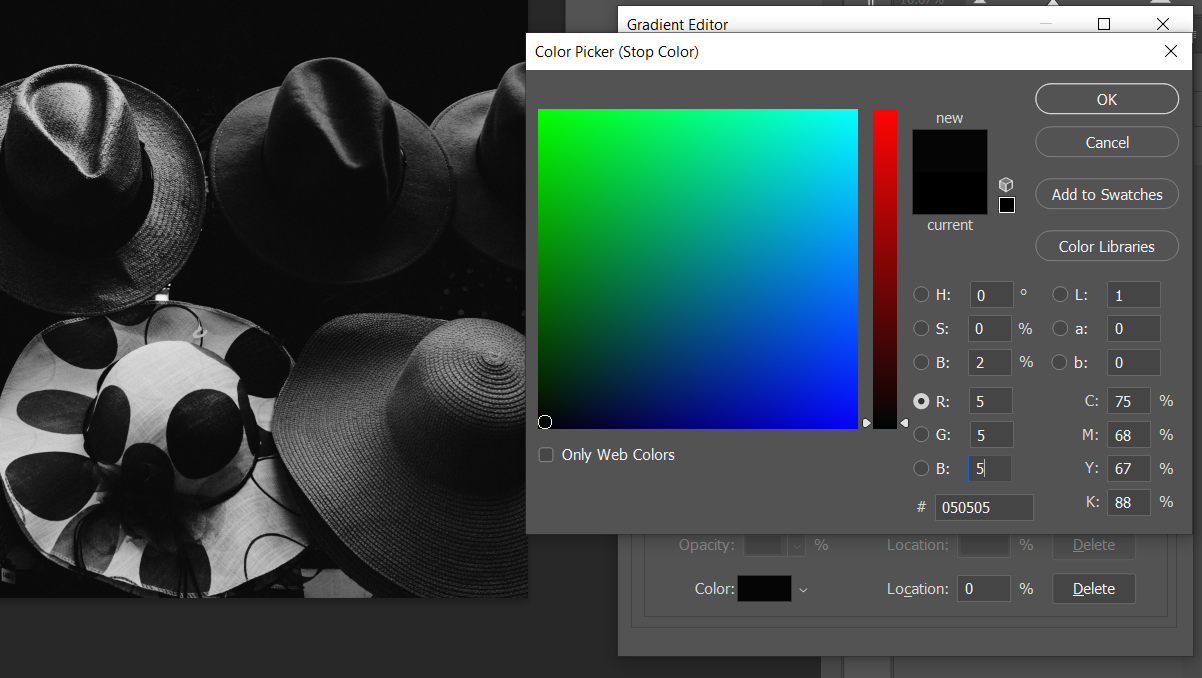
Double-click on the bottom left Black slider handle. The Color Picker menu will open. For the RGB values, change them from 0 to five for each. Then, click OK.
-
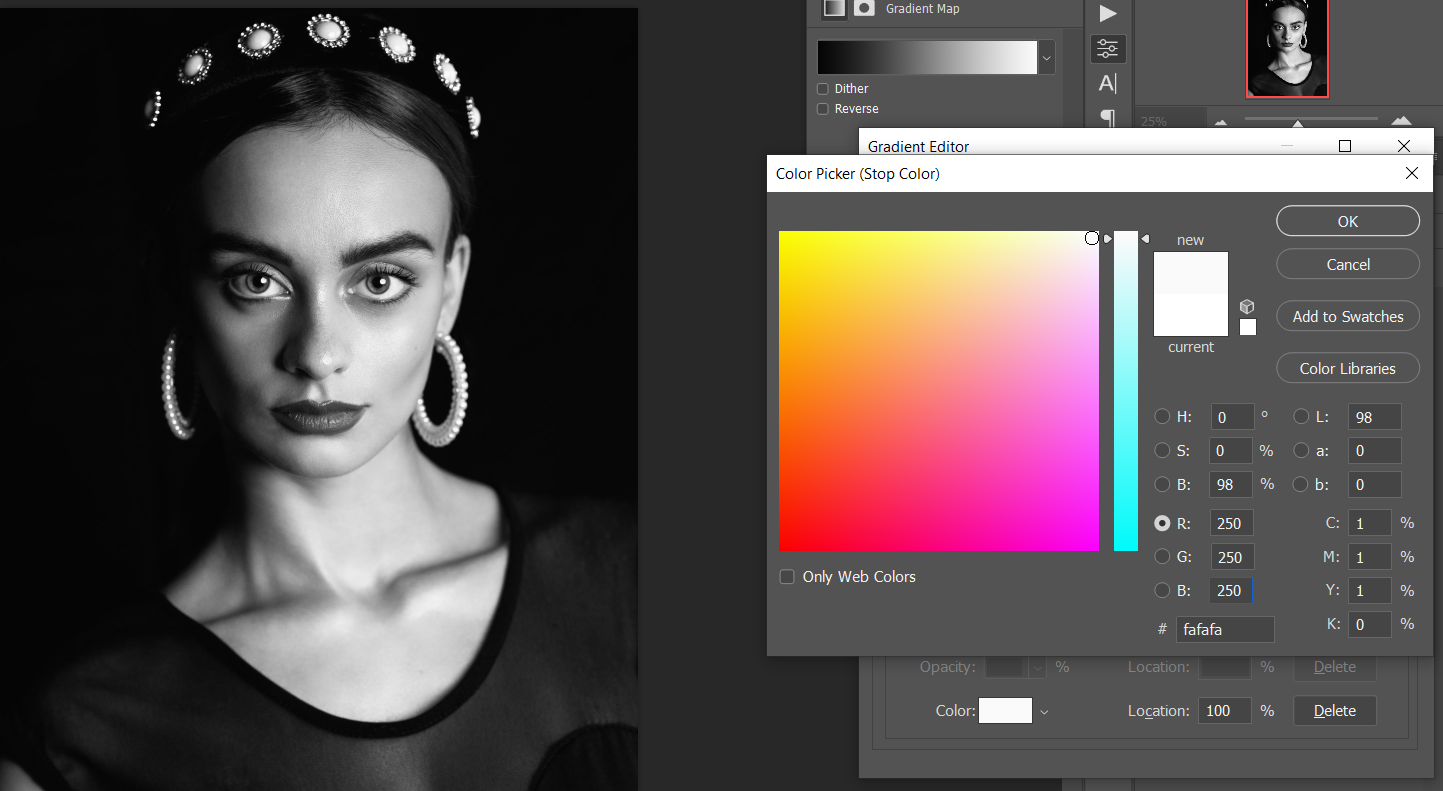
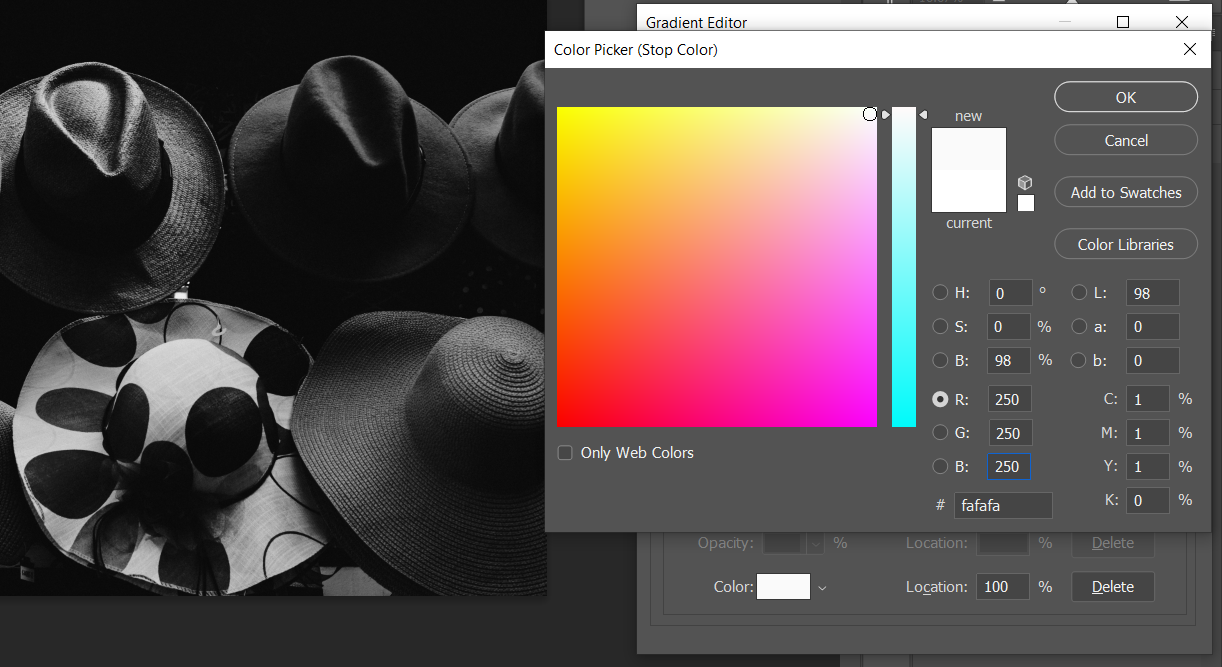
Next, double-click on the bottom right White slider handle. A new Color Picker menu will open. For the RGB values, change them from 255 to 250 for each. Then, click OK to close out of the menus.
-
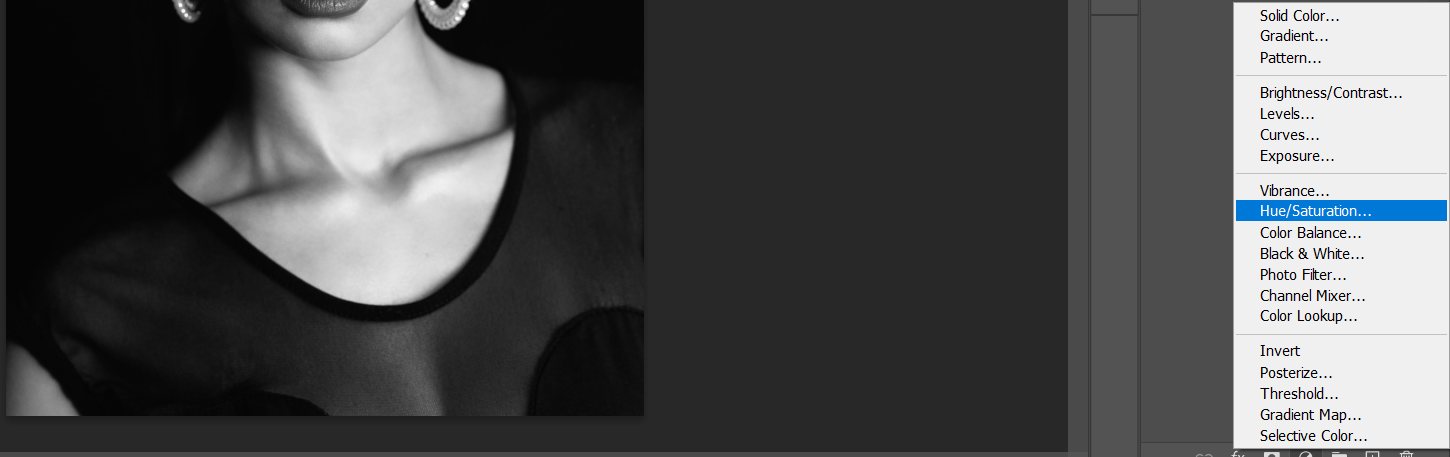
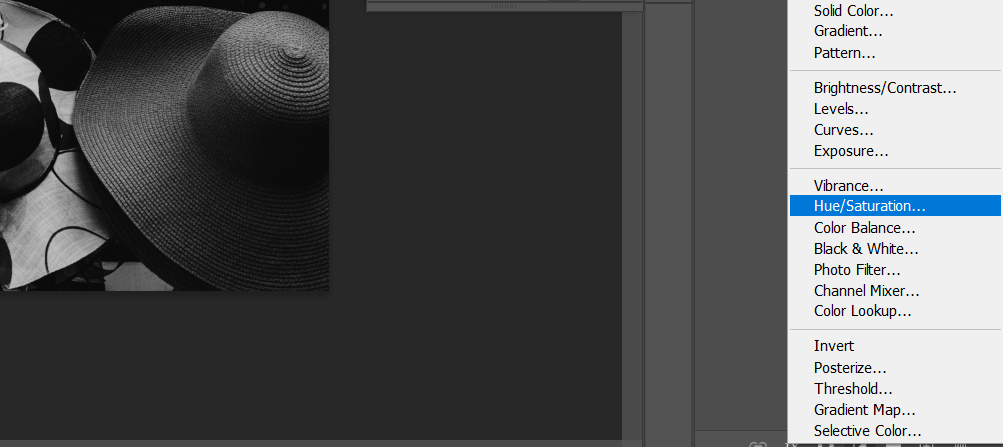
With your original color layer selected, click on the Create New Fill or Adjustment Layer icon at the bottom right of the screen, and select Hue/Saturation.
- Using the Targeted Selection tool (the hand with arrows icon), select various regions of the image where the colors vary. Or, simply go to each color in the dropdown menu.
-
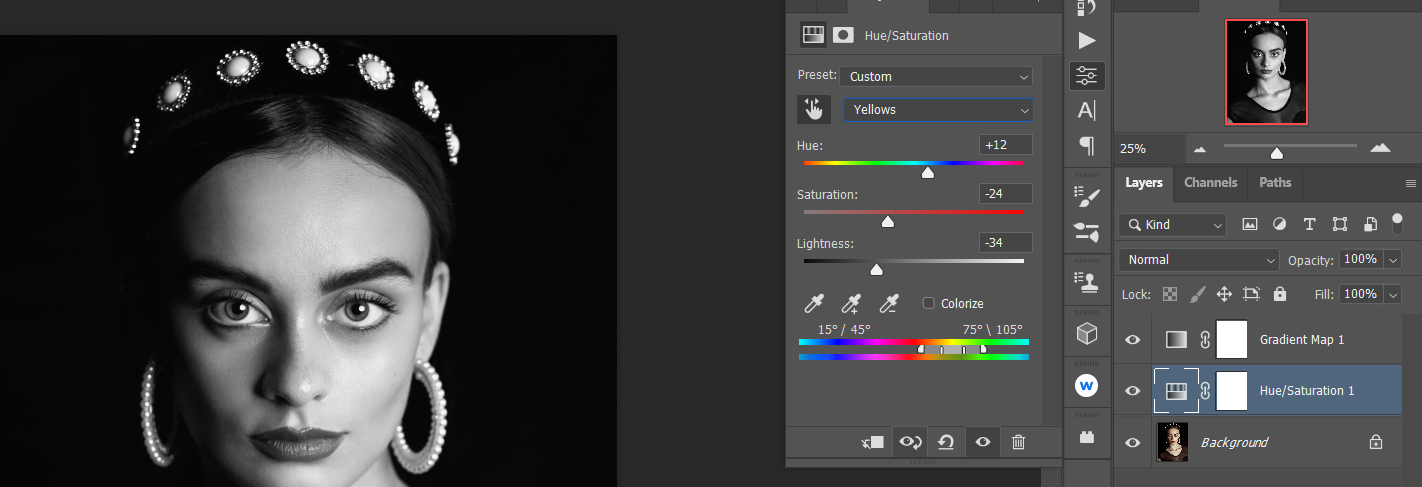
Use the three HSL sliders, Hue, Saturation, and Lightness, to fine-tune each color to taste. In this example, we used these values (from top to bottom, Hue, Saturation, Lightness): Reds +7, 0, +7; Yellows +12, -24, -34.
-
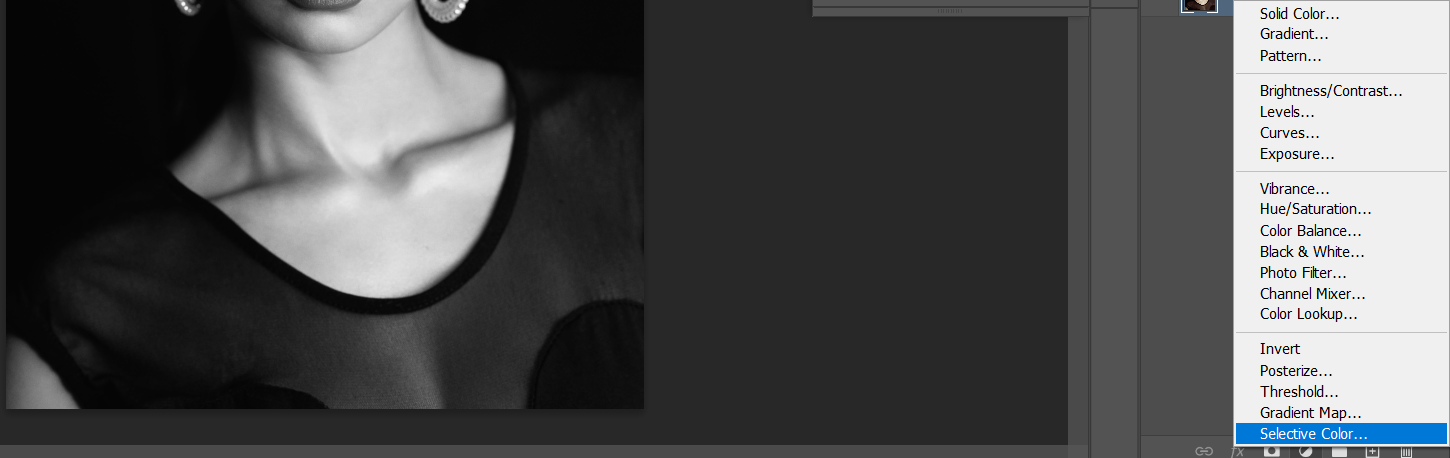
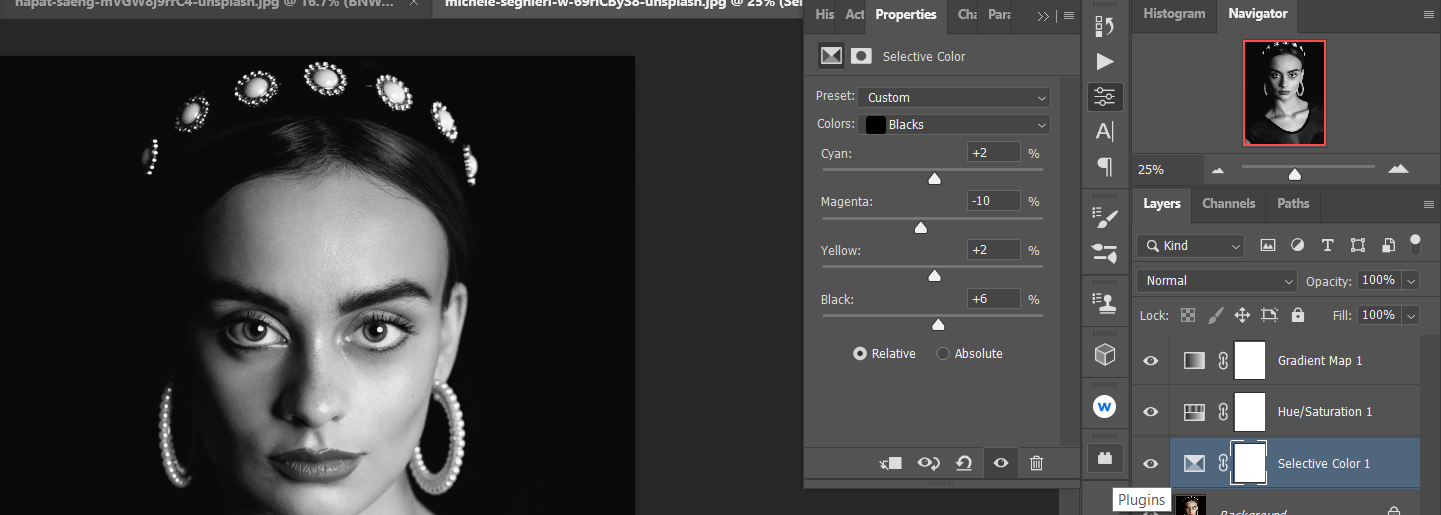
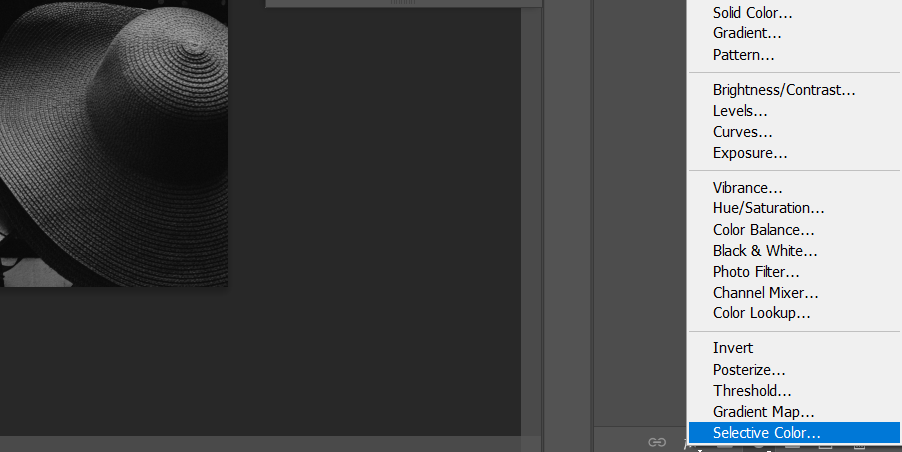
With your original color layer selected, click on the Create New Fill or Adjustment Layer icon at the bottom right of the screen, and select Selective Color.
- Go to the Colors dropdown menu. You will have a color range to make further refinements for the available colors in your image.
- Adjust these nine options (Reds, Yellows, Greens, etc.) to make a more effective black and white conversion. For each of these colors, you will have four sliders to adjust: Cyan, Magenta, Yellow, and Black. Make sure the default Relative box is checked.
- For this example, we adjusted the following values in the dropdown menu. For Reds, we used +31, -22, +9, -7, and for Yellows, we chose +16, -25, +38, +31.
-
We adjusted Whites to +18, +22, +10, -2 and Neutrals to +7, +9, -6, -5. Finally, we changed Blacks to +2, -10, +2, +6.
-
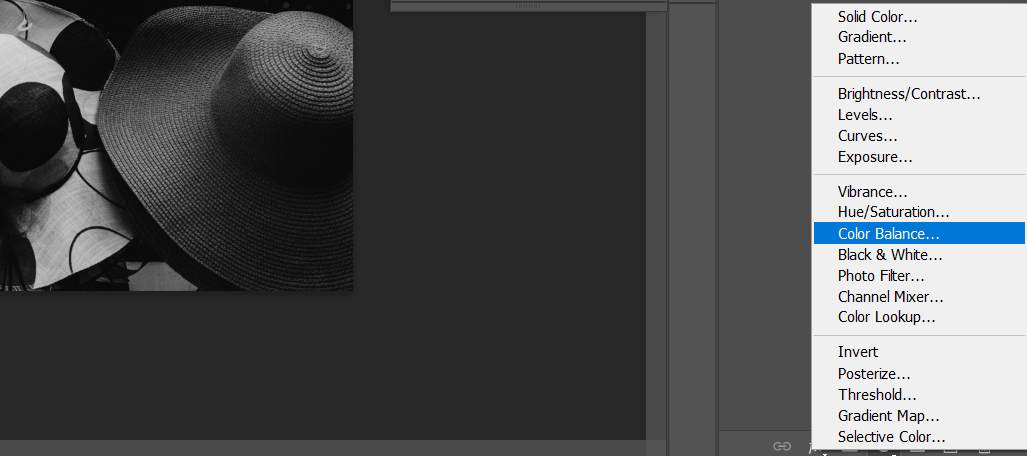
With your original color layer selected, click on the Create New Fill or Adjustment Layer icon at the bottom right of the screen and select Color Balance.
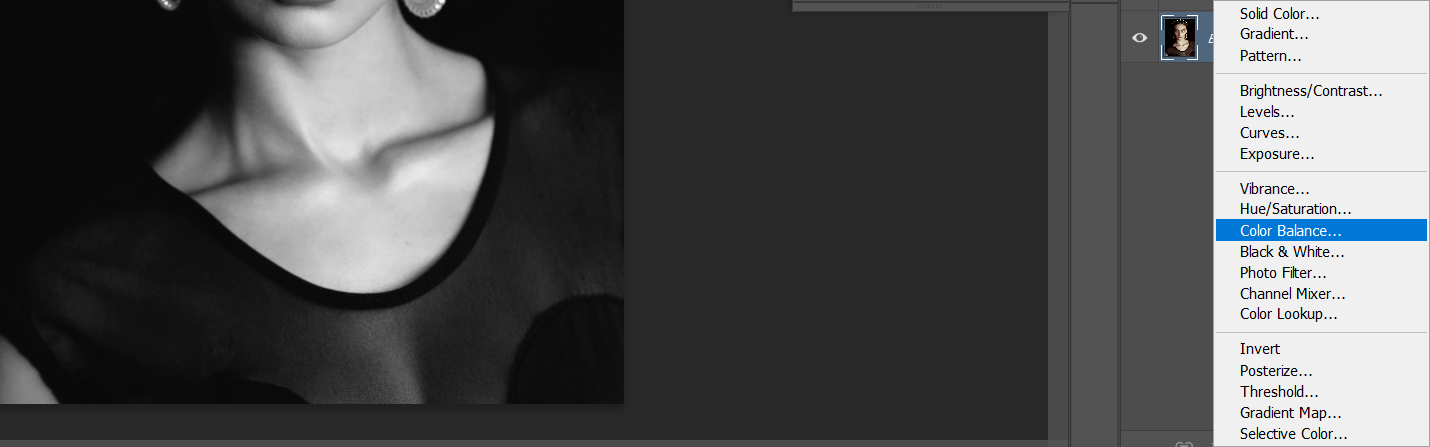
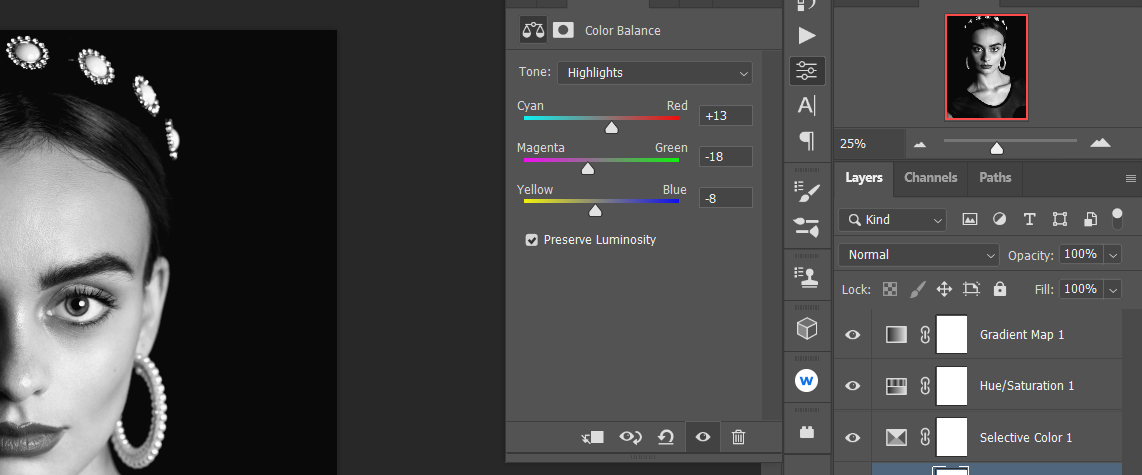
- Go to the Tone dropdown menu, and adjust the three main sliders (Cyan-Red, Magenta-Green, Yellow-Blue) for the Midtones, Shadows, and Highlights.
-
For this example, we adjusted these values in the dropdown menu (from top to bottom): Shadows -8, +13, +16; Midtones -10, -69, +13; Highlights +13, -18, -8.


Since we are creating non-destructive edits, we can always go back and adjust the values for every layer as needed.
Additionally, we can return to the Gradient Map in the layer stack and make adjustments there. Click on either of the bottom sliders, and a new middle handle will appear. We can push it to the left to create more of a high-key image, or we can push it to the right to create more of a low-key image.

If you make a mistake, make sure to press Ctrl + Z to undo changes in Photoshop.
Before:

After:

Creating a Photoshop Action to Streamline the Conversion
Now that we know the basics, let’s create a Photoshop action to help us save some time for future black and white conversions.
You need to have one image loaded into Photoshop to create an action, but it needn’t be one that you’re editing. For demonstration purposes, you can download this image from Unsplash to follow along.
Let's get started:
-
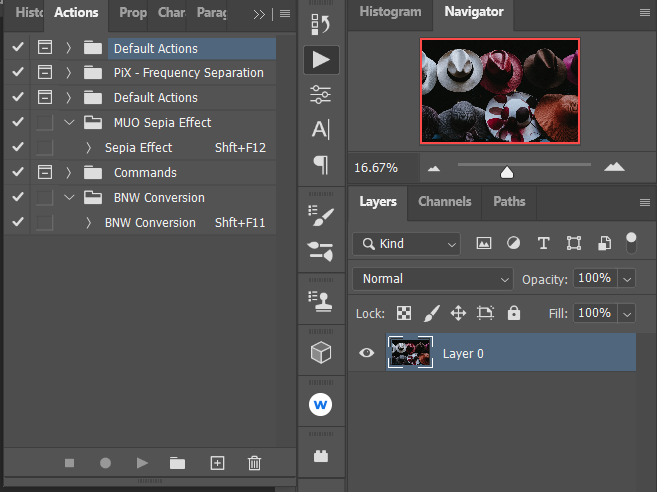
Load an image into Photoshop. Use the keyboard shortcut Alt + F9 to open the Actions menu.
-
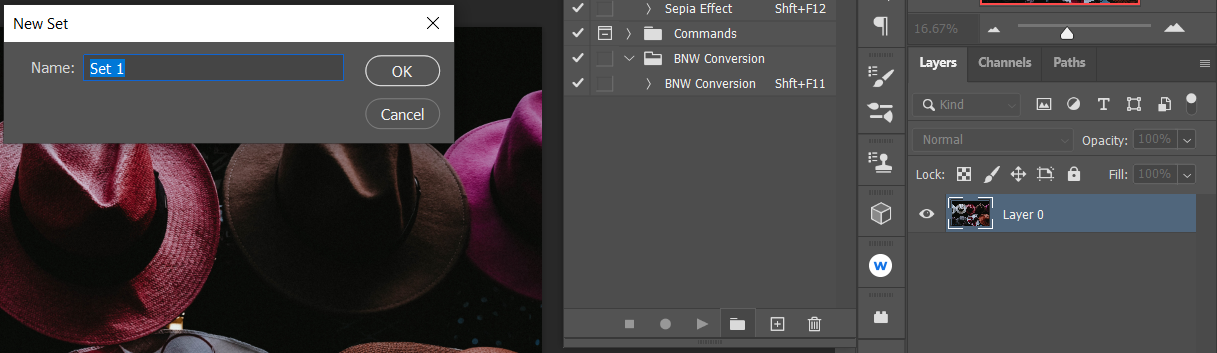
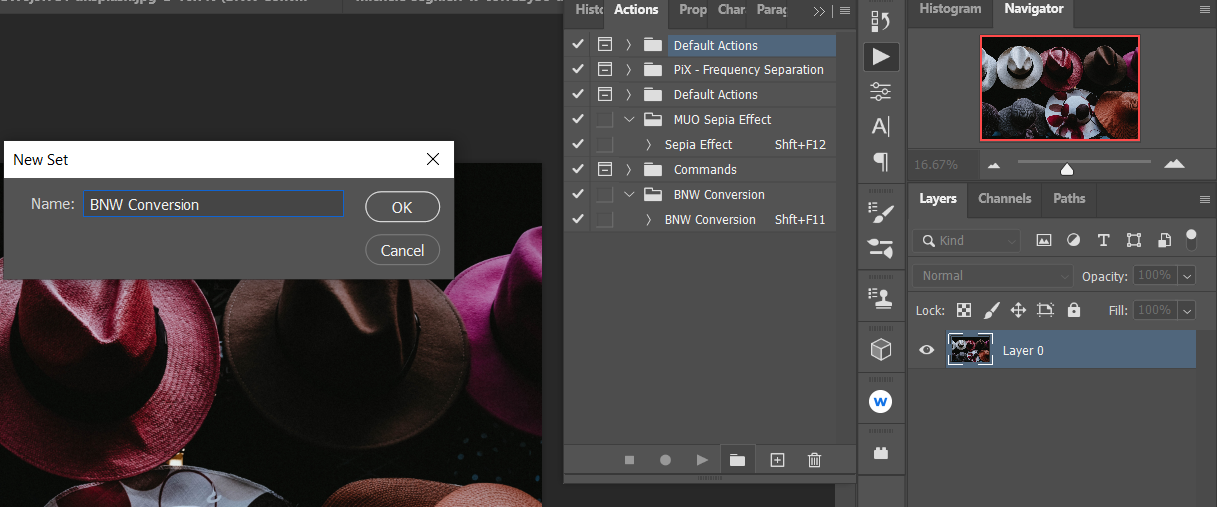
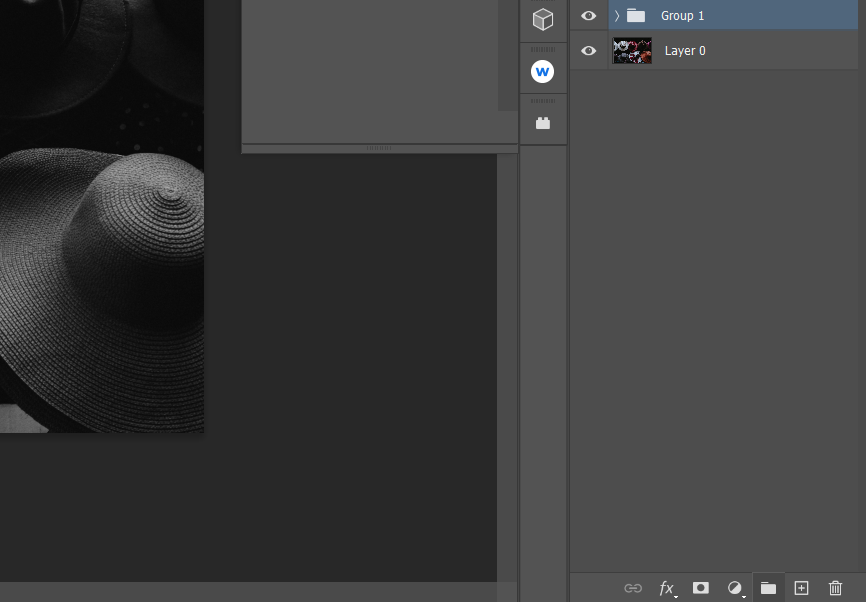
Click on the Create New Set folder icon.
-
Change the Name field to BNW Conversion, and click OK.
-
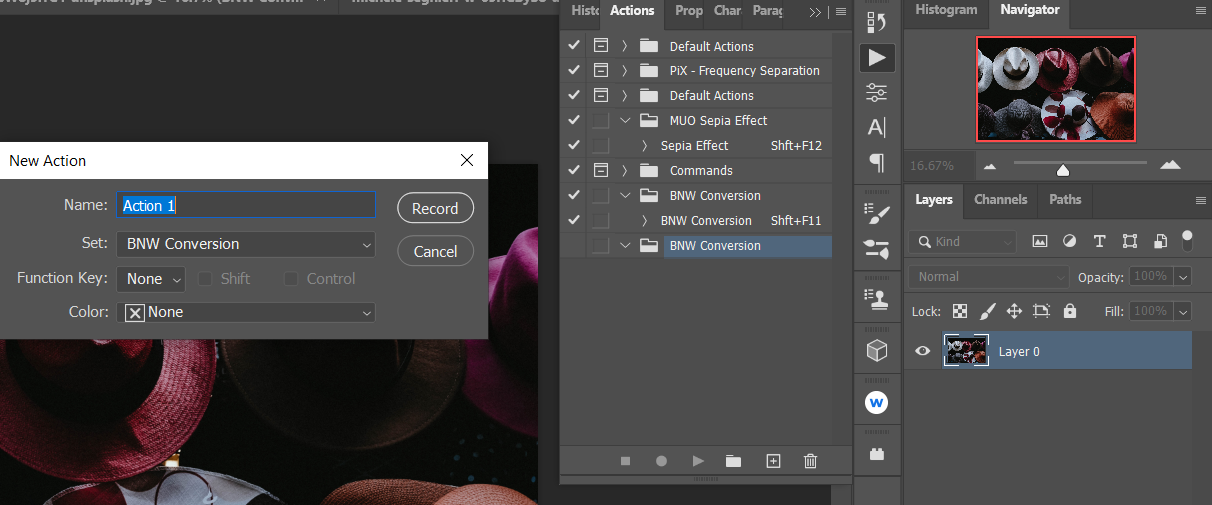
With BNW Conversion highlighted, click on the Create New Action icon.
-
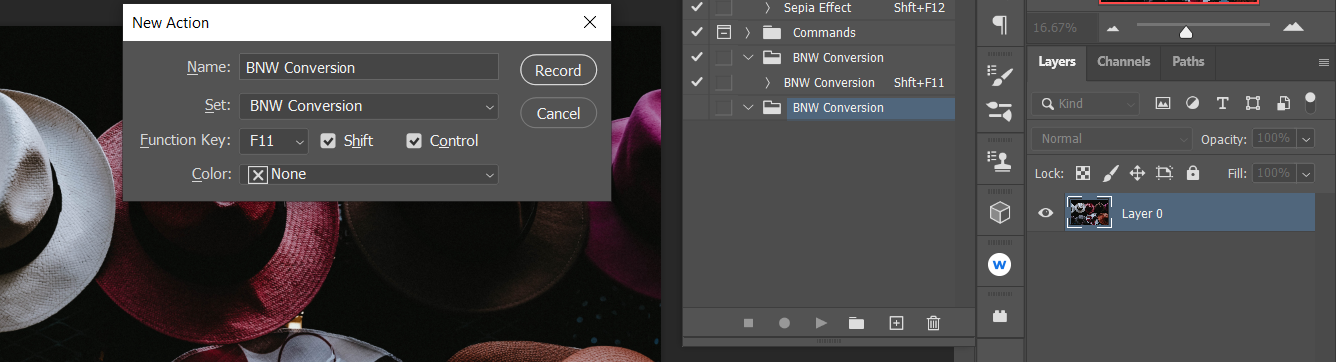
In the New Action menu, make the following changes to these fields: Name: BNW Conversion; Set: BNW Conversion; Function Key: F11 (you can choose something else). Check off Shift or Control, and then click Record.
-
Press the D key.

-
Click on the Create New Fill or Adjustment Layer icon at the bottom right of the screen, and select Gradient Map.
-
In the Properties panel, double-click on the Gradient Map. From there, double-click on the bottom left Black slider handle. For the RGB values, enter five for each. Then, click OK.
-
Next, double-click on the bottom-right White slider handle. For the RGB values, enter 250 for each. Then, click OK to close the menus.
-
With your original color layer selected, click on the Create New Fill or Adjustment Layer icon at the bottom right of the screen, and select Hue/Saturation.
-
With your original color layer selected, click on the Create New Fill or Adjustment Layer icon at the bottom right of the screen, and choose Selective Color.
-
With your original color layer selected, click on the Create New Fill or Adjustment Layer icon at the bottom right of the screen, and select Color Balance.
-
With the Gradient Map layer still selected, press and hold Shift, and click on the Color Balance layer at the bottom. All the adjustment layers you created should now be highlighted.

-
Click on the Folder icon at the bottom right of your Photoshop screen.
-
Double-click on the text of the folder name, and type in BNW Conversion. Press Enter.

-
Click on the Stop Playing/Recording icon (left of the red dot) to finish the action. If the menu isn't visible, note that you may have to click on Actions once again.
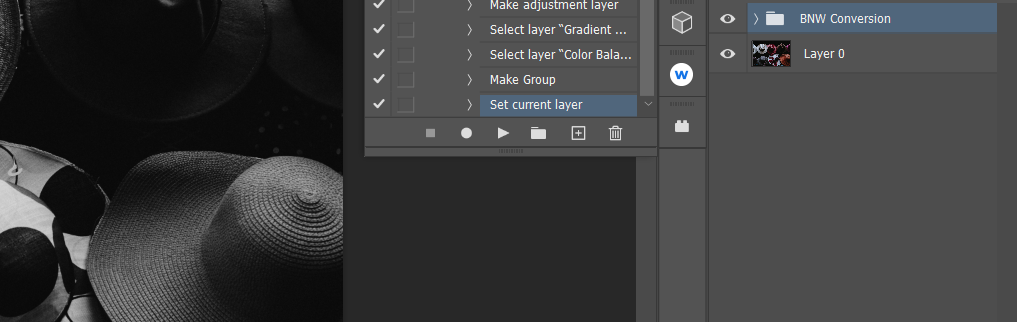


You should now have a Photoshop action folder named "BNW Conversion" displayed in your actions. Depending on your choices in step five and your keyboard shortcut creation, you should be able to press Alt or Shift + F11 to automatically run the black and white conversion.
Then, all you have to do is adjust the sliders in each layer to your liking, starting from the Hue/Saturation layer and working down to Color Balance.
Other Tips for Better Black and White Conversions

Each black and white conversion is unique. That’s why it’s important to note that just because we run our black and white action, it still doesn’t mean that our image is finished. Depending on our vision, we may continue editing in Photoshop to add other effects or even to correct black and white areas that still don’t look right.
We jumped ahead and converted the above image, and also made all the adjustments.

In the photo of the hats, you may have noticed that certain areas of the hat have remained dark despite making adjustments to all the sliders. This may be okay to leave as is, but there are a couple more tricks we can use to target these areas, and see if more detail can be revealed.
One way to target an area is by creating a new blank layer above the black and white conversion folder. Then, change the blend mode from Normal to Overlay and begin painting white over the dark areas.
Another way would be to create a luminosity mask. Using this method, a Curves layer would be placed directly over the black and white conversion folder.
Taking Advantage of Photoshop's Versatility

If there’s one thing to take away from this tutorial, it’s that there is more than one way to do something in Photoshop. Our approach here was to use existing colors to create a more expressive black and white image.
But what about images with muted colors, or photos that only have a couple of colors? In these types of images, enhancing the existing colors may not be as effective as other methods. That’s the beauty of Photoshop—there are always other ways to accomplish beautiful black and white images.