Sometimes, our photos could use a creative boost. What we saw in real life doesn't always translate to the camera—but luckily, editing software can help you make more interesting works of art.
In this tutorial, we'll show you how to add puddles to your image using Photoshop.
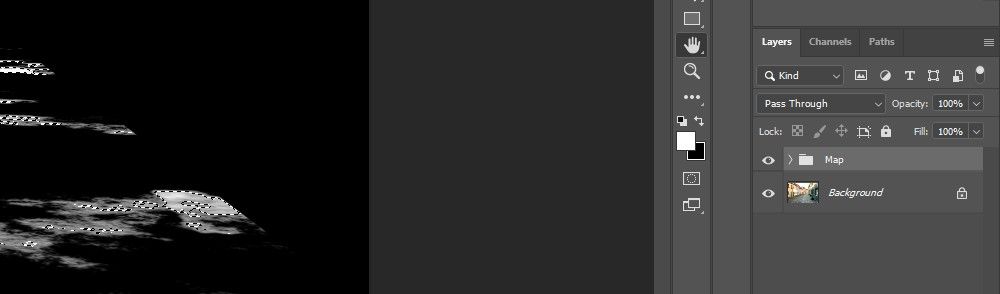
Where to Get Puddle Maps
In order to create puddles in Photoshop from scratch, you'll need to search online for these 3D graphics assets. Fortunately, there are many available online for free.
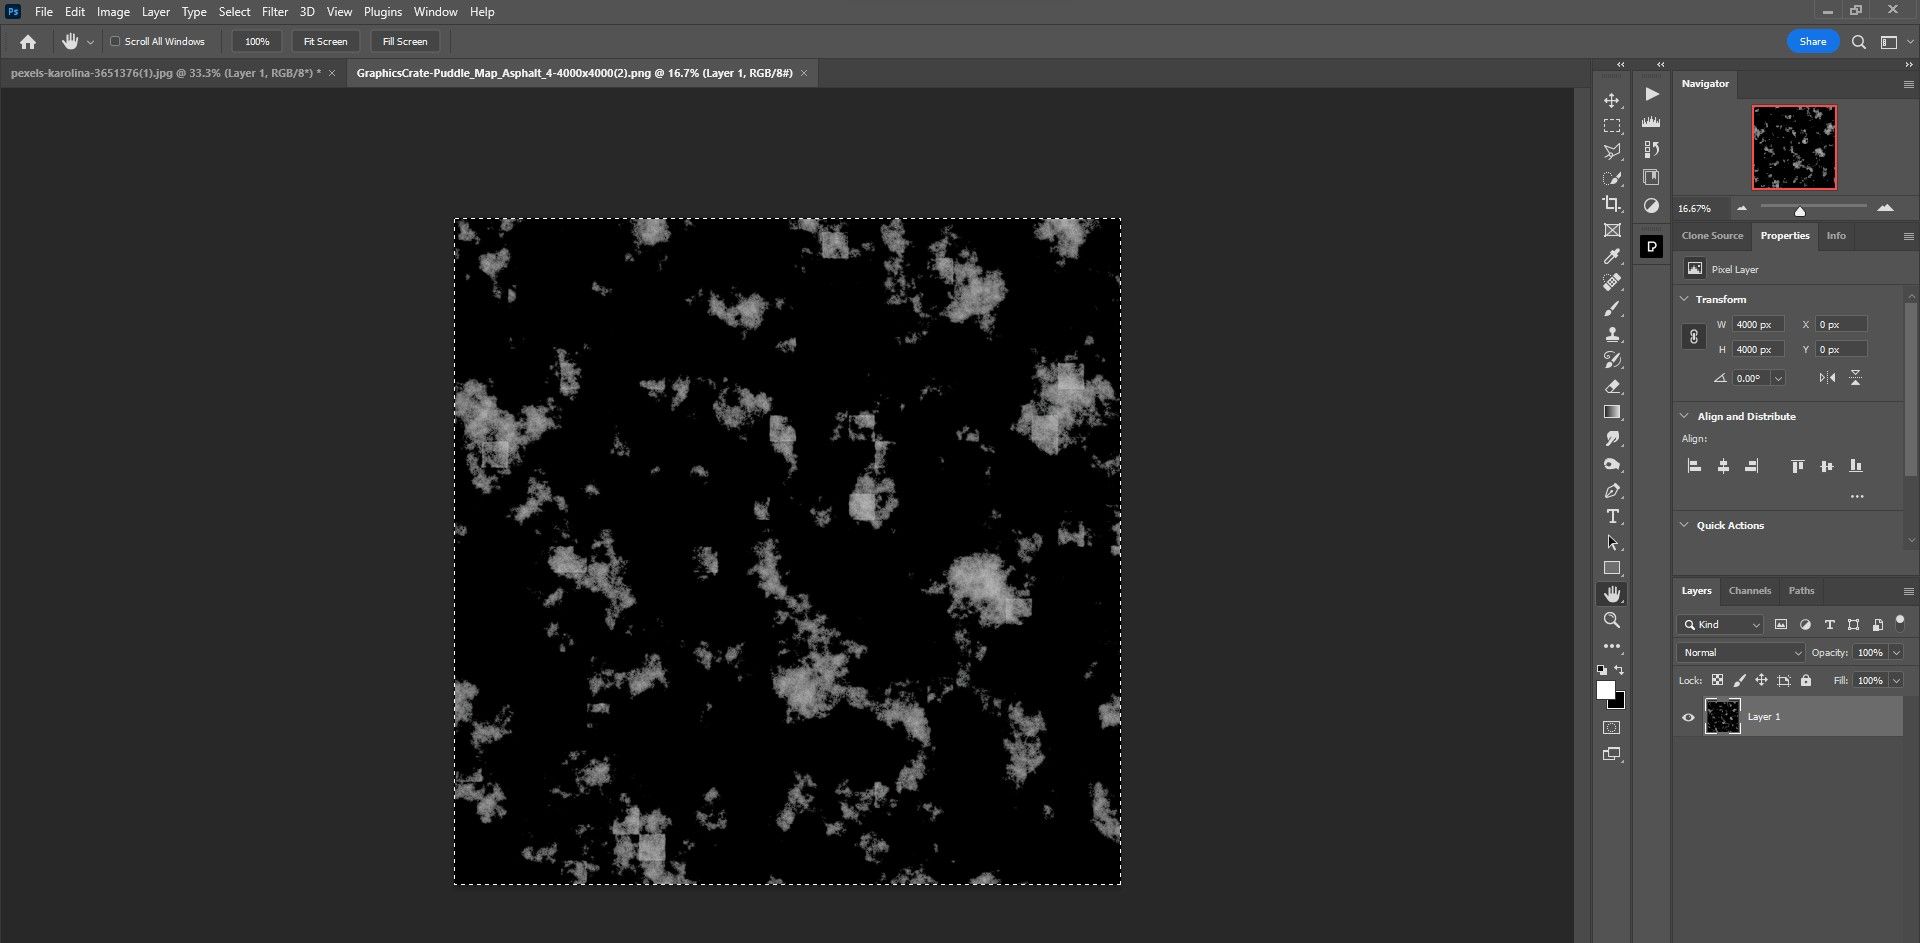
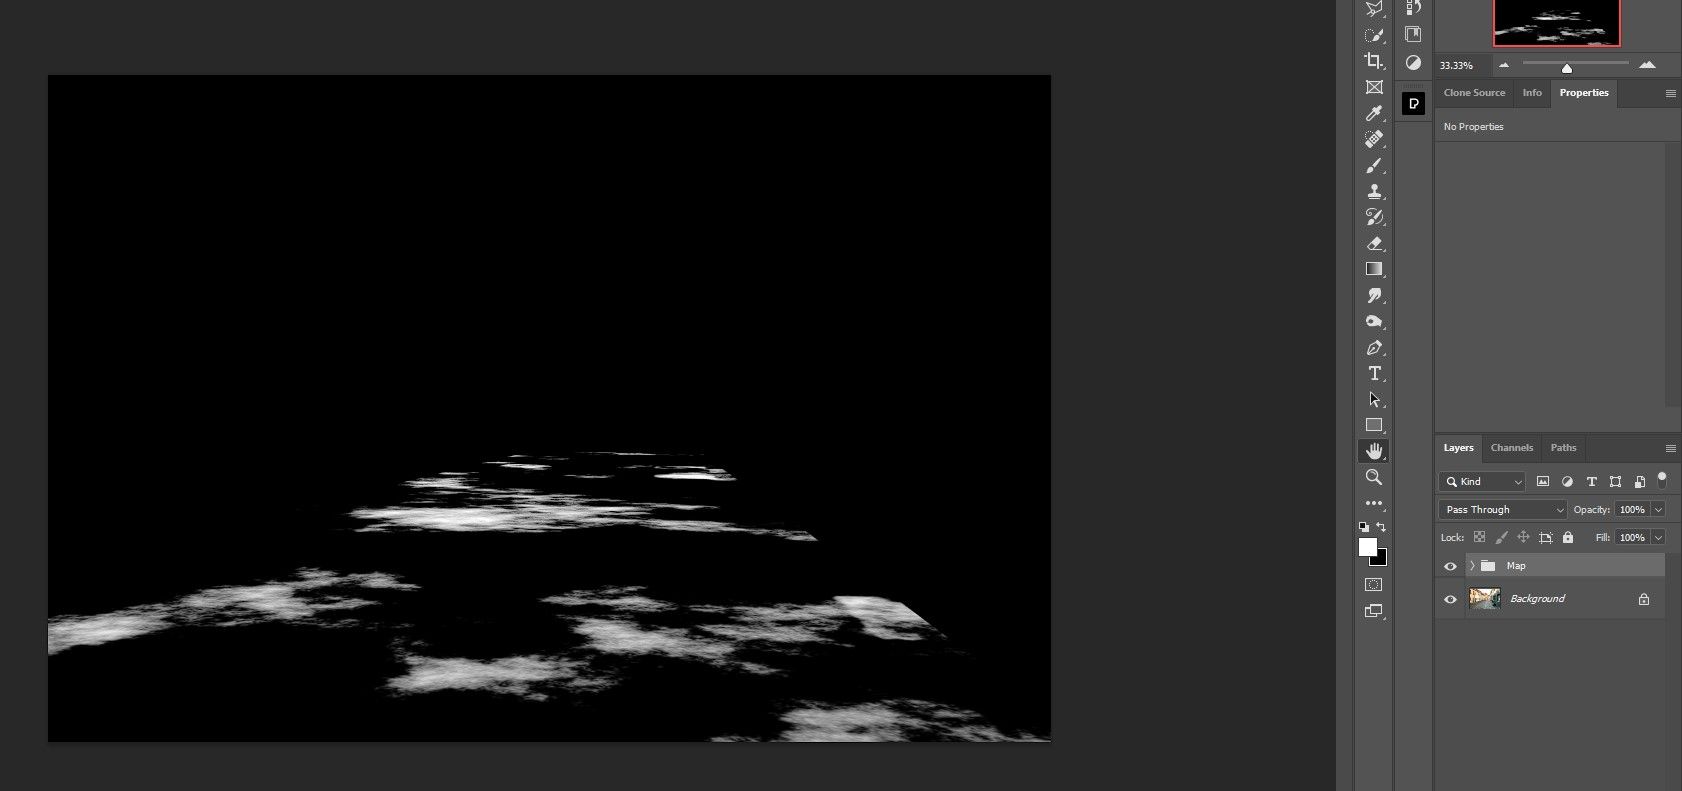
If you'd like to follow along with our tutorial, you can download the puddle map we used at GraphicsCrate.
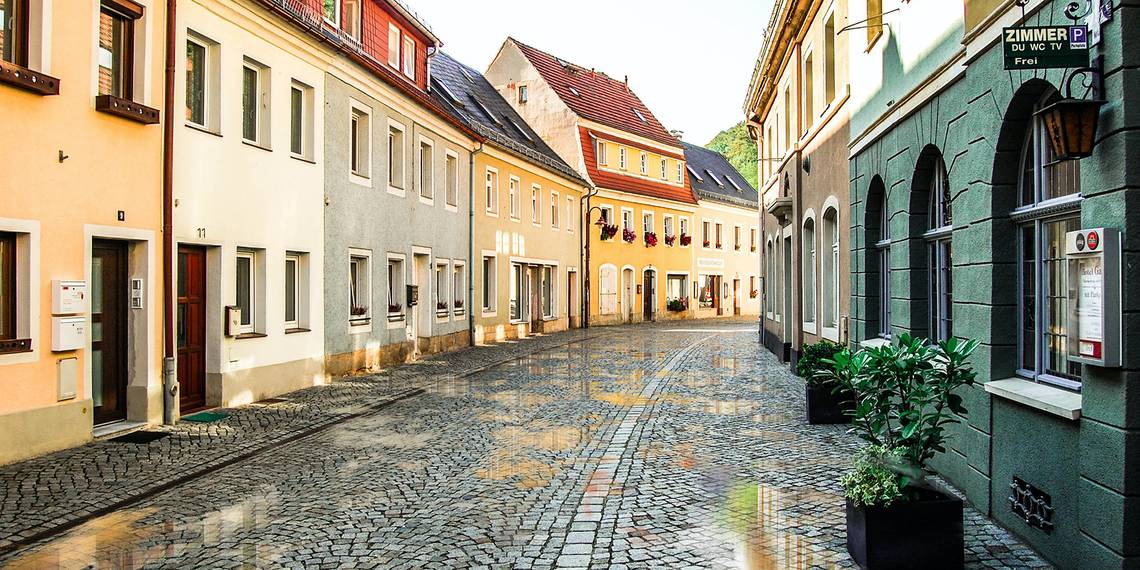
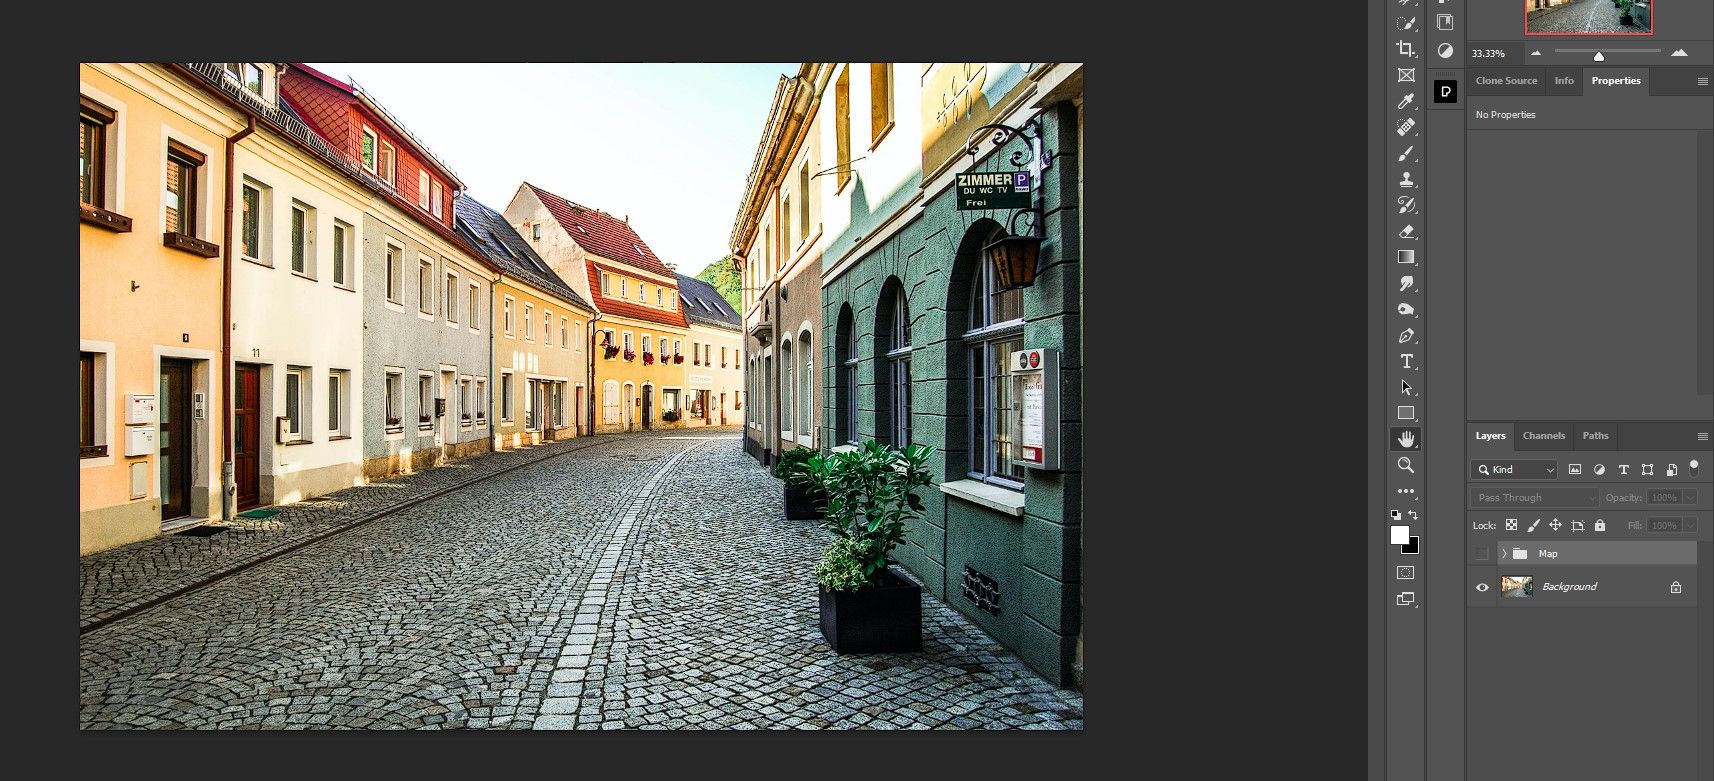
You can download the main image we'll be using at Pexels.
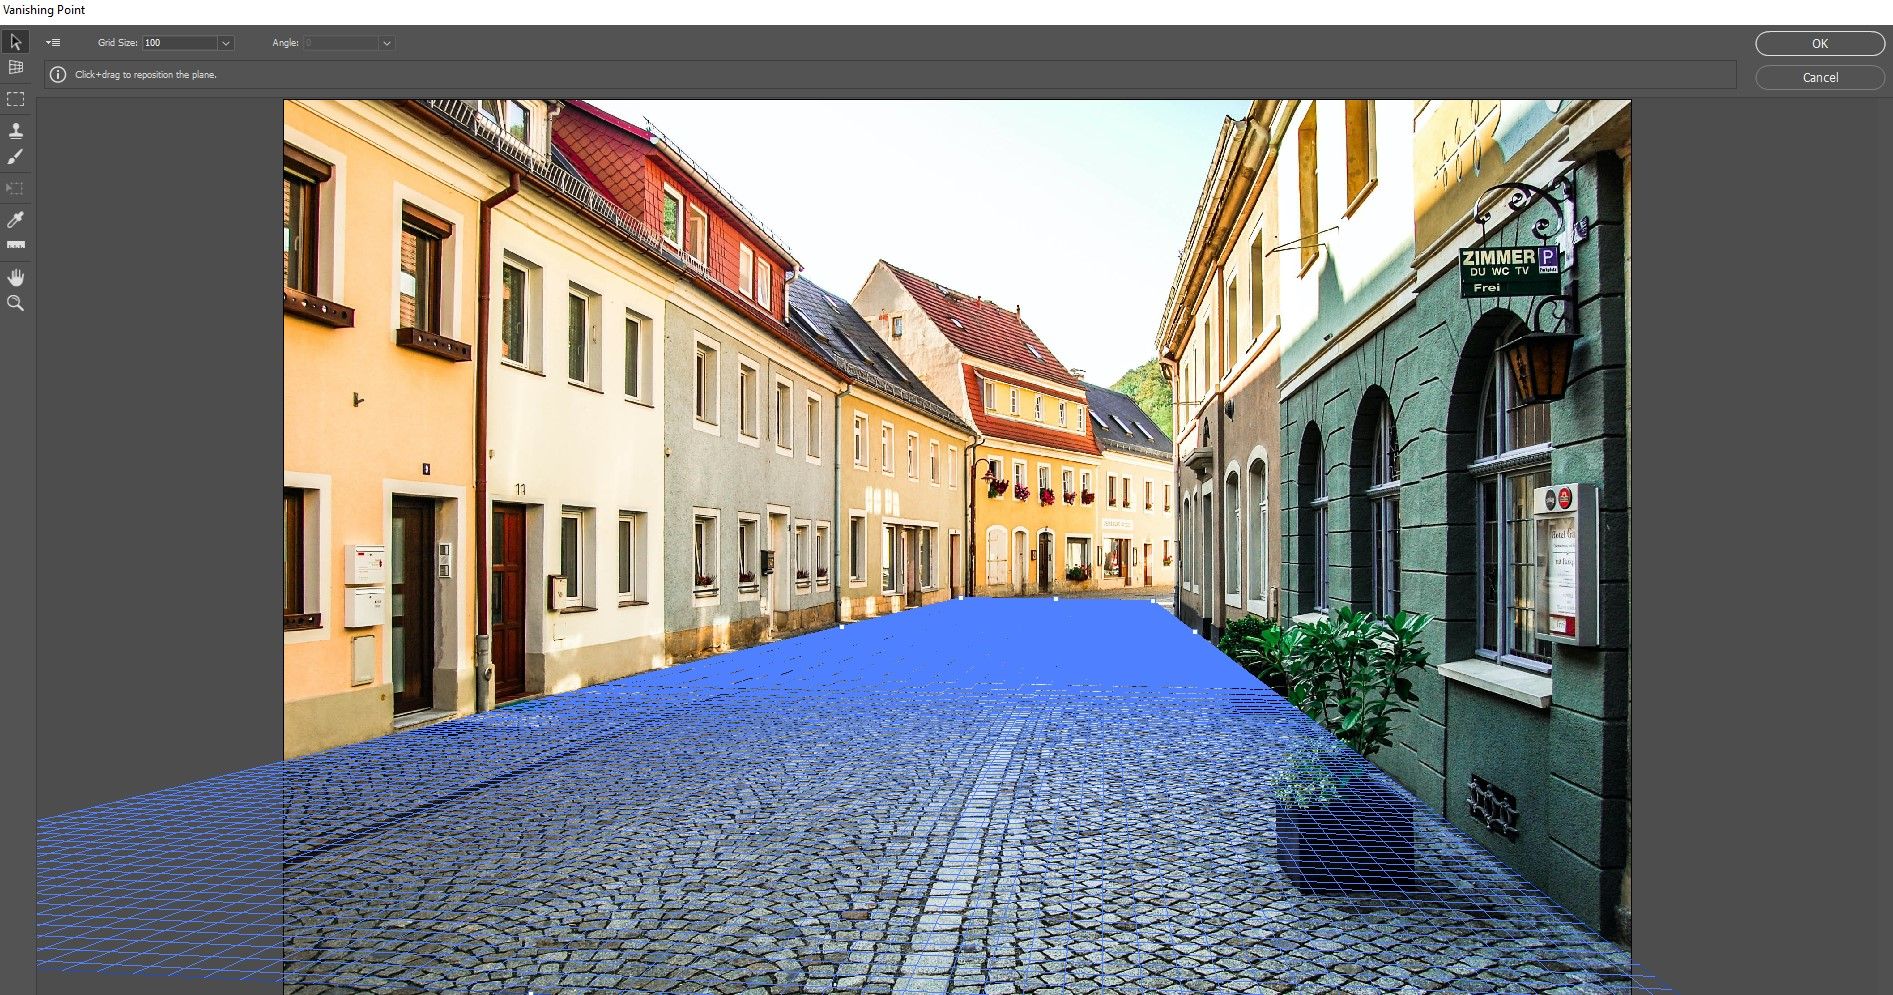
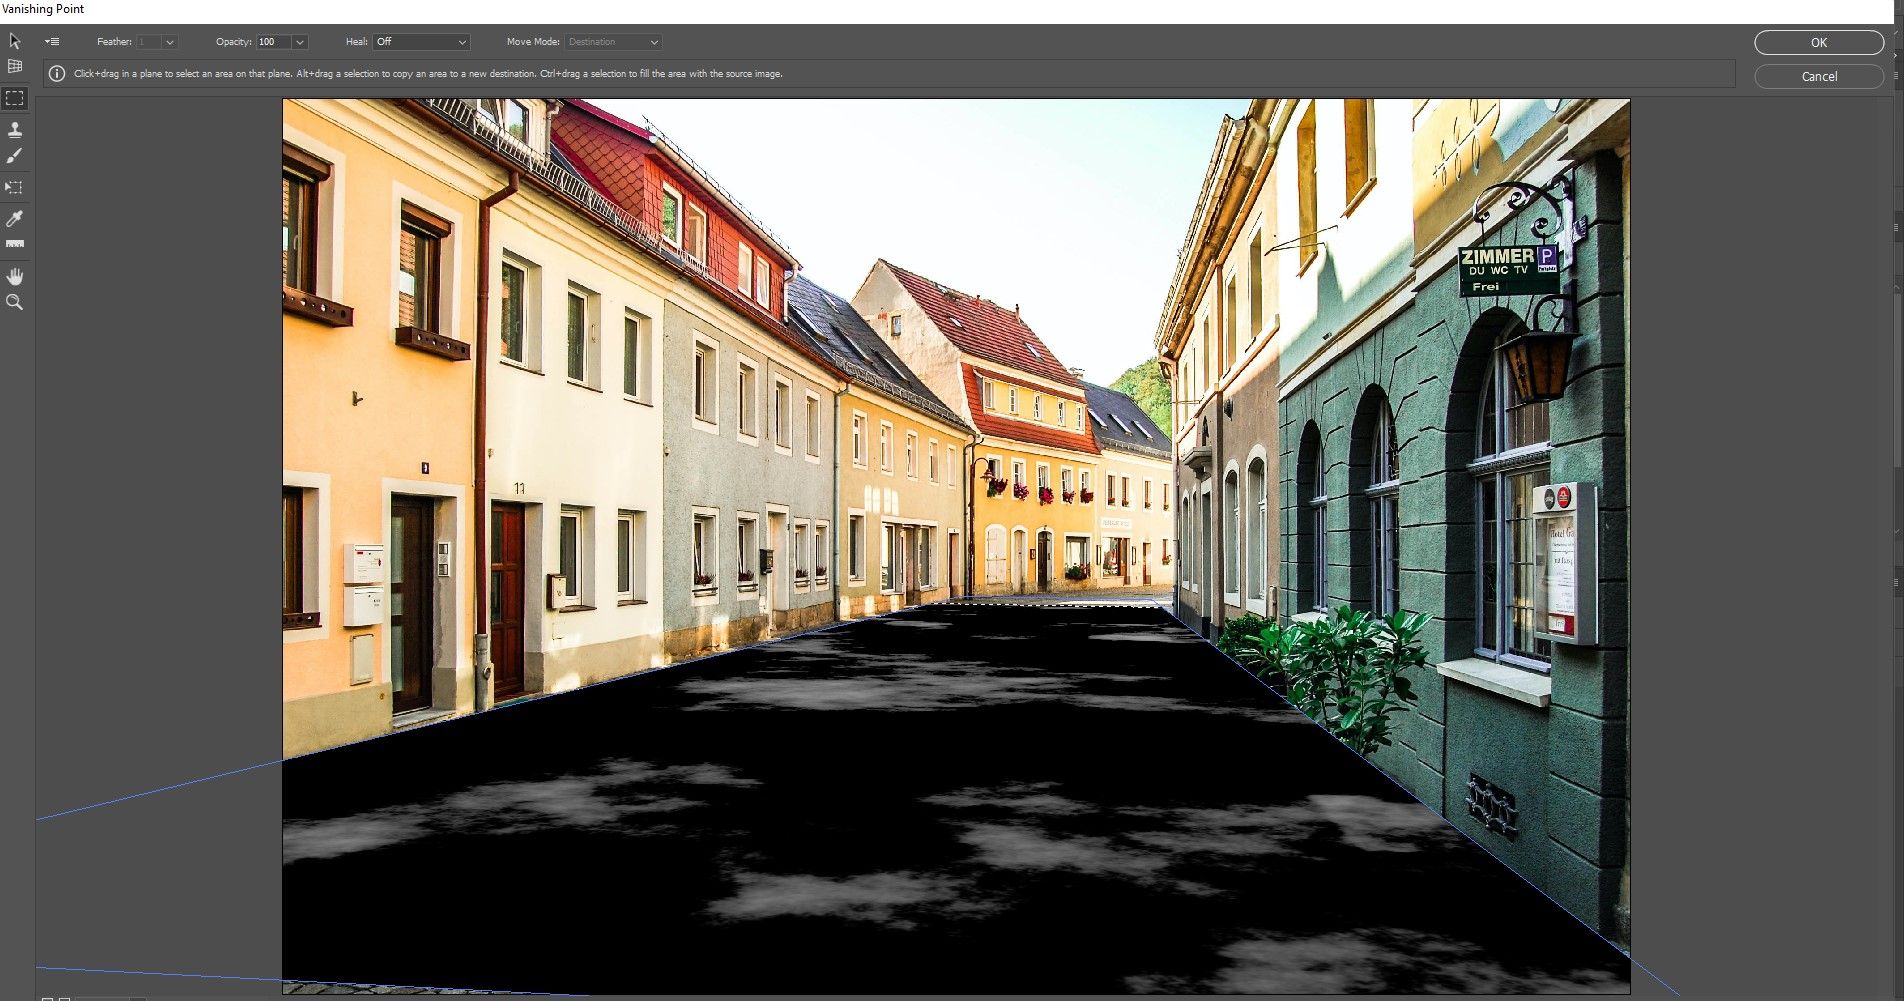
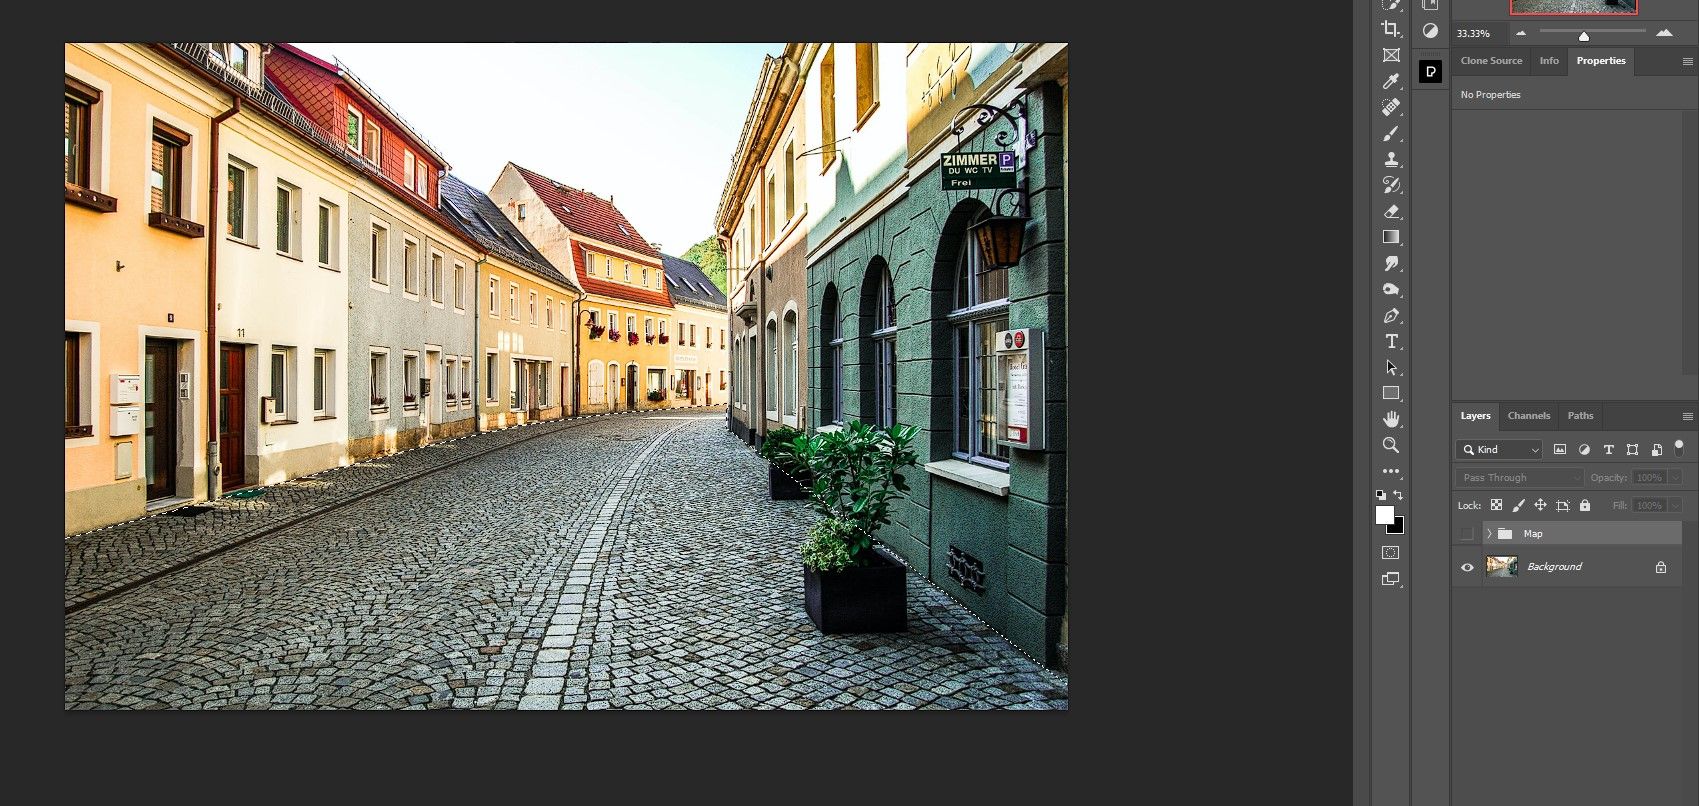
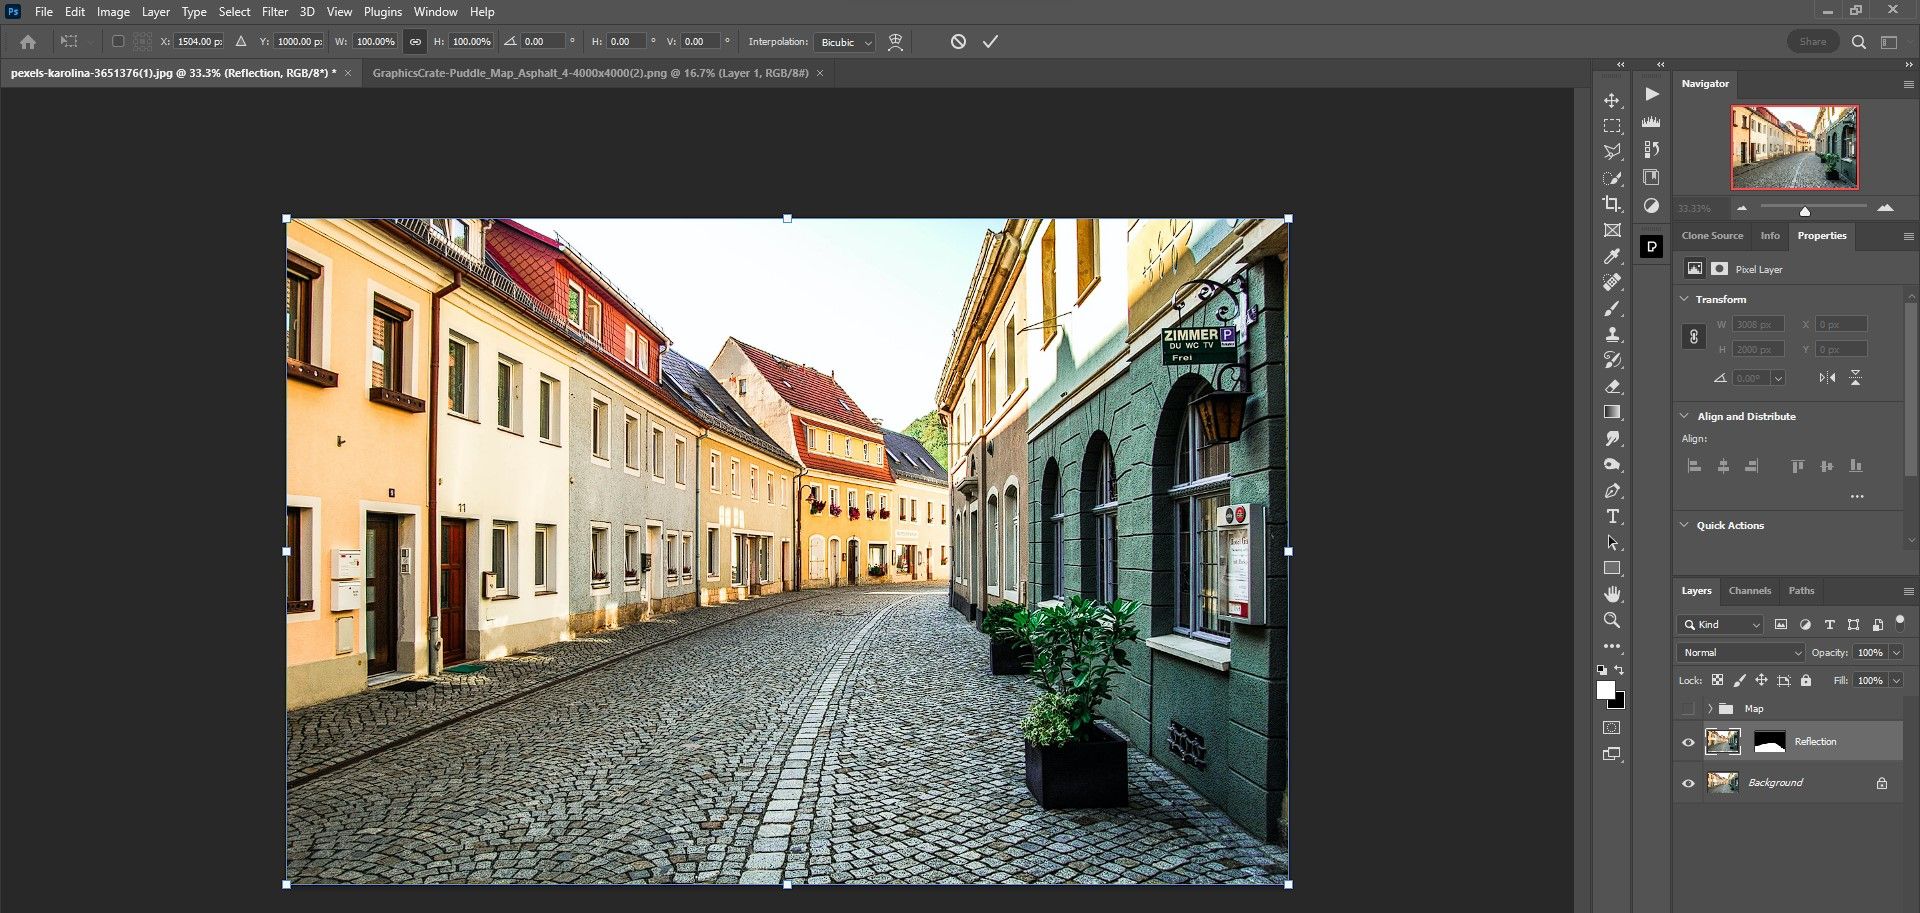
Step 1: Create a Vanishing Point
In our first step, we're going to create a Vanishing Point in Photoshop in order to place the puddle map. Then we'll arrange multiple versions of the puddle map in order to fill much of the road in our main image of the village.
-
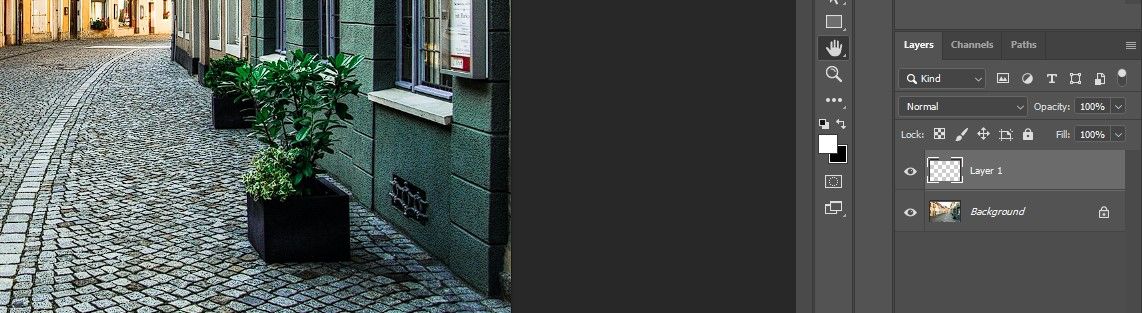
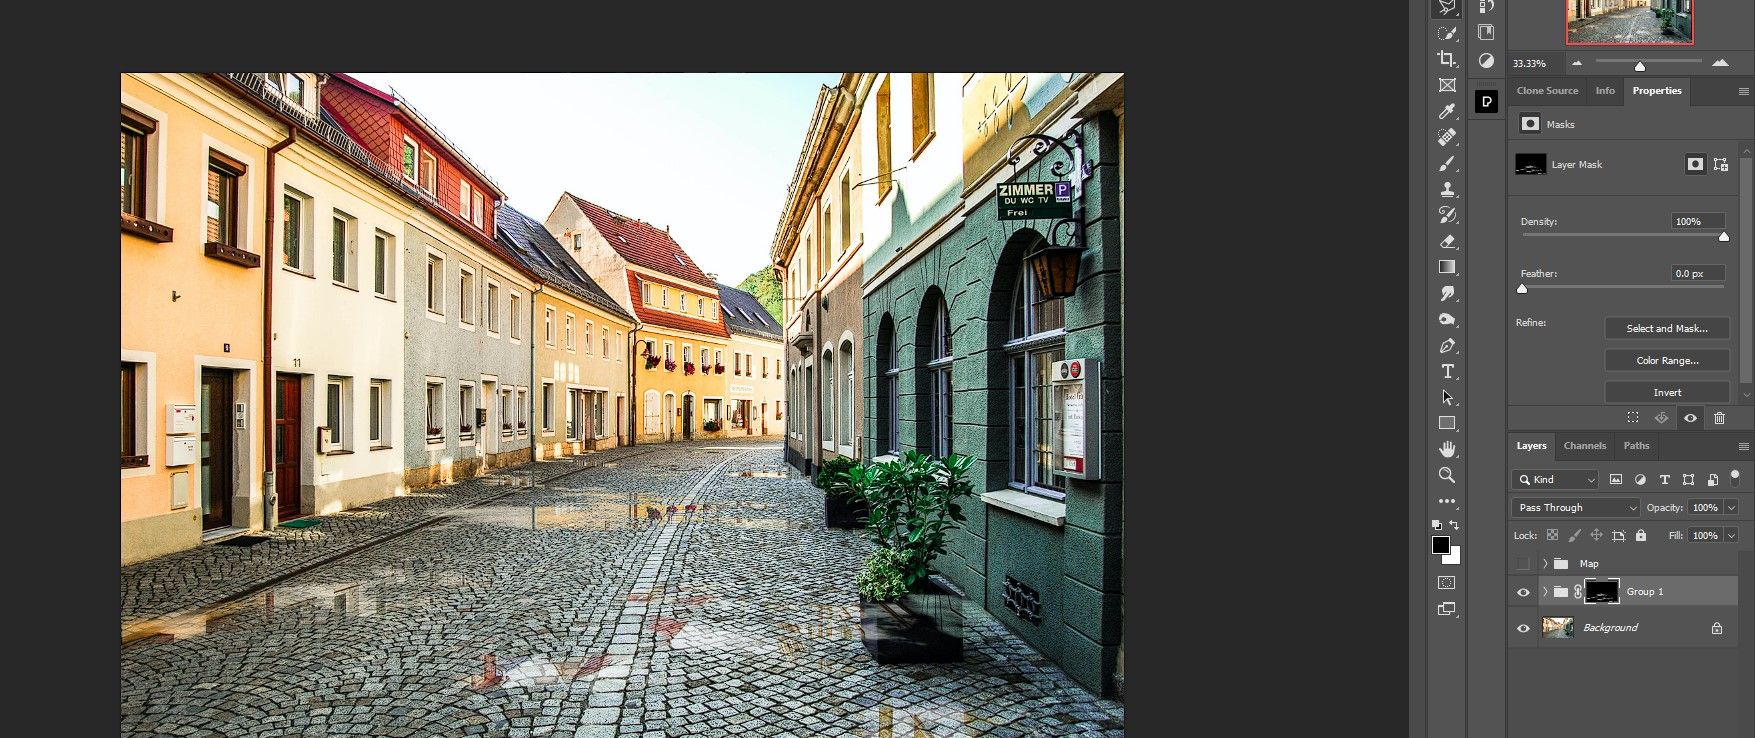
With the main image loaded into Photoshop, create a New Layer.
-
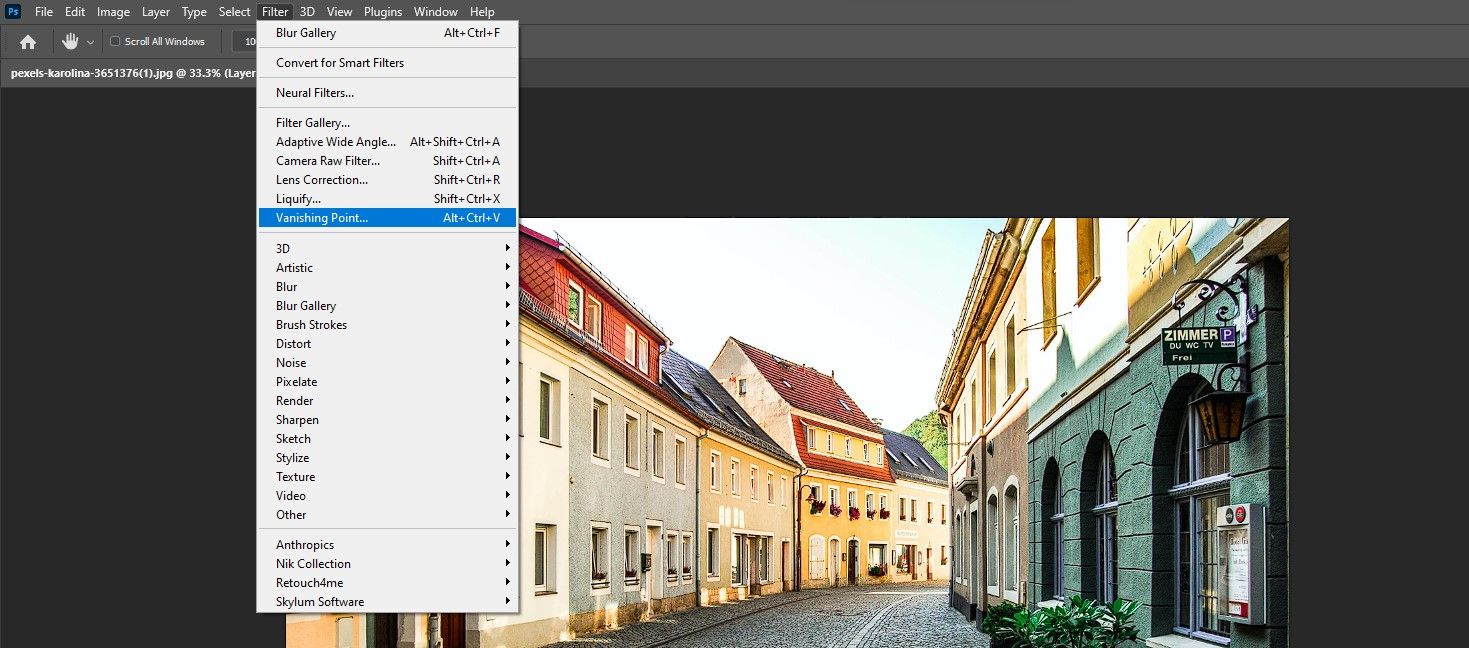
Go to Filter > Vanishing Point.
-
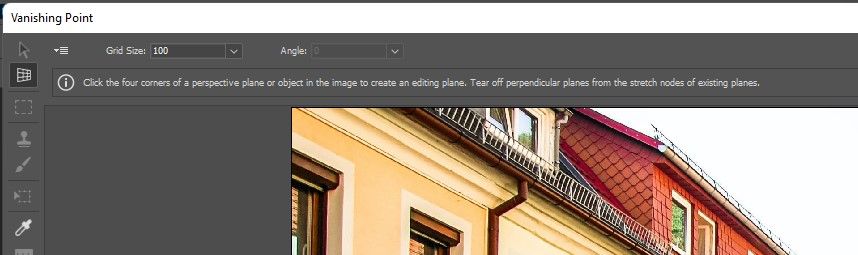
Select the Create Plane Tool (should be active by default).
-
Create four points that will serve as a plane, as shown.

-
Adjust the points so that they cover the entire area of the road between the buildings. Press OK.
-
Go to the puddle map file. Press Ctrl + A to select the image. Then press Ctrl + C to copy it.
-
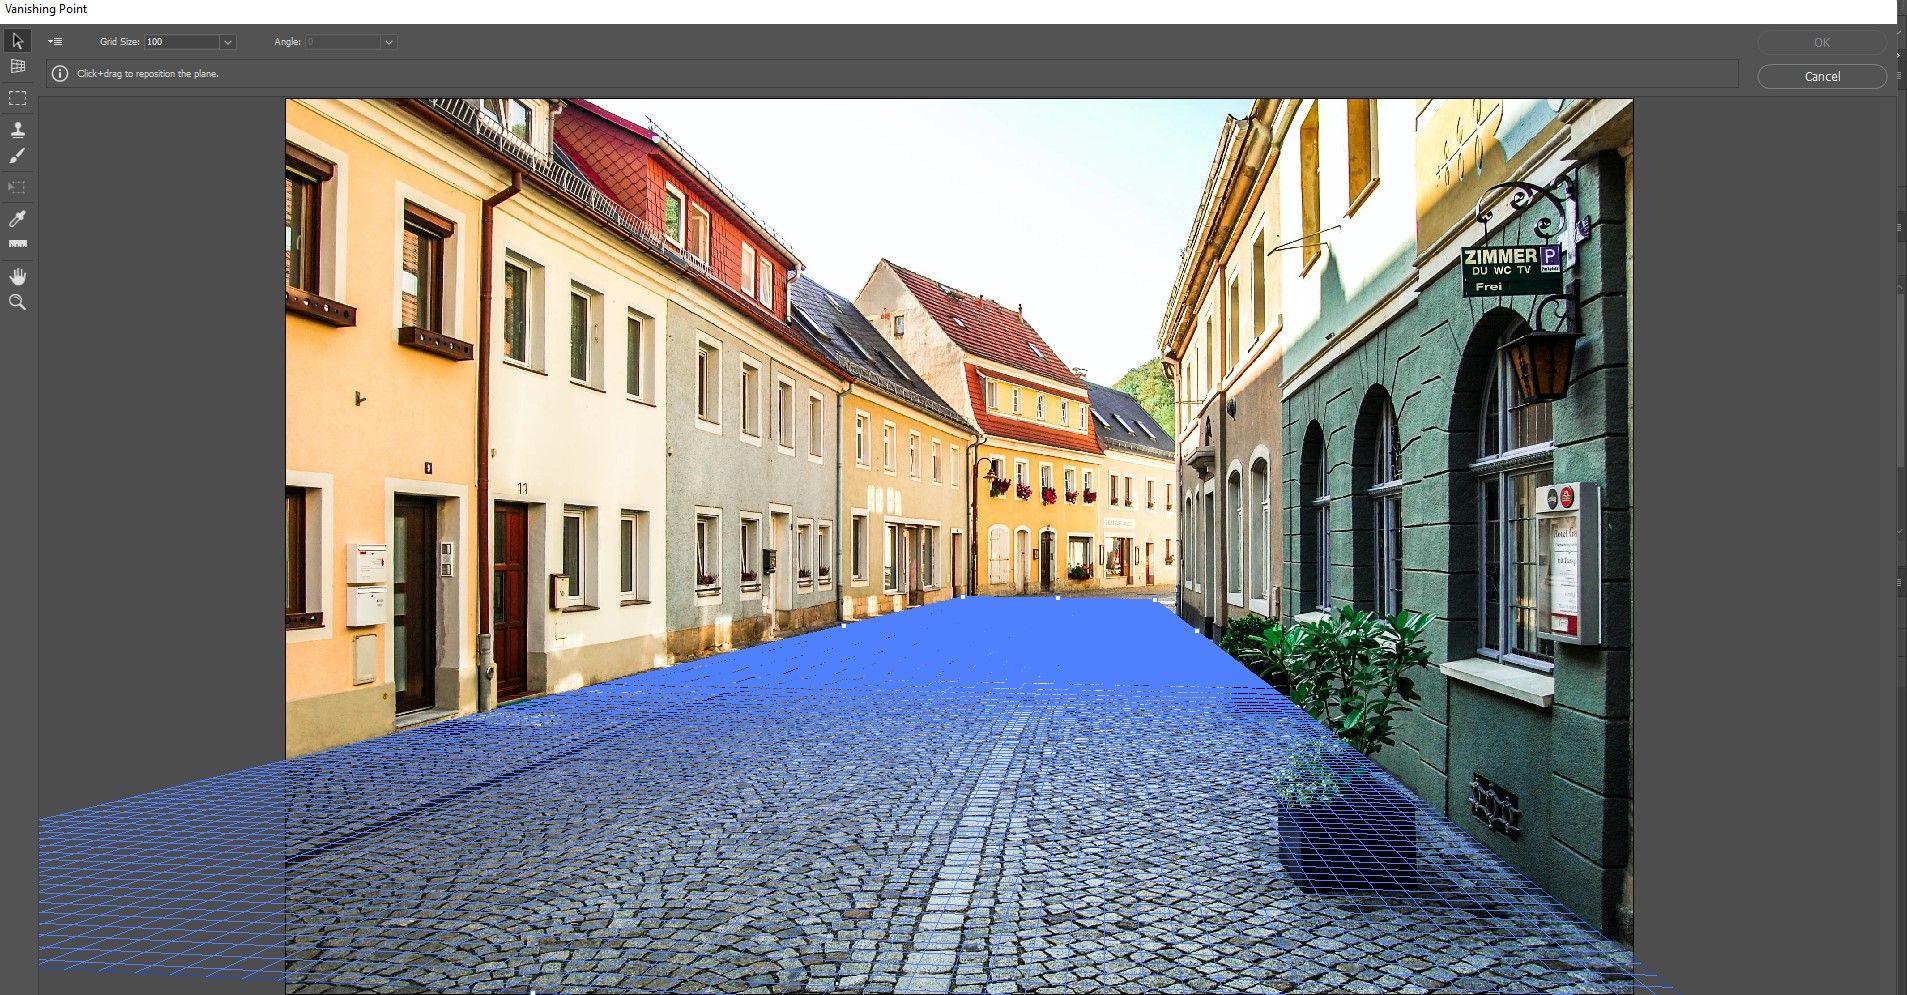
Return to the village image. Go to Filter > Vanishing Point. The same plane you created will appear.
-
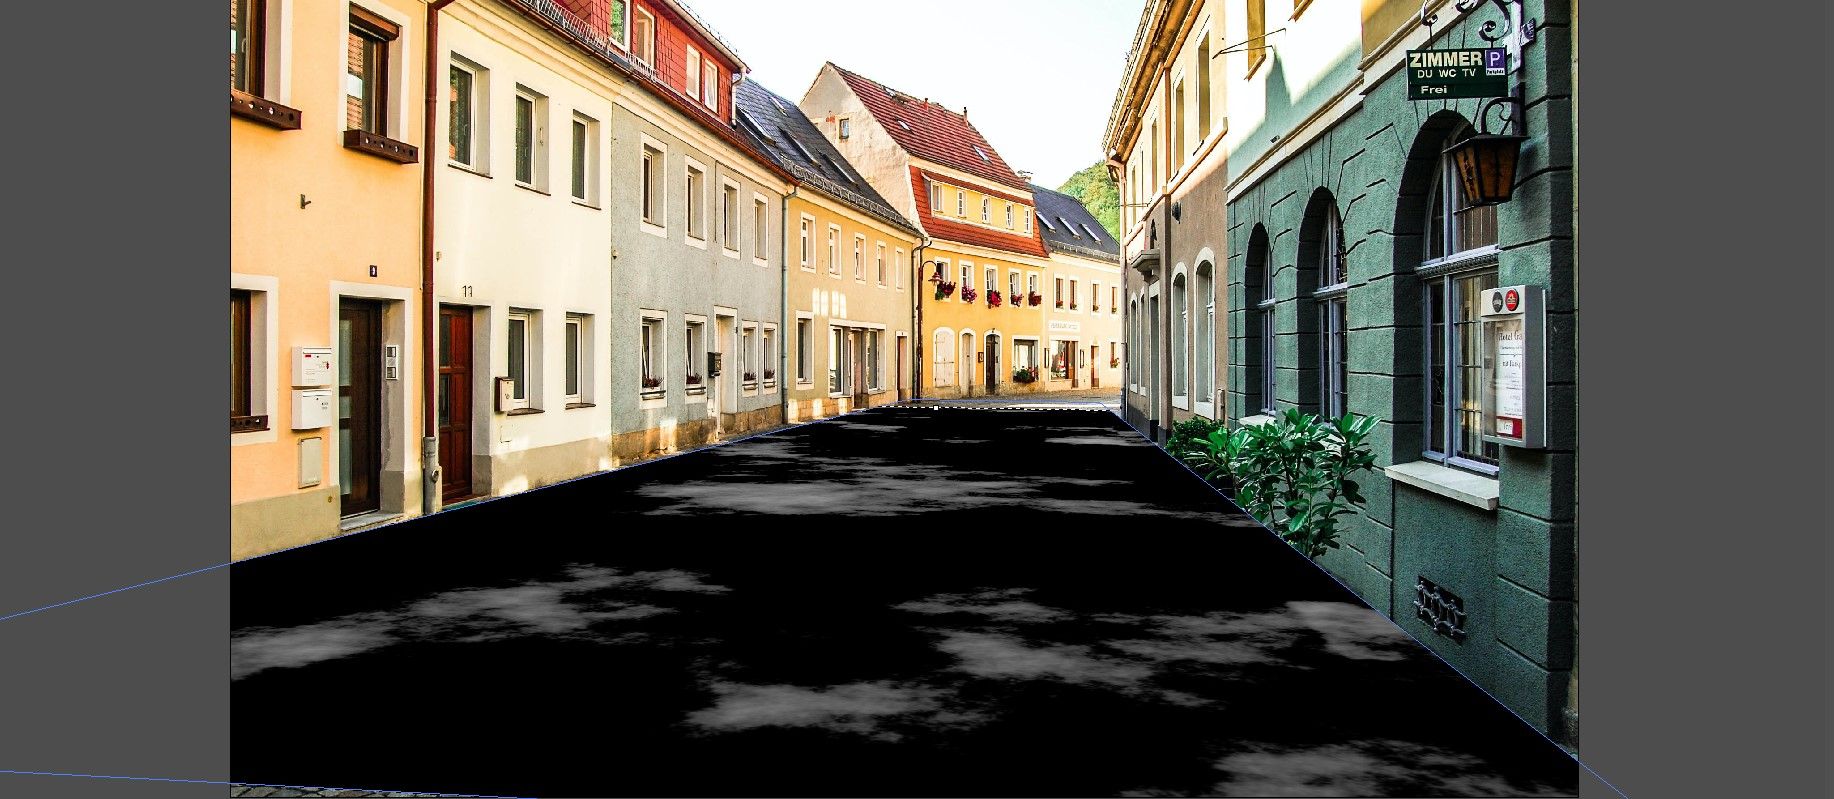
Press Ctrl + V to paste the puddle map onto the grid area.
-
With the mouse, drag the image so that it conforms to the grid as shown. It doesn't have to be exact.
-
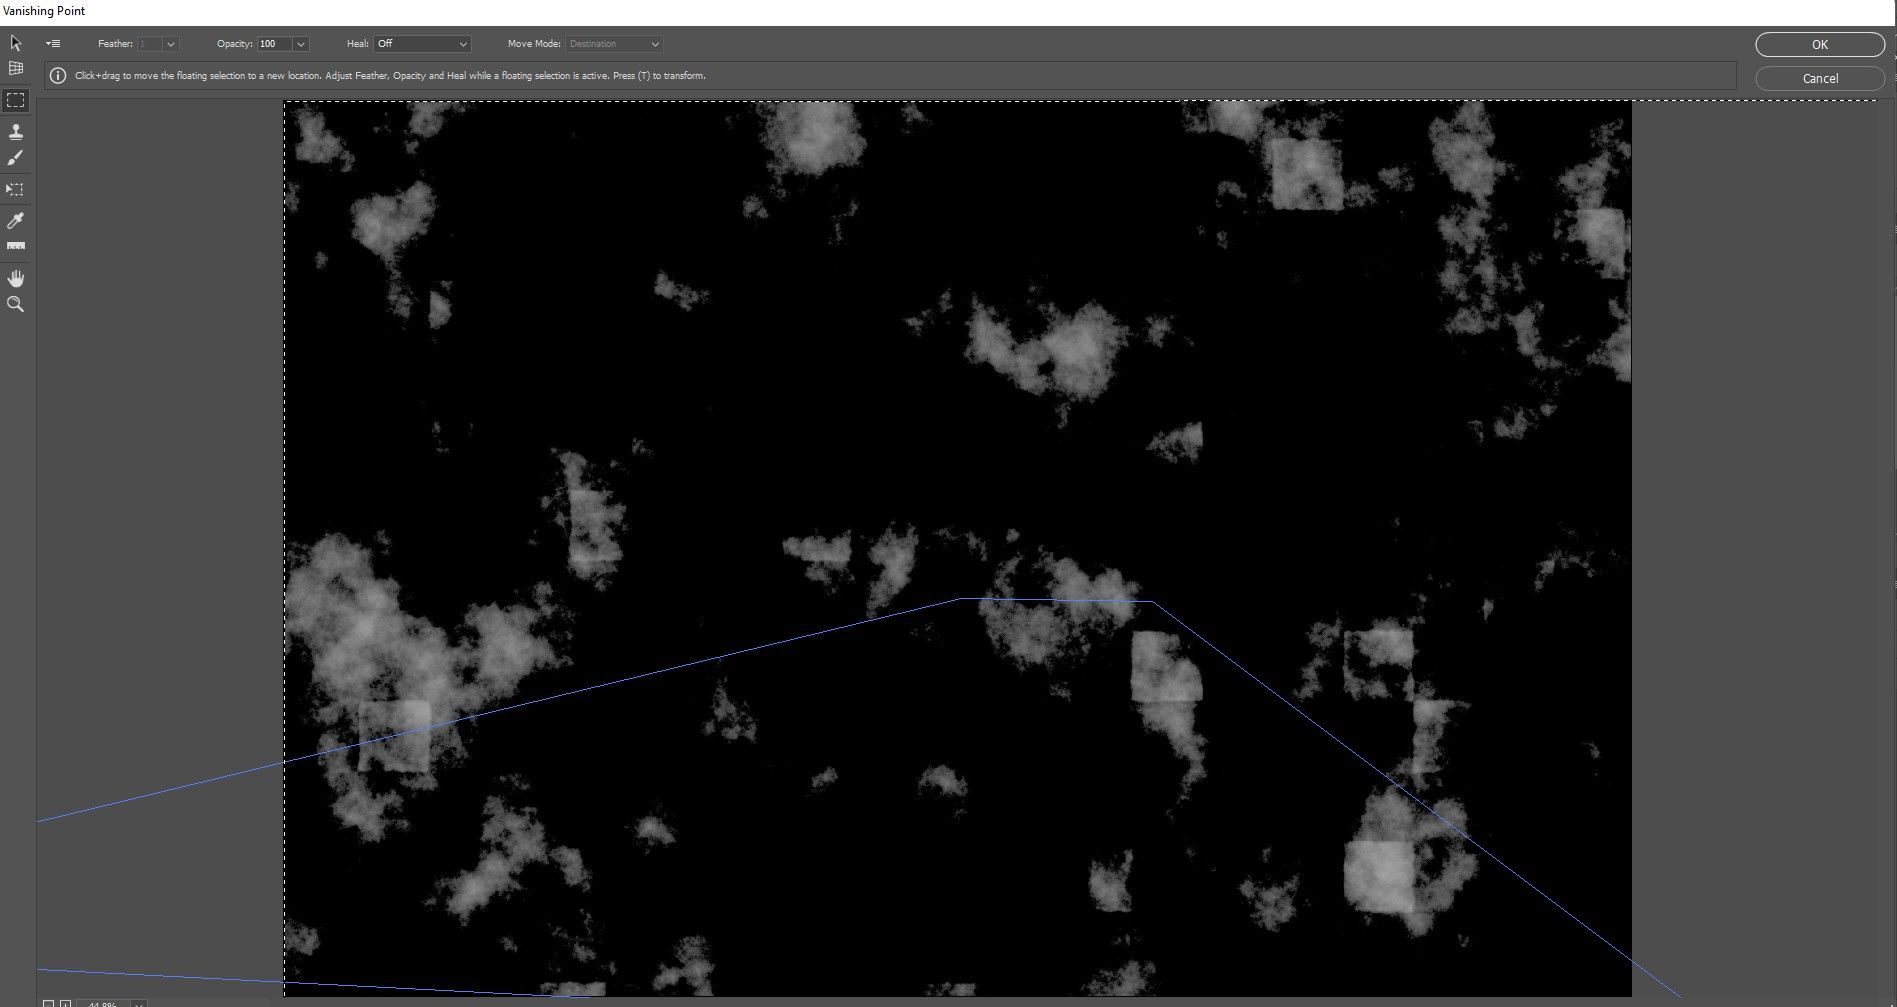
Press Ctrl + T for the Transform tool. Using the handles, adjust the first map, so that the puddles are the desired size. You can also drag the map to position it in the foreground, as shown.
-
Press OK or Enter. You'll be returned to the main screen in Photoshop.
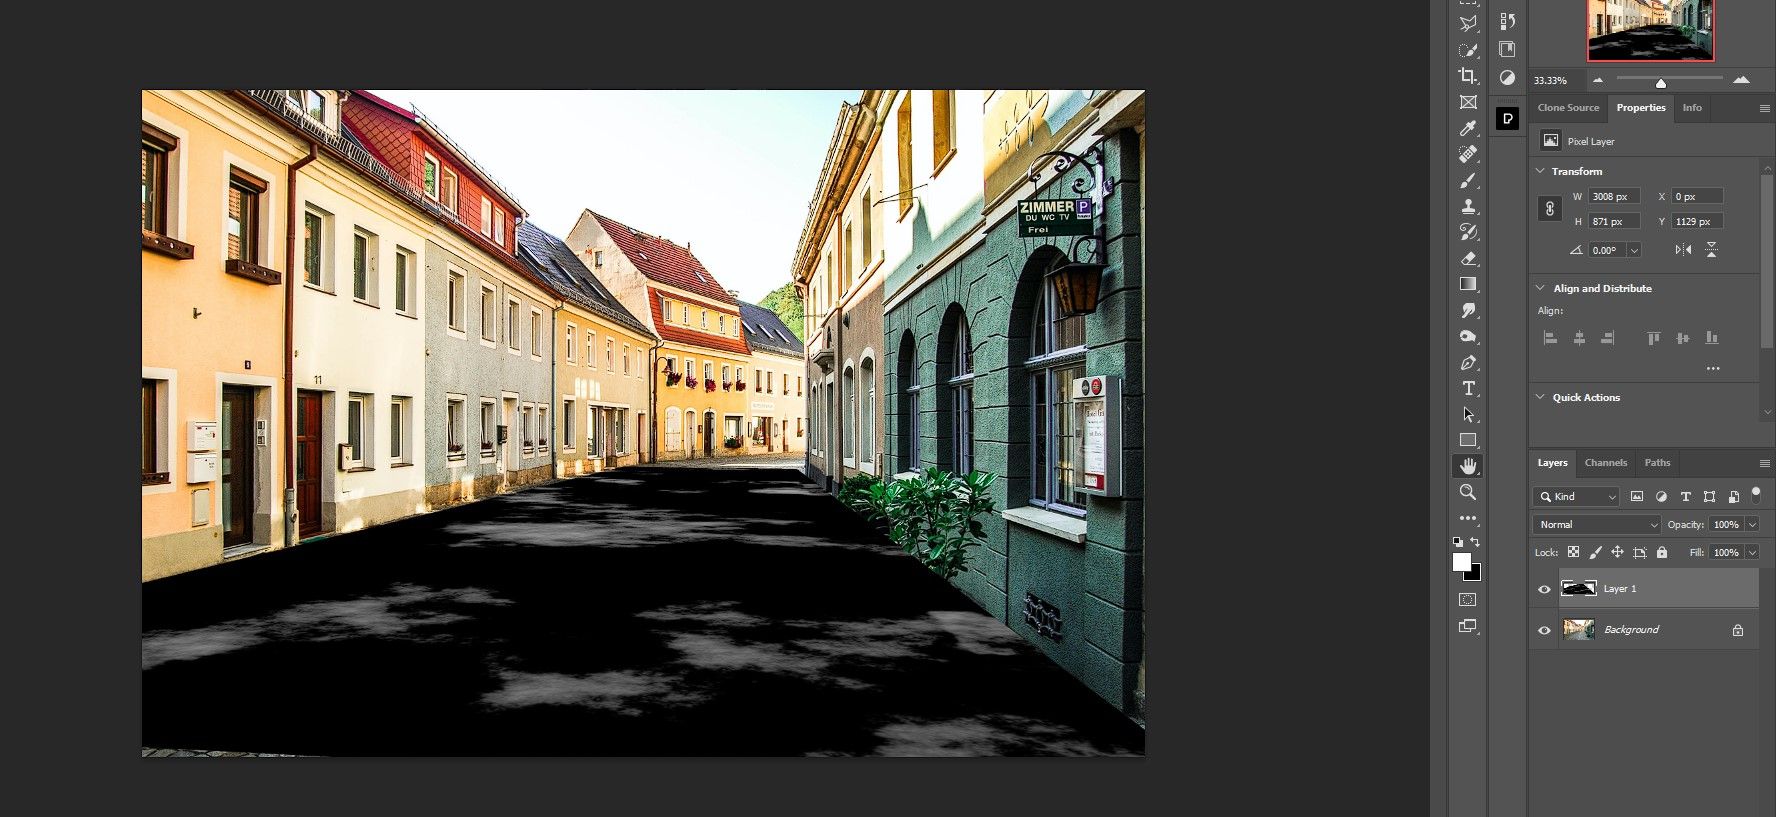


Note that smaller puddle maps may require duplication in Step 10. If that's the case, you'd simply press the Alt key to duplicate the puddle map, and then you'd be able to arrange it anywhere on the 3D plane. This process can be duplicated until the entire frame is full.
We could also have scaled our puddle map down and created multiple copies to make the puddles smaller. It ultimately depends on your creative vision.
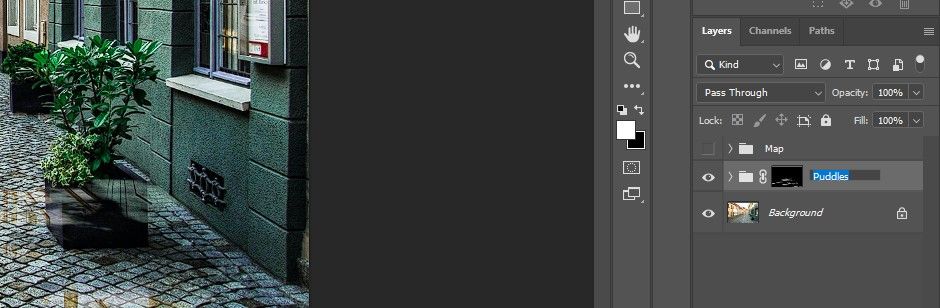
Step 2: Save the Puddle Map
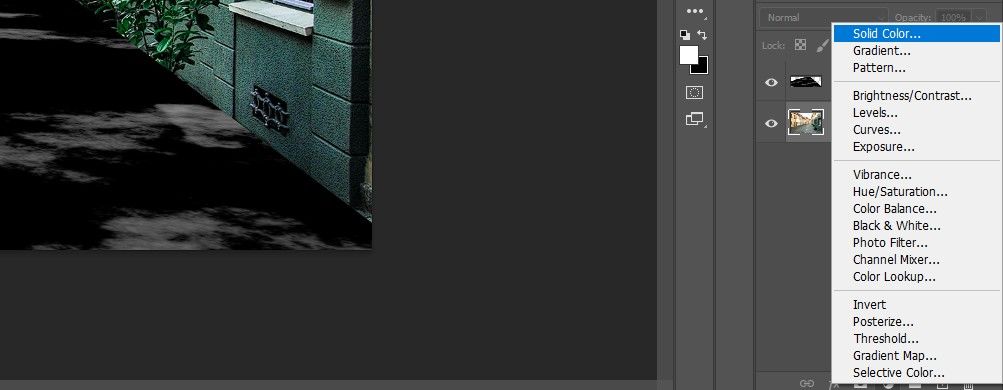
In our second step, we'll create a black Solid adjustment layer as well as a Curves layer to further enhance the appearance of the puddles. We'll then create an Alpha Map in Channels in order to save our puddle map as a selection for later use in the next step.
-
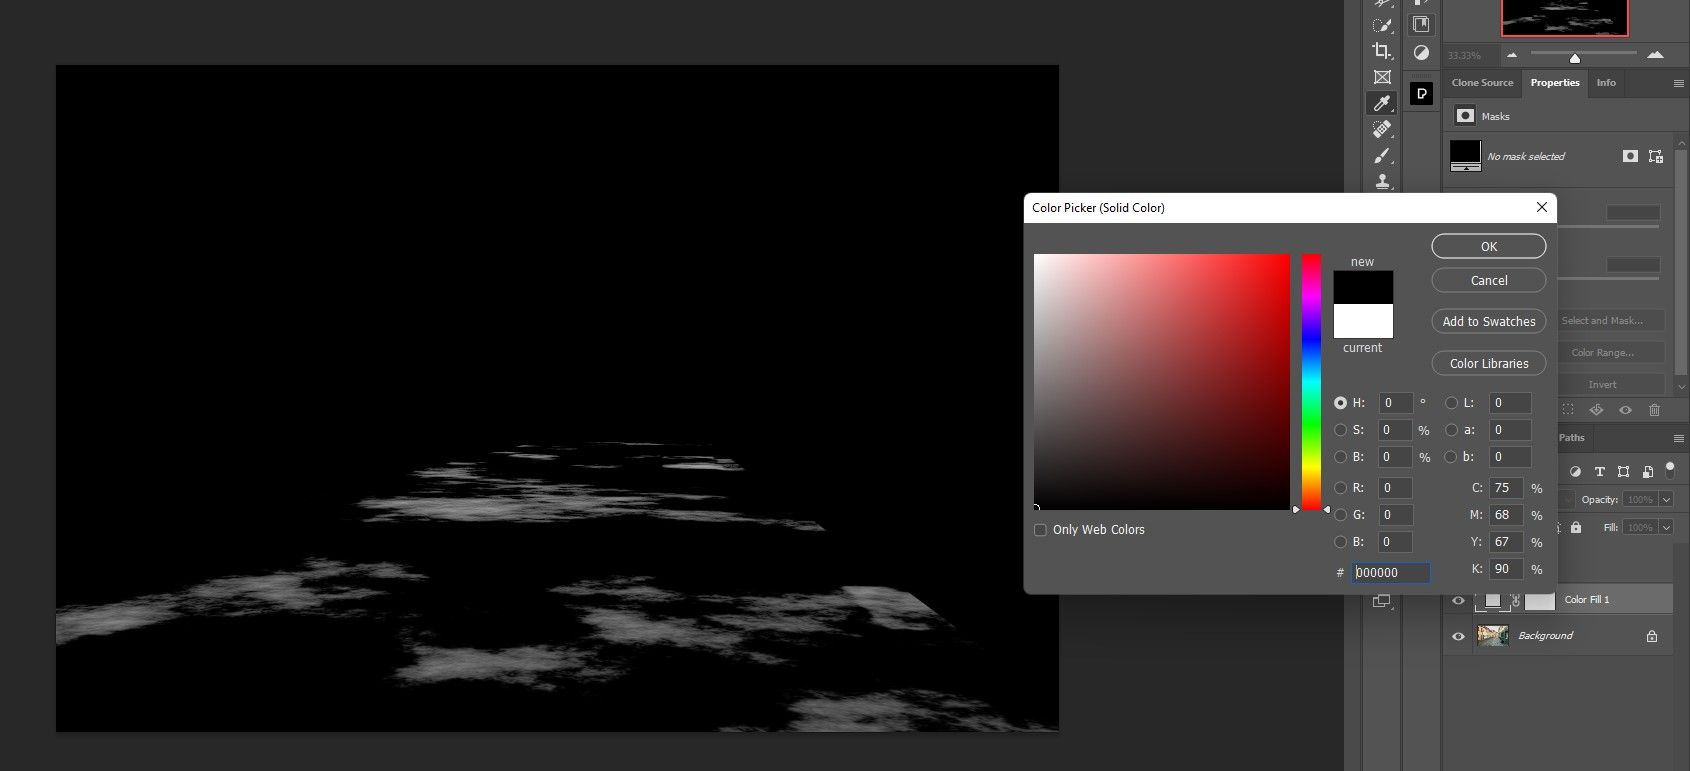
With the Background layer selected, create a Solid Color adjustment layer.
-
Choose black in the Color Picker menu and press OK.
-
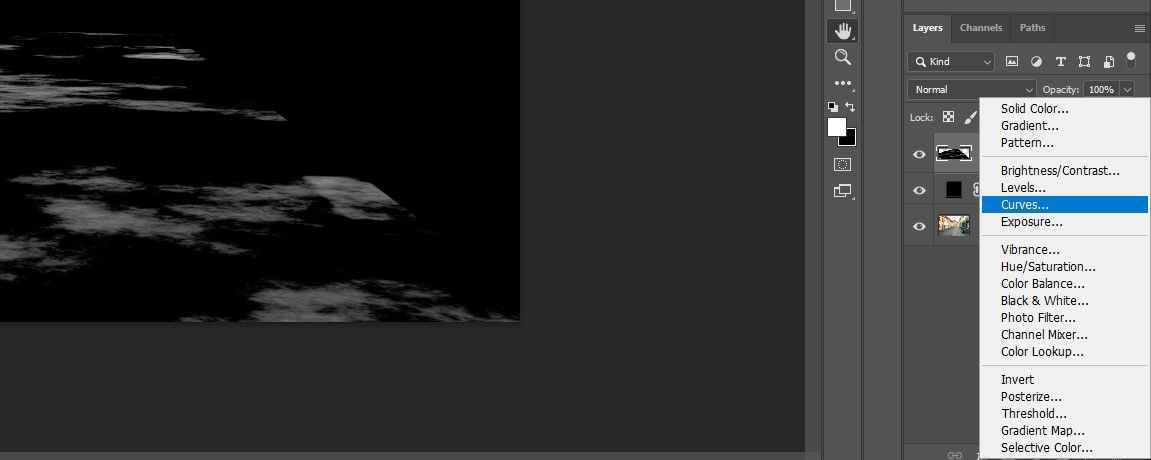
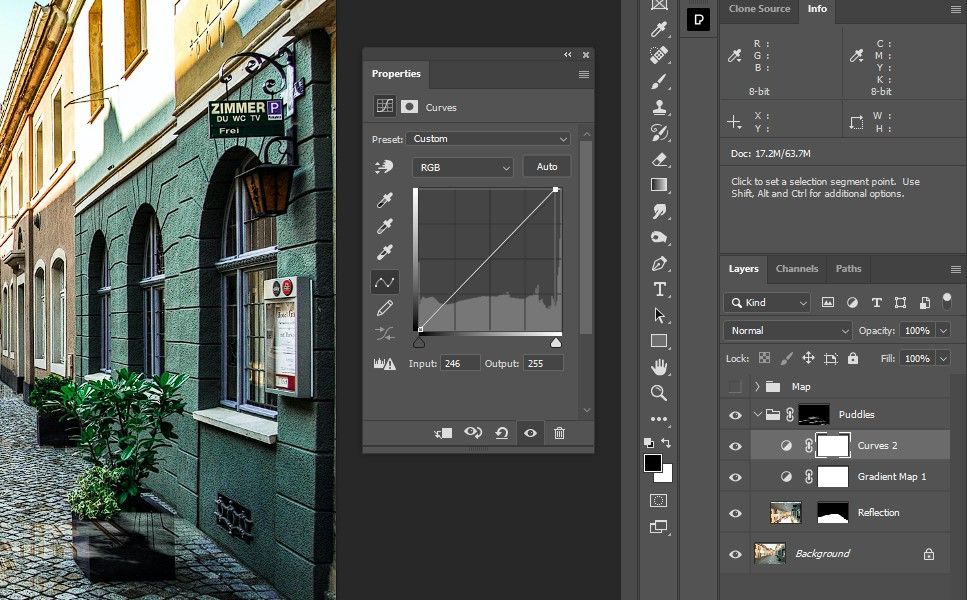
With the top layer selected, create a Curves adjustment layer.
-
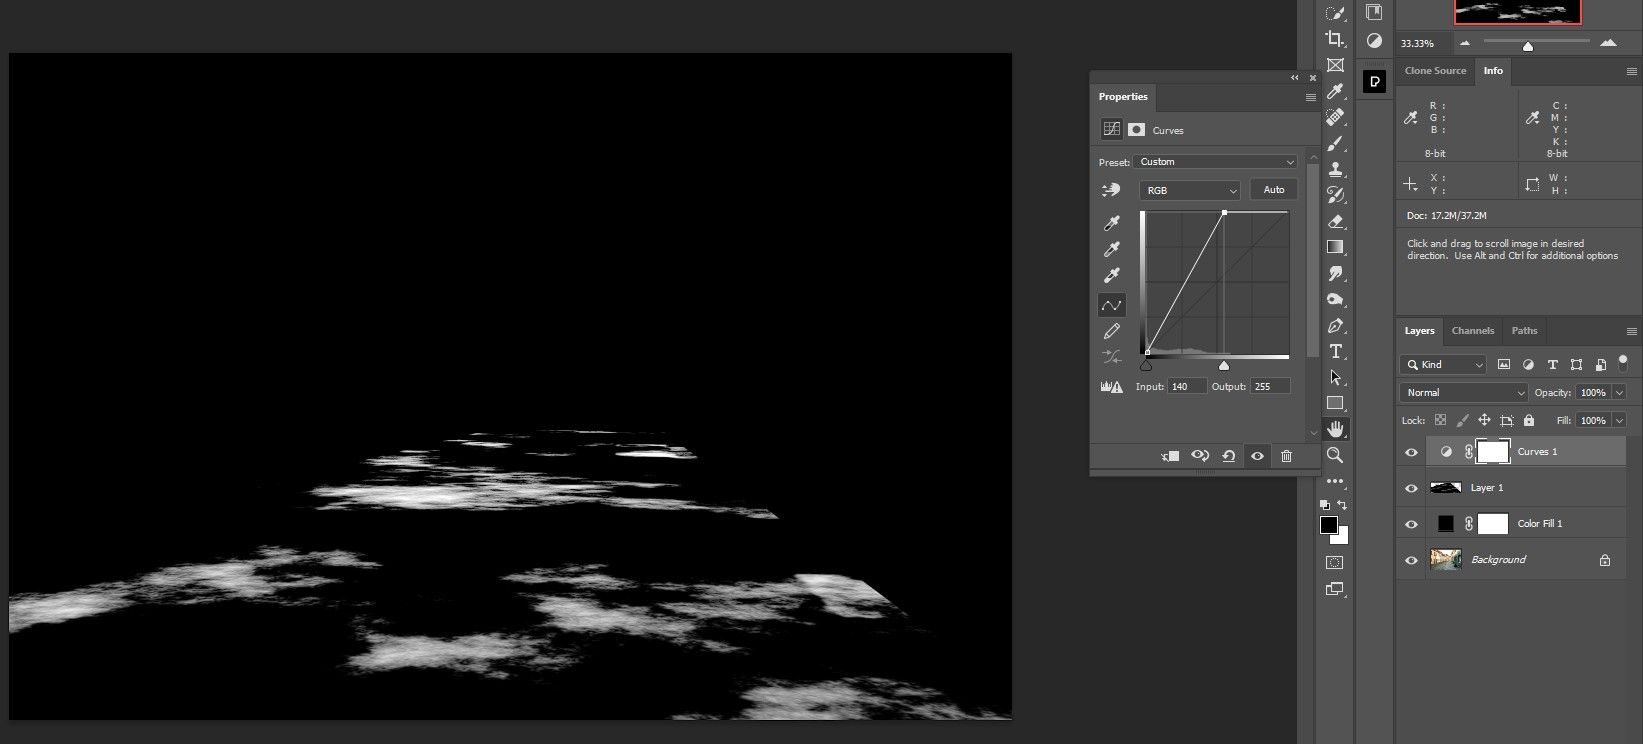
Move the Whites slider to the left until the puddles are nearly white but not blown out. Use the Histogram as a reference.
-
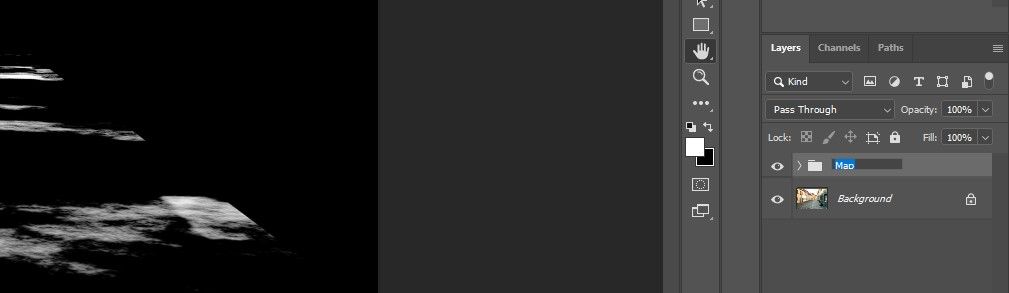
Select the top layer and click-press on the Color Fill layer to select the top three layers. Press Ctrl + G to group them into a folder.
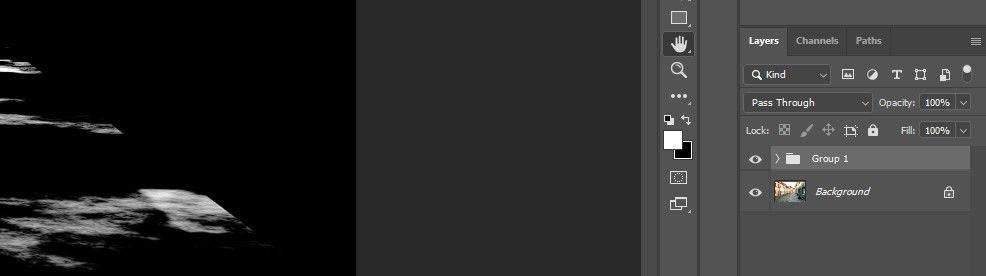
-
Double-click on the Folder layer name and rename it Map.
-
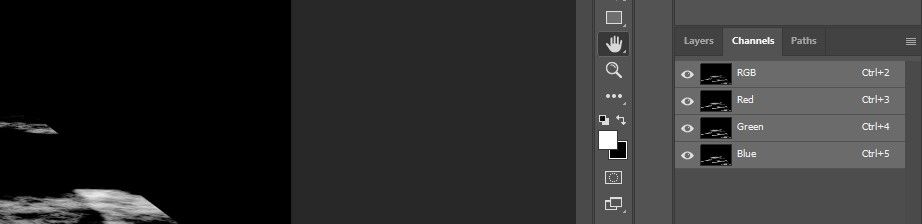
Go to the Channels tab.
-
Press Ctrl + Click on the RGB channel to make a selection. This will serve to select the brightest regions of the puddle map.
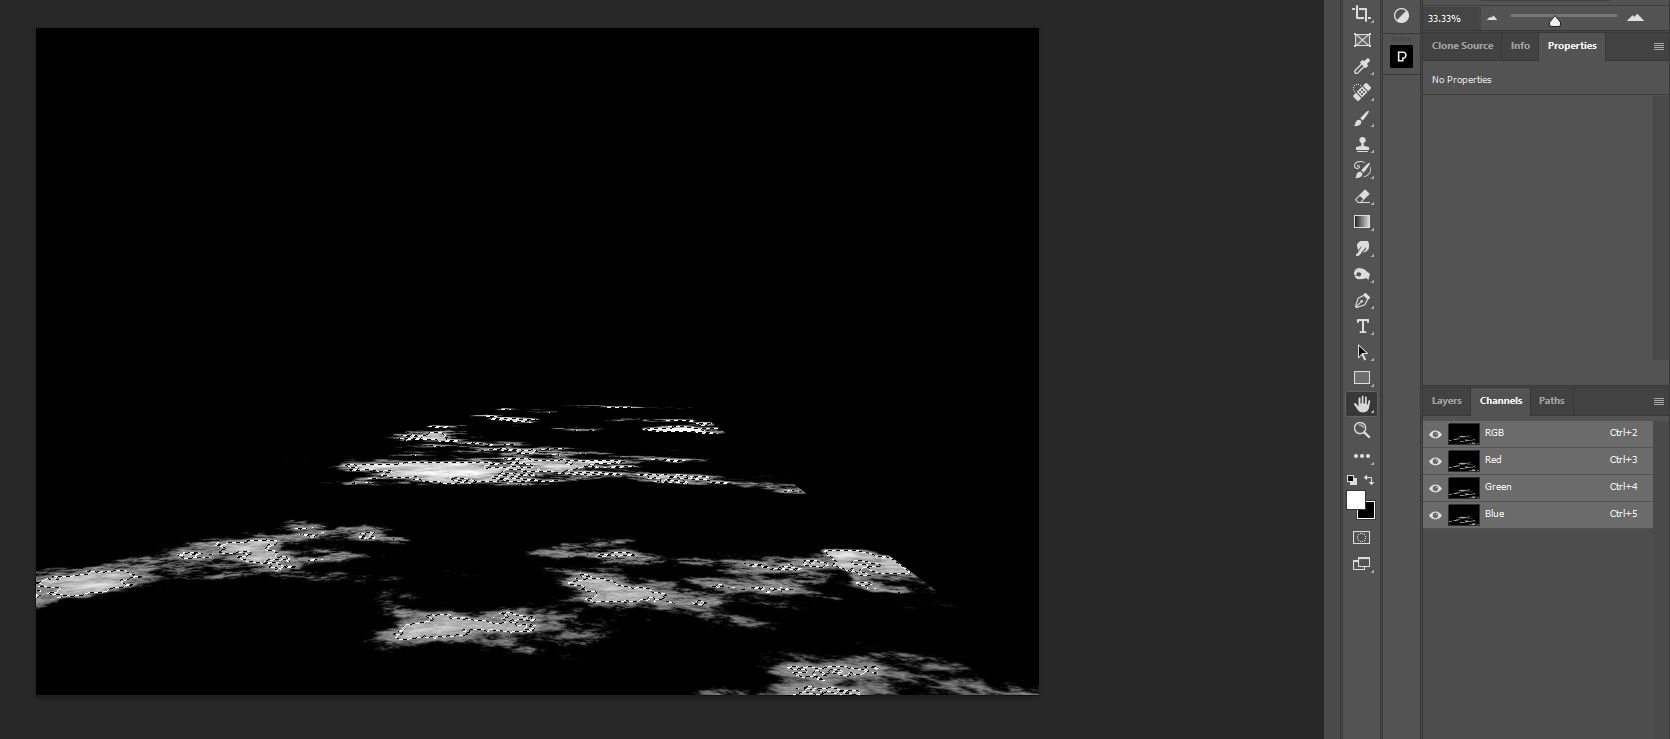
-
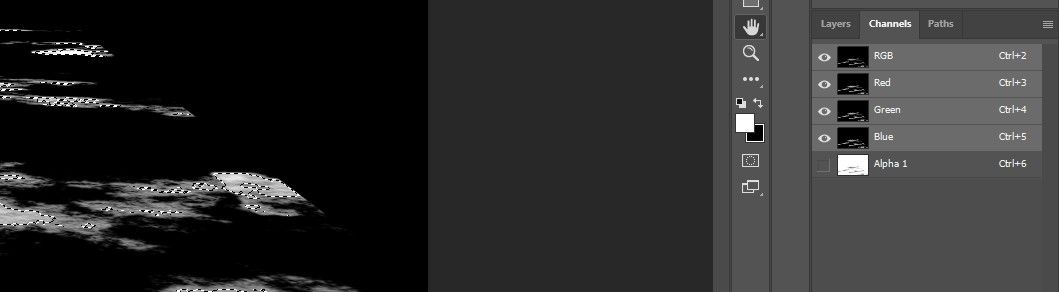
Click on the Mask icon in the bottom right corner of Photoshop to create an Alpha Mask.
-
Select the Layers tab.
-
Press Ctrl + D to deselect the puddle map.
-
Turn off the Map folder so that only the original image is showing.


If you find the Curves tool complicated, we have a complete guide to using Curves in Photoshop.
Now, we're ready to move on to create the actual puddles.
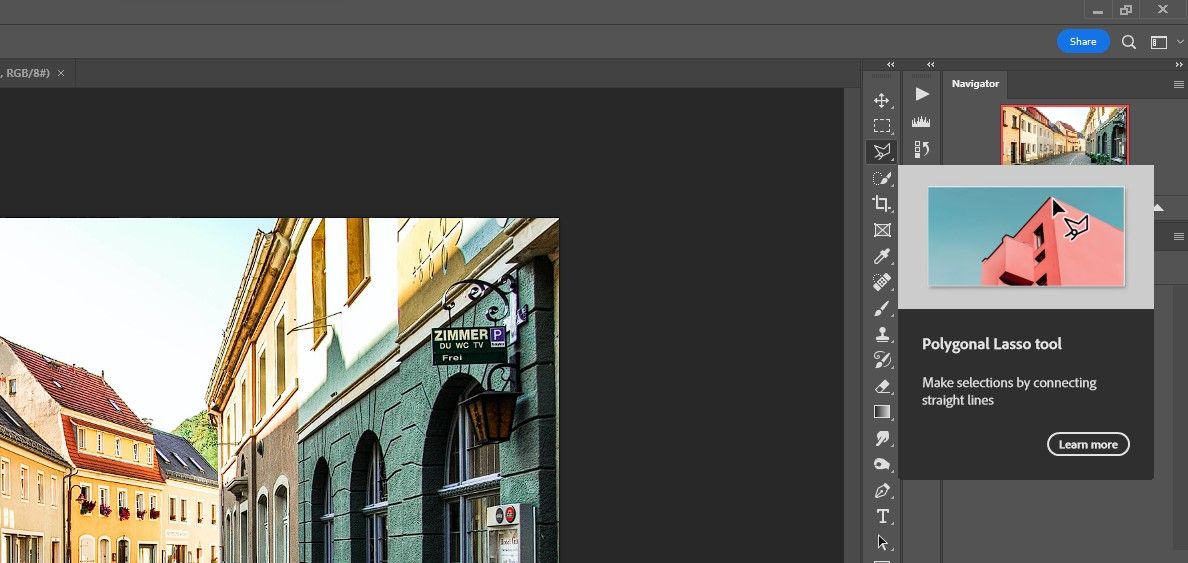
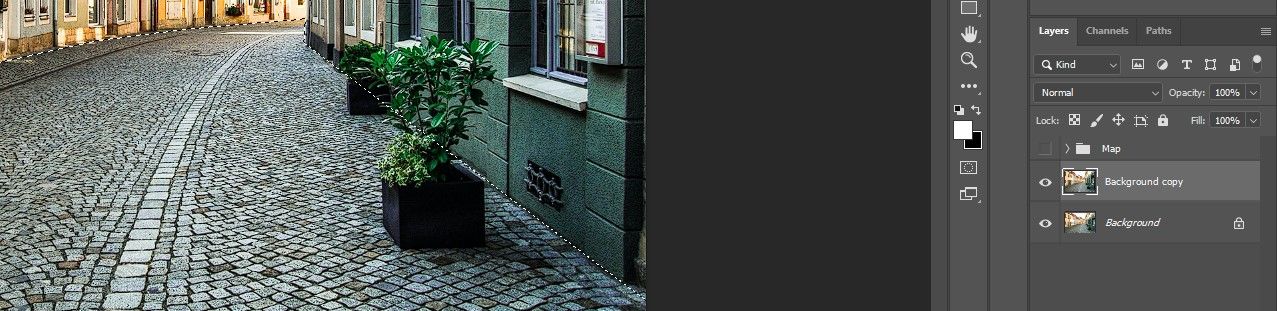
Step 3: Create the Puddles
In this step, we'll make a quick selection of the road once more using the Polygonal Lasso tool. Then, we'll duplicate the Background layer and invert it to create the puddles and reflections from the buildings. After that, we'll load the Alpha mask selection that we saved previously and create a mask with it.
-
Select the Polygonal Lasso tool.
-
Create points around the entire road in order to create a selection of it. Be sure to close off the selection by clicking on the first point at the end.
-
Duplicate the Background layer and its selection by dragging it down to the Create New layer icon (+).
-
Click on the Mask icon in the bottom right corner in Photoshop.

-
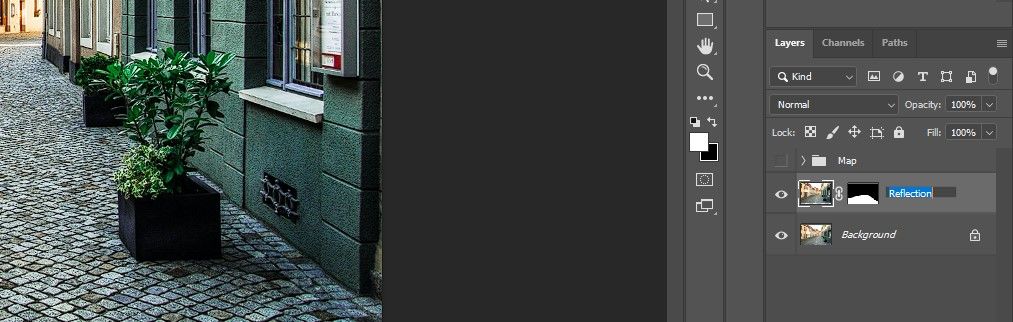
Double-click on the Background copy name. Name the copy layer Reflection.
-
Click on the chain icon to unlink the mask of the Reflection layer.
-
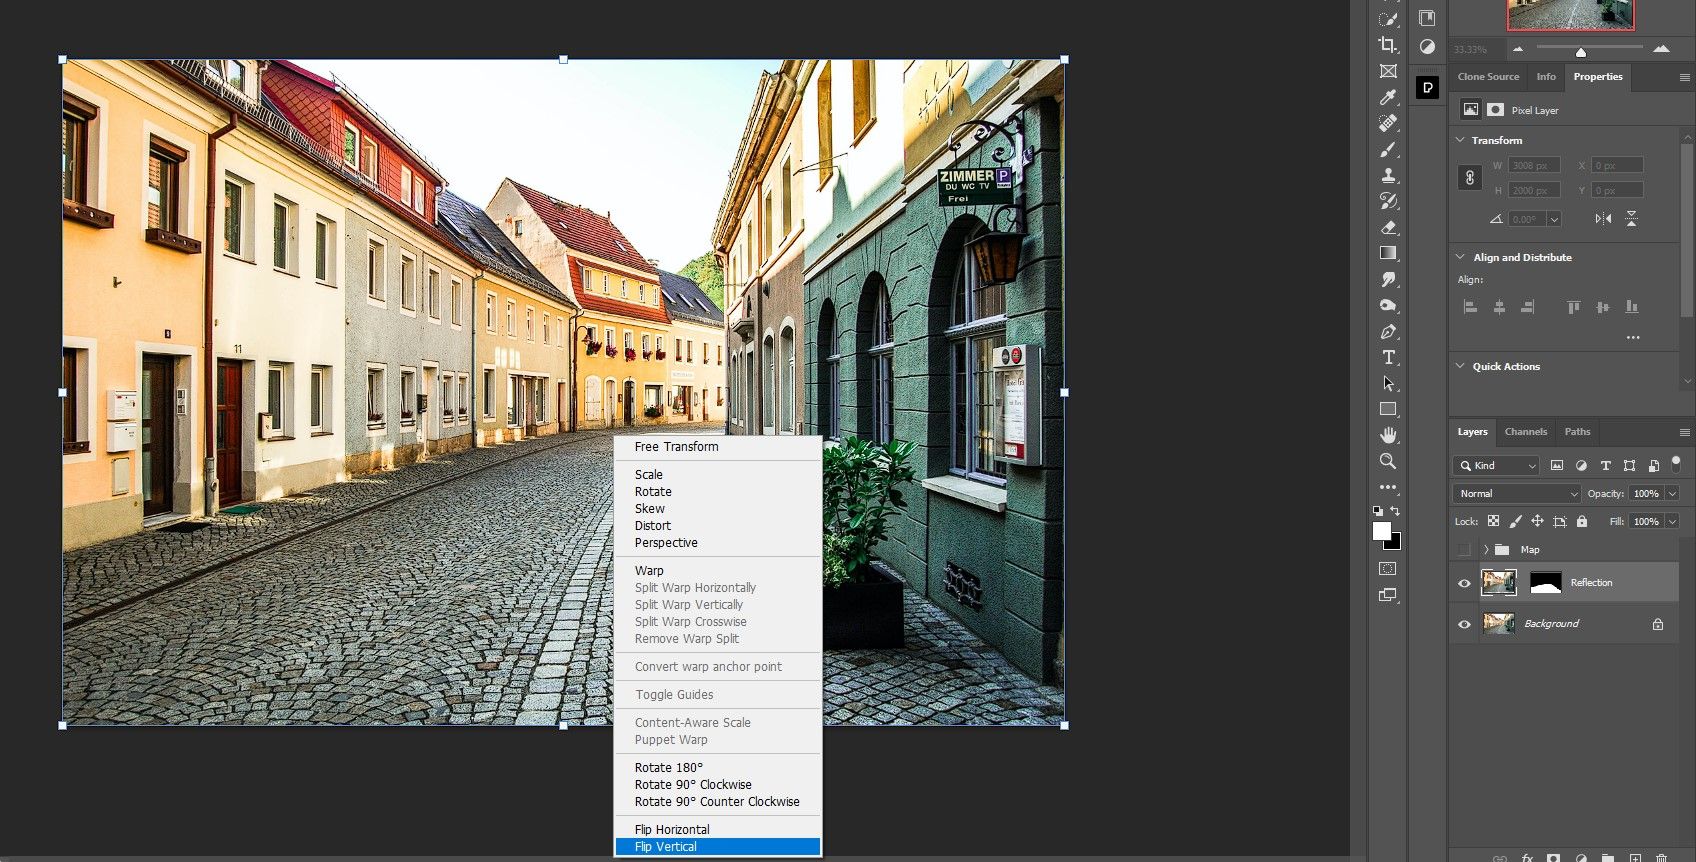
Press Ctrl + T for the Transform tool.
-
Right-click on the image and choose Flip Vertical.
-
Use the mouse to adjust the image so that the doors in distance mirror one another. Then press Enter or the Checkmark at the top.

-
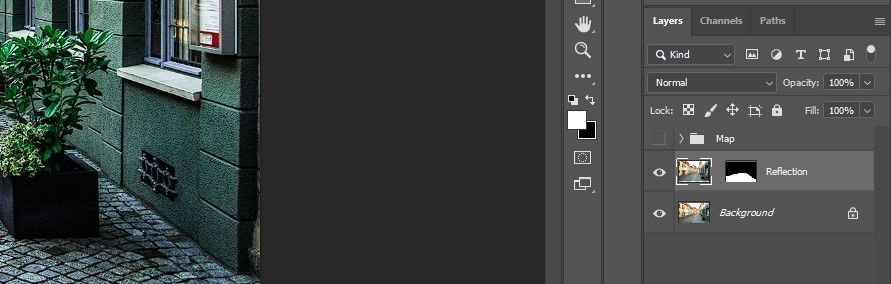
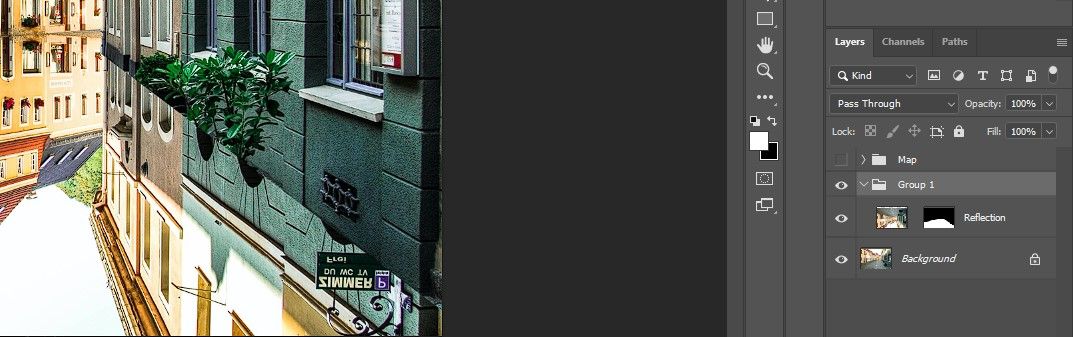
With the Reflection layer selected, press Ctrl + G to group the layer.
-
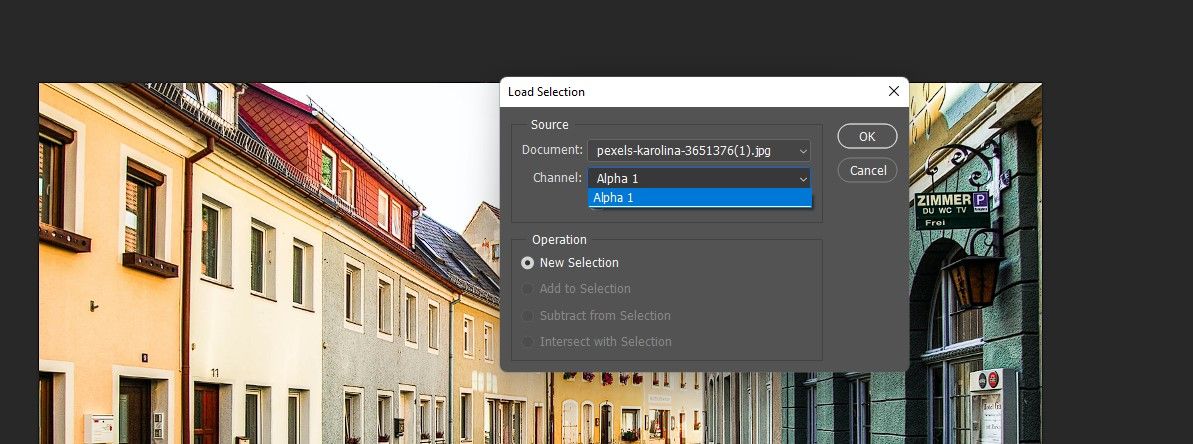
Go to Select > Load Selection.

-
Choose Alpha 1 and press OK.
-
Click on the Mask icon.
-
Name the new folder Puddles.


We've just created the basic puddles. You'll notice that there are a few puddles overlapping with some plants and other areas that you may not want puddles to be. We'll mask these trouble areas out in the next step.
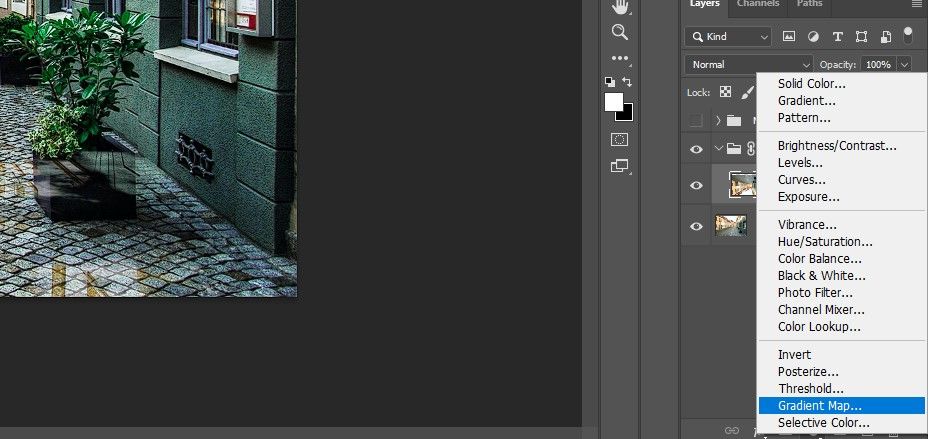
Step 4: Refine the Puddles
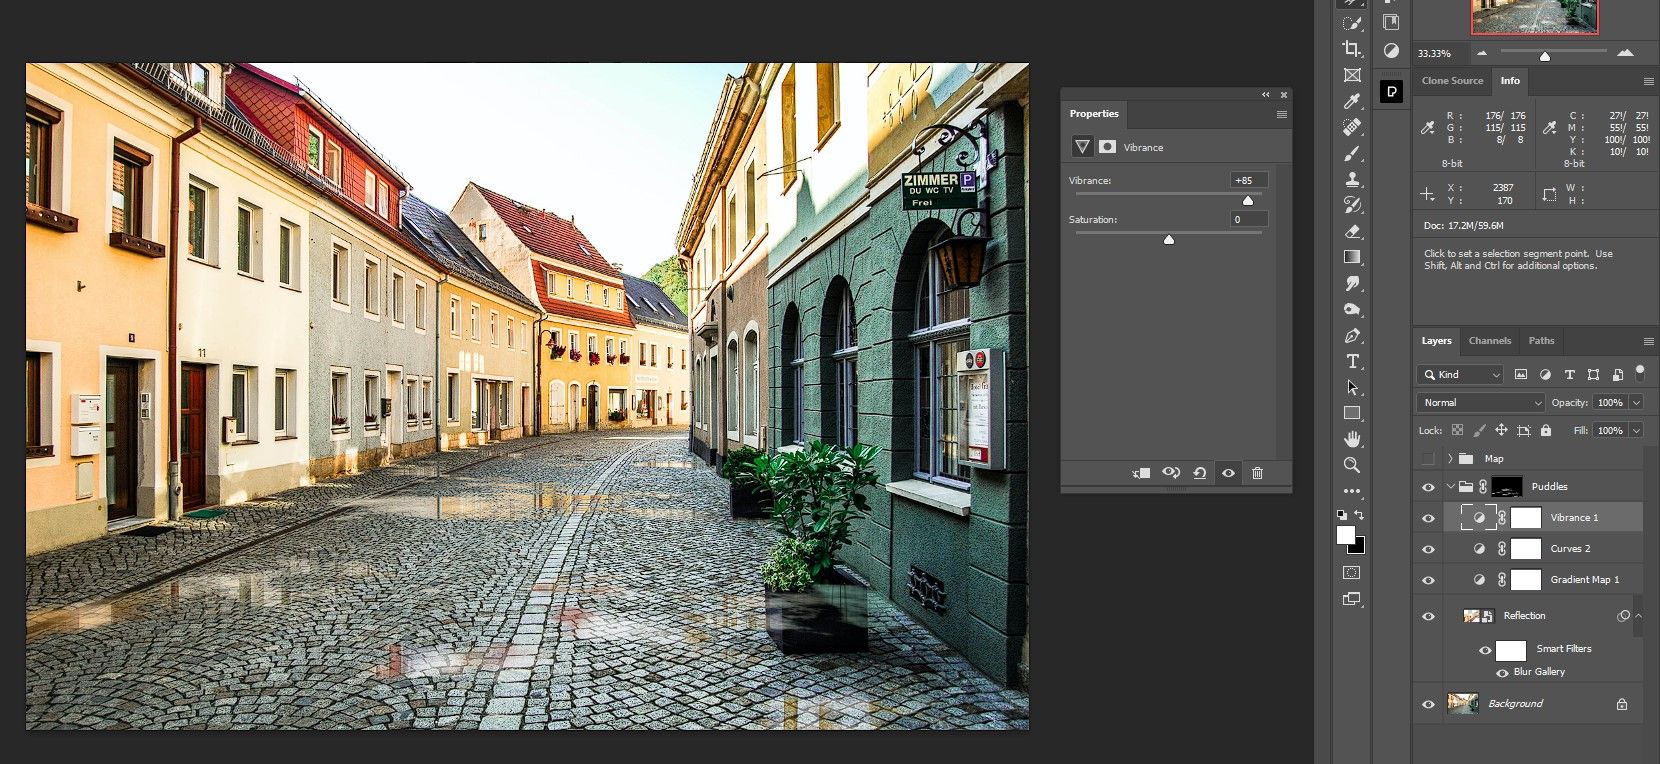
At first glance, the puddles might seem mostly fine as they are. But in this step, we'll add a Gradient Map so that the reflection colors take on some color properties of the ground. We'll also add a blur to the puddles, brighten them, and add some Vibrance to bring out the color a little more.
-
Open the Puddles Folder and select the Reflection layer. Create a Gradient Map adjustment layer.
-
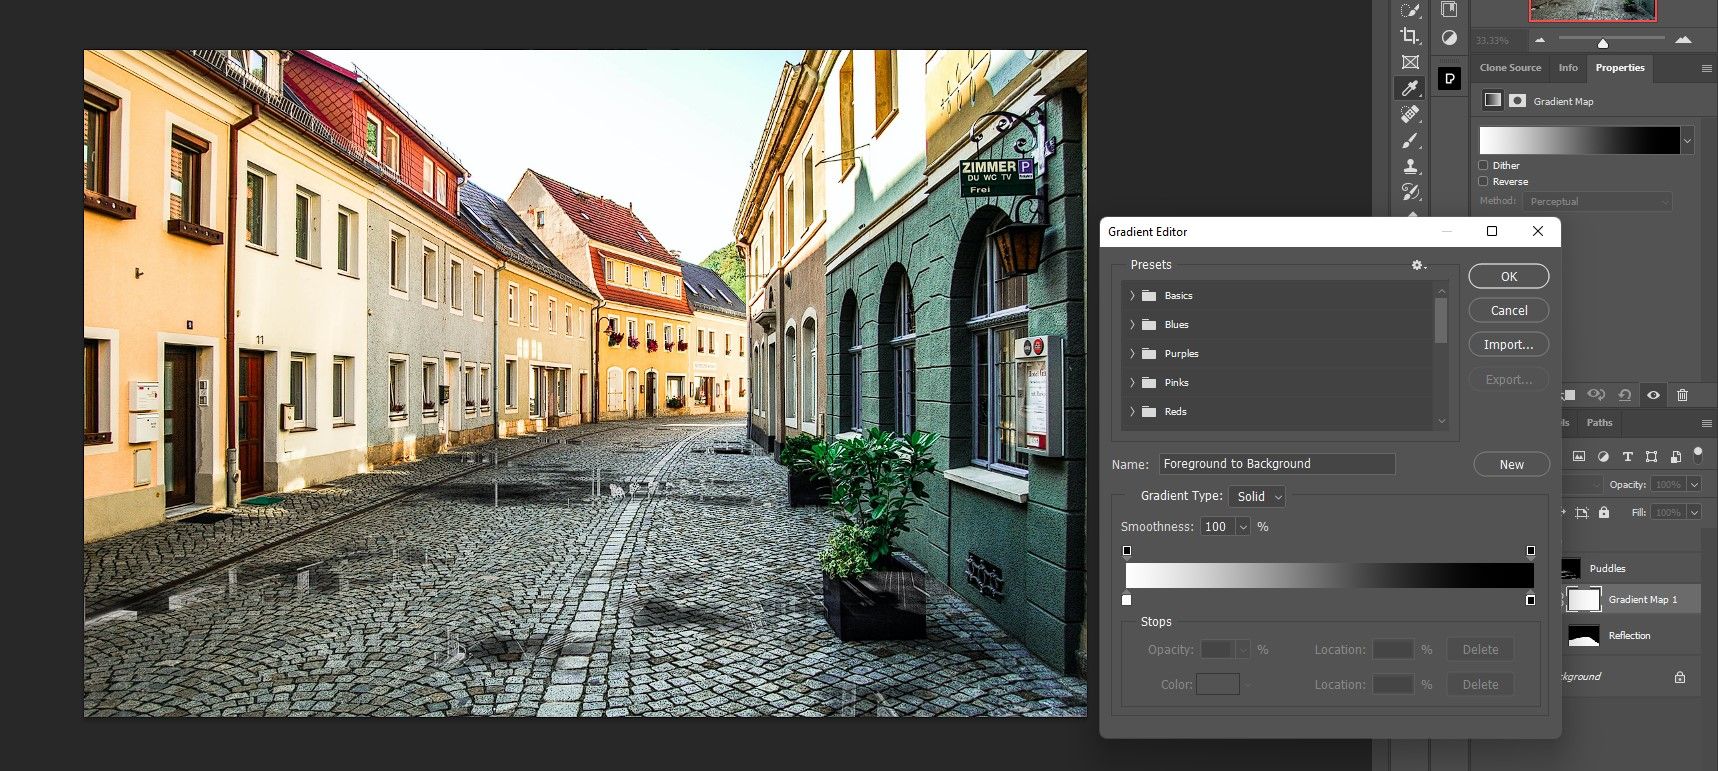
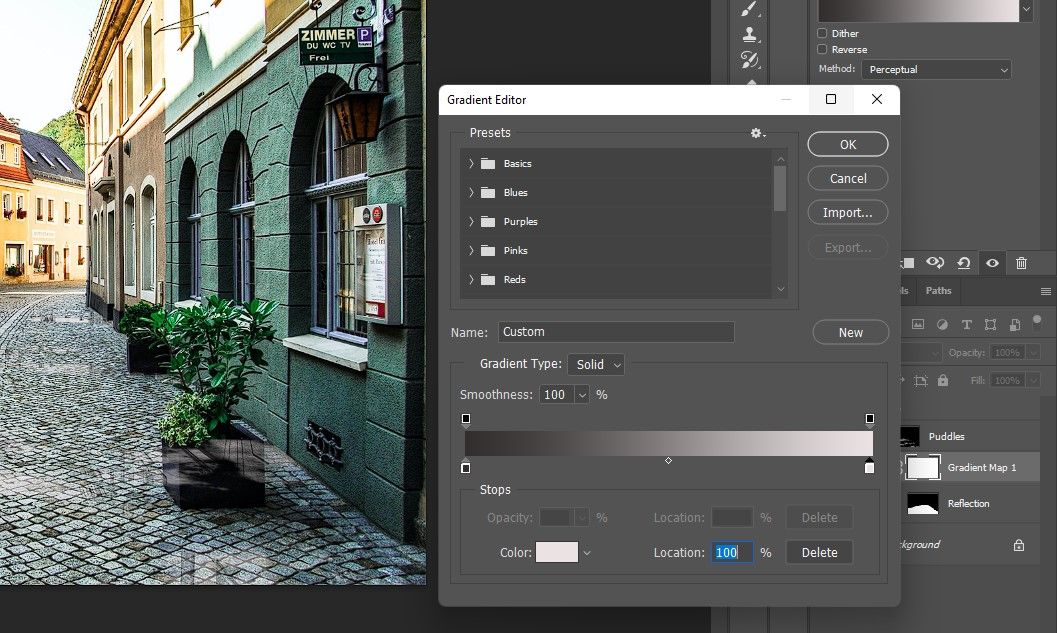
Double-click on the Gradient Map to summon the Gradient editor.
-
Click on the right box and click Color. Then select a brighter portion of the pavement. Then press OK.
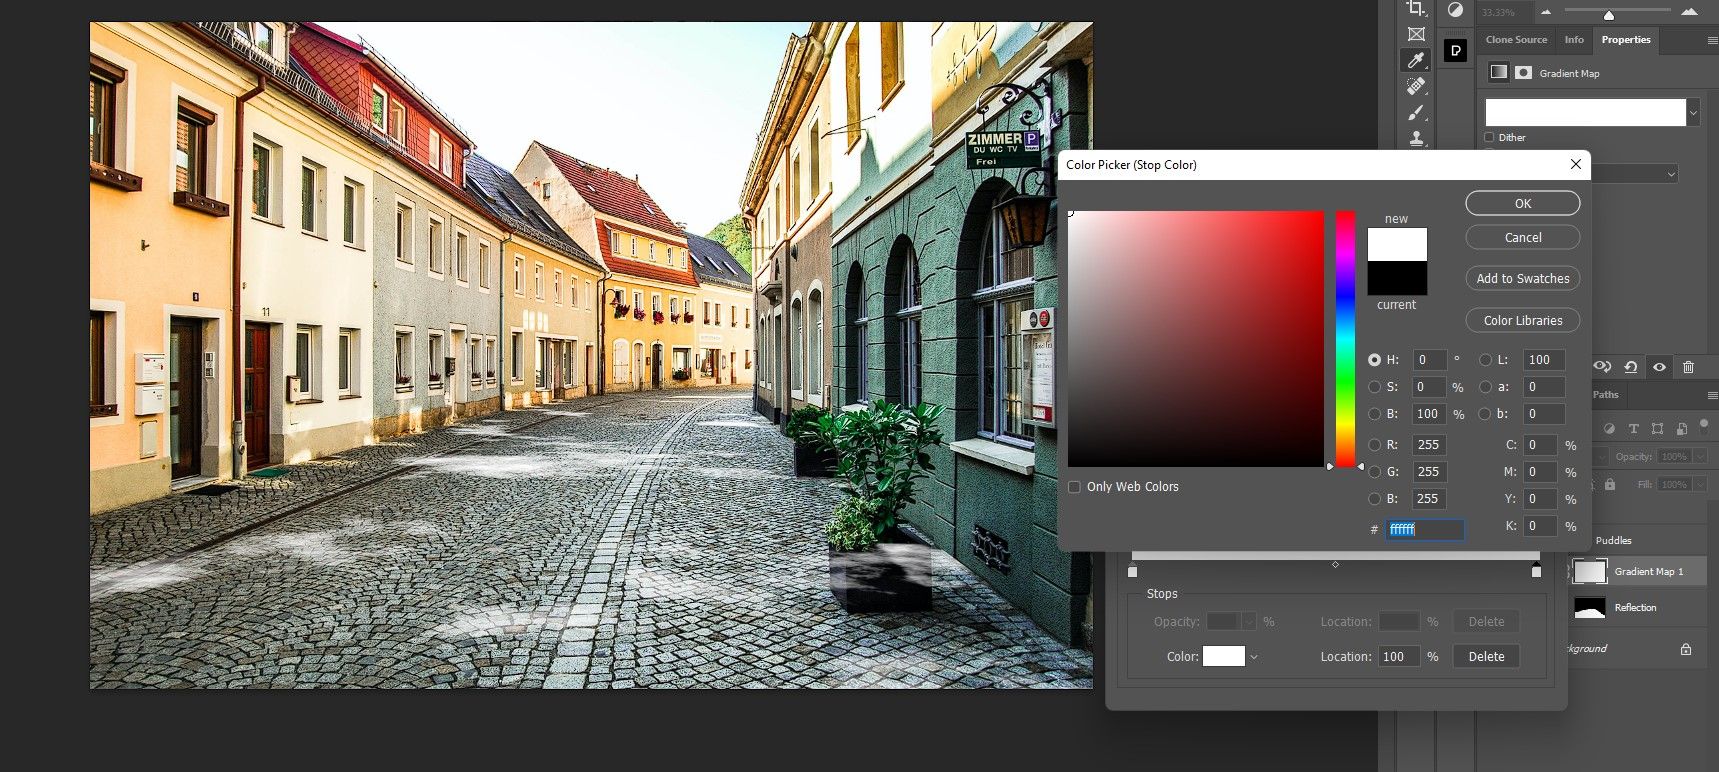
-
Repeat the process for the left box. But this time, choose a darker portion of the pavement. Press OK to close out of the dialogue boxes.
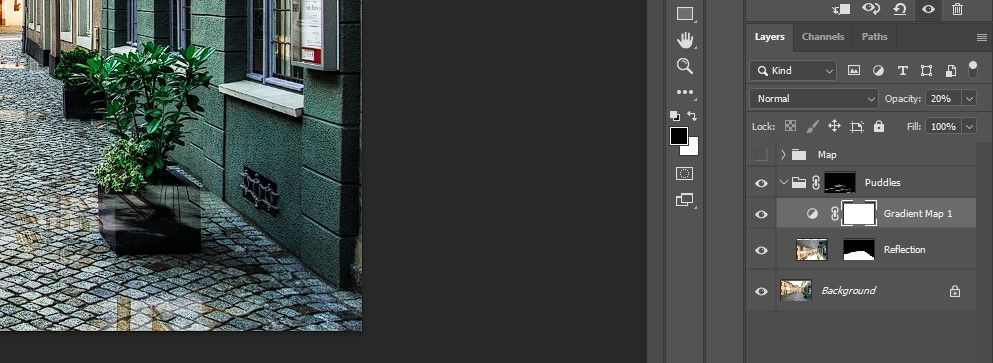
-
Reduce the Opacity to add a bit of color back into the puddles. We reduced it to 20 percent.
-
With the Gradient Map selected, create another Curves adjustment layer.
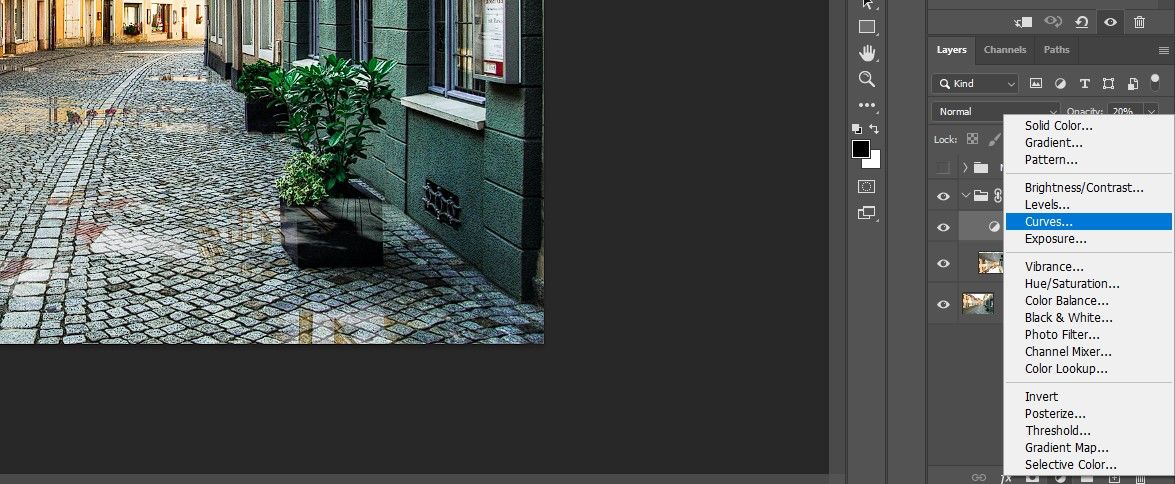
-
Move the right handle to the left to brighten the puddles as shown.
-
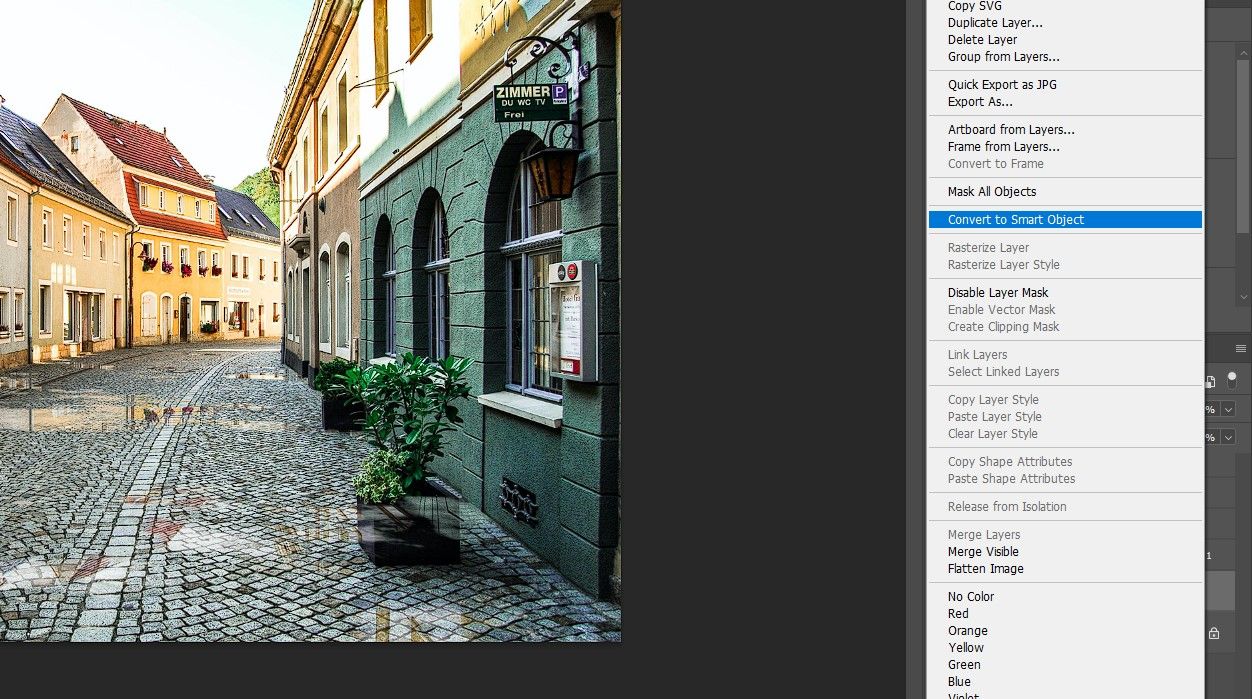
Select the Reflections layer. Right-click and select Convert to Smart Object.
-
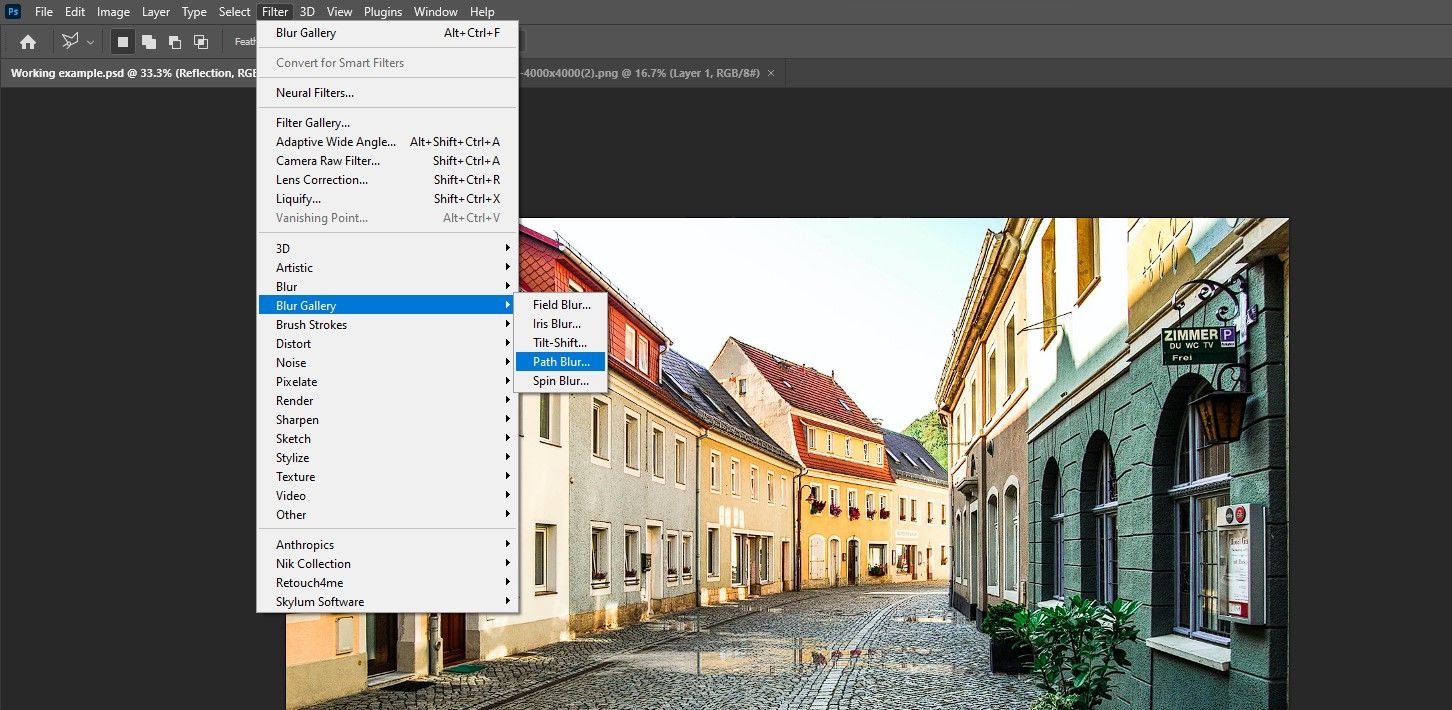
Go to Filter > Blur Gallery > Path Blur.
-
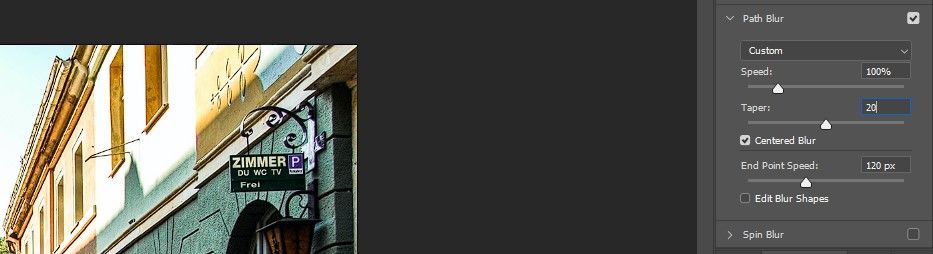
Drag the arrow so that it’s pointing down as shown.

-
Change the Speed to 100 percent and the Taper to 20 percent. Press OK.
-
Select the Curves layer in the Puddles Folder. Create a Vibrance adjustment layer.
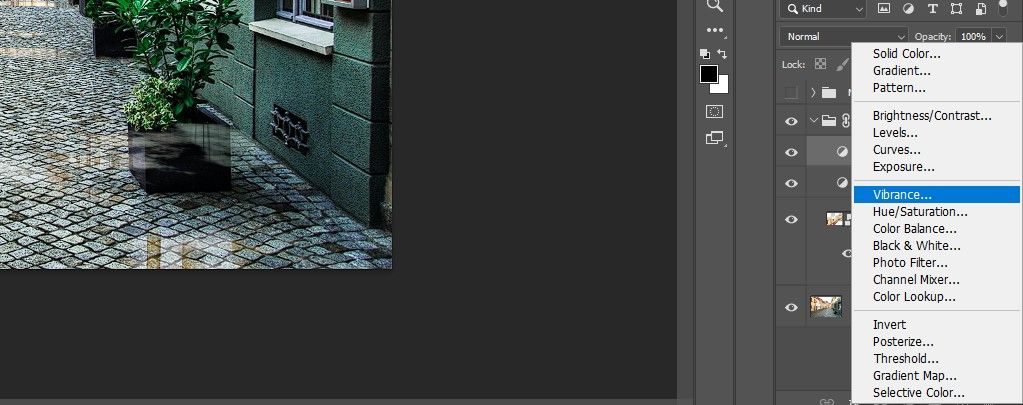
-
Increase the Vibrance to bring out the color in the puddles. We chose +85.
-
Click on the Puddles layer mask.
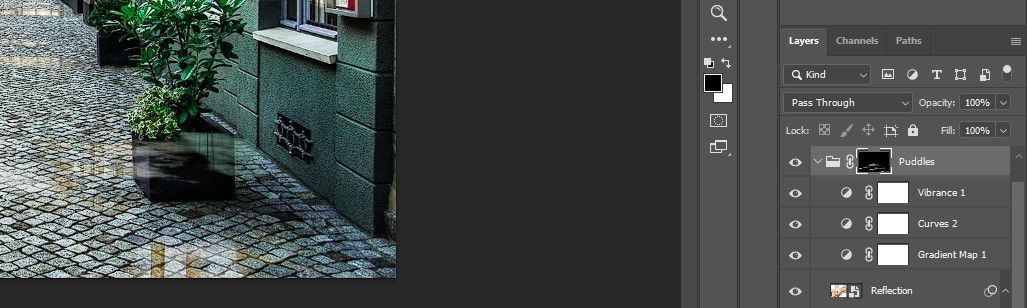
-
Press B for the Brush tool. Then select a Soft Round Brush from the brush menu at the top.
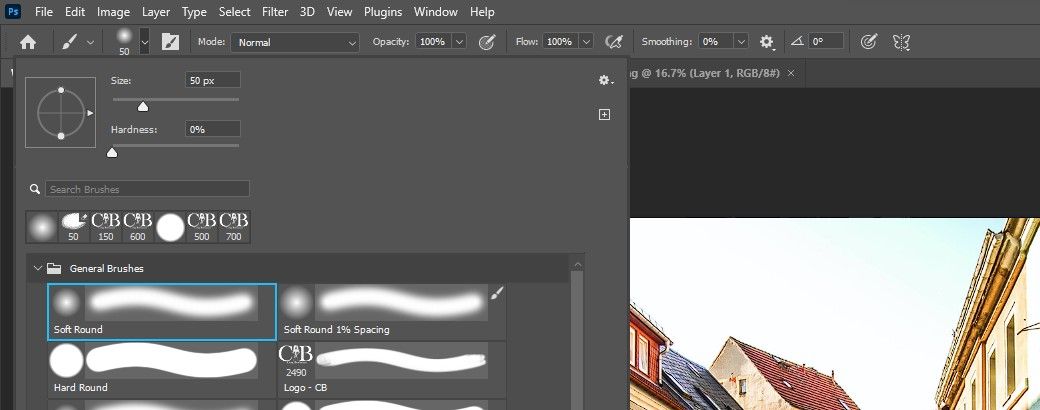
-
Toggle the D and X keys to make the Foreground color black.
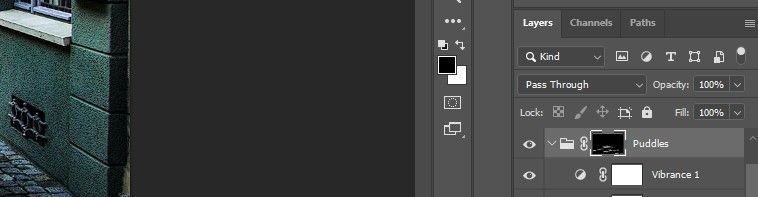
-
Brush off the puddles from the plants and other regions where they don't look natural. If you need a refresher, we have a beginner's guide to the Brush tool.
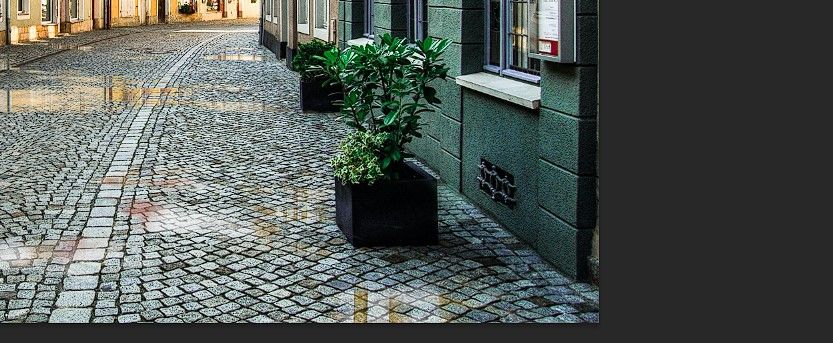


We've made a few adjustments to refine the look of the puddles. Naturally, there are a lot more options in Photoshop if you care to take further creative steps.
Before:

After:

To further enhance your images, you can use a free set of third-party tools from the NIK Collection.
Creating Puddles Made Easy With Photoshop
We hope that you've learned what a joy it can be creating puddles from scratch in Photoshop.
Although this was one of our more advanced tutorials, you'll likely find that with a little practice, these steps are quite doable in a short period of time. Give it a try with one of your own images!