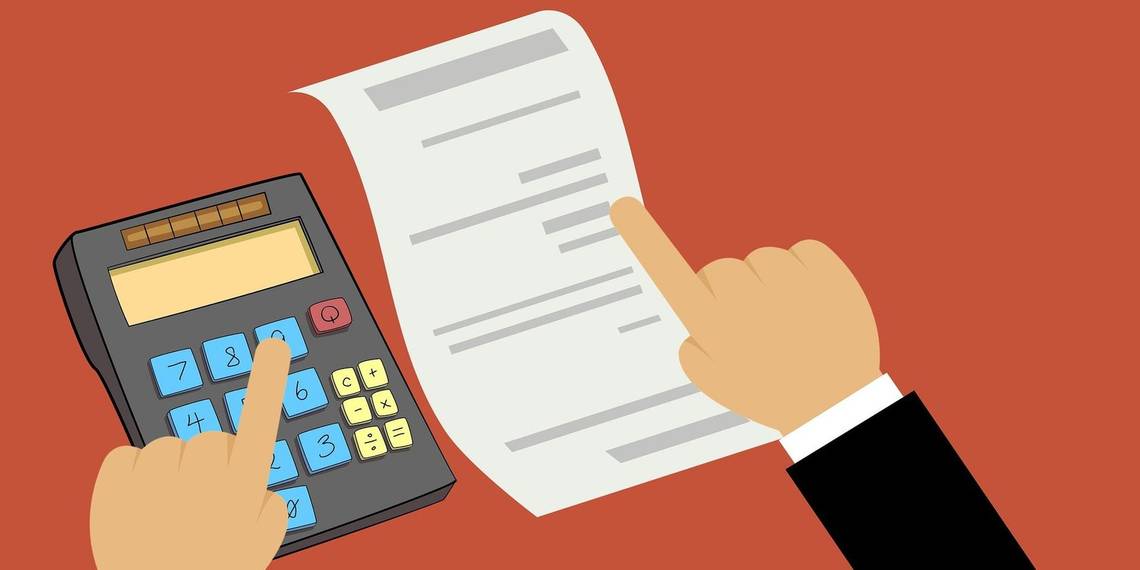
Invoicing is an essential part of freelancing. It's evidence of your hard work and the time you invested in helping your clients with your awesome services. While invoicing can be automated, you might not have enough budget to spend on expensive accounting software.
Plus, using the same old invoice templates everyone else is using isn't going to help your brand stand out. In this article, you'll learn how to create an invoice from scratch to bill your clients—one that's unique to you and represents your brand.
Step 1: Create a List of the Essentials
An invoice contains the following essential details:
- Business info of both parties: Emails, phone numbers, addresses, etc.
- Invoice number: A unique number to identify the invoice (example: #1001).
- Issue date: The date when you issued the invoice.
- Due date: The date by when the client is supposed to pay you.
- Description: A column containing all the services you delivered to the client.
- Price: Your charges per unit of each service delivered.
- Quantity: The number of units of your service that the client bought (example: 10 articles).
- Total: Total cost of each service item delivered, i.e., price multiplied by quantity.
- Subtotal: Total cost of all service items combined before adjustments.
- Tax: Tax payable (if any) by the client on purchase of your services. Consult your accountant to guide you through this process.
- Amount due: The final expense that the client will bear in exchange for your services after all adjustments.
- Payment details: All the modes of payment that you accept, including your account details.
- Terms and conditions: The terms and conditions that you and your client agreed on before making the deal.
Here's a tip: It's a good idea to include a small gesture of gratitude in your invoice. Something as small as "Thank you for your business" adds a lot of personality to your invoice. It lets your client know that you are looking forward to doing business with them again.
Also, be careful when giving discounts. Newbie freelancers are often tempted to give big discounts to their clients in the hopes that they will stick around. But this can result in the opposite effect because clients may perceive your original price as a misrepresentation of the value you deliver.
Step 2: Add Your Brand Identifiers

What separates a great invoice from a mediocre one is how well it is designed. The latter may contain all the essential parts but look incredibly boring and uninspiring. If done right, your invoice can act as a subtle marketing tool on top of being a legal document.
You can do this by using your brand identifiers such as your logo, typography, and brand colors. Through a clever combination of color, font, and syntax, you can influence your client's mood when they look at your invoice and direct their attention to the most important parts.
Step 3: Finalize Your Template's Layout

After you're done adding your brand identifiers, the next step is to finalize the layout of your invoice. This means arranging everything such that all the elements of the invoice complement each other. The goal here is to create a custom template that can be used indefinitely.
A good template is one that's organized, beautiful, accurate, and infinitely reusable. Don't worry, you don't need to be a graphic designer for this. Just a basic understanding of design and curiosity to experiment is enough. You can also look at templates online for inspiration.
Speaking of designers, it can be a good idea to hire one for this process. They can help you use your brand identifiers in a way that you might not have imagined and better arrange your invoice. After all, hiring someone once is way cheaper than paying a regular subscription fee for accounting software.
Remember, your template is supposed to be a blend of design and data. That means it should accurately portray all necessary details of your invoice and still look presentable. This is usually hard to get right on the first try, so don't be afraid to mess things up; learn through trial and error.
Step 4: Fill Out Details and Check for Errors

The info present in an invoice is very important, both from a legal standpoint and a professional one. An invoice carrying wrong info is an instant red flag for clients and can harm or even end your relationship with them.
Three things to pay special attention to are the final amount due, your payment methods, and the terms and conditions agreed upon. Remember, nobody likes surprises in an invoice. The easier you make it for your client to pay you, the more likely you are to receive your payment on time.
Step 5: Send the Invoice to Your Client

Once everything is set in place (supposedly after numerous revisions), send the invoice to your client. Make sure you haven't used editable document formats like .docx and opted for .png or .pdf instead. The former adds confusion and distrust to the trade if any party modifies the document later.
If you're sending an invoice to a new client and don't know what to write in the email, use this template:
Hi [client],
Thank you for choosing [your company name] for your requirements. Please find attached to this email your invoice for the work items delivered on/during [time of delivery of work].
Feel free to let us know if you have any doubts or need clarification on anything, we'd love to help. Looking forward to future collaborations.
Create a Memorable Invoice
You might think that spending time designing an invoice is not worth it because, after all, you're not getting paid for it. So why bother creating a custom template when you can just use a ready-made one?
While that's true, note that a custom invoice is a subtle yet strong marketing tool. Not only does it signal competence and professionalism, but also leaves your brand's mark on every new client—making you memorable.