If you're a mobile video editor, chances are you've relied on YouTube editing tutorials to find the best video editing app or to learn how to get a specific effect. And if you're past the novice editing stage, you might want to share your knowledge with others. What better way to do that than by creating your own YouTube editing tutorials?
This article discusses the components that make up a mobile editing tutorial, and how you can create your own.
1. Outline Your Tutorial
Before you can start editing the tutorial, you'll need to outline the contents video. Did you finally master a 3D cube-spin effect and want to show others how to do it too? Or do you want to give them tips on how to increase the quality of their edits on a specific app?
Center the tutorial on one lesson and take notes of all the details that you want to explain. And if you want to do a compilation, for example, "Three Alight Motion Transitions You Need to Try," ensure you section the notes on each transition accordingly.
Creating this outline will help determine what to screen record, which instructions to give, how to lay out the clips in the editing process, and what to title the video. Remember to emphasize the app (or apps) you're using as well.
2. The Screen Recording Process
The majority of the tutorial is going to consist of screen recordings—this is how you'll show viewers what to do. However, it's not as simple as hitting record; there are some other things to consider.
If you plan on showing people how to get an effect, make sure that you know how to do it without fault. A tutorial video that shows you going back and forth to re-edit mistakes will annoy viewers, so you should be able to do it right in one take.
Start screen recording and commence the edit. If you're unsure of how to screen record on your device, check out our tutorials on how to screen record on an iPhone and how to screen record on Android.
Sometimes, we can get lost in the editing process, so remind yourself to stay on track and only perform edits necessary to the tutorial. After the screen recording is saved to your photo library, watch it through to confirm that all the steps are included and that the flow is smooth.
The aspect ratio of your video will depend on your preference and the editing app you're using. If the editing app allows landscape mode, turn your phone to its side before screen recording—this way, you can create a standard 16:9 YouTube video. However, you can keep it in portrait mode if you want, since YouTube supports vertical viewing as well.
Most phones have a built-in screen recorder with a maximum quality of 720p. This is good enough since the majority of viewers will watch the tutorial on their phones. However, you can always download a third-party screen-recording app that allows 1080p.
3. Edit the Tutorial
The editing process is the most important aspect of making a tutorial. Let's go over the key elements.
Choose a Video Editing App
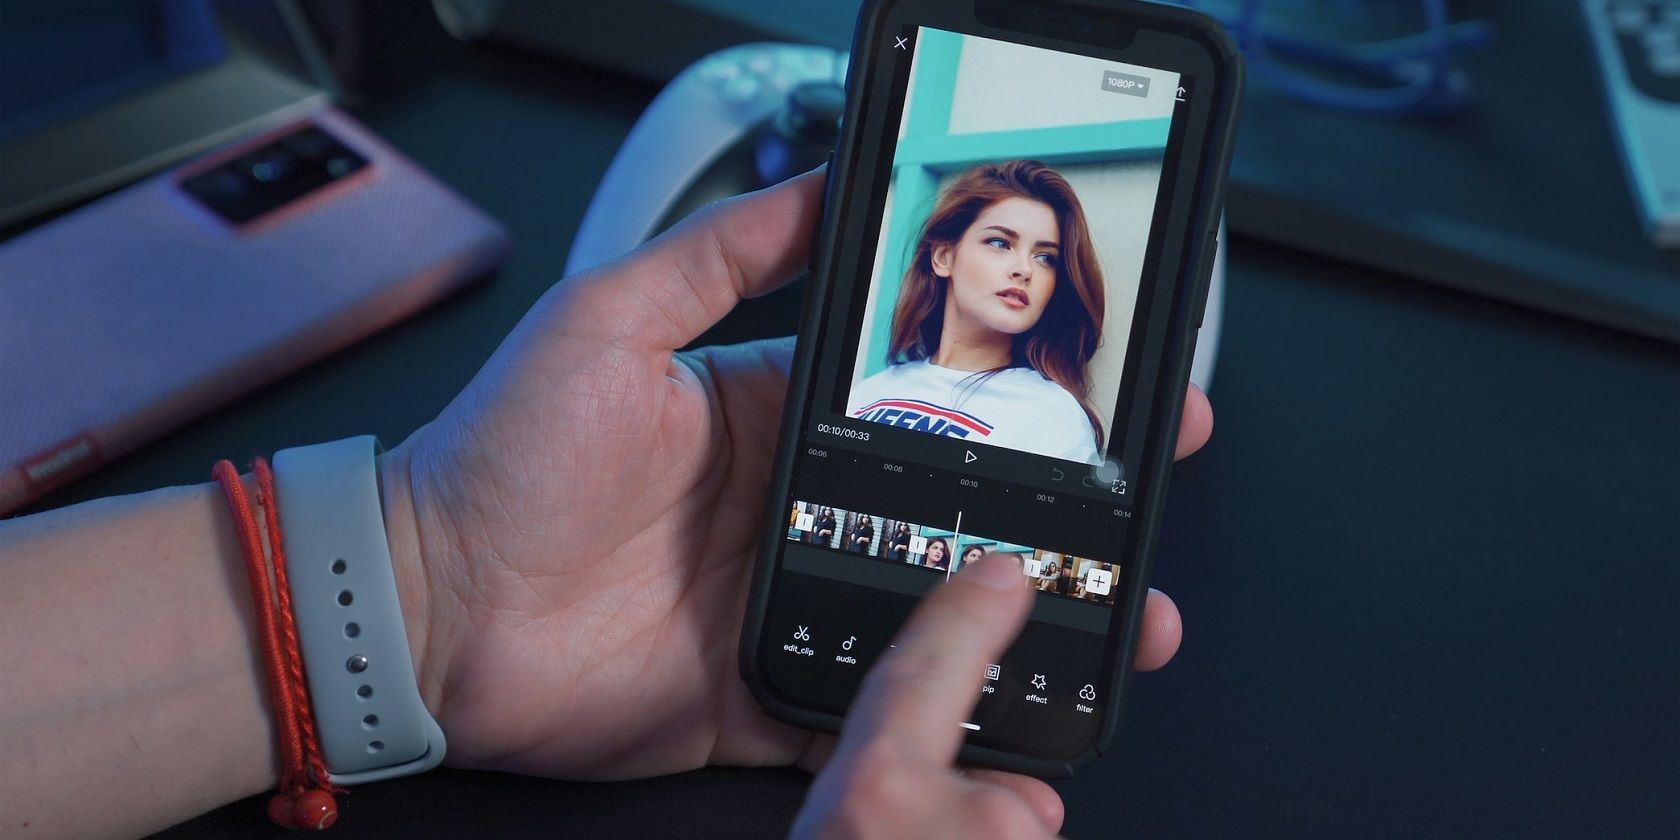
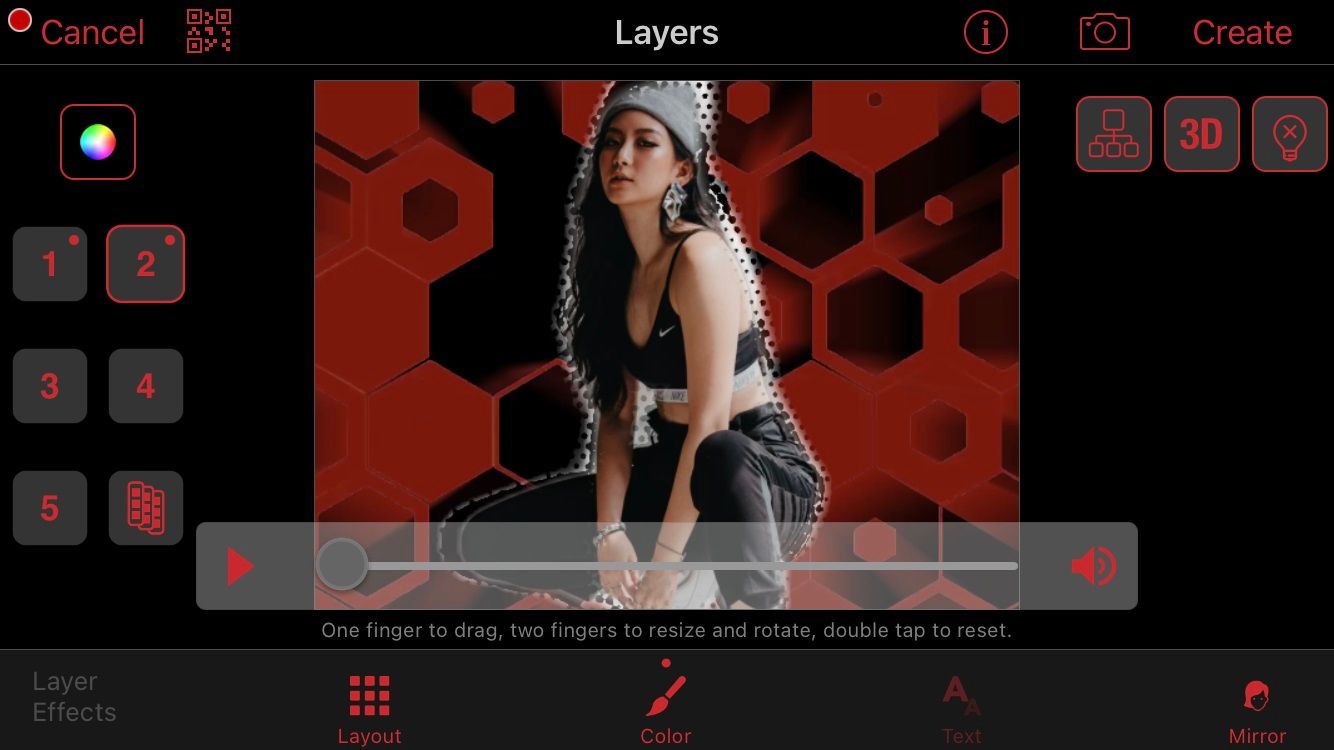
You'll need an app that has basic editing features such as split, trim, cut, copy, and zoom. If you intend to add text for instructions, make sure it has a flexible text editor. And depending on how you want to edit your video, make sure the app has all the effects, filters, and overlay features that you want to use.
Most video editing apps also have basic audio editing features. If you wish to include sound in the video, make sure that its audio editor is up to your standards.
There are a plethora of video editing apps you can use. For piecing together a YouTube tutorial, we recommend InShot, VideoLeap, Splice, or iMovie. Keep in mind that some editors have a duration limit. So if your tutorial is going to be long, make sure you're using an editor that supports lengthy videos.
Have an Intro
Just like any other YouTube video, you're going to need an intro. Use this guide to make an eye-catching YouTube intro on your phone to highlight your brand. This makes your channel more memorable, and lets viewers know what to expect from your videos.
We recommend making the intro separately and exporting it to your photo library. This way, you have an intro ready to import to any video editor.
Refer to Your Outline
During editing, you're going to rely on your outline from the first step. Do you need to split up the screen recording into clips? Is there something you need to zoom in on? Will text help detail your editing techniques? Create a timeline layout that makes sense so that viewers can effortlessly follow your steps.
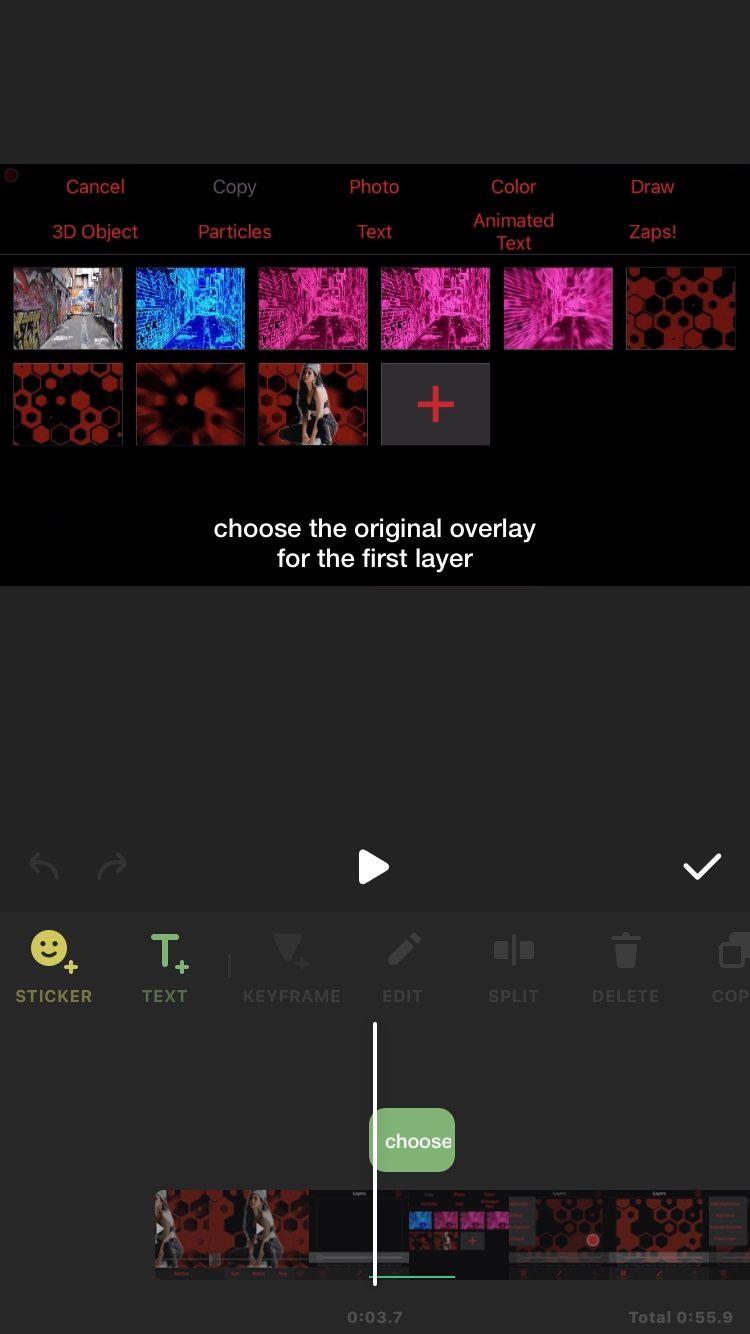
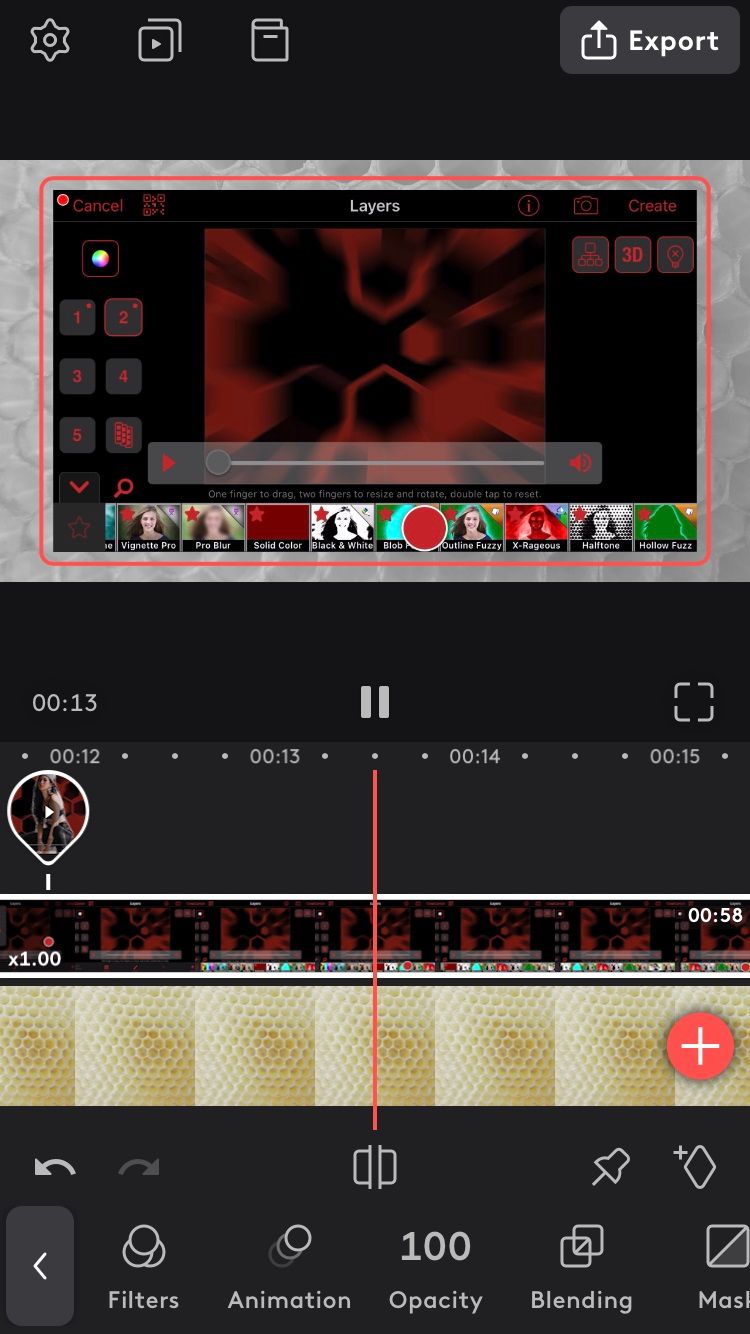
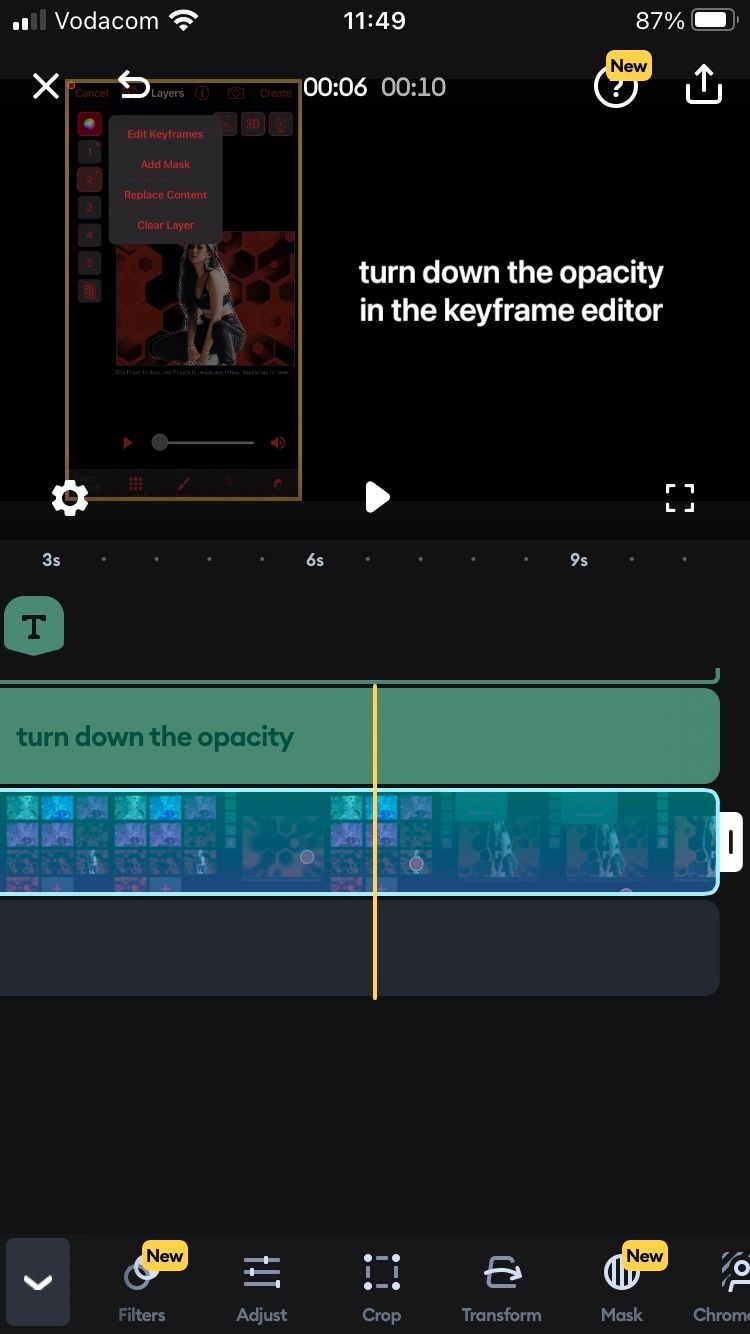
You also need to devise the screen layout. Do you want your screen recording to take up the entire screen, or will it better suit your aesthetic to place it in the middle of a themed background? Some creators put the screen recording on one side and text on the other—this works well for portrait-oriented screen recordings on a landscape layout.
If your screen recording is on the longer side, speed it up in the editor. Viewers will most likely turn down the playback speed on YouTube to better follow along, regardless of the speed it's playing at.
Be Mindful of What You Include
Most video editors count on others' creations from time to time. If there's something in the screen recording that doesn't belong to you, like an overlay or PNG, ensure you have the creator's permission to share it, and give them credit in the description when you do.
Create a Thumbnail
In order to use a custom thumbnail on YouTube, you'll need to verify your account with a phone number. Once that's done, you can pick a thumbnail image from your photo library via the YouTube Studio app.
A thumbnail will help give viewers an overview of the video, as well as emphasize your brand. You can take a screenshot of your editing process and edit it with the help of these aesthetic ideas.
Don't Forget Your Watermark
Creators typically make a watermark for their edits to prevent content theft. You need to do the same for YouTube editing tutorials.
3. Using Audio
Audio is key to making your video more engaging. For your tutorial, you'll likely want to incorporate music or a voiceover.
Music
We recommend including music in your video, or it might get boring for viewers. There is plenty of copyright-free music available online that you can use. You can also search for "copyright-free music" on YouTube, screen record it, and convert the screen recording to an MP3 with the Online Converter tool or another media converting app.
Once you have the audio file on your phone, import it to the video editor. If it's shorter than the video, you can add another song or loop the first one.
Voiceovers
If you prefer to forgo the text and use voiceovers for instructions instead, ensure that you speak clearly and concisely and that there aren't any distractions in the background. There's no need for a professional mic, in fact, speaking into your phone mic will do.
Remember to fade out the music whenever the voice-over plays so as not to drown out your instructions.
Make an Engaging Video Editing Tutorial on Your Phone
The editing community relies on each other for tutorials, so if you know something that others don't, it might be time to make your own tutorial and pass on your knowledge.
Making a tutorial isn't dissimilar from making any other type of YouTube video—as you can see, there's a lot of planning and editing that goes into it.

